
Hand-Cranked Maize Sheller
A simple drum-and-plate sheller that strips maize cobs several times faster than hand shelling, without bruising the grain.

- Estimated cost
- $30 – $90 in steel, bearings and timber
- Skill level
- Intermediate
- Time
- 2 days
Not yet verified
No confirmed build with photo proof has been submitted for this plan yet. Built it? Send photos and it earns the badge.
Tools
- Welder and angle grinder
- Drill and bits
- Spanners
- Hammer and cold chisel
- Files
If you don't have it
- No sheet metal for the cone? A hardwood block bored to the cob taper with hand-driven nail points inside shells at a similar rate.
Materials
- Steel drum or pipe, roughly 200 mm diameter, for the shelling rotor
- Steel bar or bolt heads for the rotor teeth
- Two pillow-block bearings and a shaft
- Sheet metal for the concave and grain chute
- Hardwood or steel frame stock
- Crank handle, or a pulley if you later add a motor
Dimensions & cut list
A hand-cranked drum sheller for a household or small group, shelling roughly 40–60 kg of dry cobs an hour. These are the reference sizes from Appropedia / Engineers Without Borders — scale them to what you have, but keep the ratios.
| Shelling drum | 300 mm diameter × 400 mm long |
|---|---|
| Drum-to-housing clearance | 18–22 mmSet it to just over one grain thickness — too tight and you crack the kernels |
| Shelling pegs | 10 mm rod, 25 mm tall, staggered rows at 60 mm spacing |
| Feed hopper mouth | 200 × 200 mm, sloped 45° |
| Crank radius | 180 mm |
| Gear-up ratio | 1:3Drum wants 180–220 rpm from a comfortable 60–70 rpm crank |
| Frame height | 800 mm to the crank centre |
Take this list to the yard
- 1Steel drum or 300 mm pipe section
- 1 set20 mm shaft with two pillow-block bearings
- 3 m10 mm round bar for pegs
- 6 m40 × 40 mm angle iron for the frame
- 1 setBicycle sprockets and chain (or two pulleys and belt)Salvage from a scrap bicycle
- 1.5 m²Sheet metal for housing and chutes
Step by step
Step 1 of 7
Build the rotor
Weld staggered teeth or bolt heads in a spiral pattern around the drum. Spiral, not straight rows — a spiral feeds the cob through steadily instead of jamming it.
Swipe or use arrow keys
1. Build the rotor
Weld staggered teeth or bolt heads in a spiral pattern around the drum. Spiral, not straight rows — a spiral feeds the cob through steadily instead of jamming it.
2. Shape the concave
Form a curved sheet-metal concave under the rotor with a 12 – 15 mm clearance and slots for grain to fall through. Make the clearance adjustable; different maize varieties need different gaps.
3. Mount the shaft in bearings
Set the shaft in pillow-block bearings on a rigid frame and spin it by hand. Any wobble here becomes cracked grain and broken teeth once it is loaded.
4. Build feed hopper and chutes
Fit a hopper that takes cobs one or two at a time, a grain chute below the concave, and a cob ejection opening at the far end so debris never backs up into the rotor.
5. Fit a full guard
Enclose the rotor completely except at the feed throat, and make the feed throat too narrow for a hand to pass. This is not optional — hand shellers take fingers.
6. Dry the maize before shelling
Shell at 13 – 14% moisture. Wet maize smears and jams; over-dry maize cracks. Bite-test a kernel: it should crack cleanly, not dent.
7. Test and adjust
Run a bucket through, then check for unshelled cobs and cracked grain. Widen the concave clearance if grain is breaking, tighten it if cobs come out with kernels still attached.
Why mine failed
The ways this build usually goes wrong, and what fixes it.
Half the kernels come out cracked and broken
CauseDrum clearance too tight, or the maize is still too wet
FixOpen the clearance to just over one grain thickness (18–22 mm) and only shell cobs dried to about 13% moisture — a kernel should crack, not squash, under a hammer tap.
Cobs jam and the crank locks up
CauseFeeding too fast, or pegs snagging the cob
FixFeed one cob at a time and round off the leading edge of each peg with a file. A flywheel on the crank shaft also carries it through the tight moments.
Grain comes out full of cob trash
CauseNo separation stage
FixRun the outlet over a 10 mm mesh screen, or winnow the output. The sheller separates grain from cob, not grain from chaff.
Safety notes
- Never feed cobs by hand into an unguarded rotor and never clear a jam without stopping the machine completely.
- Use a wooden push stick for the last cob, always.
- Wear a dust mask — maize dust and mould spores are a real respiratory hazard during long shelling sessions.
- If you belt this to a motor later, fit a proper belt guard and an accessible stop switch first.
Source & attribution
This plan is our build-step write-up of work documented by Appropedia / Engineers Without Borders. The original design and documentation belong to them — go read the source before you build.
Hand-operated maize sheller designLocal adaptations
What builders changed to make this work where they live.
Patrick N. · Mbarara, Uganda
We made the concave from an old oil drum cut and rolled, with slotted bolt holes so the gap adjusts in the field. Handles both our local and hybrid varieties.
Build this alongside
Plans that use the same materials or serve the same need.
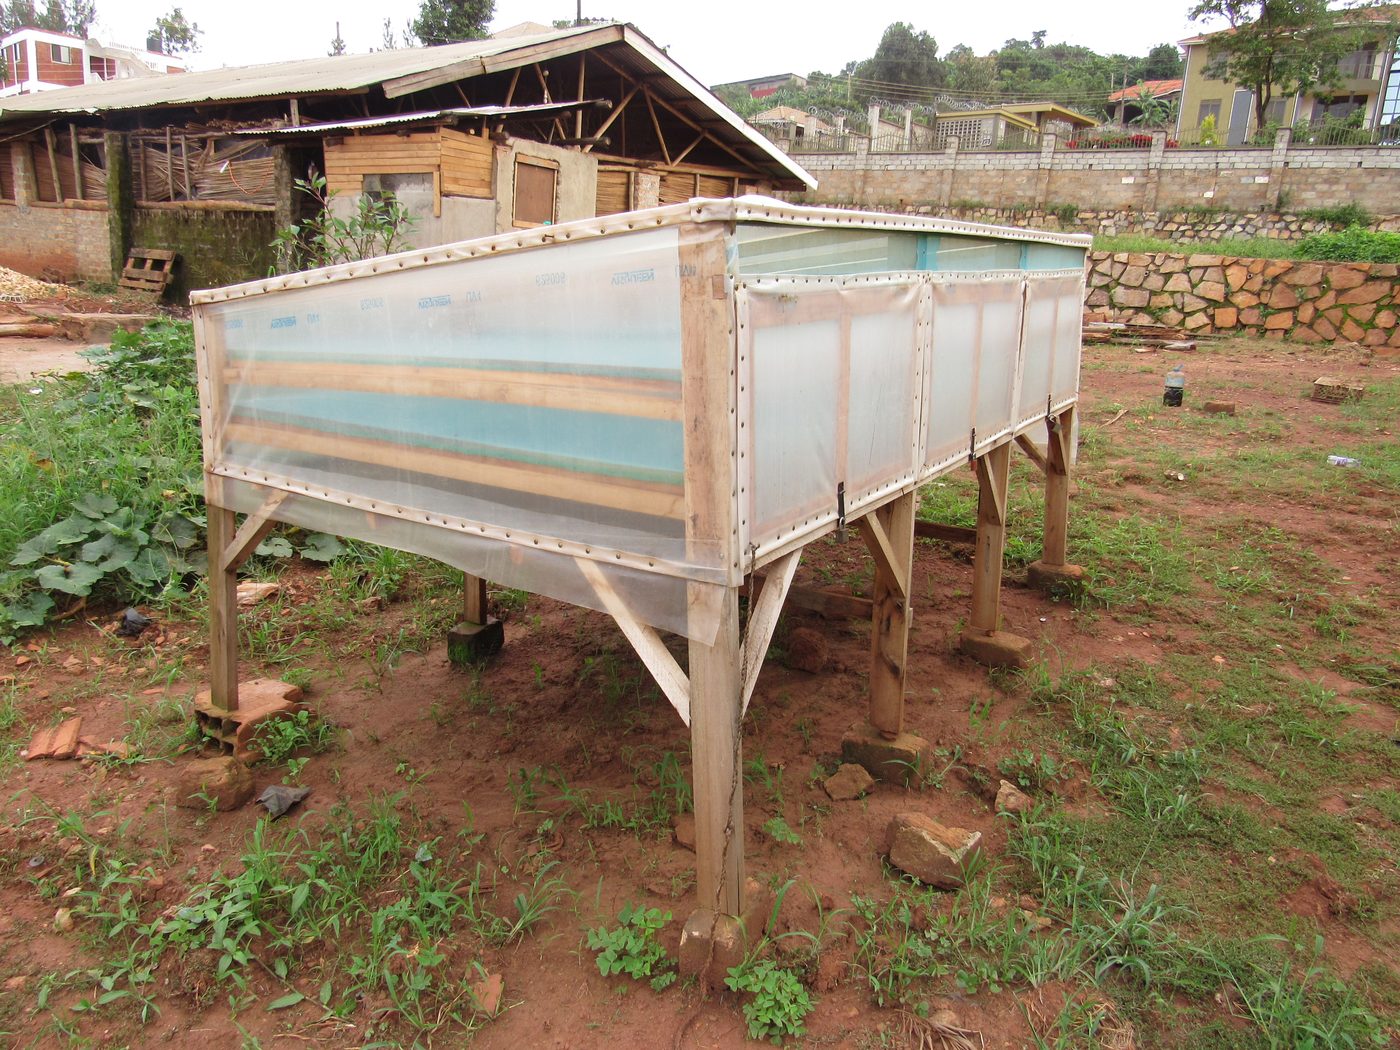
Indirect Solar Food Dryer
A timber cabinet with a glazed heat collector that dries fruit, vegetables and fish faster and cleaner than open sun, without bleaching the produce.
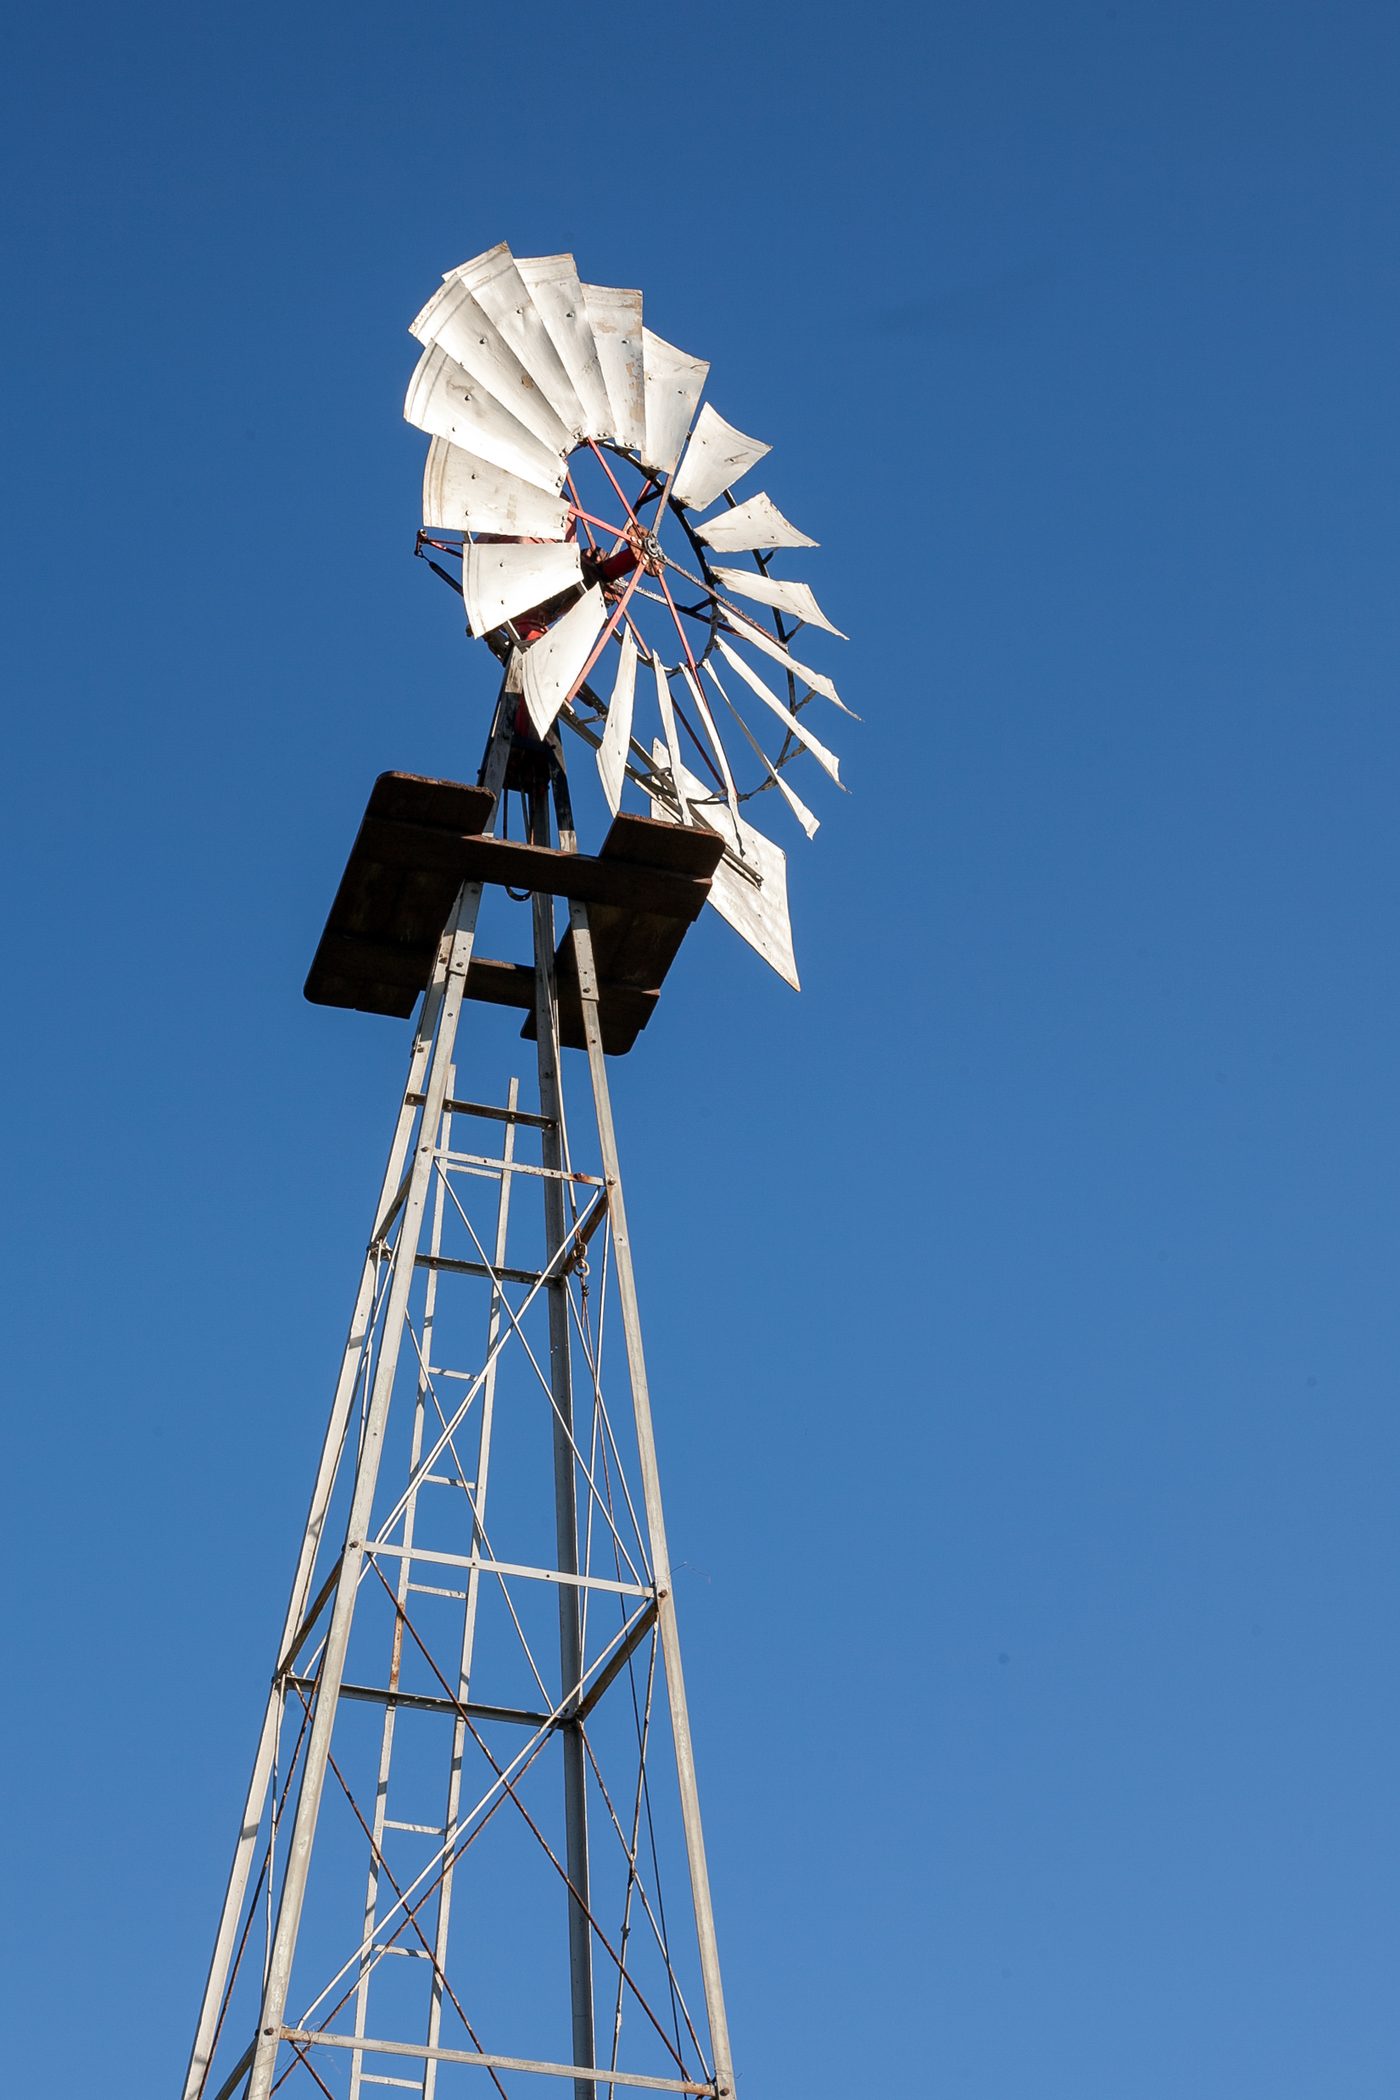
Windmill Water Pump
A multi-blade rotor on a guyed tower driving a piston pump down a shallow well — steady stock and irrigation water anywhere the wind blows most days.

Improved Fish Smoking Kiln
A chorkor-style stacked-tray kiln that smokes far more fish per load with less firewood and much less smoke in the operator's face.