
Build paths
Six builds, one working system
Single plans solve single problems. These are ordered sequences — the plinth before the wall, the settling tank before the filter, the drying rack before the press. Work down a path and each build makes the next one cheaper, safer or faster.
Water-secure homestead in 6 builds
6 buildsCatch it, settle it, filter it, store it. Each step removes a different problem, so skipping one leaves you treating water that is still dirty.
What you end up with: Roughly 1 000 L of stored rain and 20 – 40 L/day of drinking water that has been filtered and disinfected.
- 1
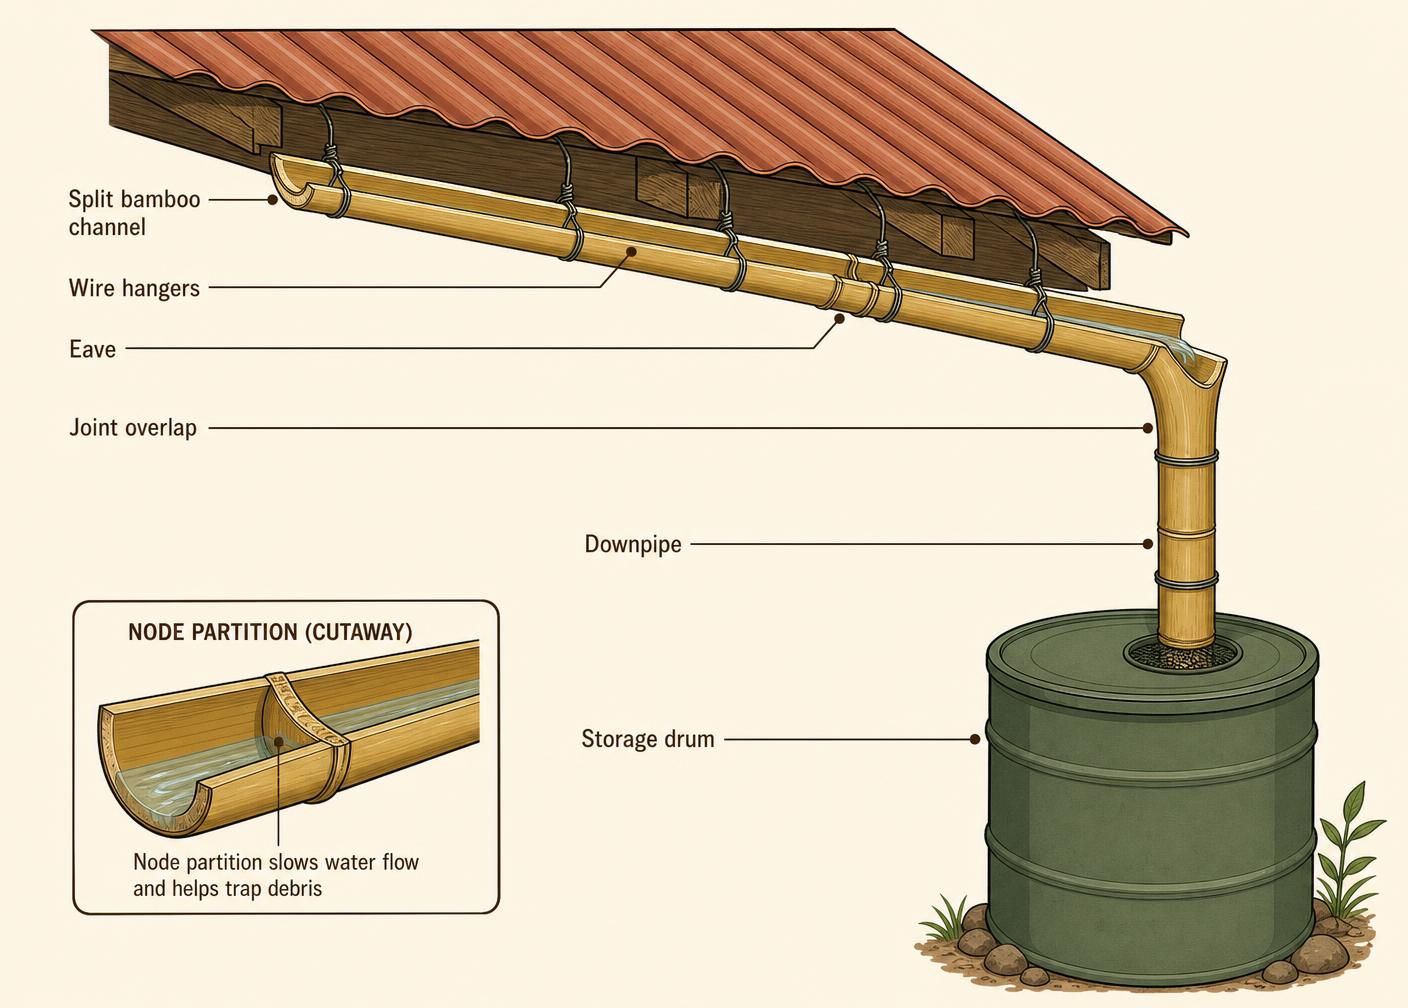 Split Bamboo Rainwater GutterGet the roof water into one place before you build anything to hold it.$5 – $30 for poles, wire and a collection drum · Half a day
 - 2
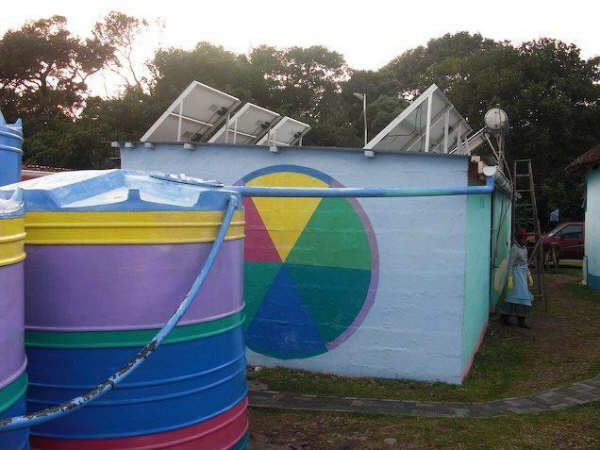 Rooftop Rainwater Harvesting with First-Flush DiverterThrow away the dirtiest 20 L of every storm — the cheapest water treatment there is.$90 – $300 depending on tank size and gutter run · 1 – 2 days
 - 3
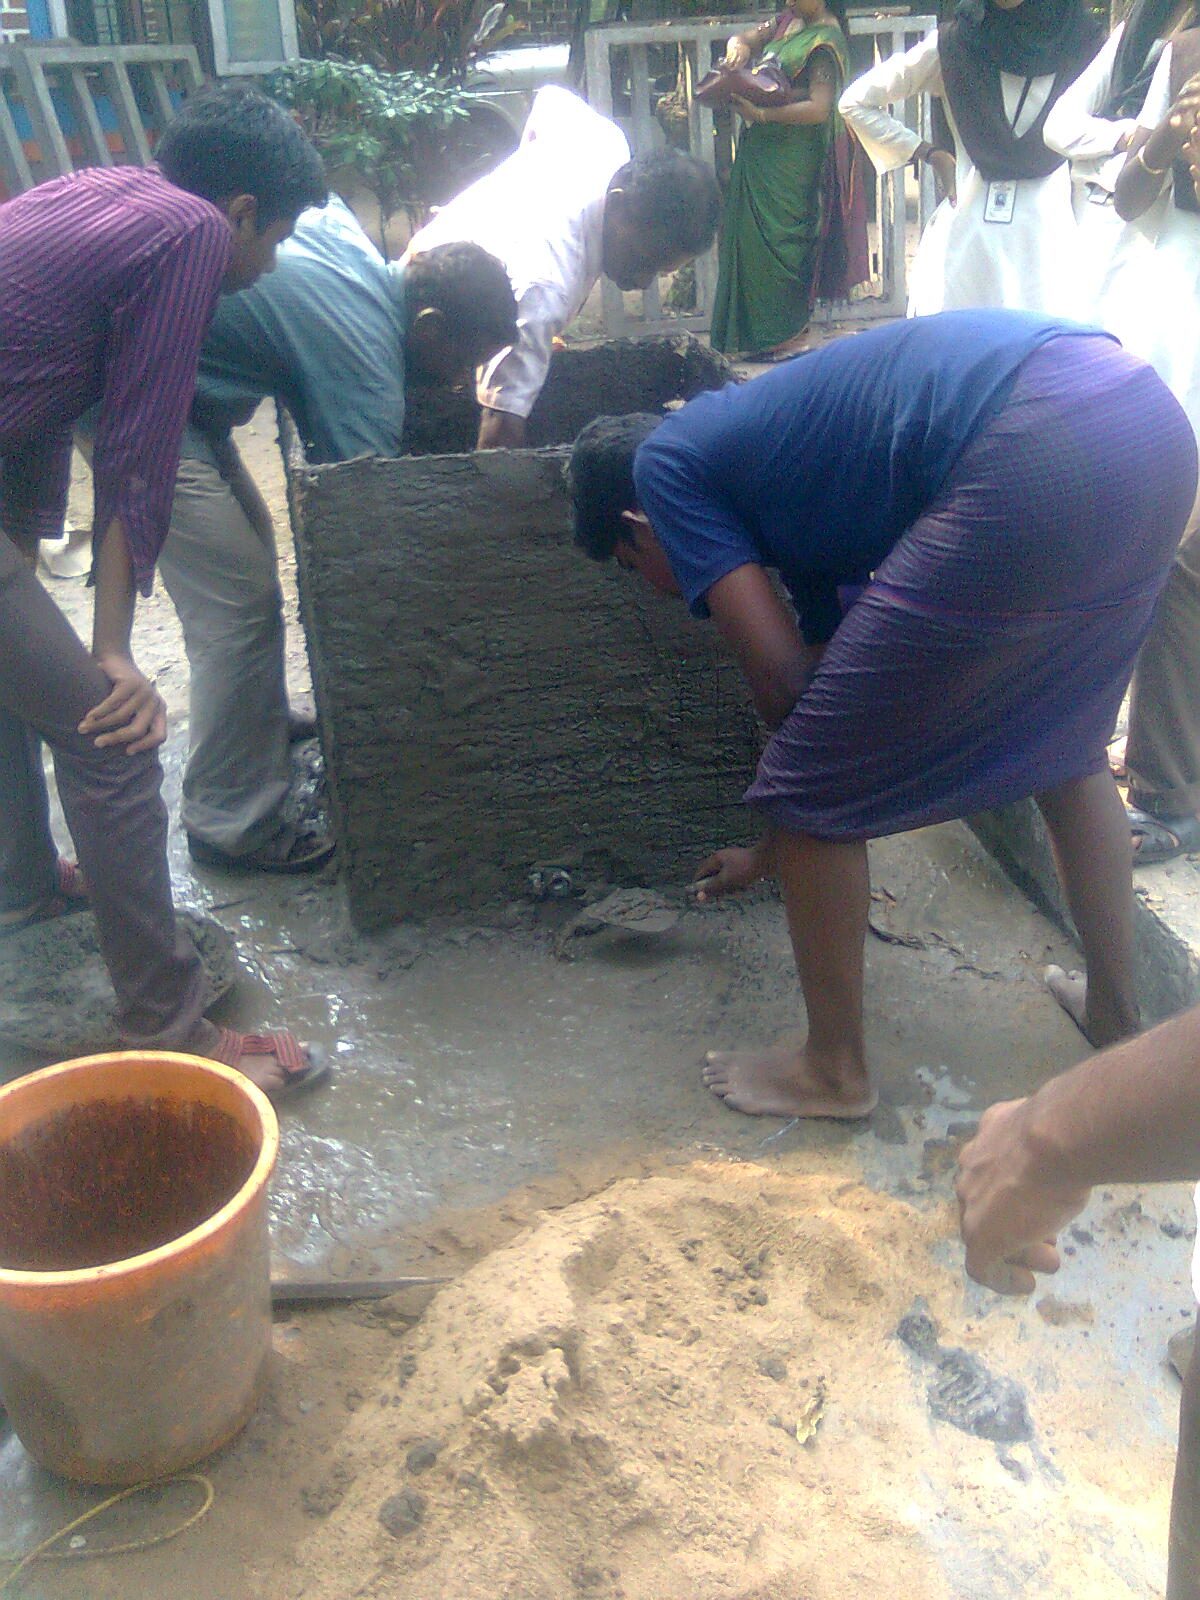 Ferrocement Water Storage TankStorage is what turns a wet season into a dry-season supply.$150 – $350 for a 5,000 L tank · 5 – 7 days including curing
 - 4
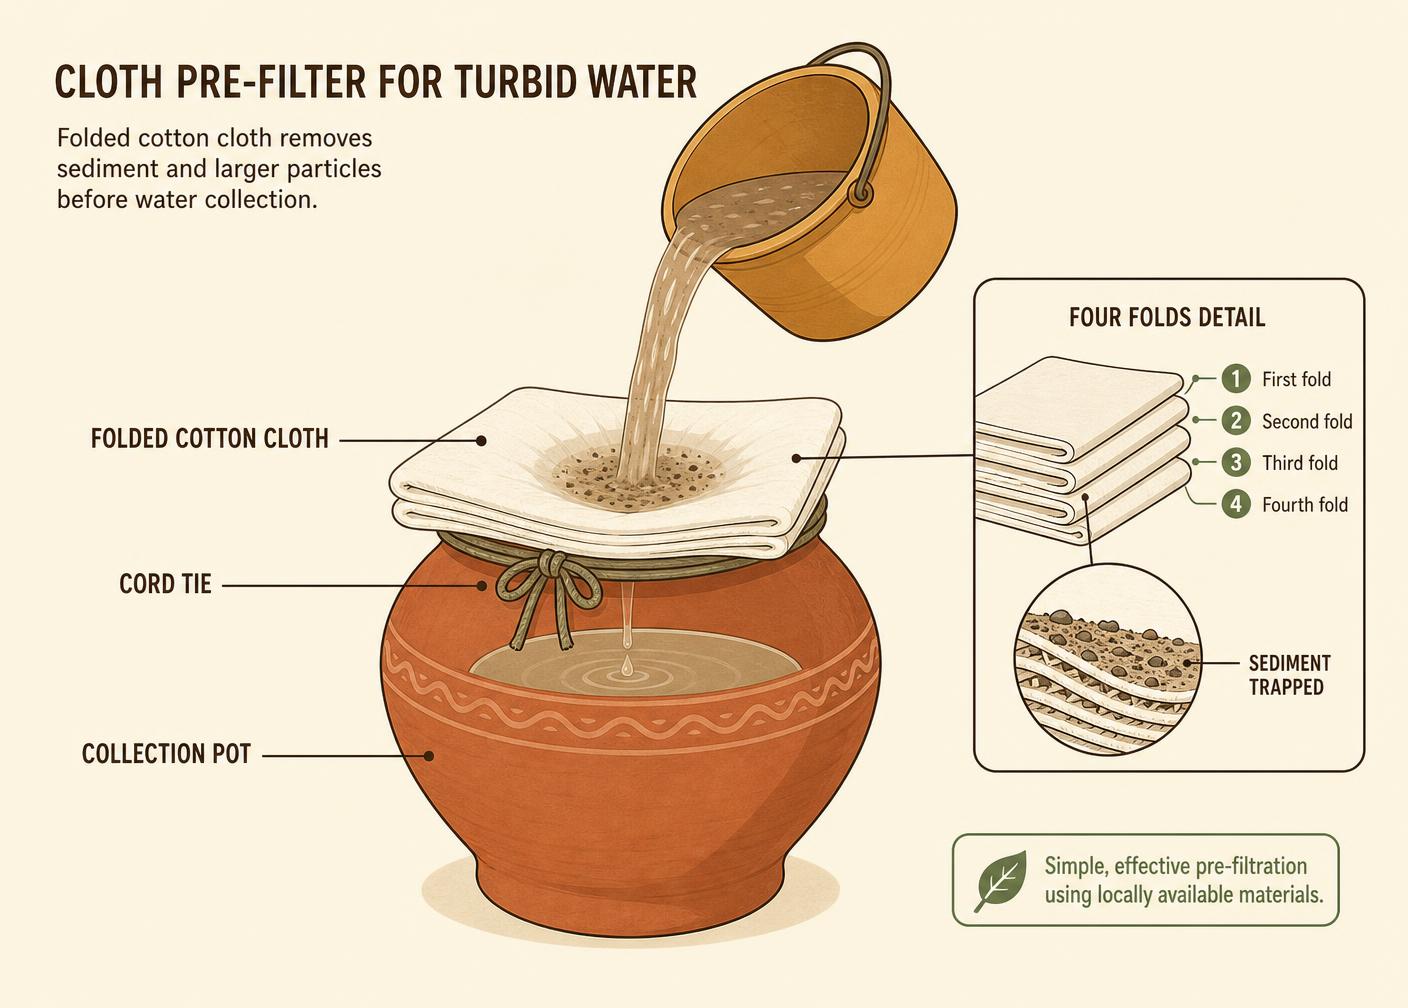 Folded Cloth Pre-FilterTake out silt so the slow filter's sand does not clog in a week.Under $3 for cloth and a tie · 20 minutes
 - 5
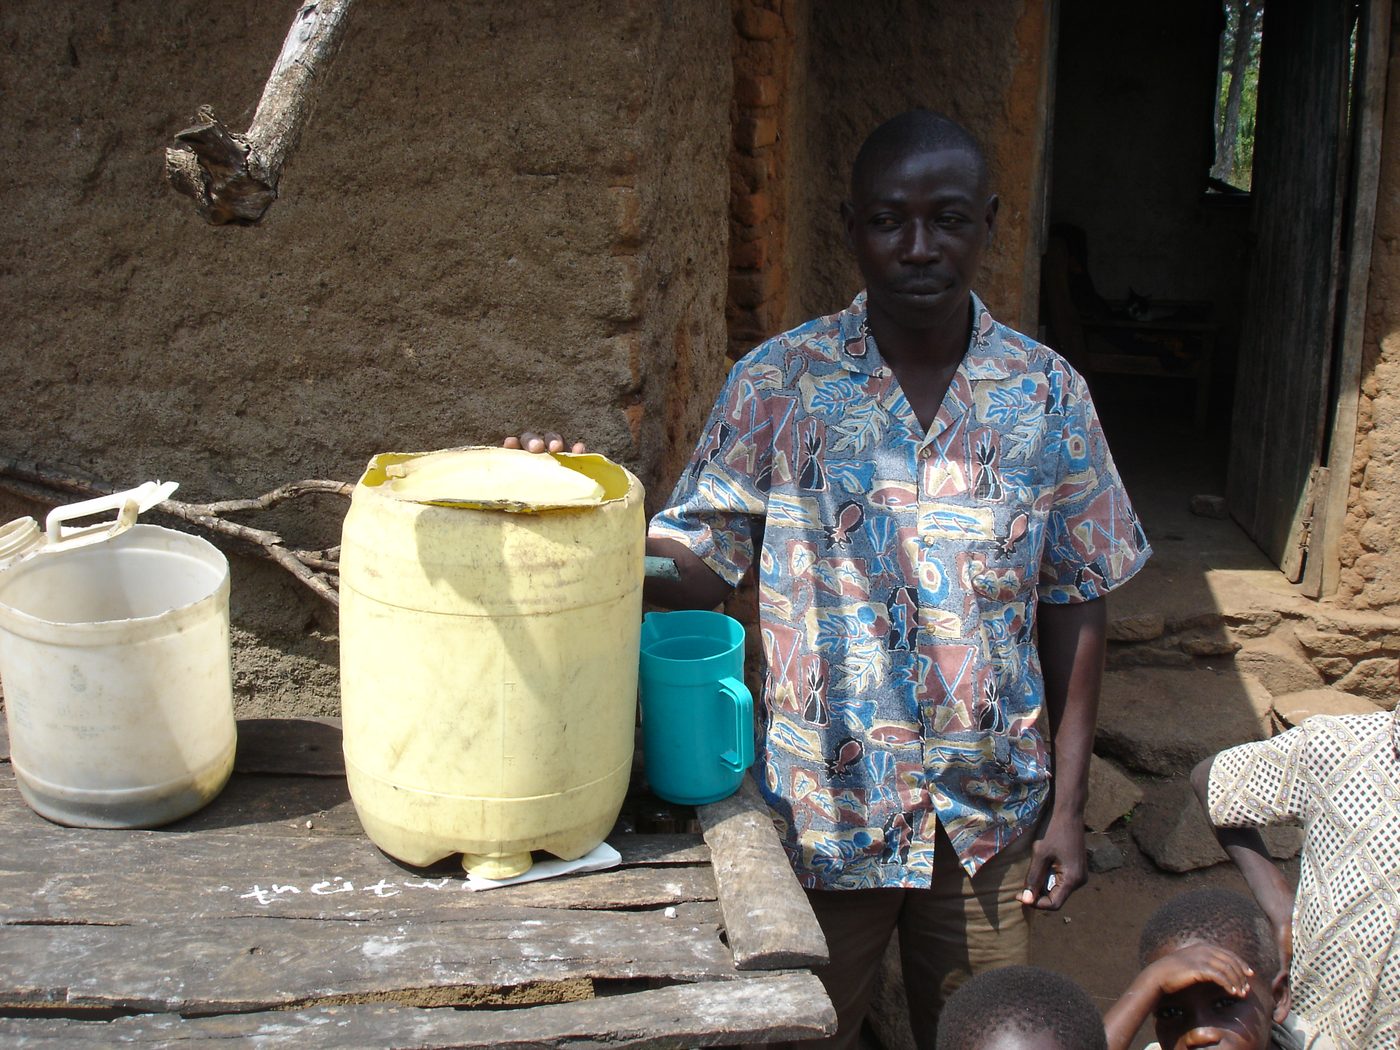 Concrete Biosand Water FilterThe workhorse: removes turbidity and most pathogens with no consumables.$25 – $75 depending on cement and mould access · 1 day to cast, 7 days to cure, 3 weeks for the biolayer to mature
 - 6
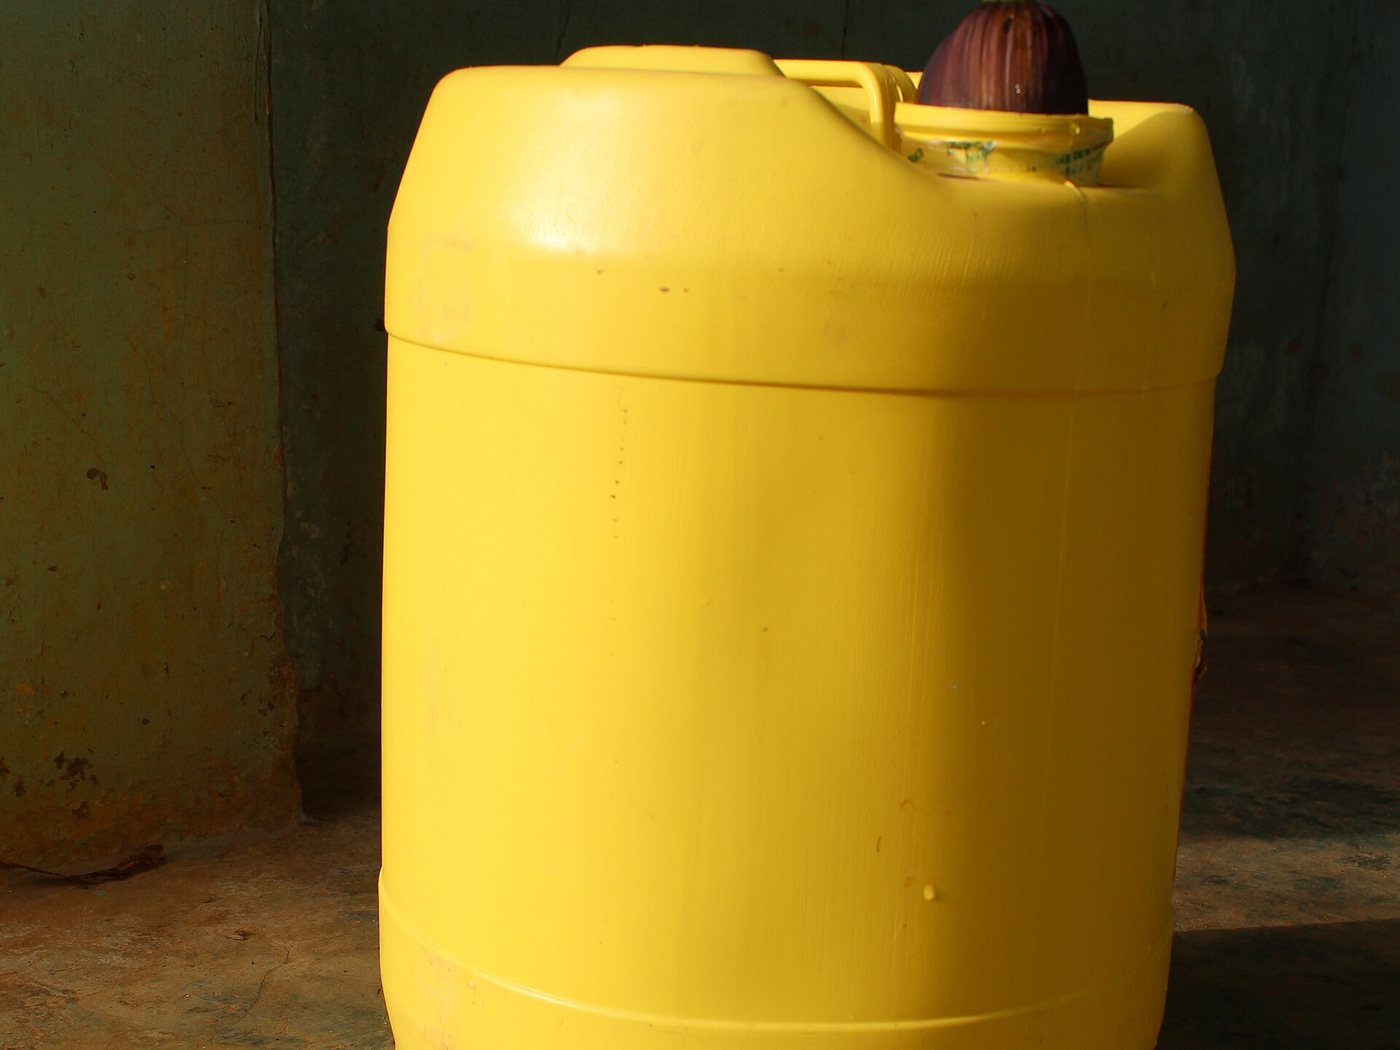 Safe Water Storage VesselA filtered bucket recontaminates in a day if the storage vessel has no tap.$5 – $20 per vessel · 1 hour per vessel
Smokeless kitchen in 5 builds
5 buildsBurn less, burn cleaner, then stop burning for part of the cooking. Done in this order each build reduces the fuel the next one needs.
What you end up with: Typically 40 – 60% less fuel per meal and no visible smoke in the cooking space.
- 1
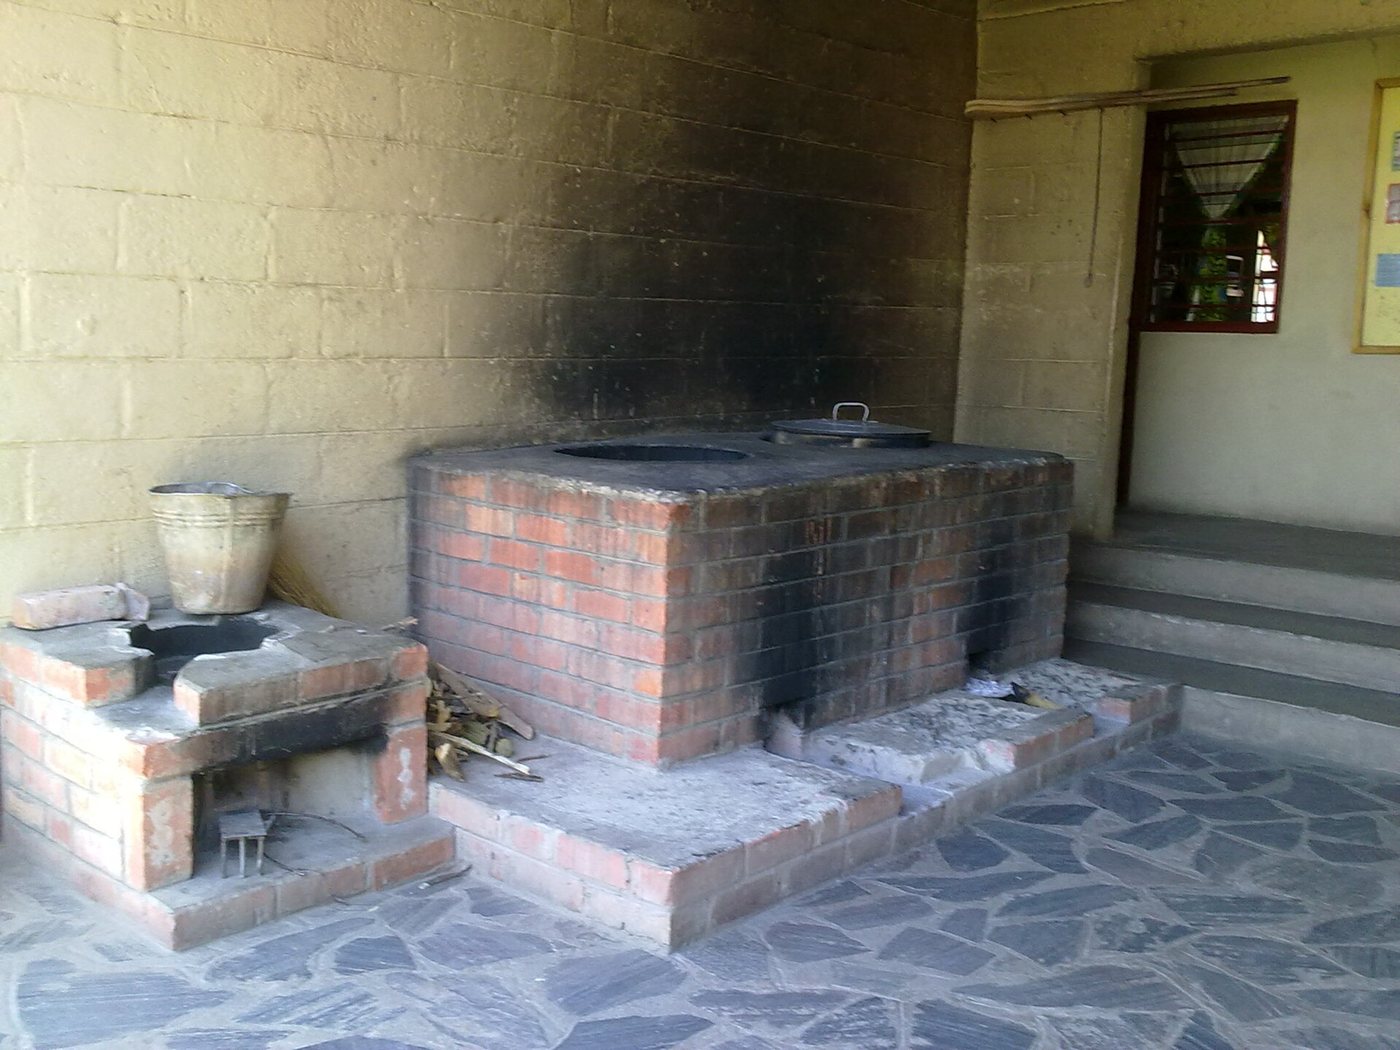 Insulated Brick Rocket StoveInsulated combustion is the single biggest fuel saving available.$8 – $20, or free from reclaimed brick and clay · Half a day, plus drying time for mortar
 - 2
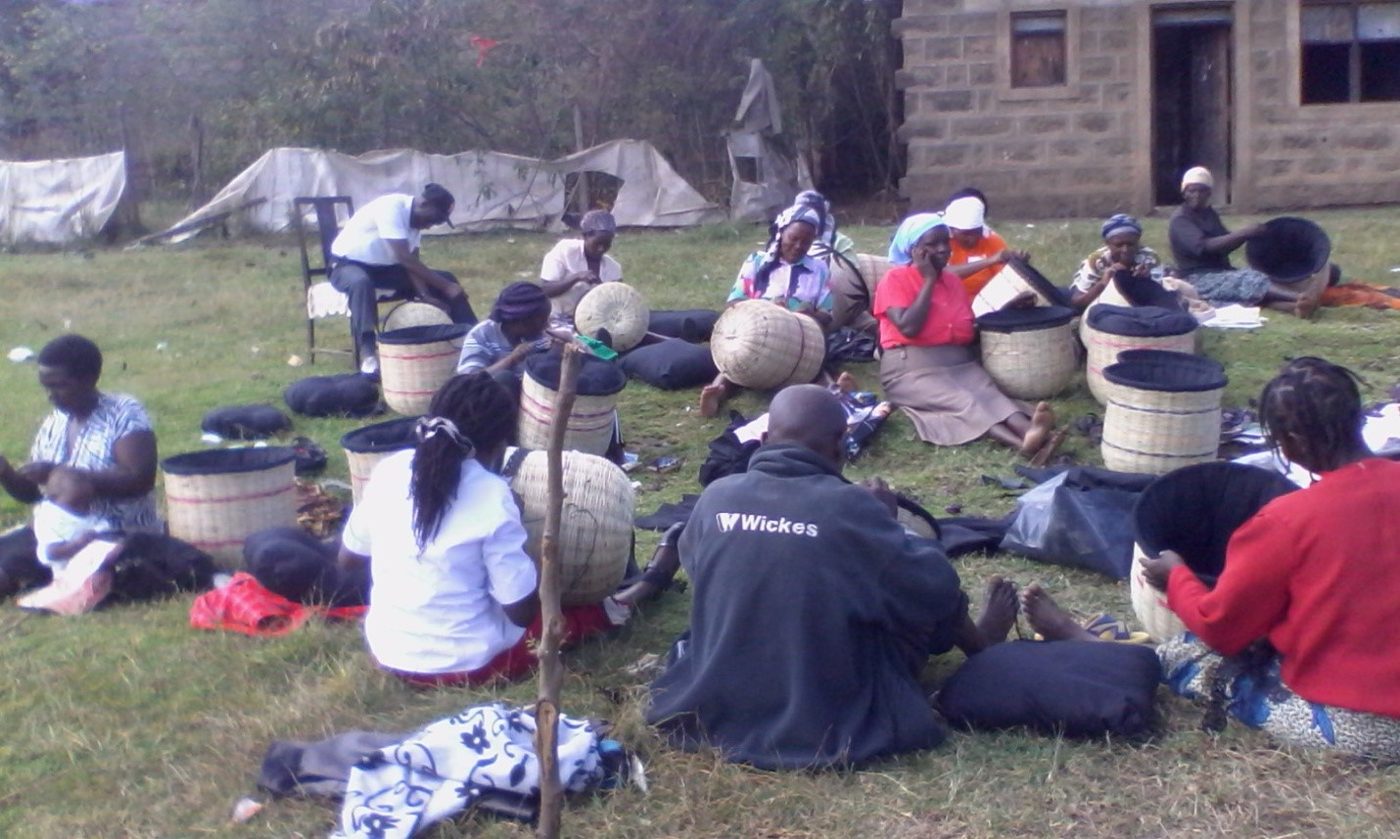 Retained-Heat Basket CookerBeans and maize finish off the fire — half the fuel for long-cooking food.$5 – $15 from local cloth and dry filling · Half a day
 - 3
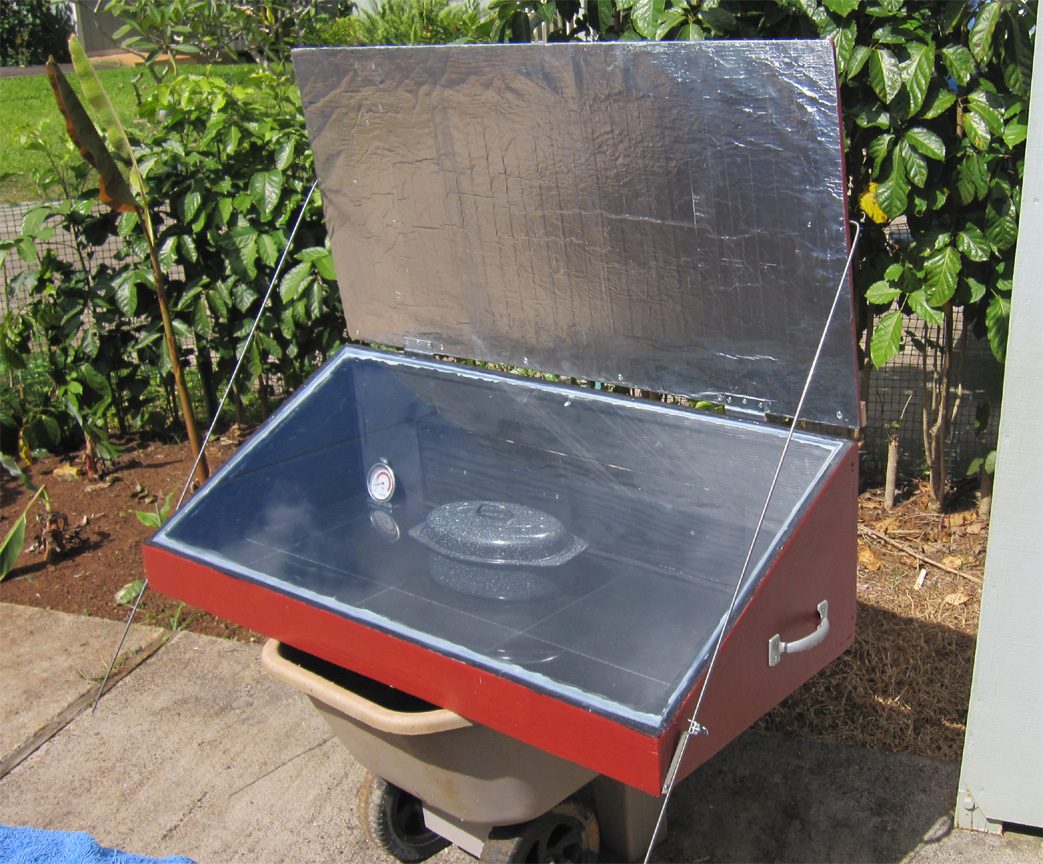 Plywood Solar Box CookerOn clear days lunch costs nothing at all.$25 – $70 depending on glazing and foil · 1 – 2 days
 - 4
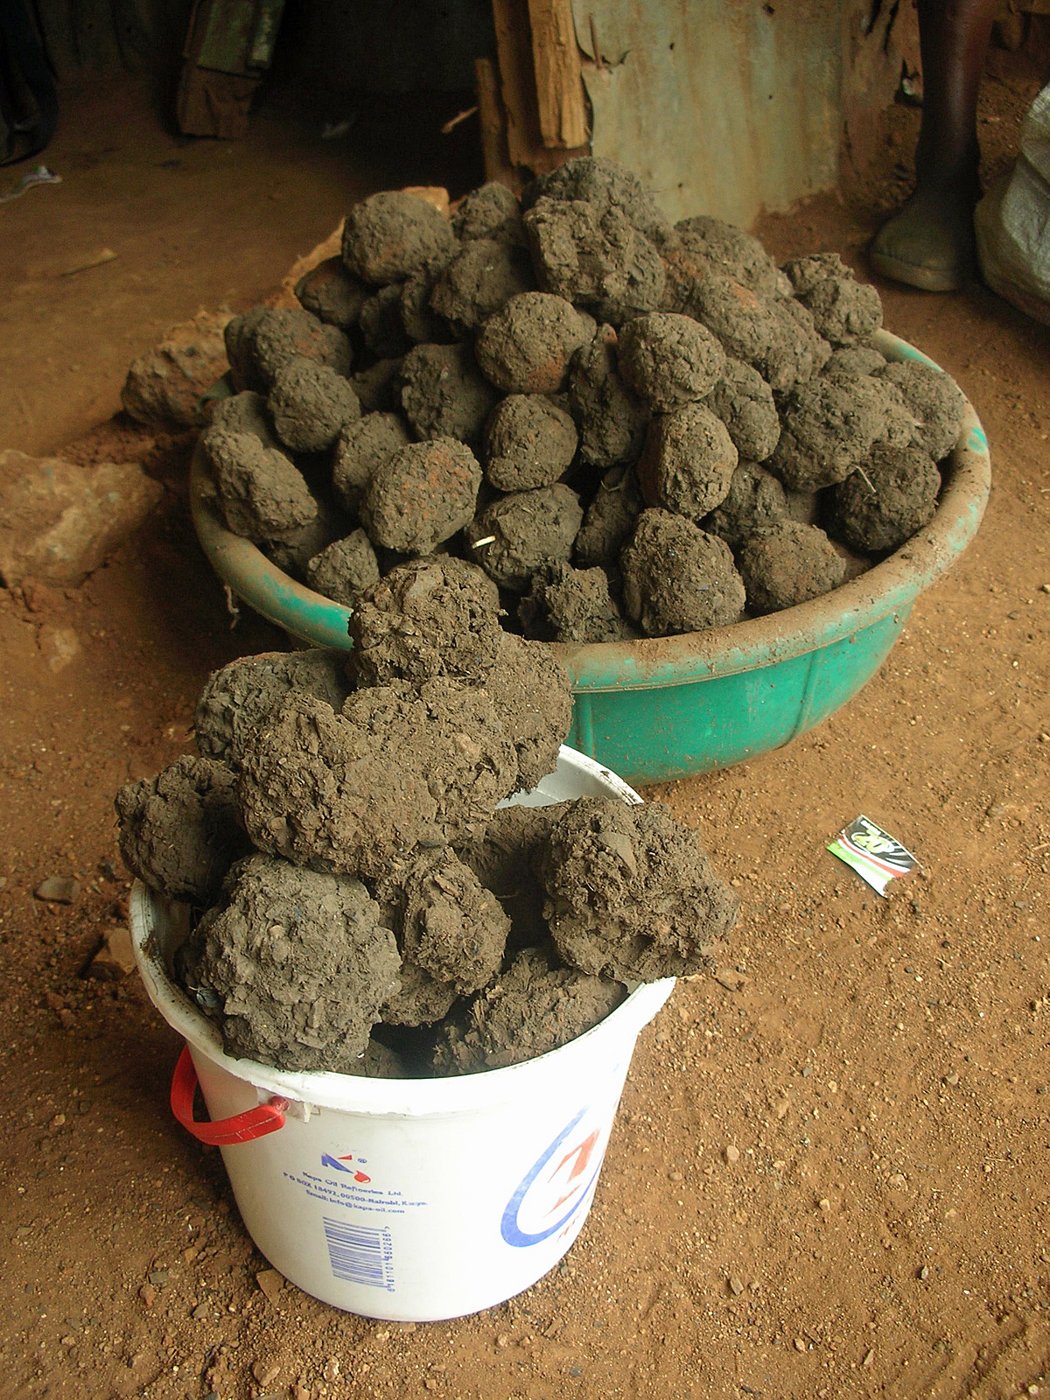 Waste Paper & Leaf BriquettesFree fuel from waste paper for the stove you just built.Under $15 for a tin mould, a drum and a rack · 1 day to set up, 2 weeks to first dry fuel
 - 5
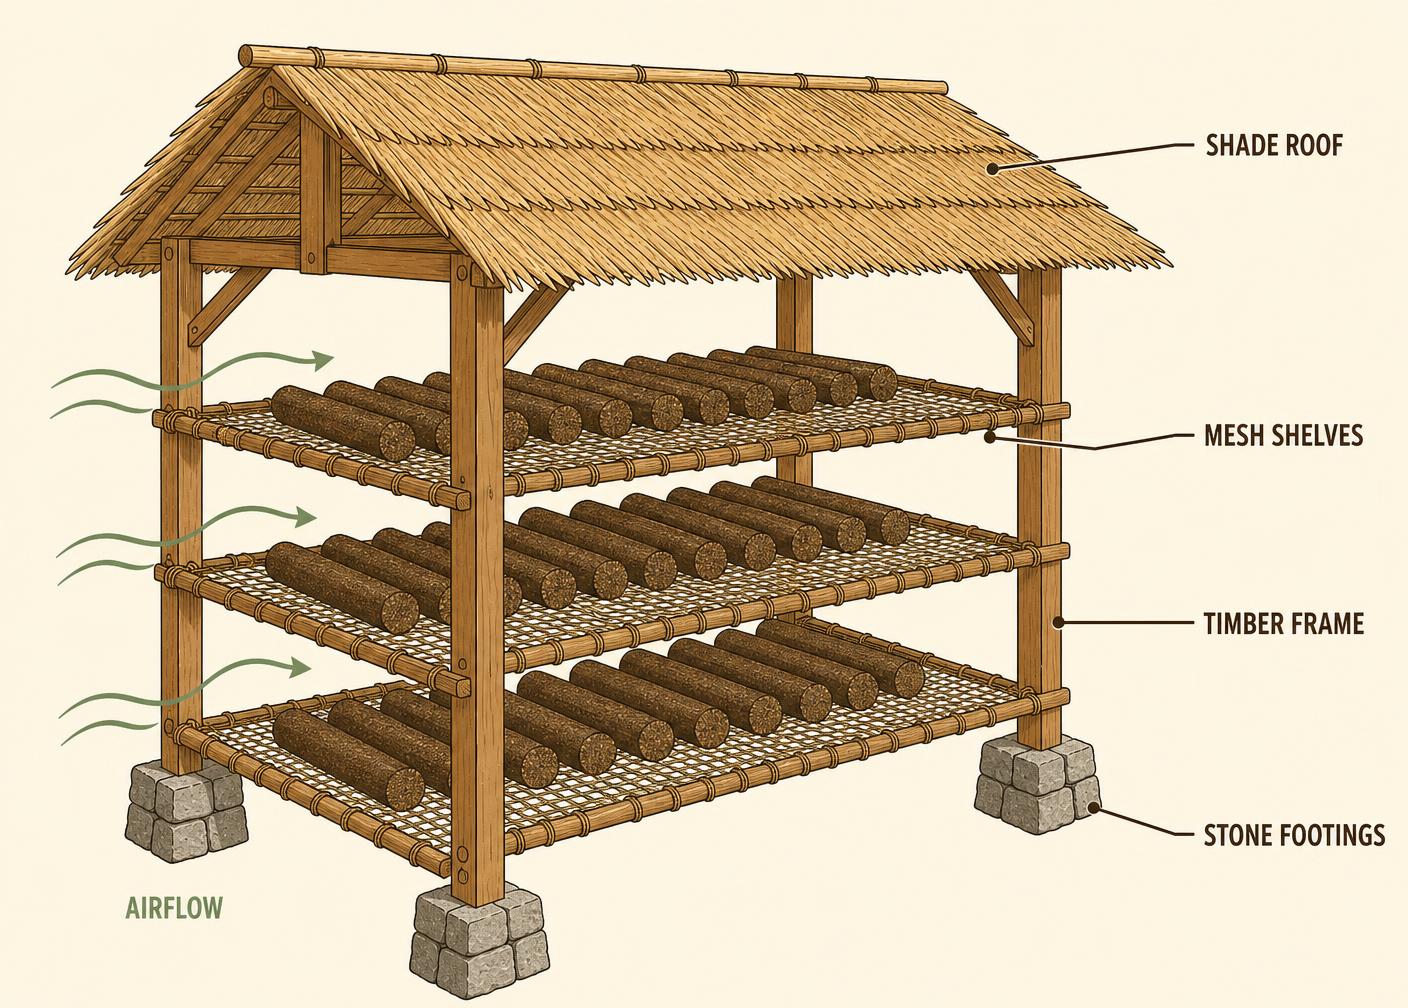 Raised Biomass Drying RackWet fuel is smoky fuel; drying is what makes briquettes and wood burn clean.$10 – $60 in poles, mesh and roofing offcuts · 1 day
Waste to fuel in 5 builds
5 buildsThe full briquette chain — the deep version of this path, with binder ratios and output numbers, lives on the briquettes hub.
What you end up with: A press line producing 100 – 300 briquettes a day from material collected free.
- 1
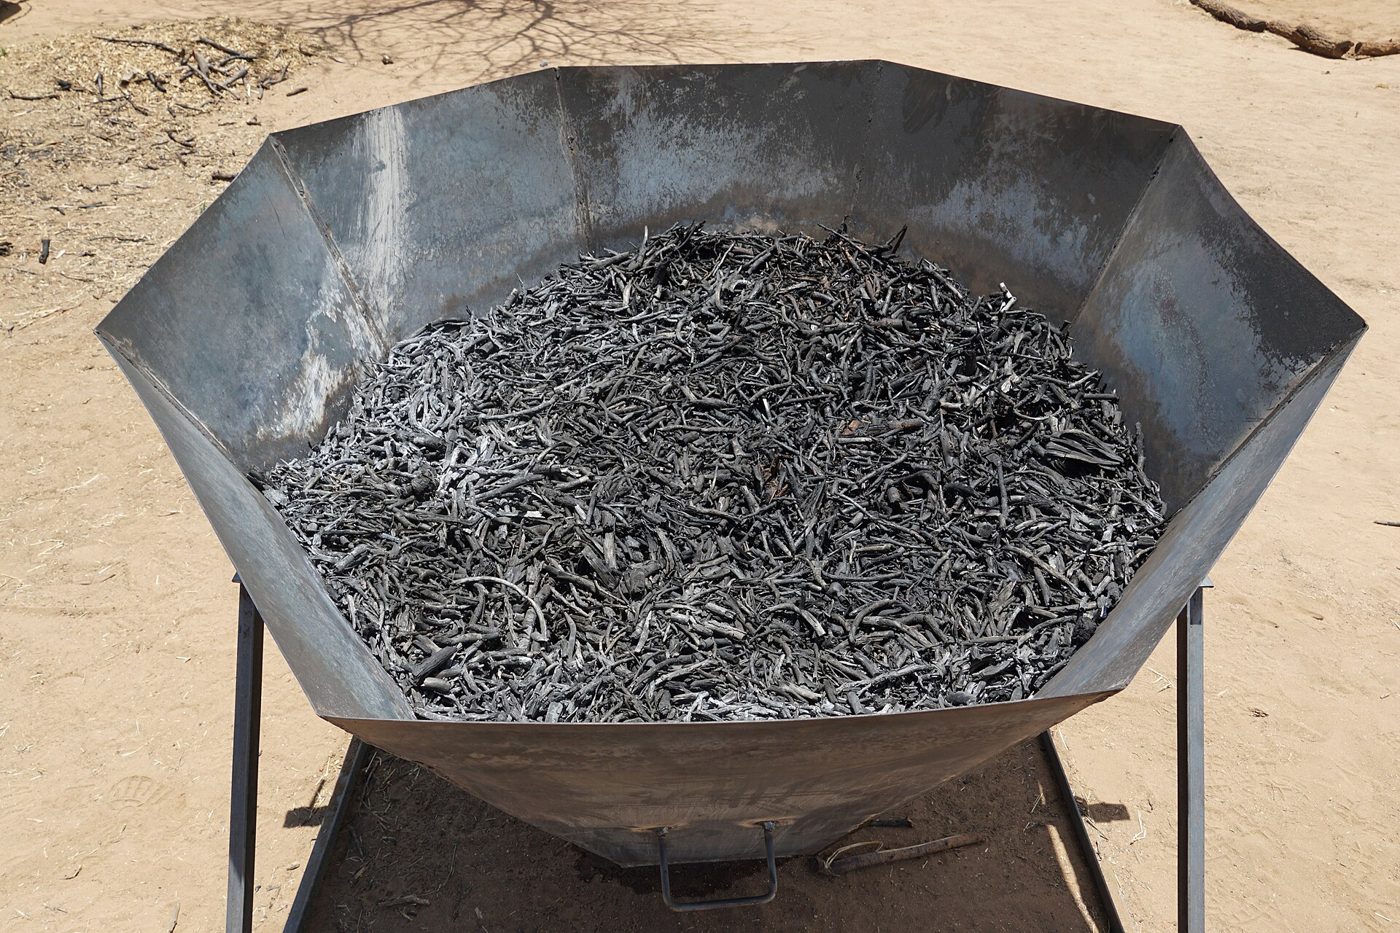 Cone Pit Biochar KilnChar the woody residue that will not press wet.Free as a dug pit; $80 – $250 for a steel cone · 1 day to dig; 3 – 5 hours per burn
 - 2
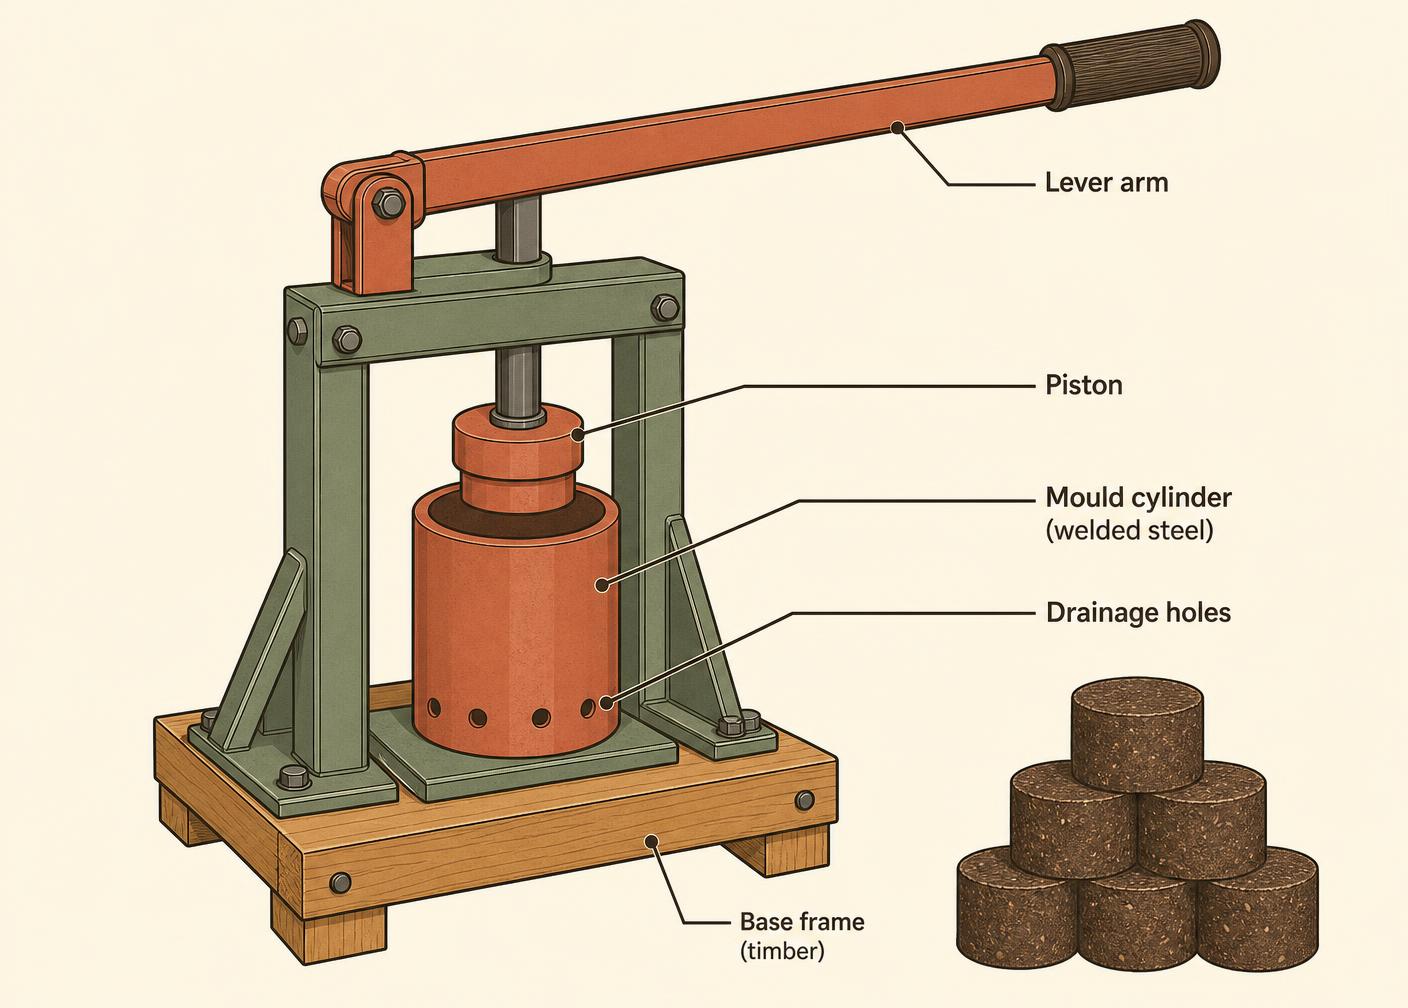 Lee Hite Eco-Briquette Lever PressThe lever press is the step from household to small business.$25 – $90 in timber, pipe and hardware · 2 days to build, then continuous production
 - 3
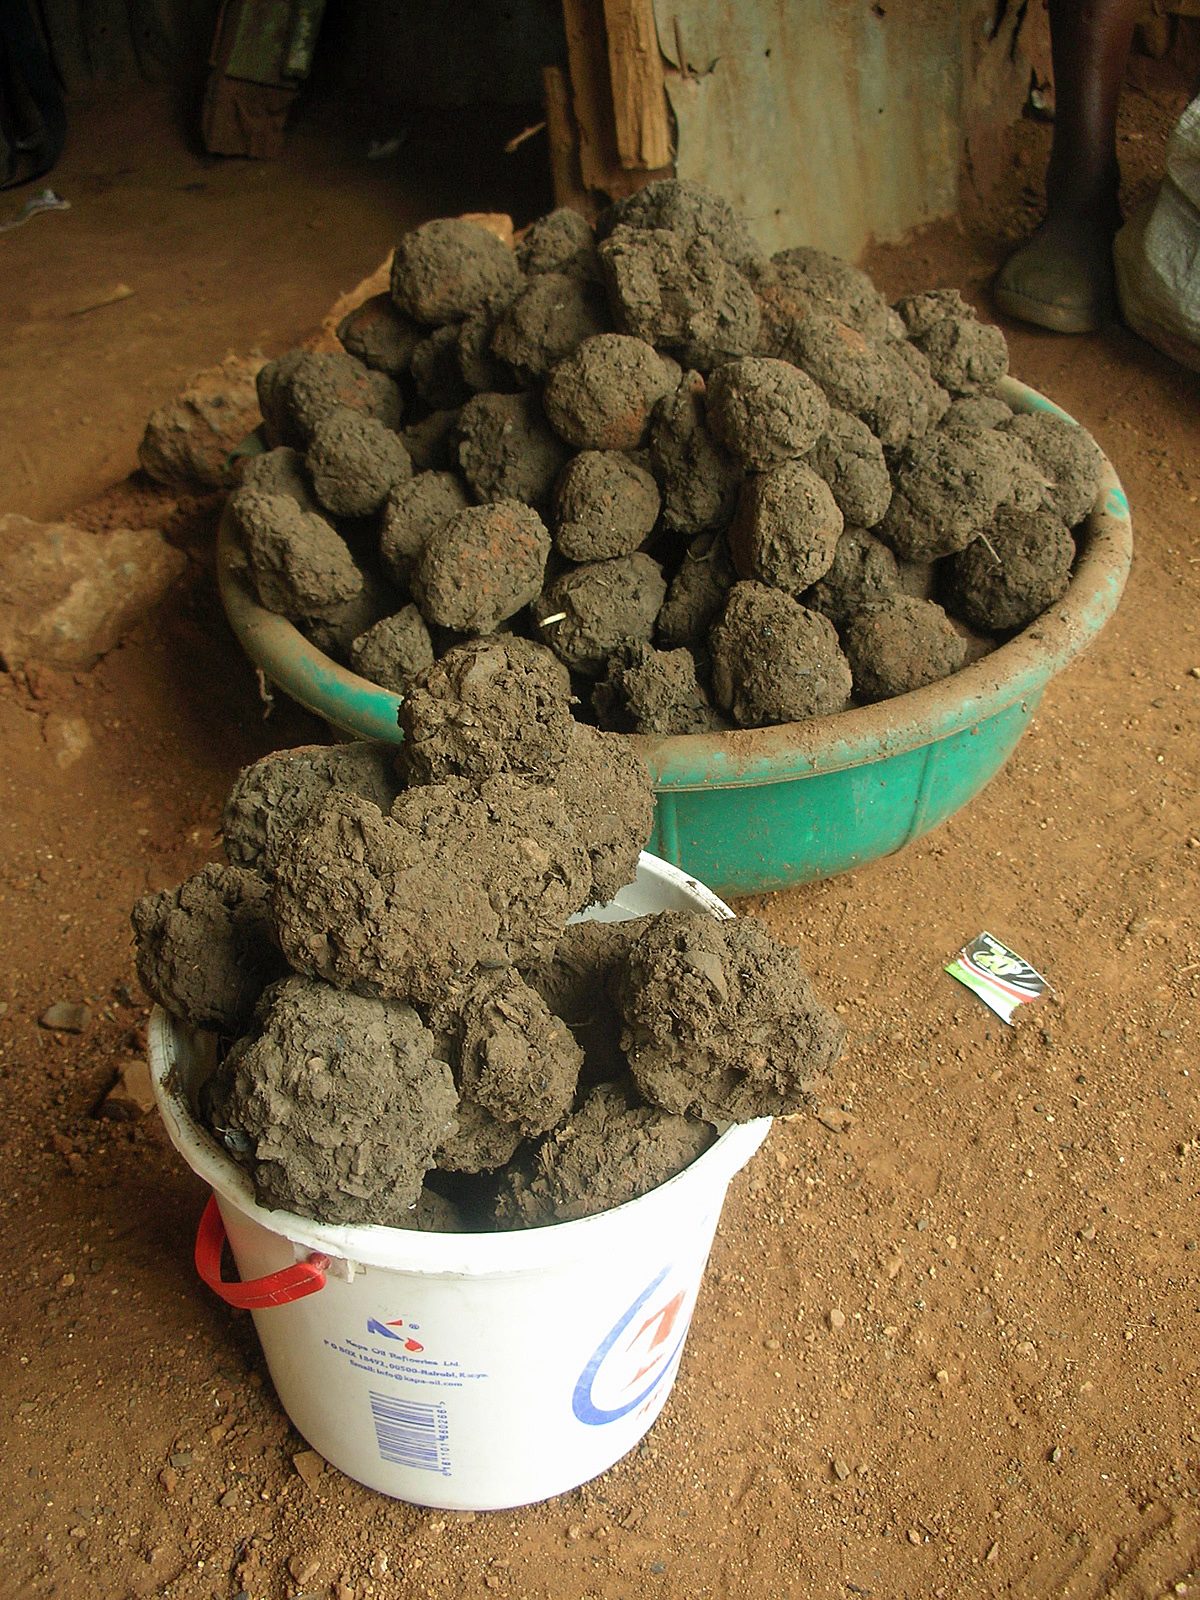 Lever-Arm Charcoal Briquette PressCharcoal dust is the highest-value feedstock in most towns.$35 – $80 in timber, steel pipe and fasteners · 1 – 2 days to build; 300 – 500 briquettes per day by hand
 - 4Raised Biomass Drying RackTwo to three weeks of drying decides whether the briquettes sell or mould.$10 – $60 in poles, mesh and roofing offcuts · 1 day
- 5
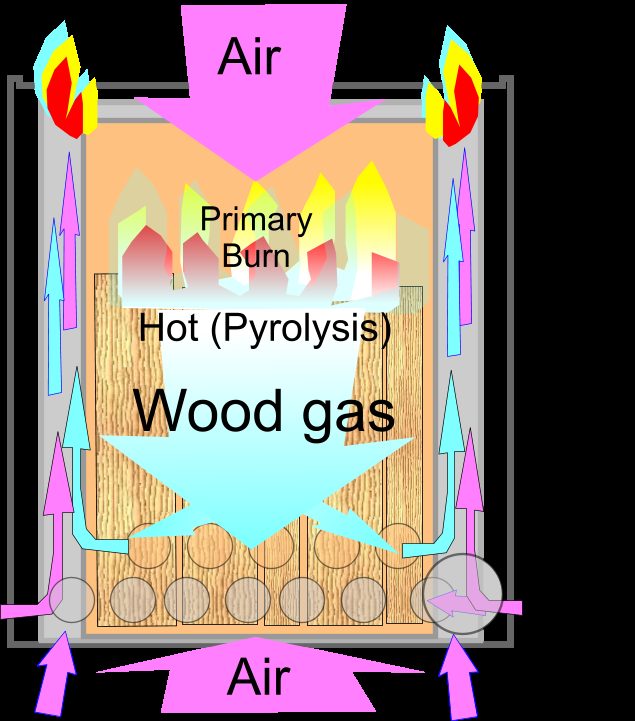 TLUD Gasifier StoveA stove that suits fines and briquettes, so you can demonstrate the fuel.$5 – $25 from scrap tins · 3 – 4 hours
Sanitation first in 5 builds
5 buildsContainment, ventilation, handwashing, then reuse. The handwashing station matters as much as the pit — it is what breaks the transmission route.
What you end up with: One ventilated toilet, two handwashing points and a greywater bed for the washing area.
- 1
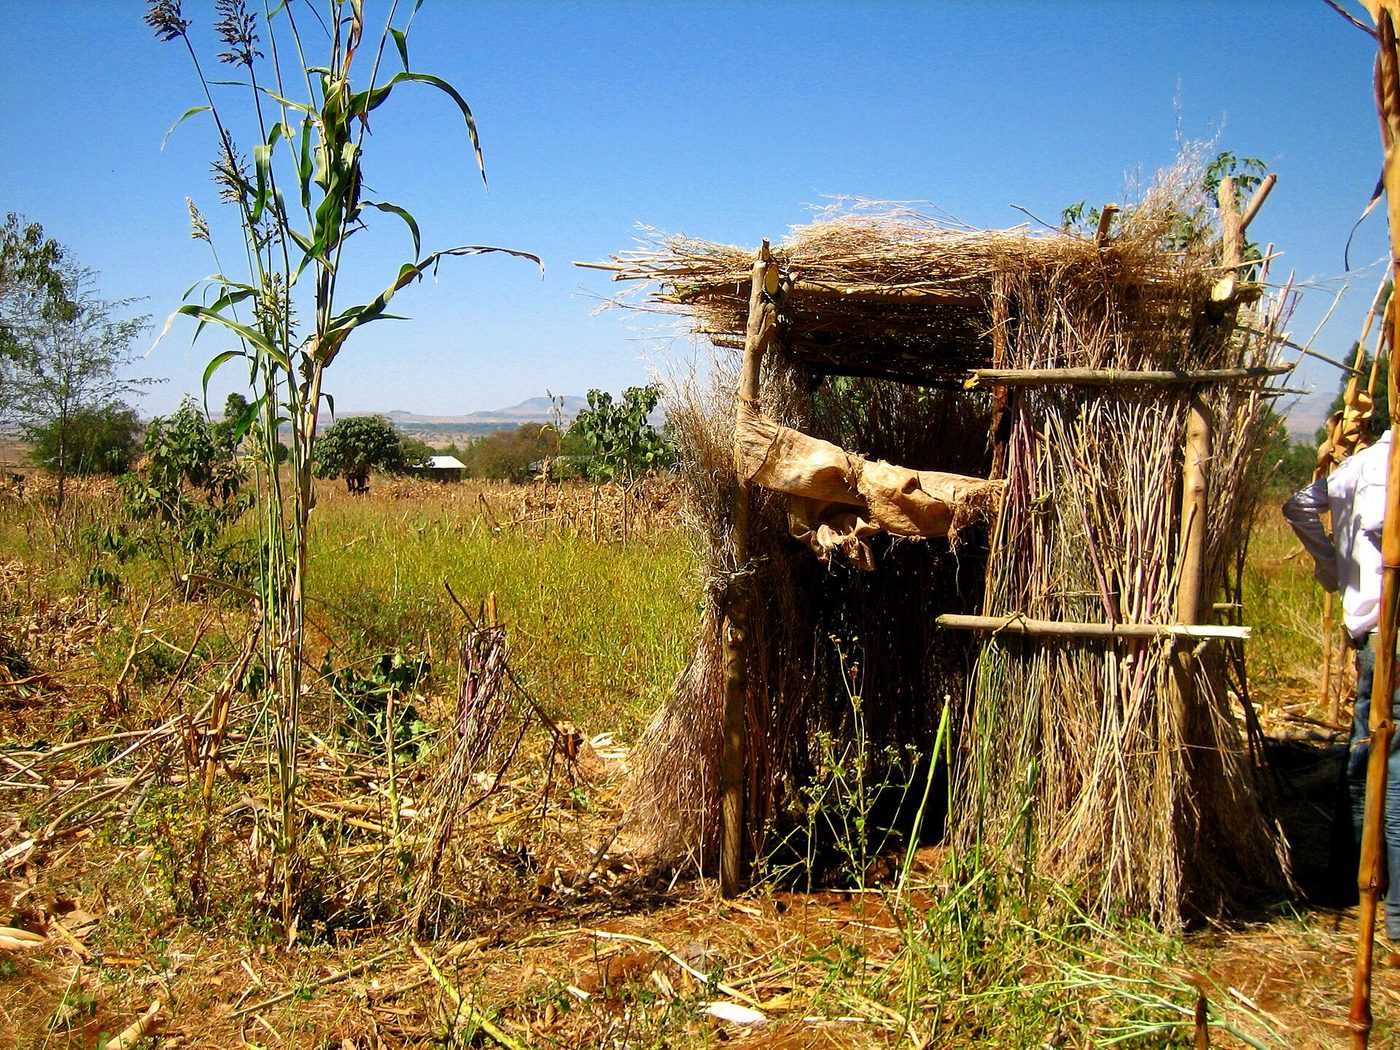 Arborloo Shallow-Pit Compost ToiletThe cheapest safe start: shallow pit, moved and planted when full.$25 – $70 for a reusable slab and light superstructure · 1 – 2 days per relocation
 - 2
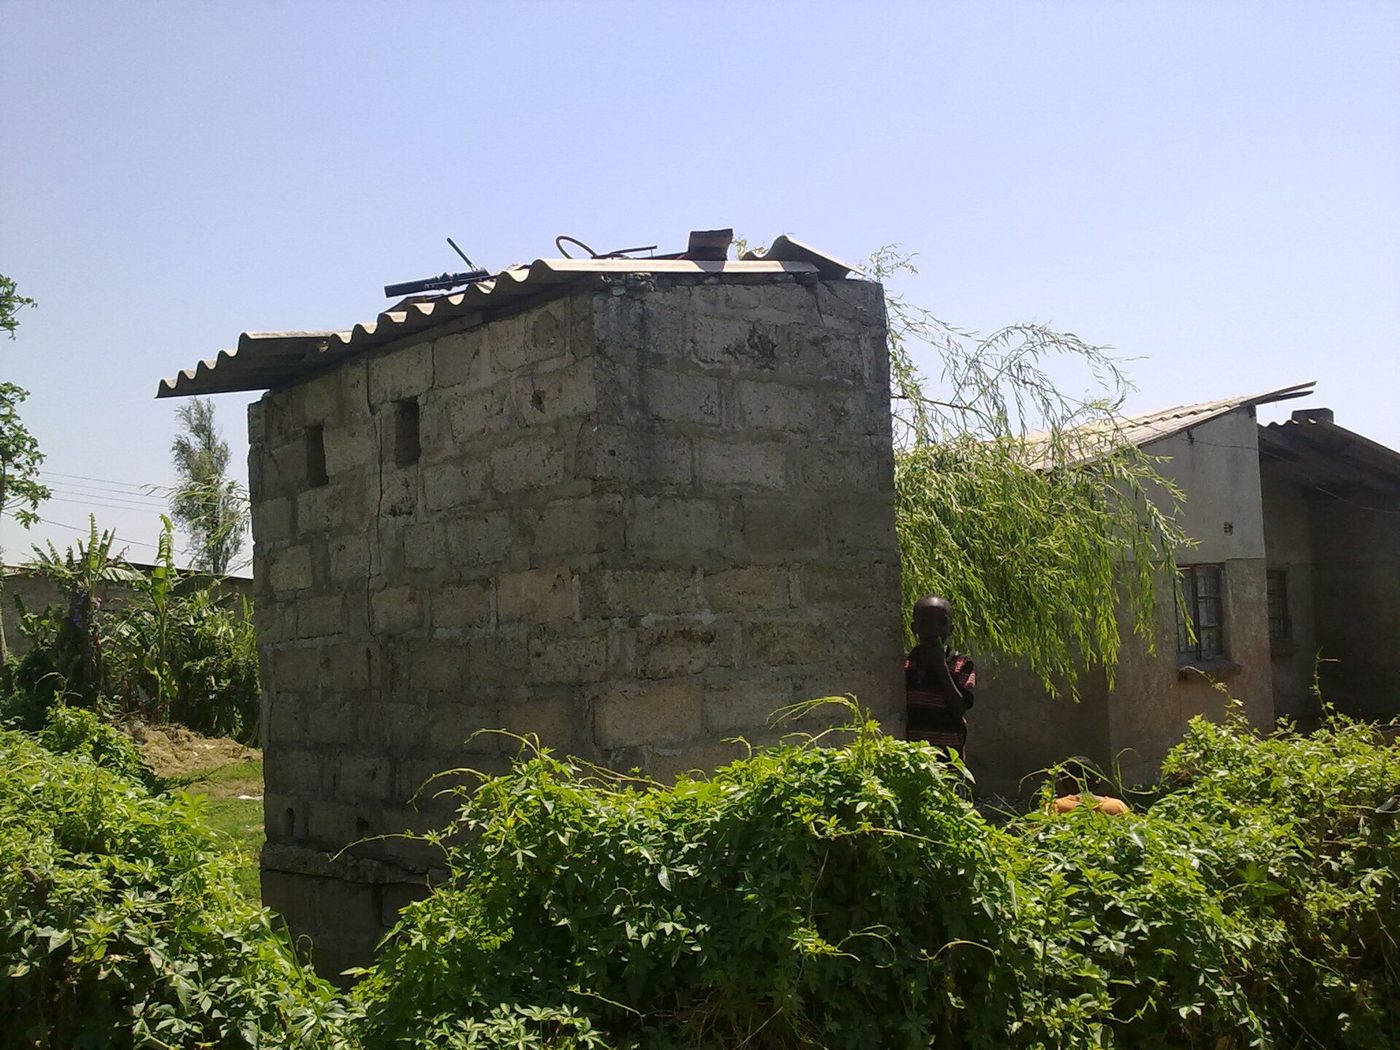 Ventilated Improved Pit LatrineThe permanent version once you can cast a slab — the vent kills the smell and flies.$200 – $600 depending on lining and superstructure · 1 – 2 weeks
 - 3
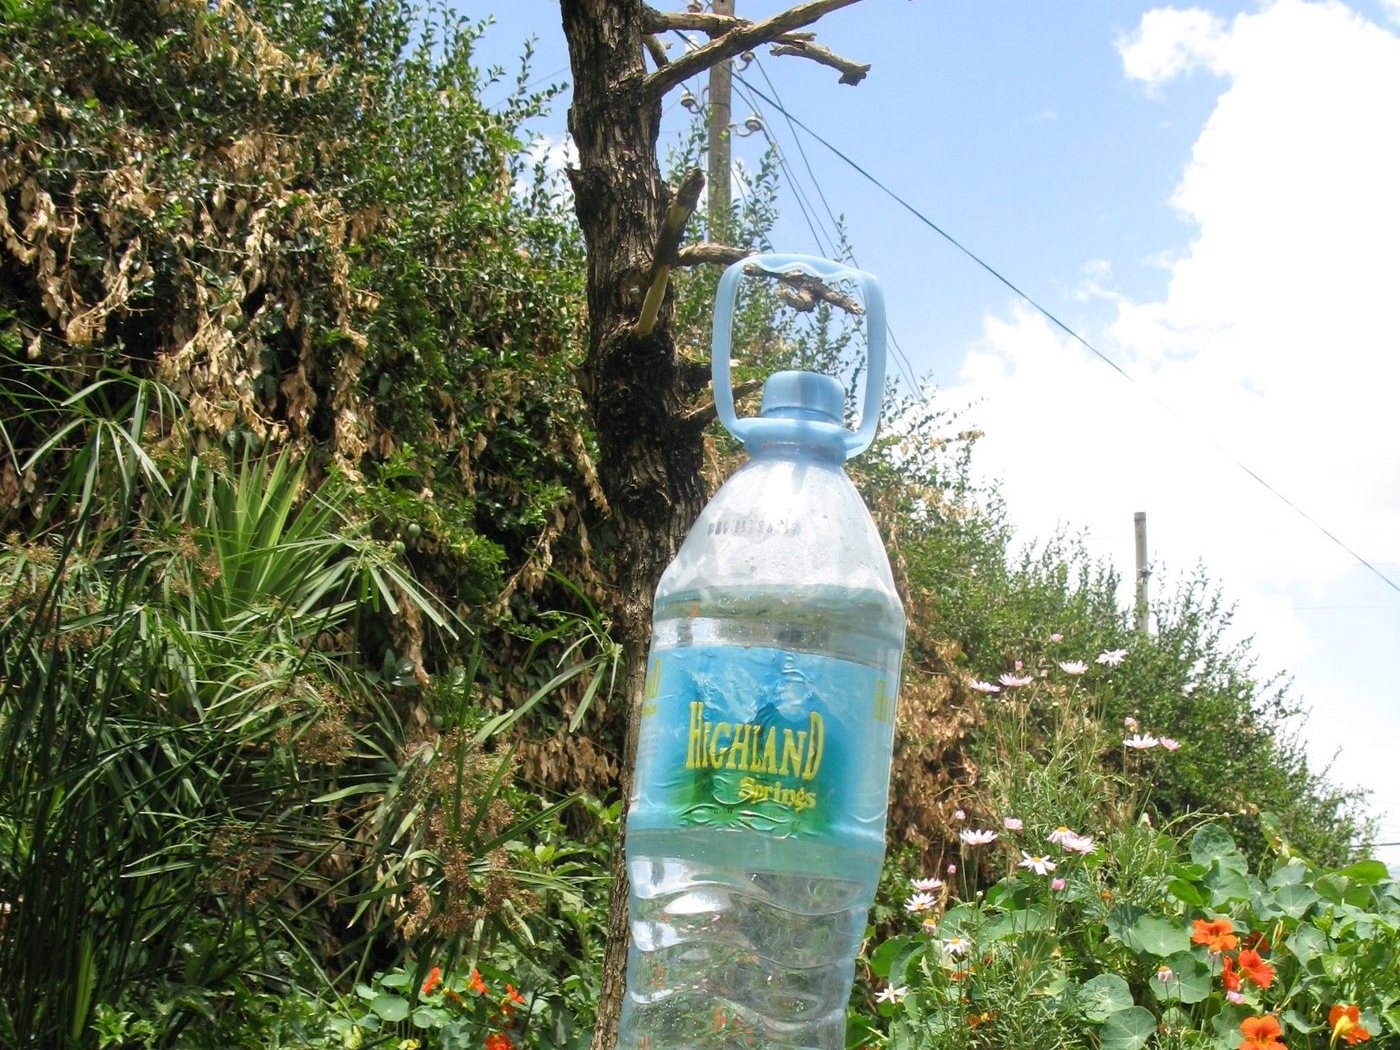 Tippy Tap Handwashing StationHands-free water at the toilet door, buildable in an afternoon.Under $5, often free from scrap · 1 hour
 - 4
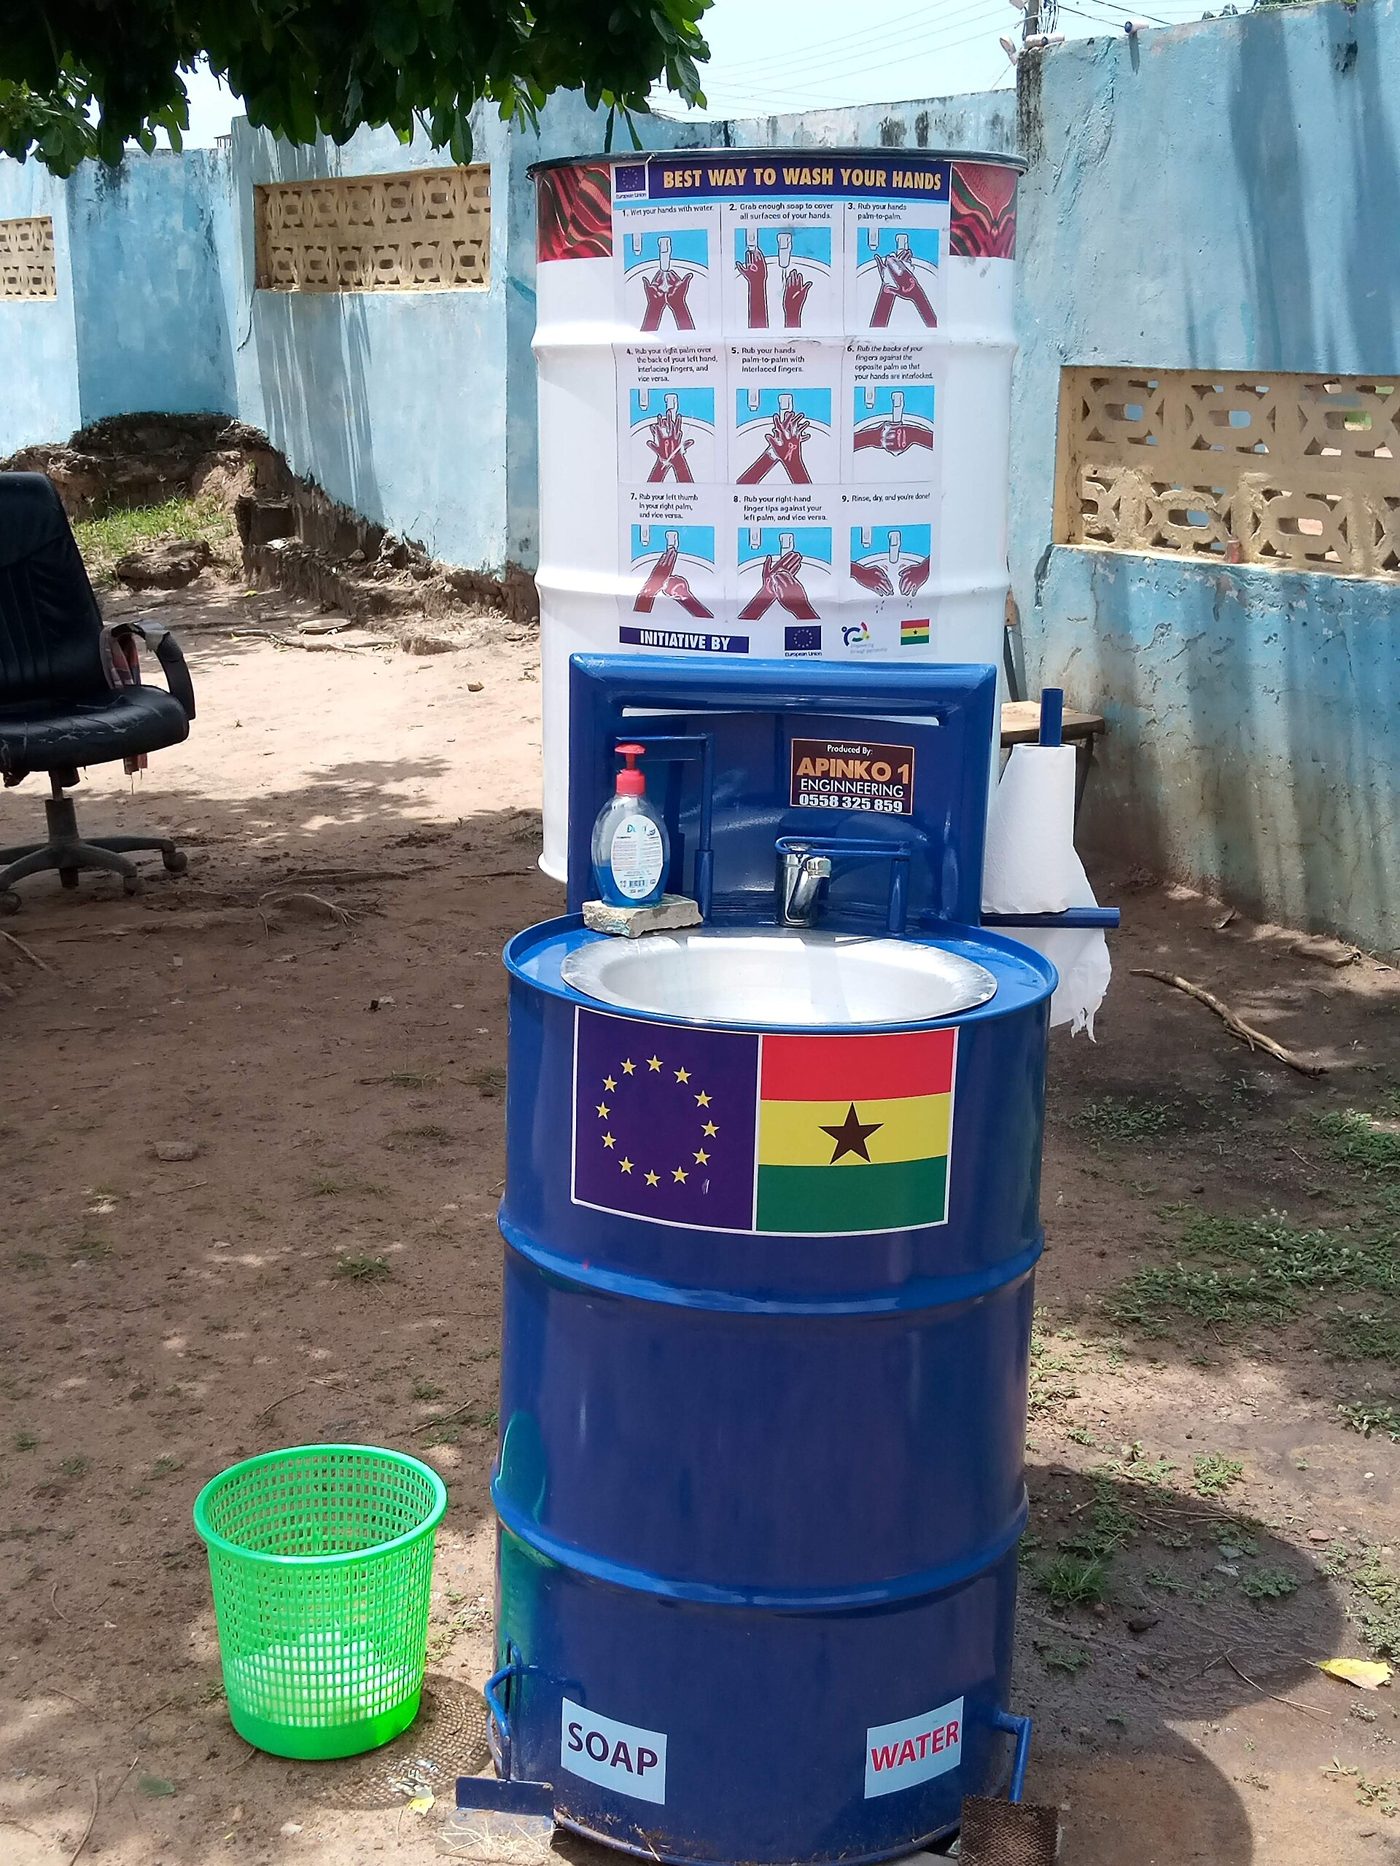 Foot-Pedal Handwashing StationThe durable version for a school, clinic or busy compound.$8 – $35 for the frame, container and linkage · Half a day
 - 5
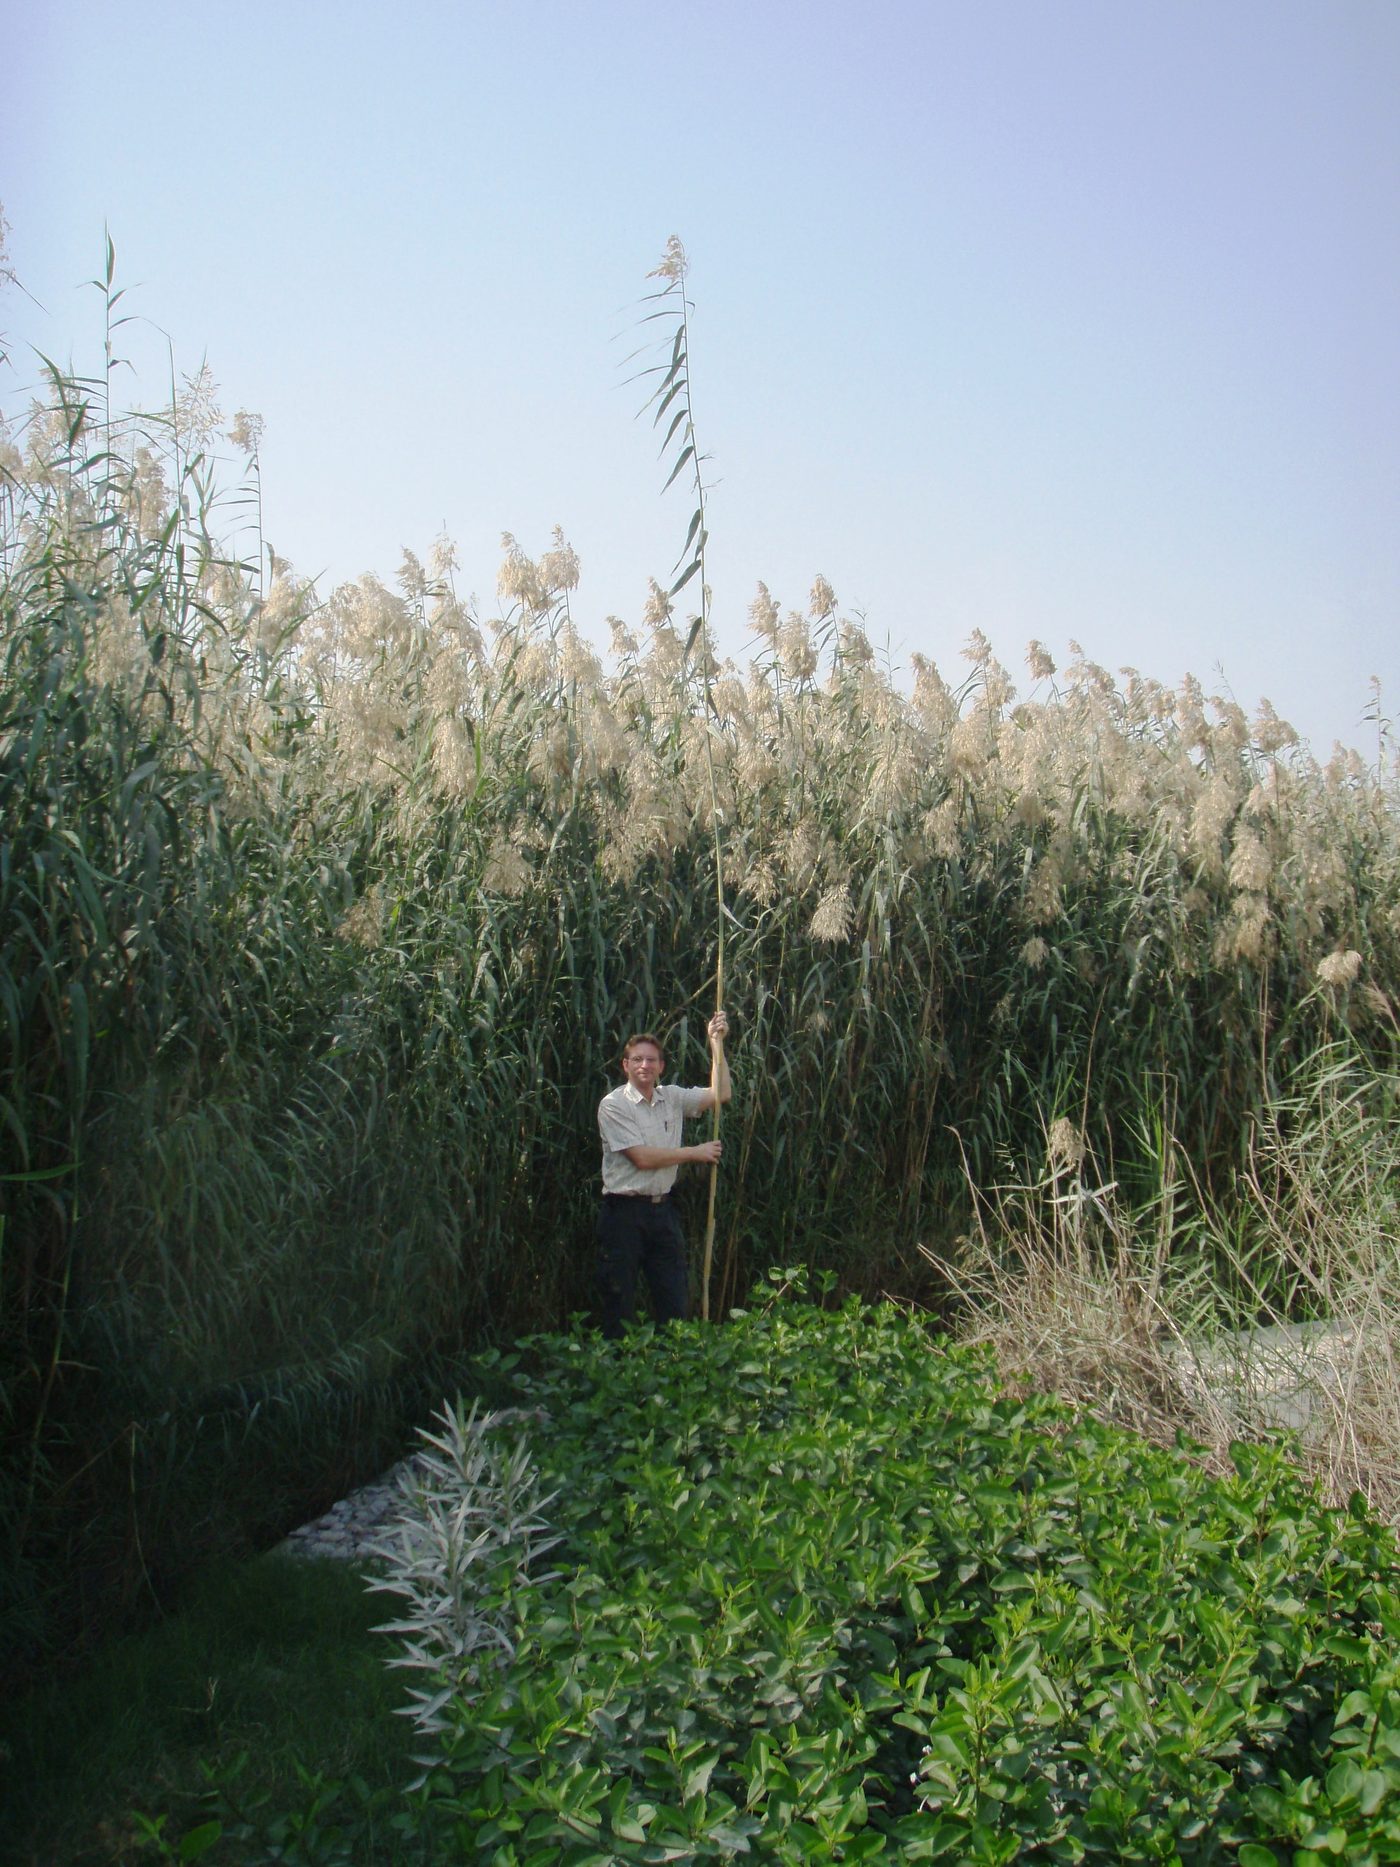 Greywater Reed BedStops washing water pooling and breeding mosquitoes.$50 – $200 for a household bed · 2 – 4 days
Dry-season garden in 6 builds
6 buildsHold water in the soil first, then irrigate what is left. Irrigating unimproved soil wastes most of what you carry.
What you end up with: A garden that feeds a household through the dry season on 40 – 80 L of water a day.
- 1
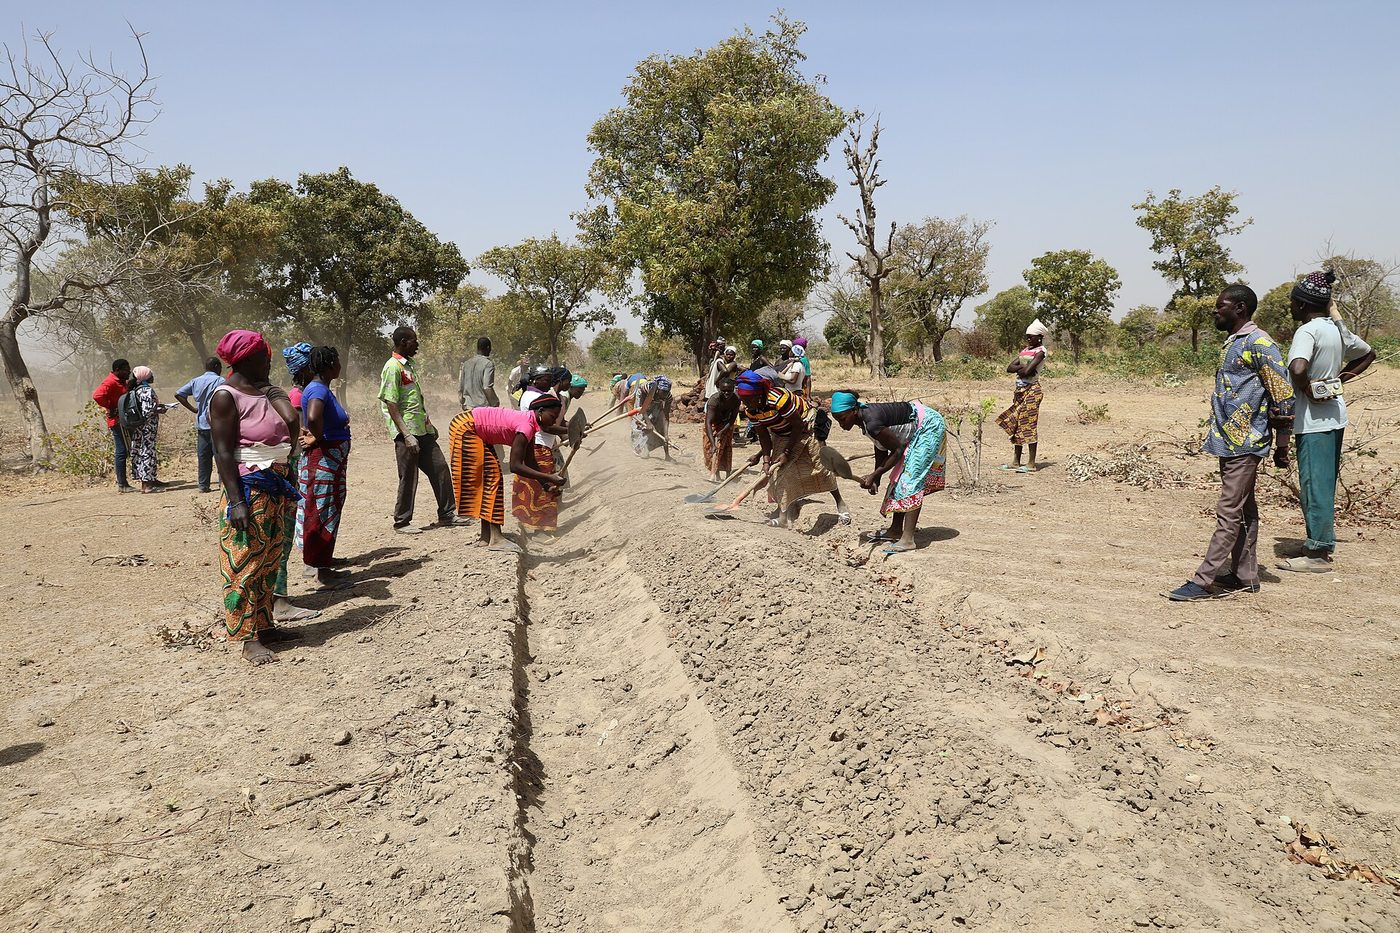 Zai Pits and Stone Contour BundsCatch and hold rain in the ground before you spend anything on pipe.Under $20 — an A-frame level and hand tools · Dry-season work: roughly 60 – 100 pits per person per day
 - 2
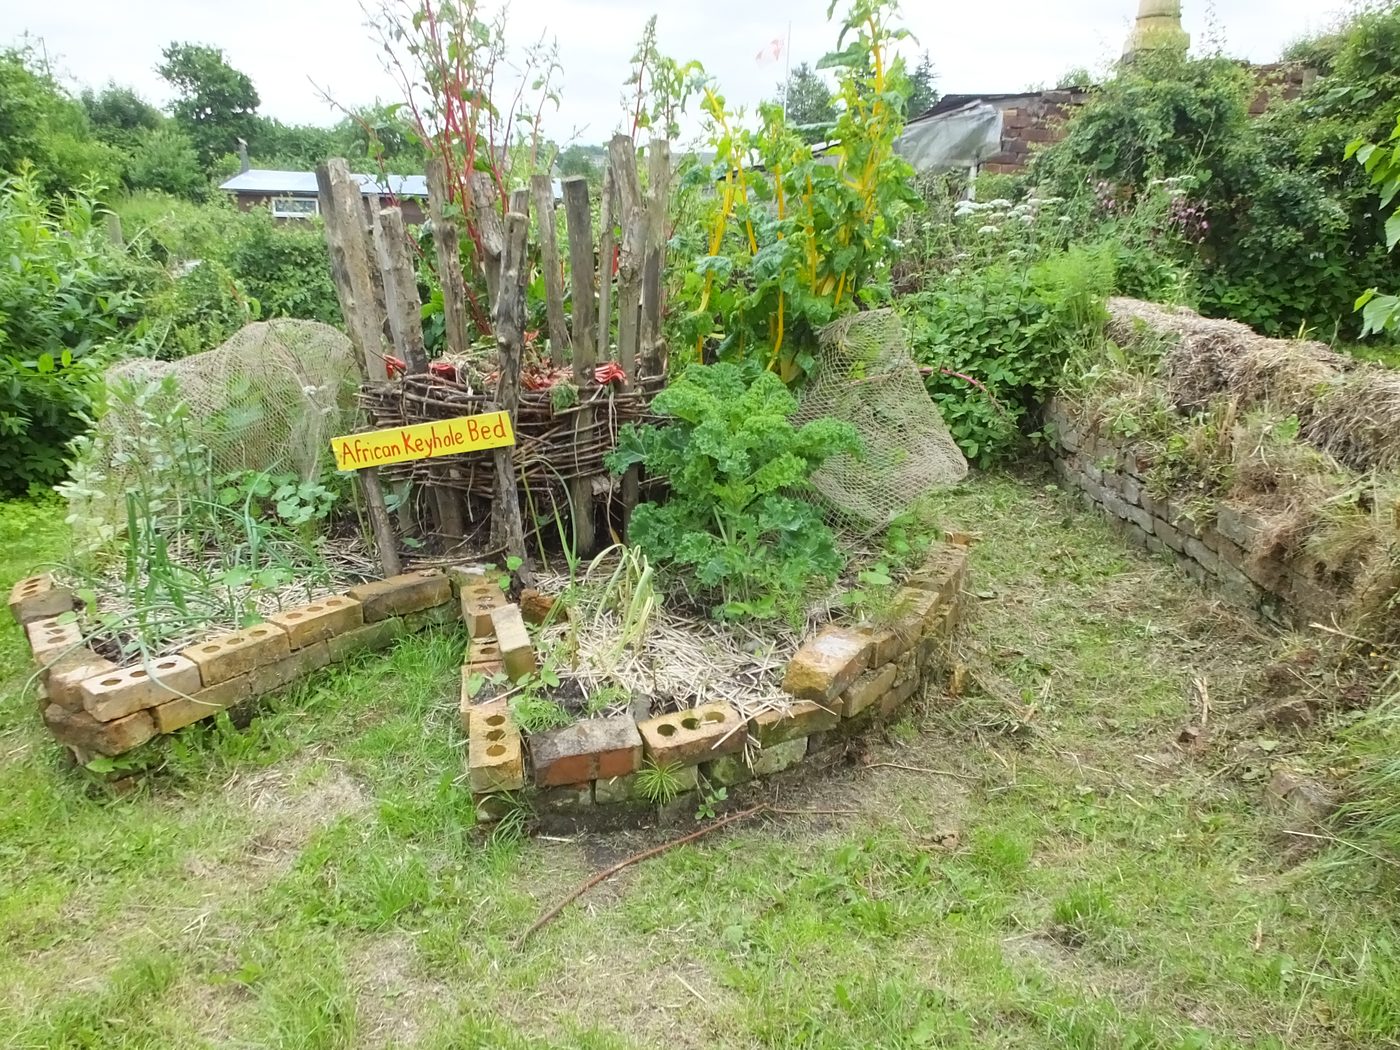 Keyhole Garden with Central Compost BasketConcentrates compost and water into a bed you can reach without treading.$0 – $20 using stone, scrap timber and household waste · 1 – 2 days to build; productive within a season
 - 3
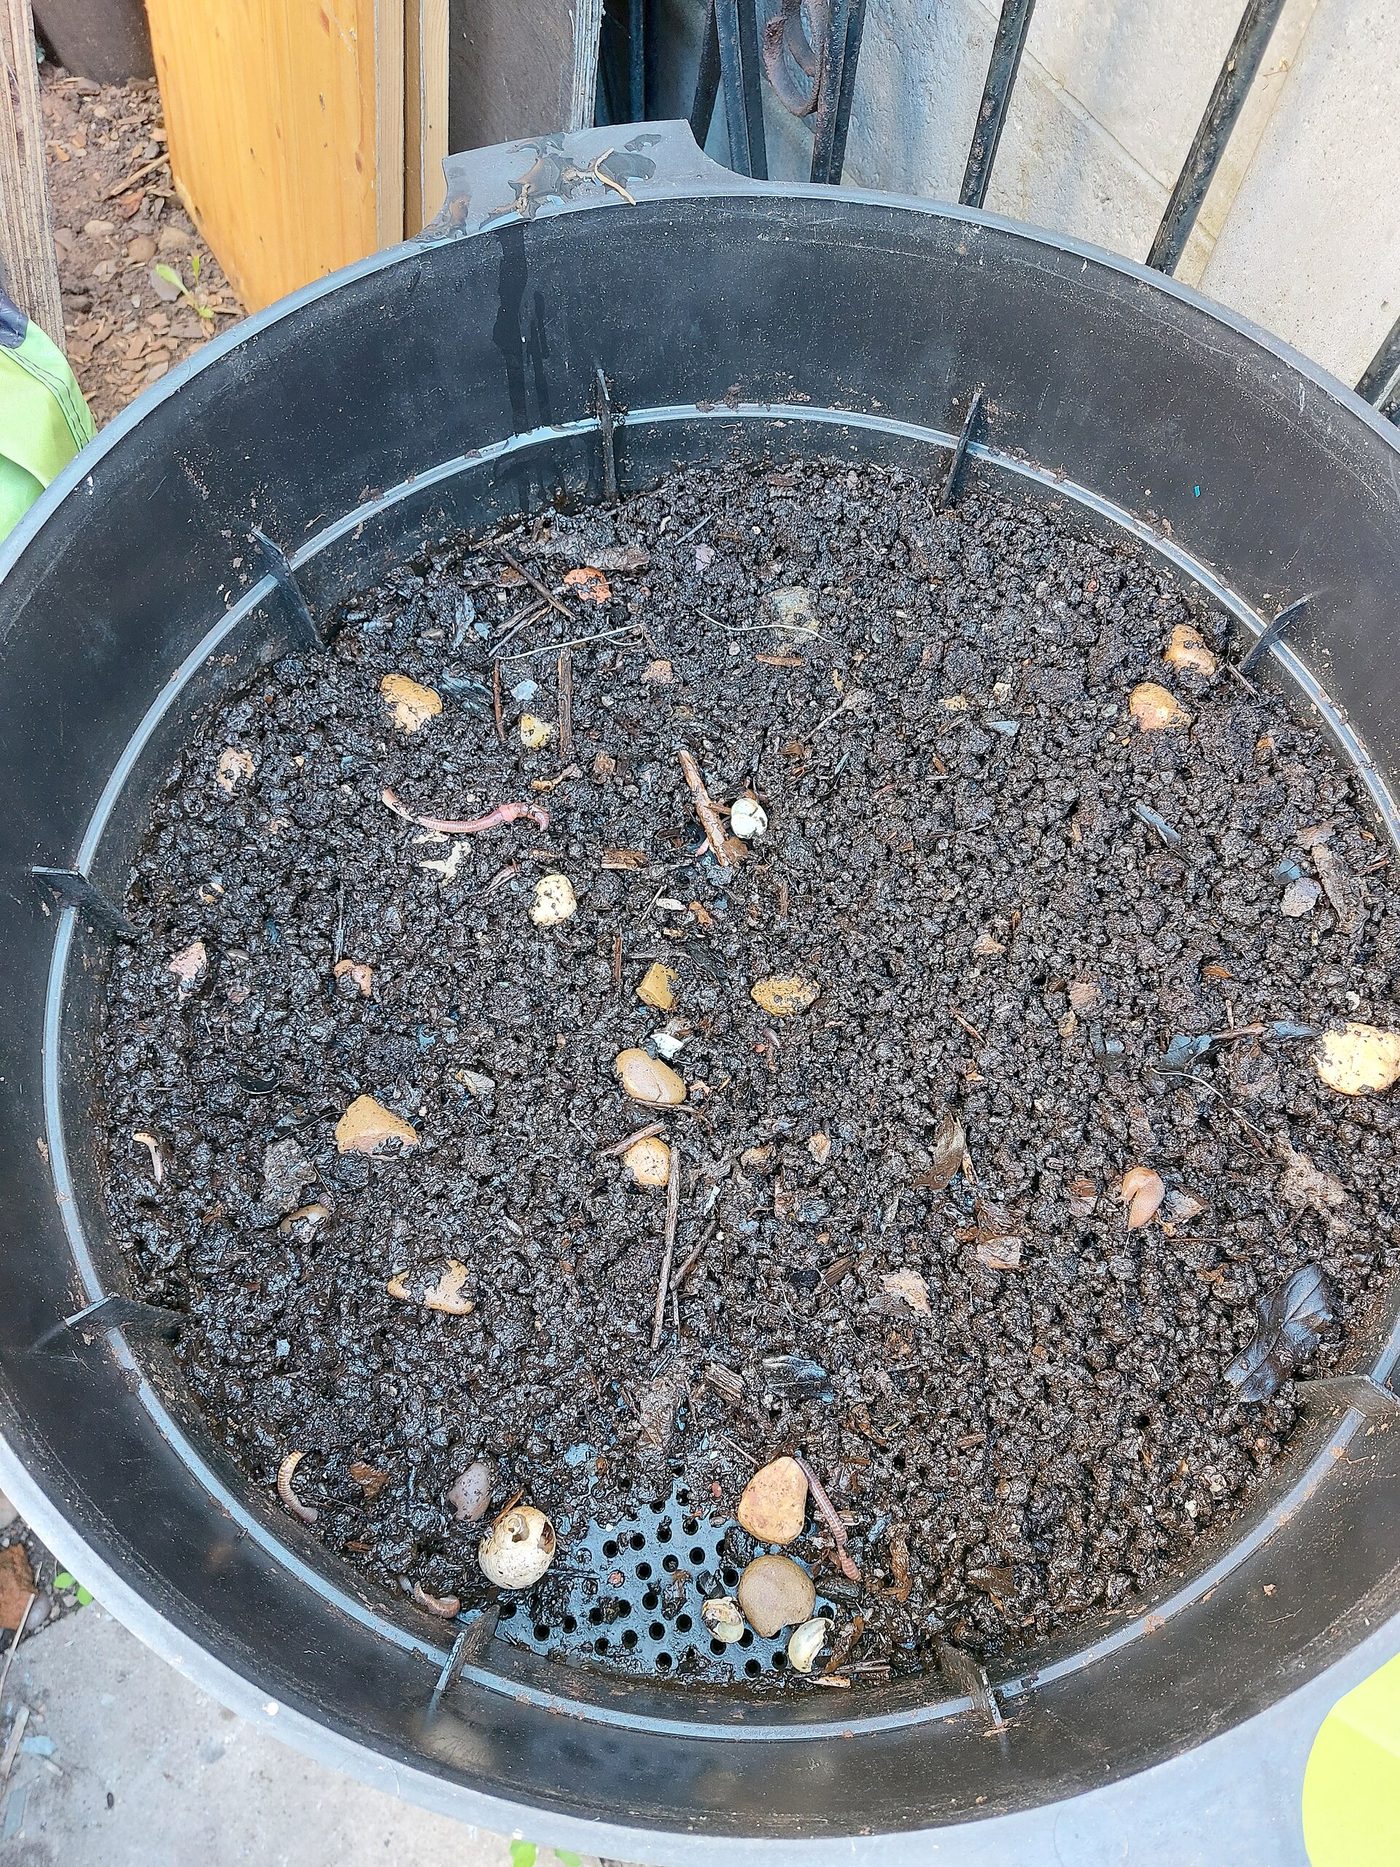 Vermicompost Bin from Stacked CratesCompost is what makes the soil hold the water you add.$10 – $30, less with salvaged crates · Half a day to build; first castings in 8 – 12 weeks
 - 4
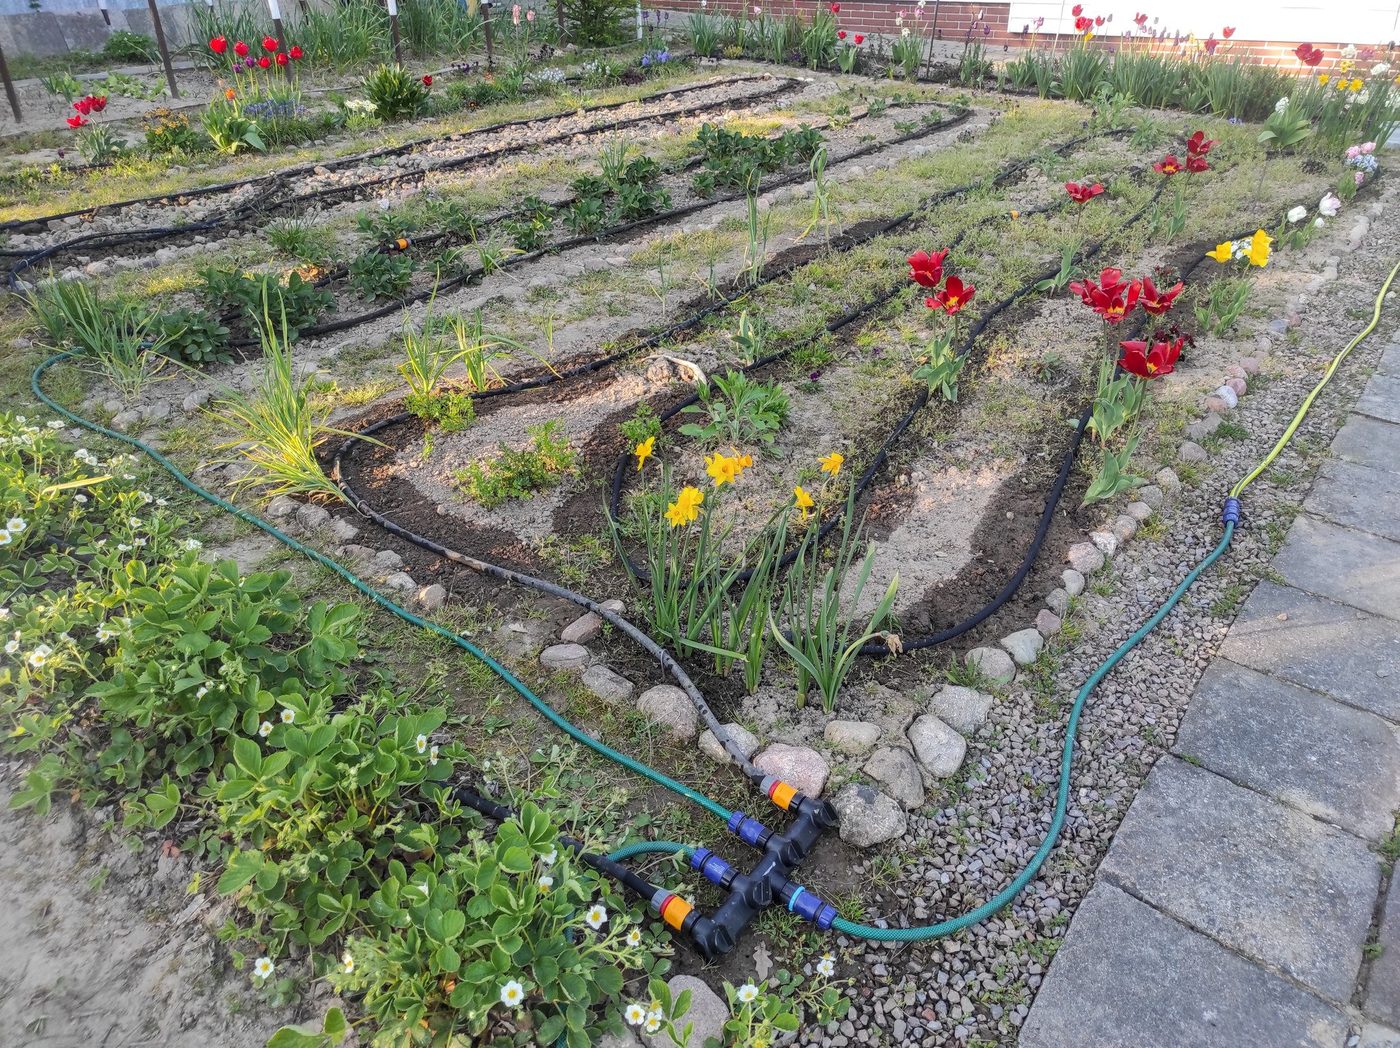 Gravity Drip Irrigation from a Raised BarrelGravity drip puts water at the root, not on the leaf.$30 – $90 depending on drip tape and drum price · Half a day
 - 5
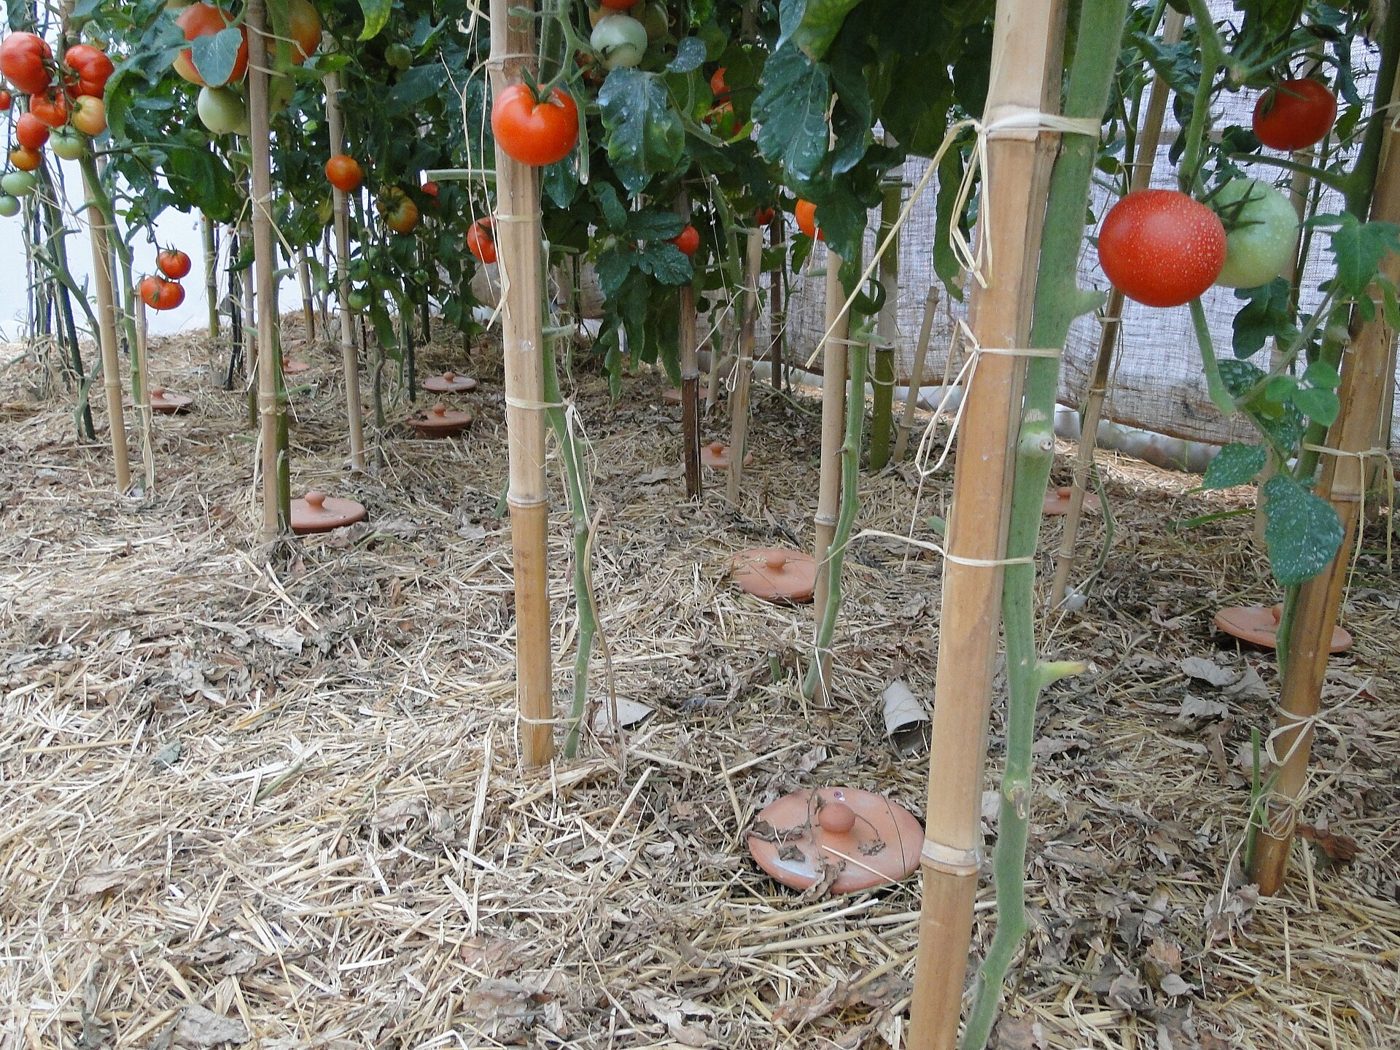 Buried Clay Pot (Olla) IrrigationFor the driest beds — buried pots lose almost nothing to evaporation.$1 – $3 per pot; 10 – 20 pots for a family plot · Half a day to install a bed
 - 6
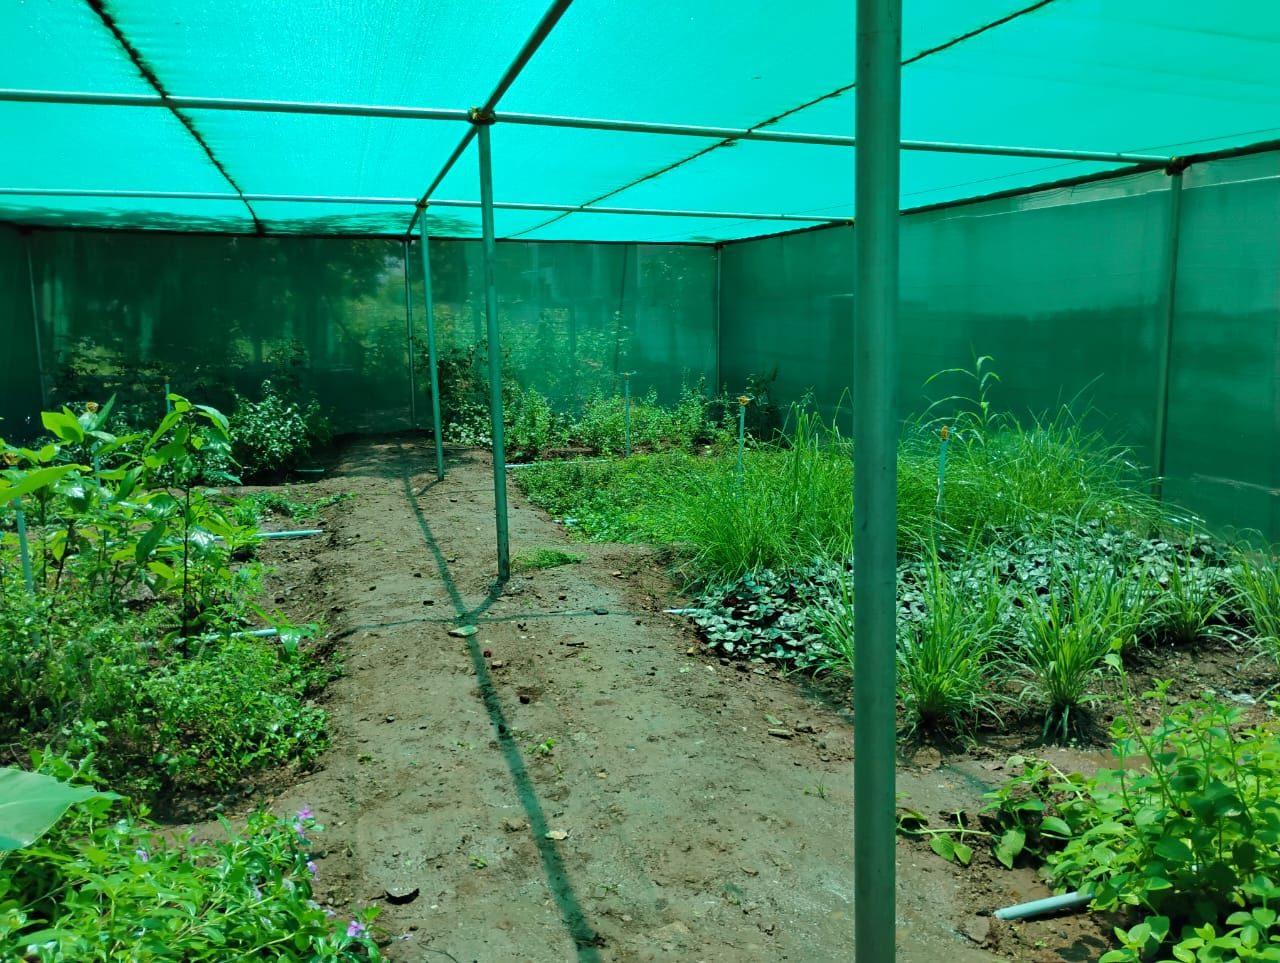 Shade Net Nursery TunnelSeedlings raised under shade transplant through heat that kills direct-sown crops.$30 – $120 for netting, poles and wire · 1 – 2 days
Your first wall in 6 builds
6 buildsMost earth walls fail at the bottom or the top, not in the middle. This sequence does the plinth and the roof-line protection properly.
What you end up with: A single-storey earth wall on a stone plinth, rendered and roofed to survive the rains.
- 1
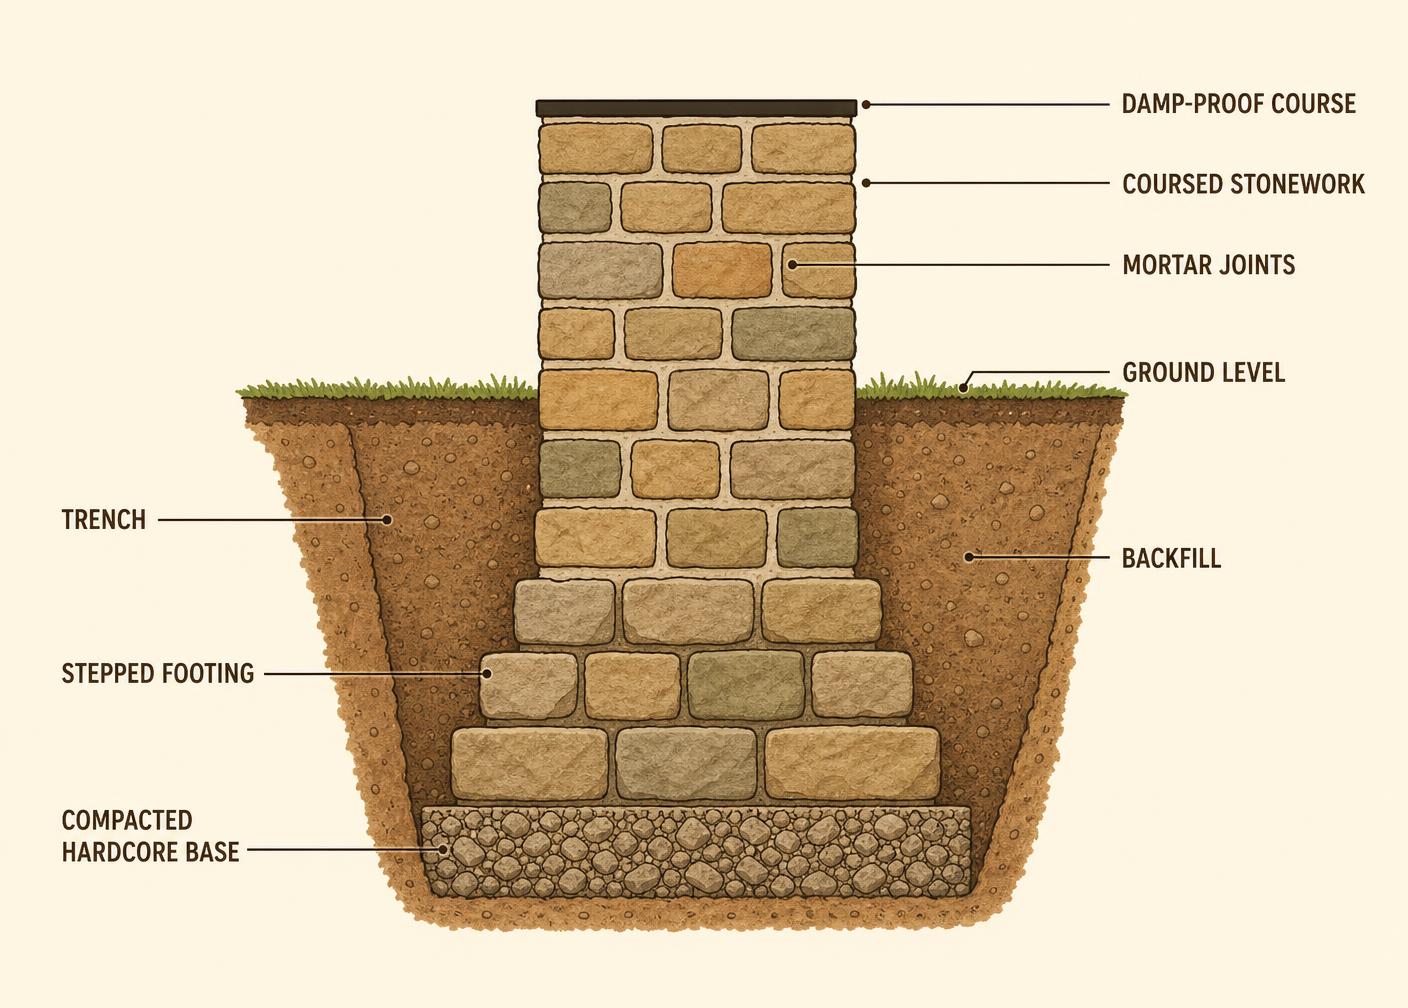 Stone Masonry Plinth & FoundationEarth walls need 300 mm of stone between them and the ground water.$30 – $150 depending on how far the stone travels · 3 – 6 days for a small building
 - 2
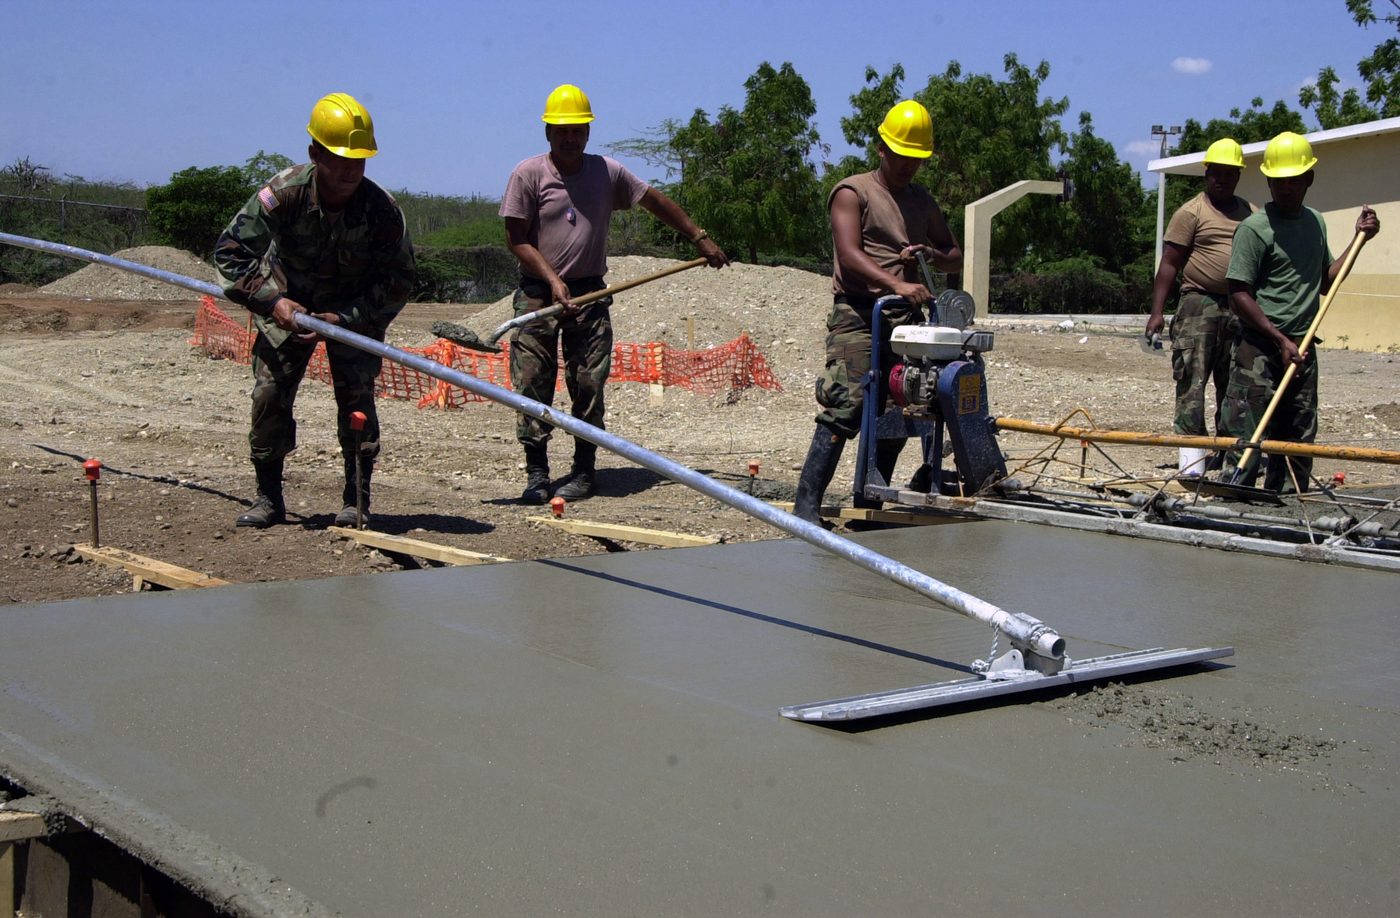 Soil-Cement Floor SlabDo the floor while the site is still open.$90 – $250 for a 20 m² room · 2 days to lay, 7 days moist curing
 - 3
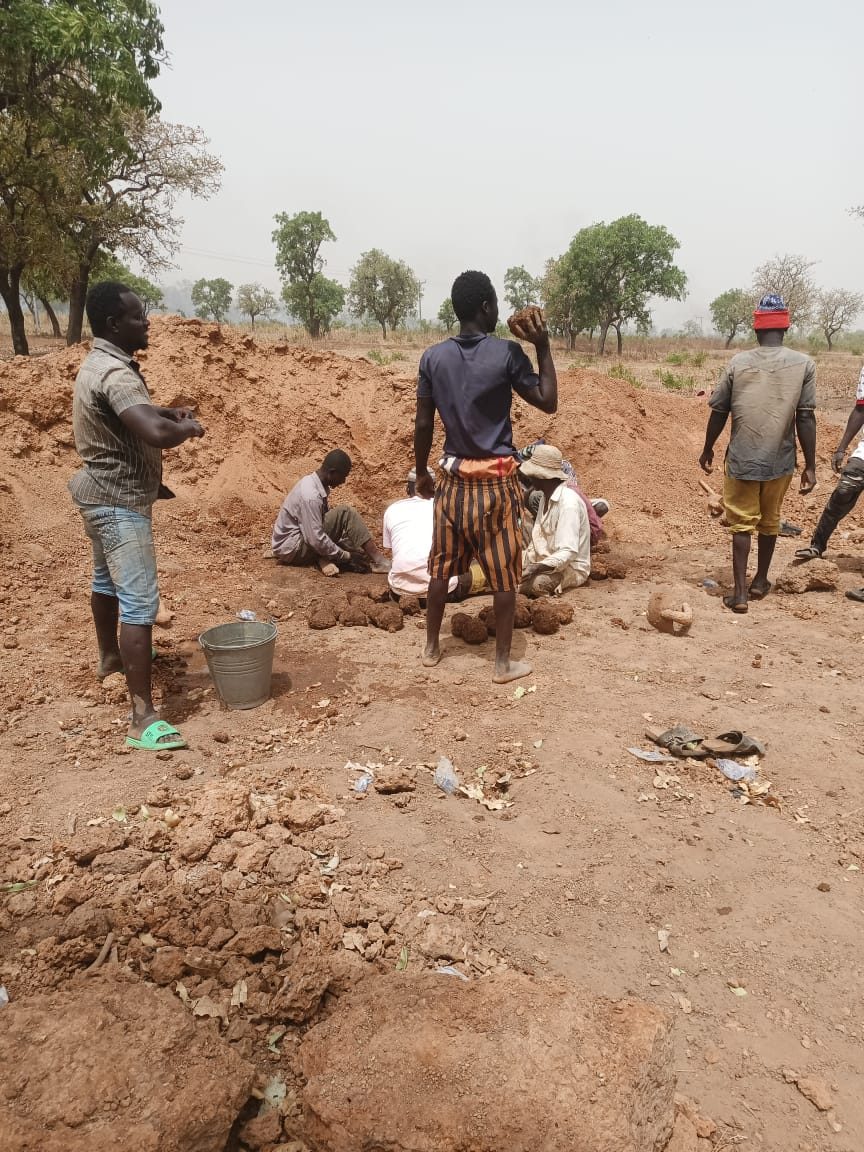 Sun-Dried Adobe Brick YardLearn the soil with hand-moulded bricks before you invest in a press.$10 – $20 for moulds; bricks cost soil and labour · 1 day to build moulds, 400 – 600 bricks/day with four people, 3 weeks curing
 - 4
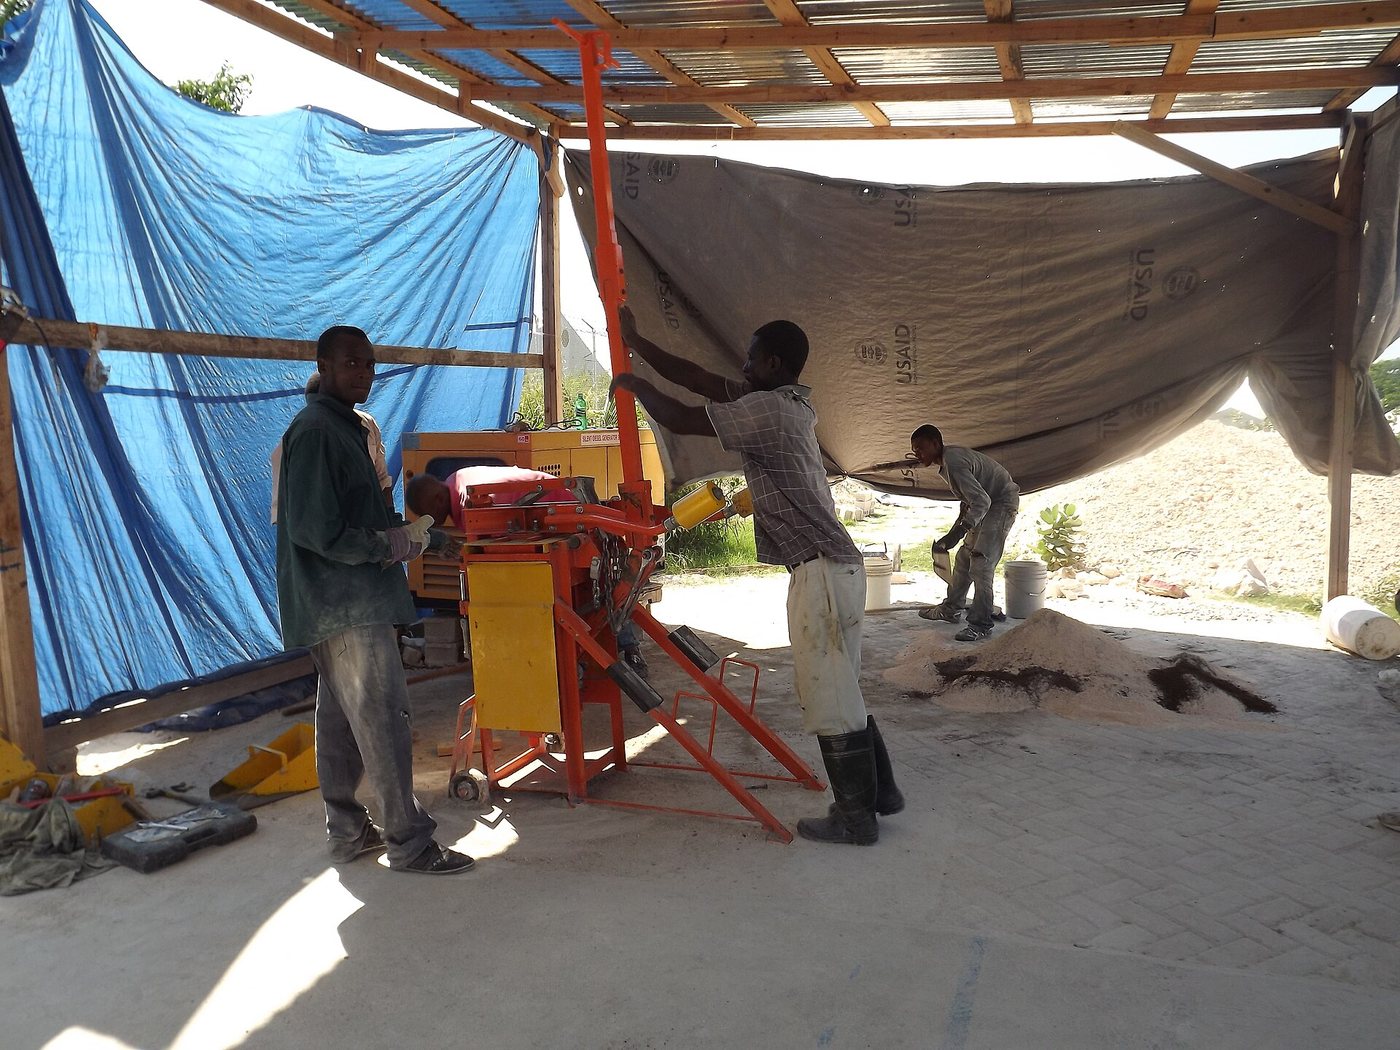 Manual Compressed Earth Block PressThe pressed block is the step up in strength, speed and finish.$30 – $60 in materials · 2 – 3 days to build, then ~300 blocks/day with three people
 - 5
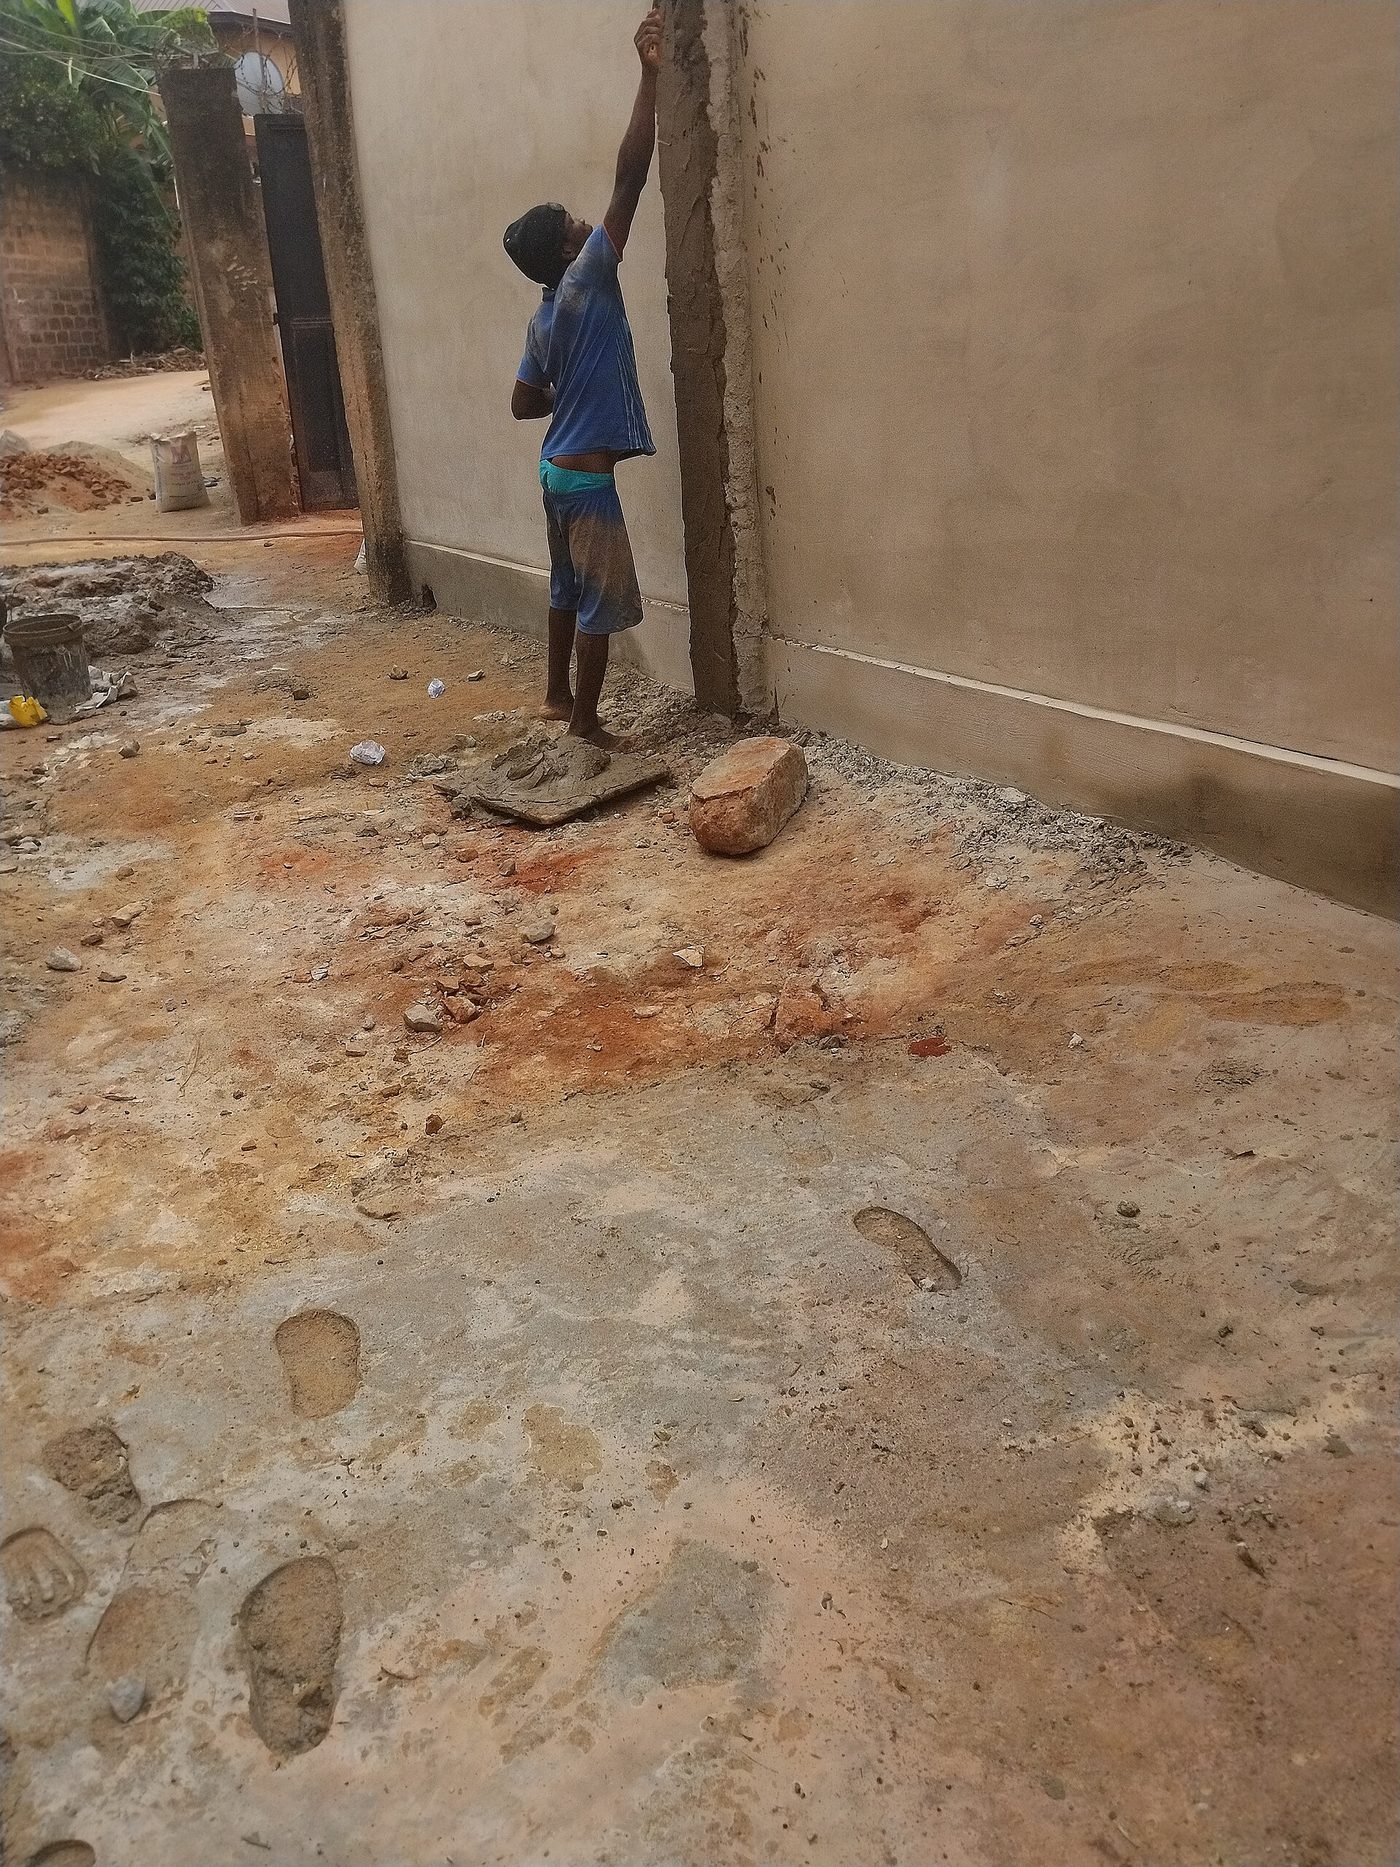 Lime and Earth Plaster for Earthen WallsBreathable render protects the wall without trapping moisture in it.$40 – $90 per small house of lime and sand · 2 – 3 days per coat, with a week between coats
 - 6
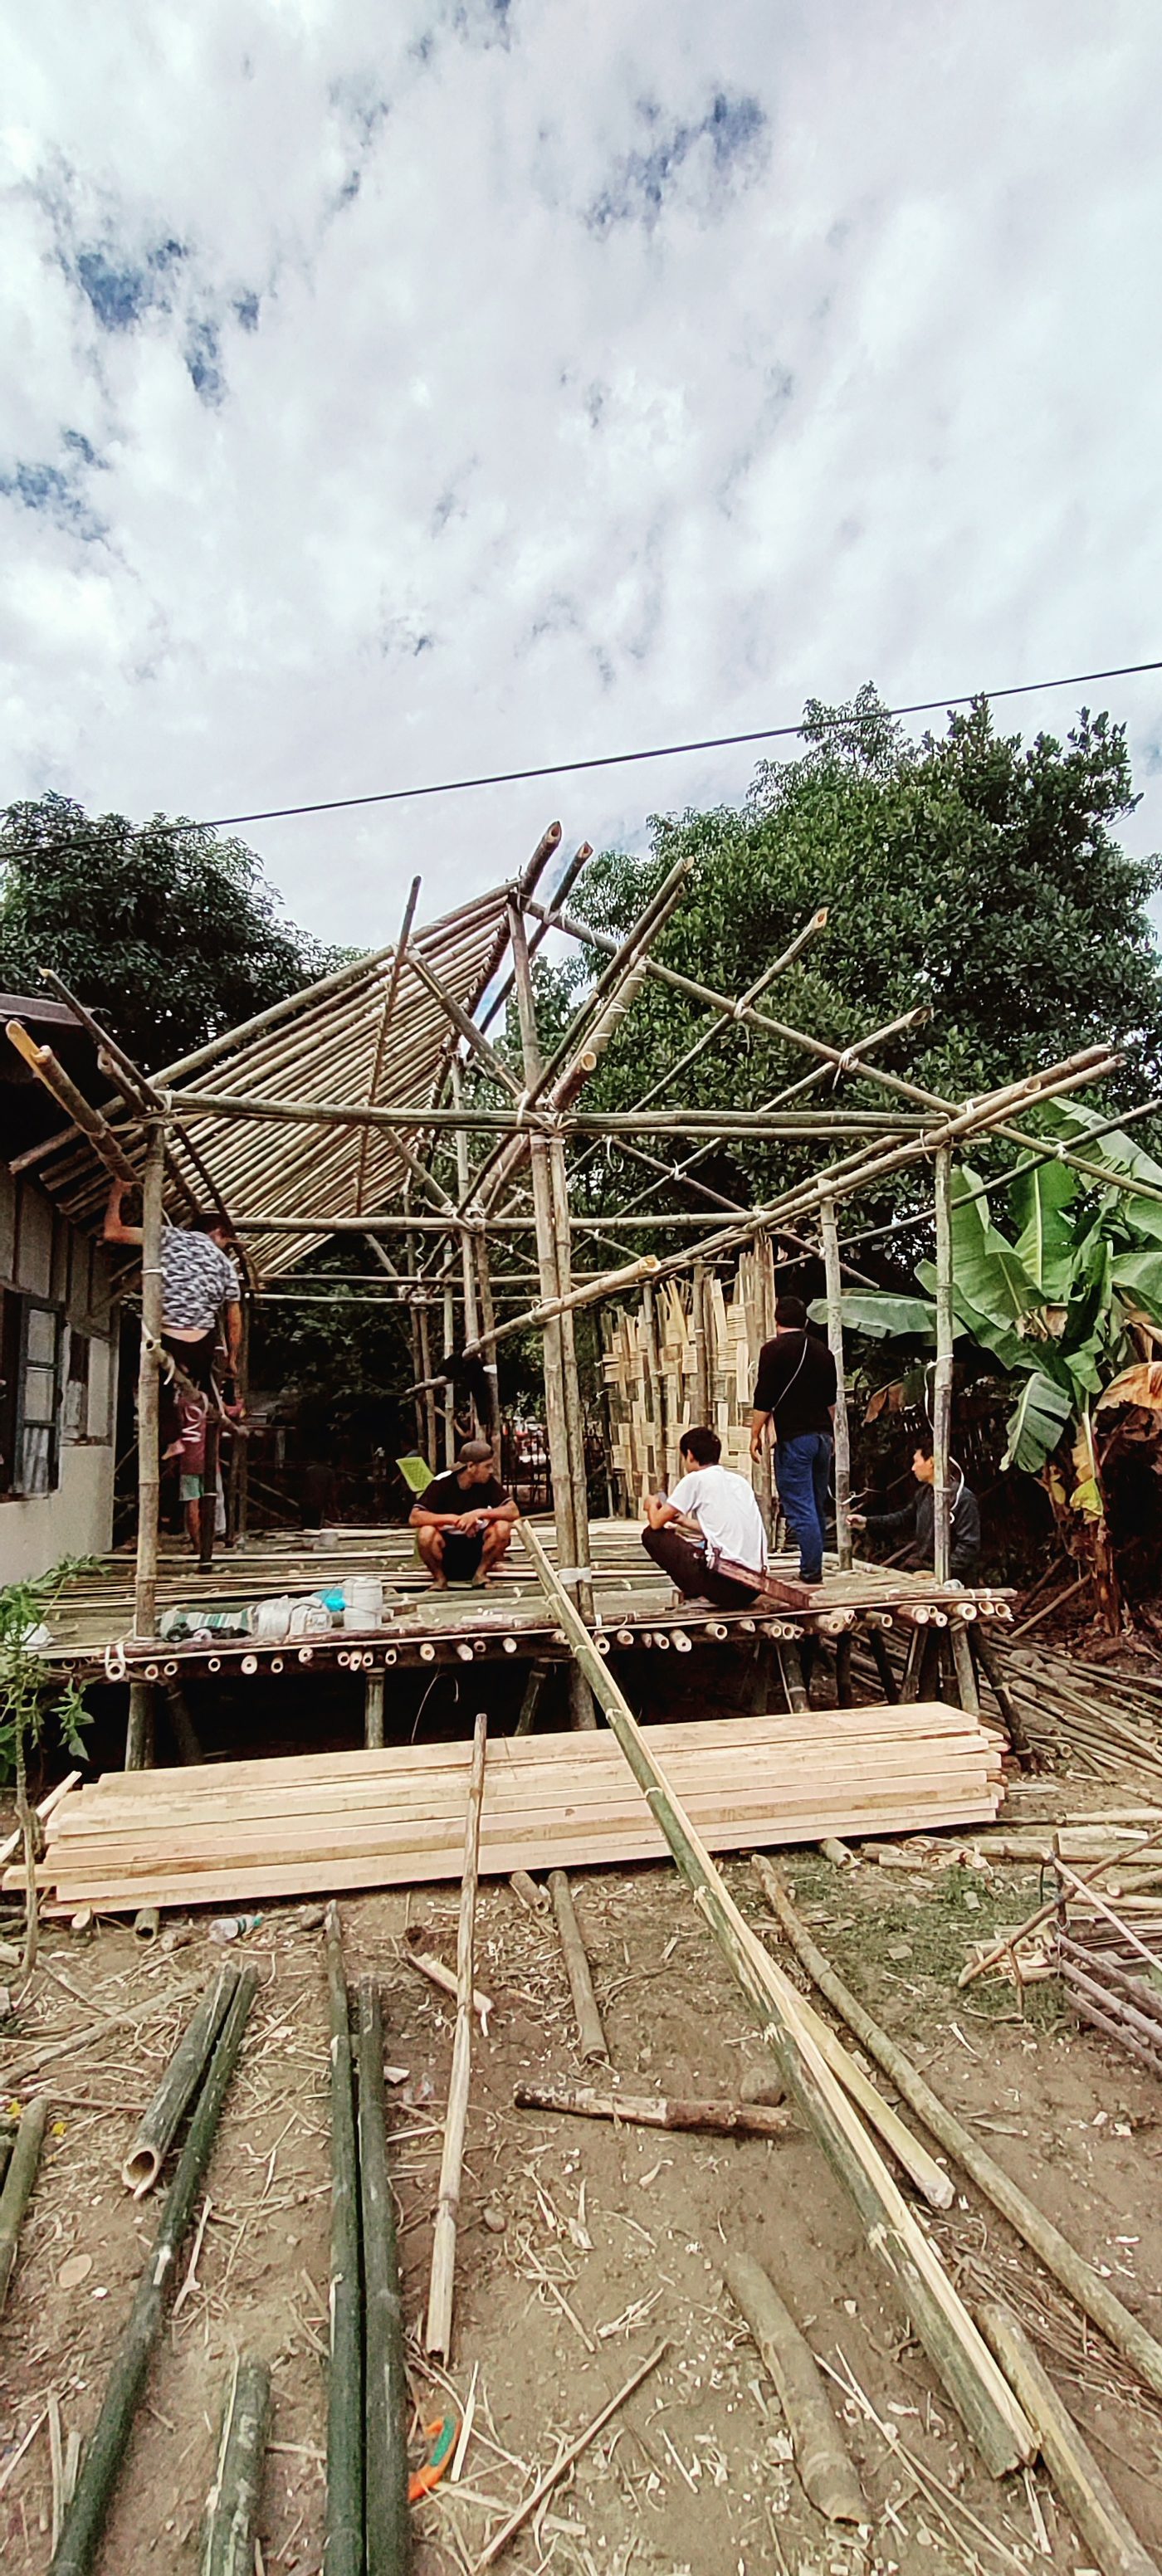 Bamboo Truss Roof FrameA wide overhang is the real waterproofing on any earth wall.$90 – $300 for a small building, mostly treatment and fixings · 1 week including treatment soak, 2 days to erect