
Plywood Solar Box Cooker
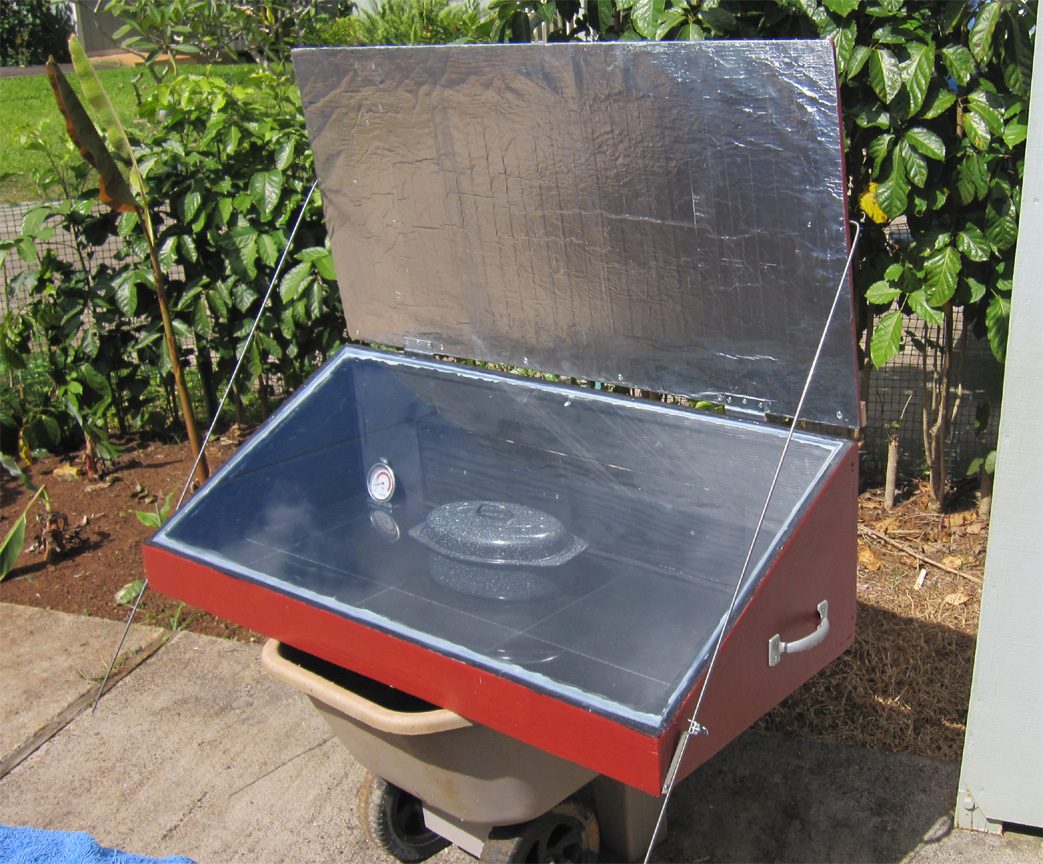
A glazed, insulated box with a hinged reflector that reaches 120 – 150 °C and cooks a full pot of food on sunlight alone.
- Estimated cost
- $25 – $70 depending on glazing and foil
- Skill level
- Intermediate
- Time
- 1 – 2 days
Not yet verified
No confirmed build with photo proof has been submitted for this plan yet. Built it? Send photos and it earns the badge.
Tools
- Handsaw
- Drill
- Screwdriver
- Staple gun
- Paint brush
- Silicone gun
If you don't have it
- No window glass? A double layer of clear PET sheet or a stretched oven bag over the box traps heat almost as well and survives transport better.
- No aluminium foil? Line the reflector with flattened cut-open drink cans, shiny side out.
Materials
- Plywood or hard board for inner and outer boxes
- Insulation for the 50 mm cavity: dry rice husk, wool, sawdust or fibreboard
- Glass pane or twin-wall polycarbonate lid
- Aluminium foil or salvaged mirror for the reflector lid
- Matt black paint for the inner tray
- Hinges, catch, silicone and a prop stick
- Thin dark cooking pots with tight lids
Dimensions & cut list
A single-family plywood box cooker reaching 120–150 °C on a clear day. These are the reference sizes from Appropedia / Solar Cookers International — scale them to what you have, but keep the ratios.
| Inner box | 50 × 50 × 25 cm deep |
|---|---|
| Wall insulation gap | 5 cmFilled with dry straw, wool or crumpled newspaper — never anything damp |
| Glazing | Single 4 mm glass pane, 55 × 55 cmDouble glazing adds ~15 °C in cool highlands |
| Reflector lid angle | Set so the reflected beam lands on the glass — roughly 110–120° open |
| Inner lining | Matt black metal sheet or black-painted aluminium foil over the base |
| Preheat time | 30 min before food goes in |
| Cooking time | Beans 3–4 h, rice 1.5 h, maize meal 2 hReaim every hour |
Take this list to the yard
- 1 sheetPlywood 9 mm
- 55 × 55 cmGlass pane 4 mm
- 0.5 m²Aluminium foil or offcut mirror
- 250 mlMatt black high-temperature paint
- 2Dark thin-walled pots with lidsShallow and wide beats tall and narrow
Step by step
Step 1 of 7
Build a box within a box
Make an outer box and an inner box with a 50 mm gap on all sides and the base, then fill that gap with dry insulation. The inner box should be big enough for two pots side by side.
Swipe or use arrow keys
1. Build a box within a box
Make an outer box and an inner box with a 50 mm gap on all sides and the base, then fill that gap with dry insulation. The inner box should be big enough for two pots side by side.
2. Blacken the absorber
Paint the inner box floor and walls matt black, or fit a black-painted sheet-metal tray. Let it cure fully outdoors before first use so paint fumes are gone.
3. Fit the glazed lid
Frame the glass or polycarbonate into a lid that seals against the box rim with a cloth or rubber gasket. Double glazing gives noticeably higher temperatures in windy or cool highland conditions.
4. Make the reflector
Hinge a plywood flap the same size as the lid and face it with smooth foil or mirror. A prop stick lets you set it to bounce the maximum sun into the box.
5. Aim and preheat
Set the cooker in unobstructed sun, angle the reflector, and preheat for 30 minutes before loading food. Re-aim every 1 – 2 hours as the sun moves.
6. Cook with dark, shallow pots
Use thin dark pots with lids, and do not add much water — solar cooking loses very little to evaporation. Rice takes about 1.5 hours, beans 3 – 4, bread about an hour.
7. Check it reaches temperature
Put an oven thermometer inside on a clear day. Below about 90 °C the box is leaking heat: check the gasket, the insulation and whether the glazing has gaps.
Why mine failed
The ways this build usually goes wrong, and what fixes it.
Never gets hot enough to cook beans
CauseAir leaking round the glass, or damp insulation
FixSeal the glazing frame all round — heat escapes as air, not through the glass. Dry the insulation fully in the sun; damp straw carries heat straight out of the box.
Cooks in the morning, stalls after midday
CauseNot being reaimed
FixTurn the whole box towards the sun every hour and reset the reflector so the bright patch lands on the glass.
Food cooks unevenly
CauseTall narrow pots, or shiny pots
FixUse shallow wide dark pots with lids, no more than two-thirds full, and set them on the black base rather than on a rack.
Safety notes
- Cooker interiors and pot handles reach well over 100 °C. Always use cloths and open the lid away from your face — trapped steam scalds.
- Reflected sun can dazzle. Angle the reflector away from doorways and where children play.
- Solar cooking is slow. Do not part-cook meat and leave it warm for hours; cook it through in one session.
Source & attribution
This plan is our build-step write-up of work documented by Appropedia / Solar Cookers International. The original design and documentation belong to them — go read the source before you build.
Solar box cooker plans and performanceLocal adaptations
What builders changed to make this work where they live.
Neo T. · Gaborone, Botswana
Twin-wall polycarbonate instead of glass — lighter, survives being knocked over, and we lost maybe ten degrees. Worth the trade.
Build this alongside
Plans that use the same materials or serve the same need.
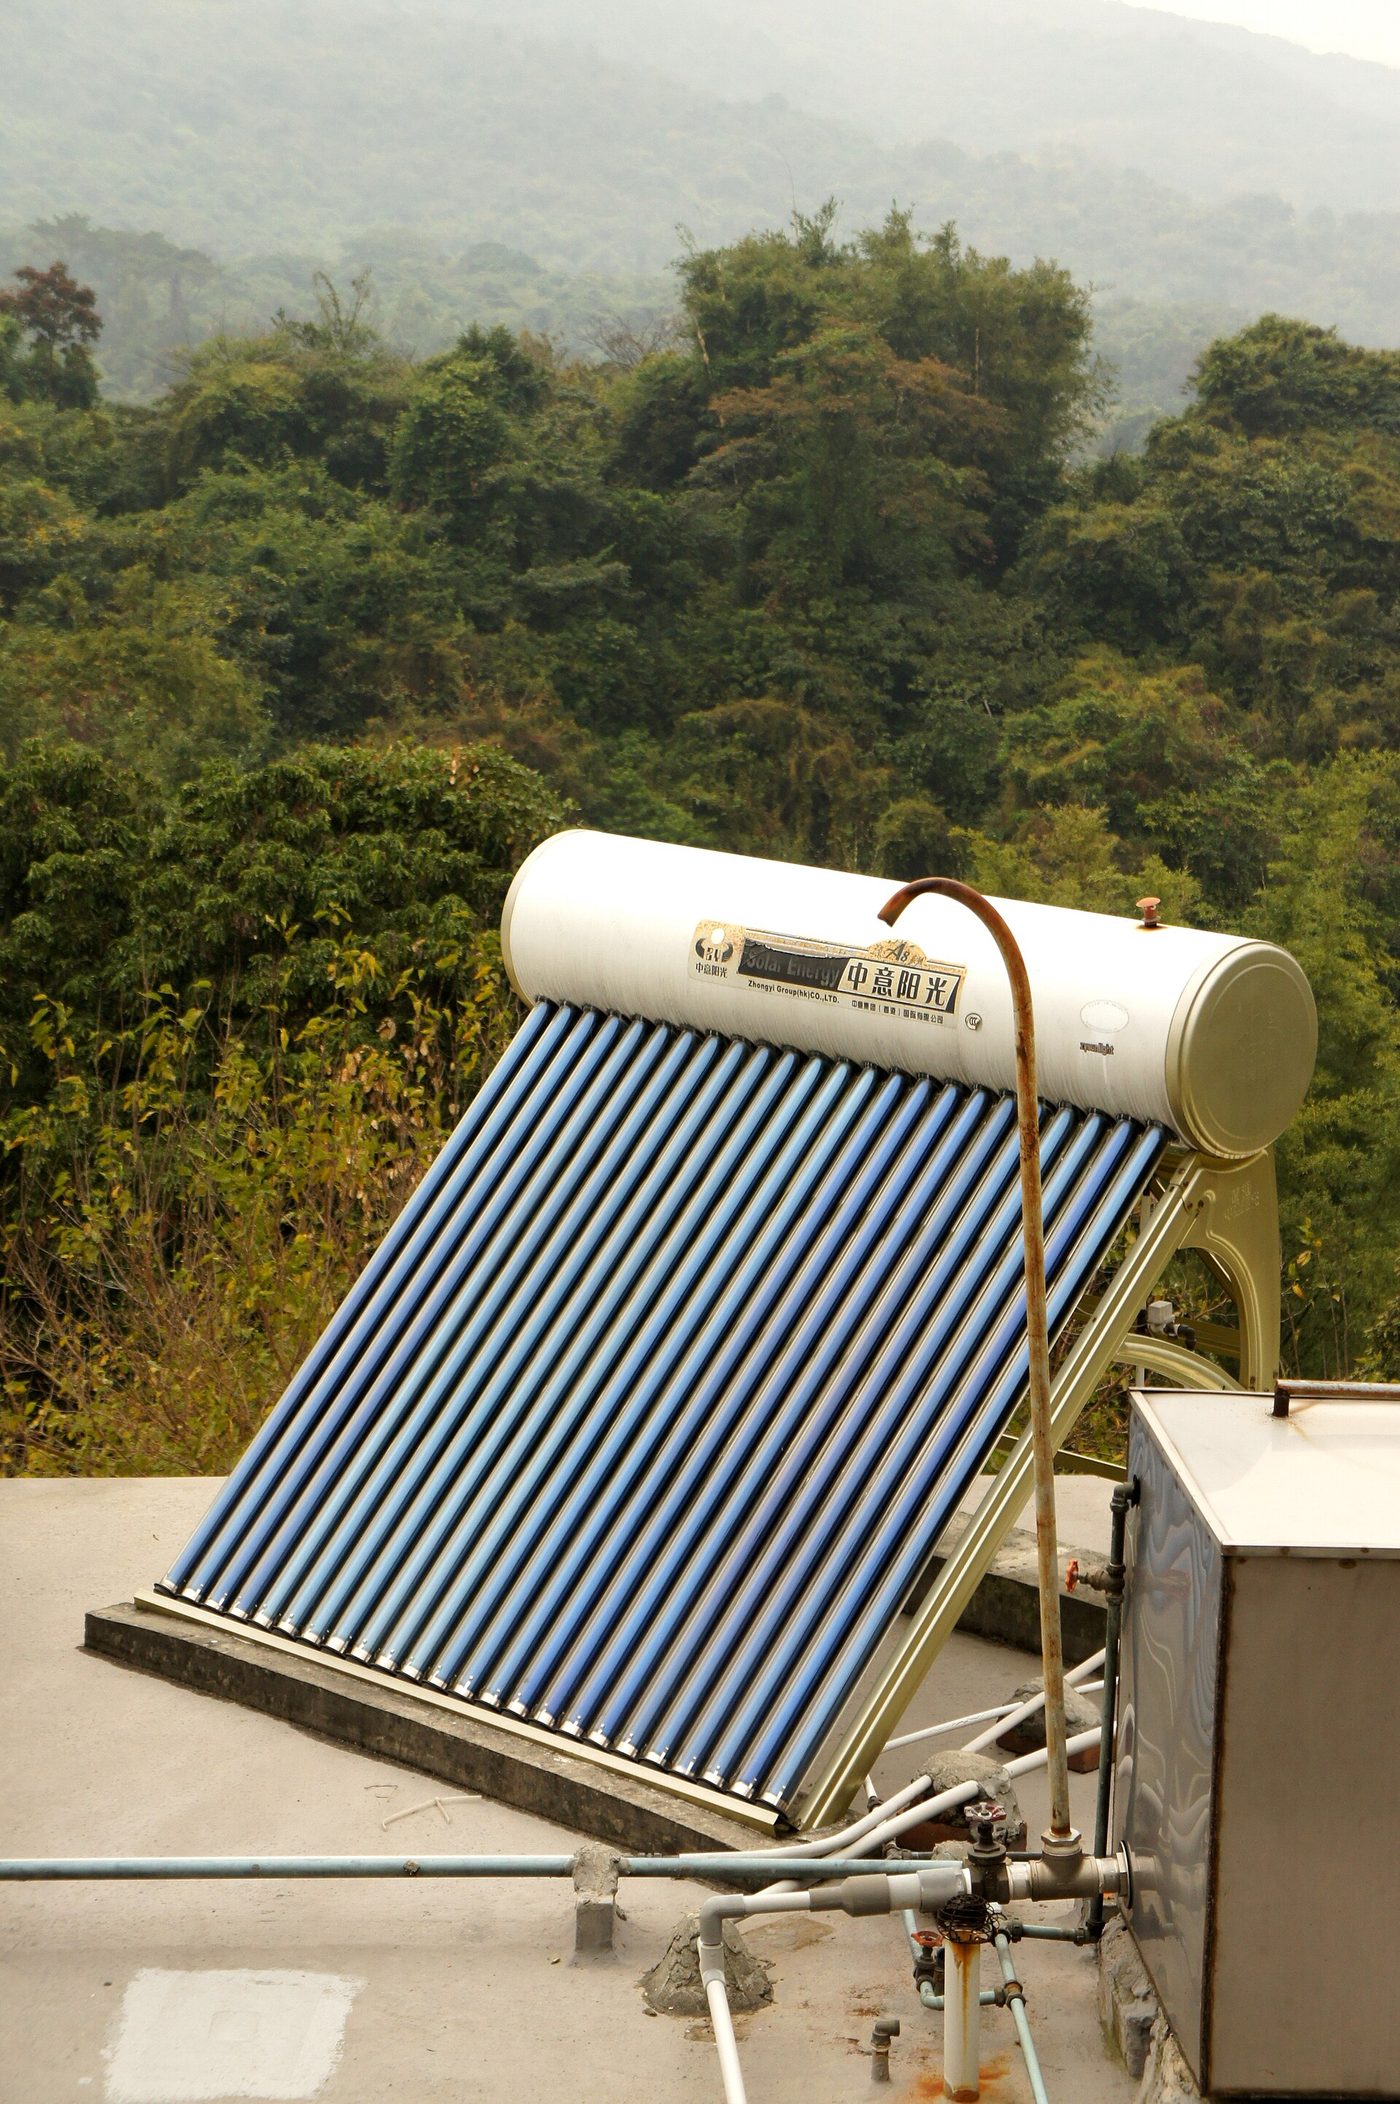
Batch Solar Water Heater from a Salvaged Tank
A black-painted tank in a glazed, insulated box that gives hot washing water by mid-afternoon with no pump, controller or electricity.
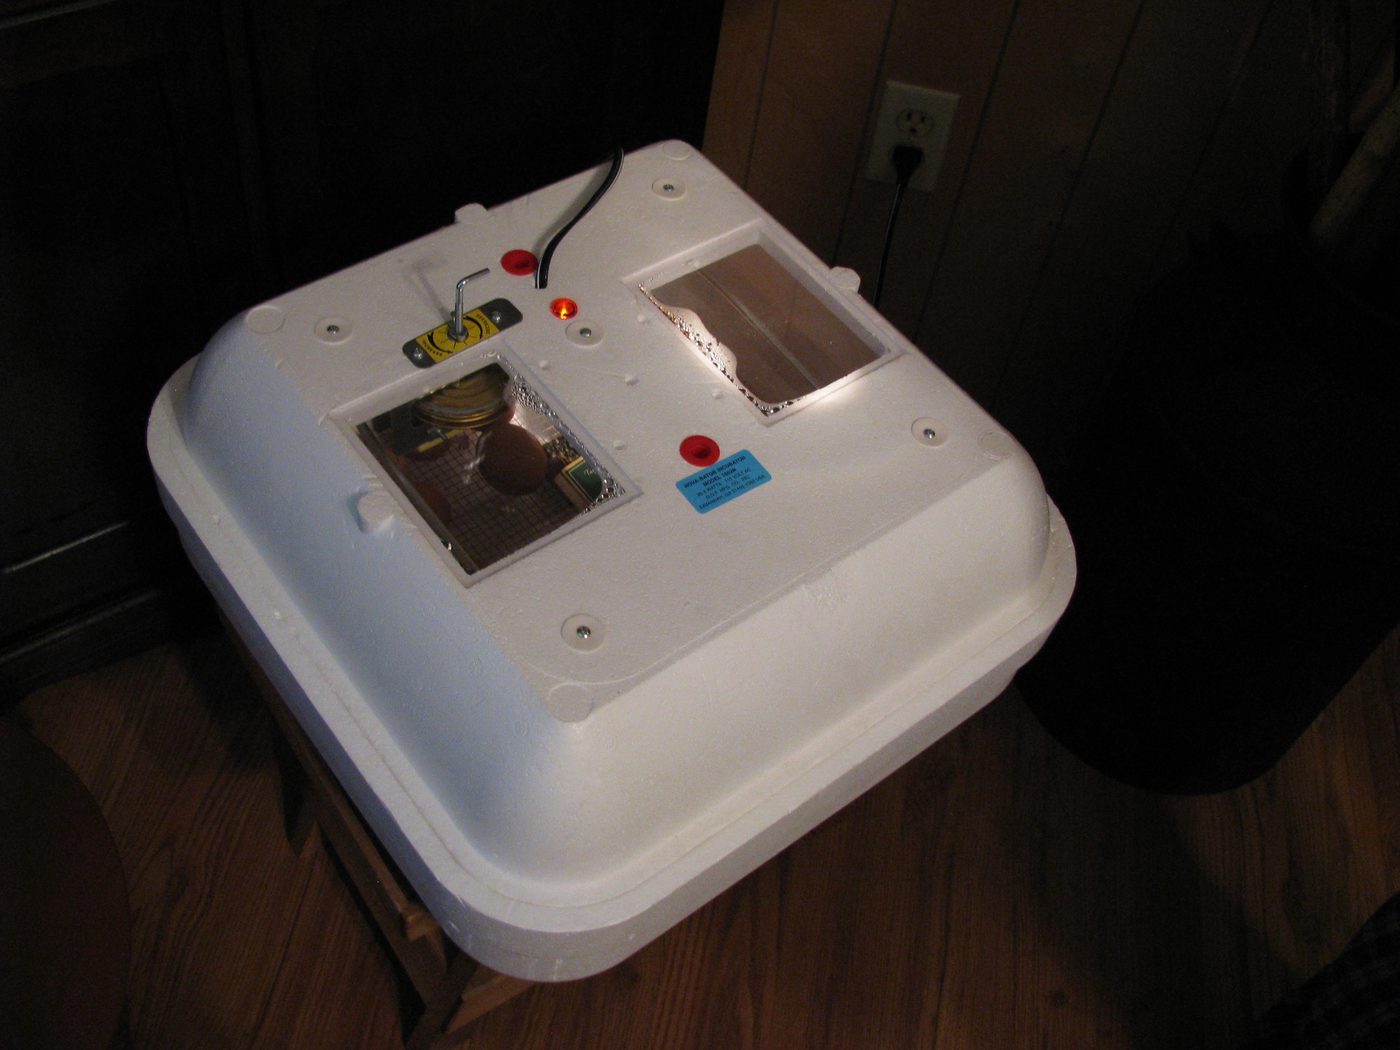
Small Solar-Warmed Egg Incubator
Build an insulated box incubator with a thermostat and a small solar-charged battery to hatch 50 – 100 eggs where mains power is unreliable.
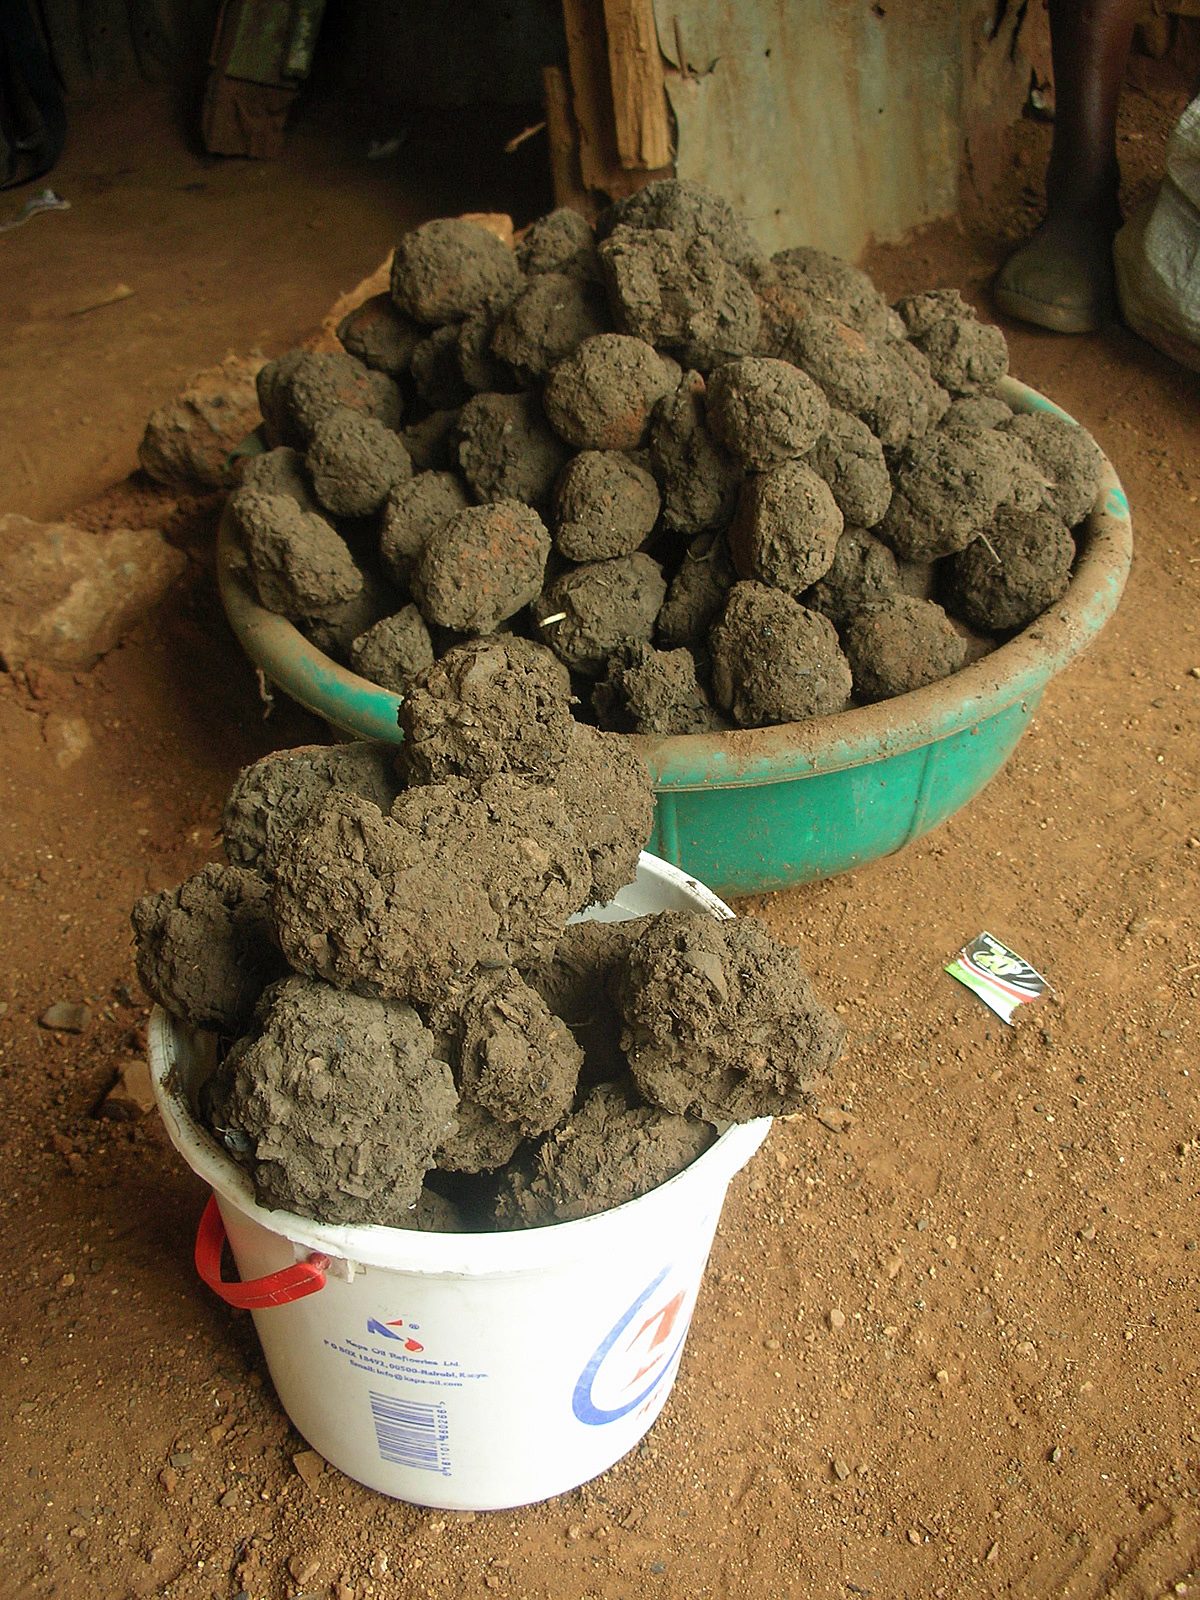
Lever-Arm Charcoal Briquette Press
Press agricultural waste and charcoal dust into burnable briquettes, turning a disposal problem into cooking fuel or a product to sell.