
Small Solar-Warmed Egg Incubator
Build an insulated box incubator with a thermostat and a small solar-charged battery to hatch 50 – 100 eggs where mains power is unreliable.
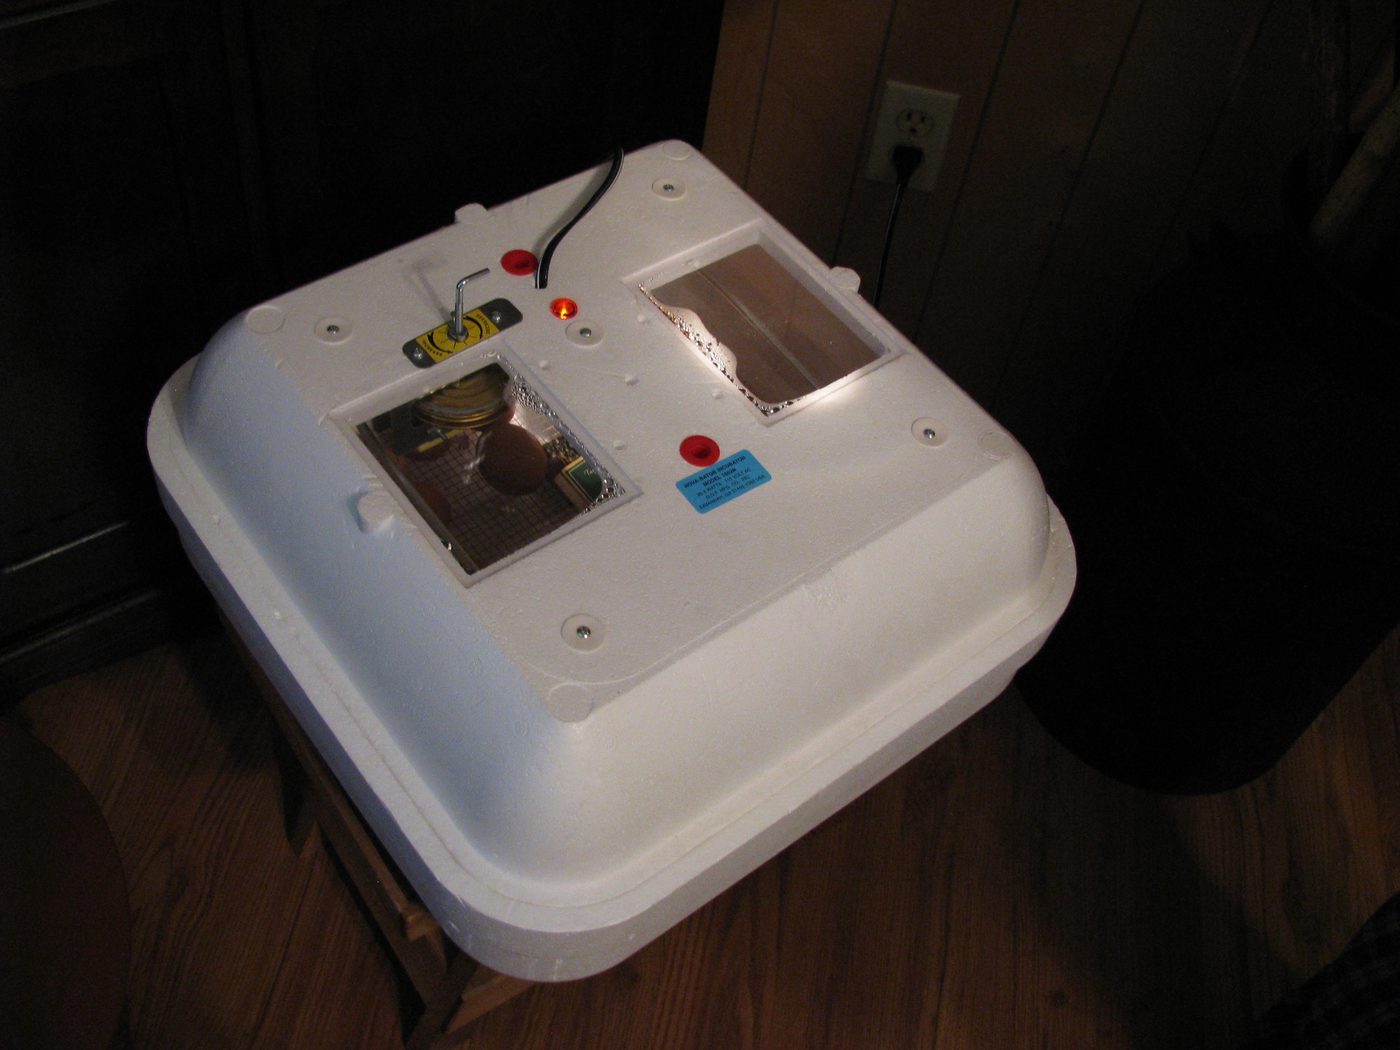
- Estimated cost
- $80 – $300 including panel and battery
- Skill level
- Intermediate
- Time
- 2 – 3 days
Not yet verified
No confirmed build with photo proof has been submitted for this plan yet. Built it? Send photos and it earns the badge.
Tools
- Saw
- Drill
- Screwdrivers
- Multimeter
- Thermometer and hygrometer
Short a tool or material? Builders below have often swapped something local in — read Local adaptations before you buy anything.
Materials
- Plywood box with 25 – 50 mm insulation in the walls
- 12 V heating element or low-wattage bulbs
- Digital thermostat (W1209 type) set to 37.5 °C
- Small 12 V fan for even air, plus vent holes
- Water tray for humidity, egg trays, and a solar panel, charge controller and battery
Dimensions & cut list
A small insulated cabinet incubator holding 37.5 °C from solar-charged battery power. These are the reference sizes from Appropedia / smallholder poultry practice — scale them to what you have, but keep the ratios.
| Cabinet | 600 × 500 × 500 mm internal for ≈ 100 hen eggs |
|---|---|
| Insulation | 50 mm dry sawdust, husk or polystyrene in the walls |
| Temperature | 37.5 °C ± 0.3Half a degree wrong for a day ruins the whole set |
| Humidity | 55% days 1–18, 65% days 19–21 |
| Turning | 3–5 times a day, days 1–18 |
| Heating load | 2 × 15 W bulbs or a 40 W element on a thermostat |
| Power budget | ≈ 300 Wh/day — 100 W panel with 100 Ah battery |
| Ventilation | 2 × 20 mm holes low, 2 high, adjustable |
Take this list to the yard
- 1 sheetPlywood 12 mm
- 1Digital thermostat with probe (±0.1 °C)
- 2Heating bulbs or element
- 112 V fan for air circulation
- 1 eachWater tray and hygrometer
- 1 set100 W panel, charge controller, 100 Ah battery
- 1Glass viewing pane
Step by step
Step 1 of 6
Build a tight insulated box
Double-wall the box with insulation between skins and a well-sealed door with a viewing window. Heat leaks are what kill hatches during a cold night.
Swipe or use arrow keys
1. Build a tight insulated box
Double-wall the box with insulation between skins and a well-sealed door with a viewing window. Heat leaks are what kill hatches during a cold night.
2. Fit heat, fan and sensor
Mount the heater away from the eggs, the fan to circulate air, and the thermostat probe at egg height in the middle of the tray.
3. Set up ventilation
Drill small vents low and high. Embryos need fresh air; a sealed box suffocates them in the last week.
4. Size the solar supply honestly
The heater runs day and night for 21 days. Size panel and battery for the worst cloudy stretch, or the whole hatch is lost in one cold night.
5. Run empty for 48 hours
Stabilise at 37.5 °C and 50 – 55% humidity before you set a single egg. Adjust the water tray area for humidity.
6. Set, turn and hatch
Turn eggs three to five times a day for the first 18 days, then stop turning, raise humidity to about 65% and leave the door shut until hatching finishes.
Why mine failed
The ways this build usually goes wrong, and what fixes it.
Almost no eggs hatch
CauseTemperature swung outside 37.2–37.8 °C
FixFit a proper digital thermostat with a probe at egg height and run the empty cabinet for two days, checking against a second thermometer, before setting eggs. Half a degree out for a day loses the set.
Chicks pip but die in the shell
CauseHumidity too low in the last three days
FixRaise humidity to 65% from day 19 with a bigger water tray and a damp cloth, and stop turning. Dry membranes glue the chick in place.
Temperature crashes overnight
CauseBattery undersized for the heating load
FixBudget ≈ 300 Wh a day: 100 W panel and 100 Ah battery minimum, and keep the insulation dry. Add a manual paraffin-lamp backup channel if your sun is unreliable.
Hot at the top, cool at the bottom
CauseNo air circulation
FixAdd the 12 V fan — a still-air cabinet stratifies by two degrees or more, so half your eggs are always at the wrong temperature.
Safety notes
- Keep wiring, fuses and the battery outside the humid chamber; damp electrics are a fire and shock hazard.
- Never charge a lead-acid battery in a closed room — it vents hydrogen.
- Overheating by 1 °C for a few hours kills a whole hatch; fit a second thermometer as a check on the thermostat.
- Clean and disinfect the incubator between hatches to stop disease building up.
Source & attribution
This plan is our build-step write-up of work documented by Appropedia / smallholder poultry practice. The original design and documentation belong to them — go read the source before you build.
Egg incubatorLocal adaptations
What builders changed to make this work where they live.
Field note · Rural Ghana
Groups keep a kerosene lamp fitting in the base as a backup heat source so a flat battery does not end the hatch.
Build this alongside
Plans that use the same materials or serve the same need.
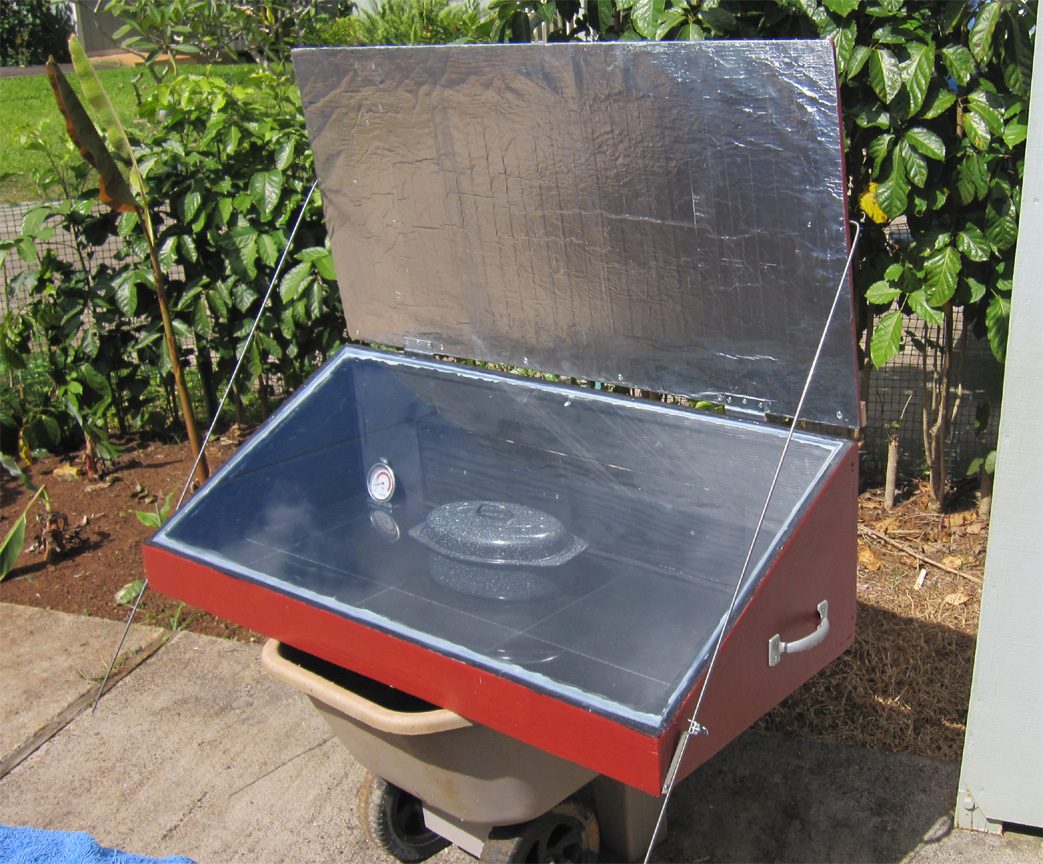
Plywood Solar Box Cooker
A glazed, insulated box with a hinged reflector that reaches 120 – 150 °C and cooks a full pot of food on sunlight alone.
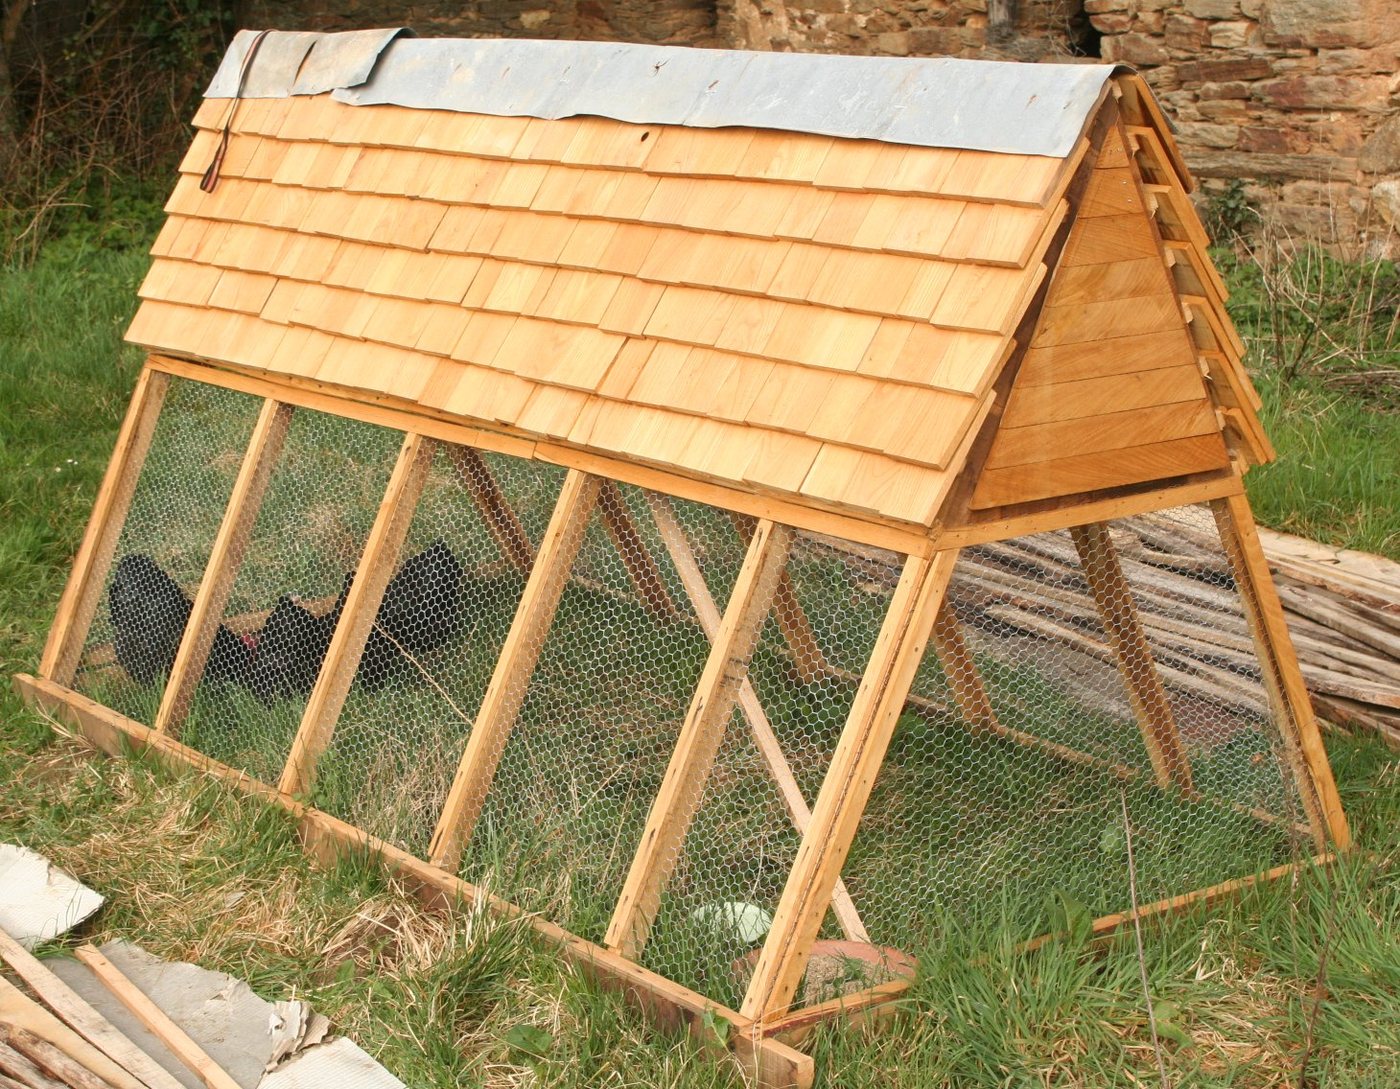
Movable Chicken Tractor
A floorless, lightweight coop you shift daily so birds get fresh forage, the ground gets manured, and nobody has to muck out.

Lined Tilapia Fish Pond
A hand-dug, lined pond stocked with tilapia and fed on farm waste — a protein and income source that also stores irrigation water.