
Stone Masonry Plinth & Foundation
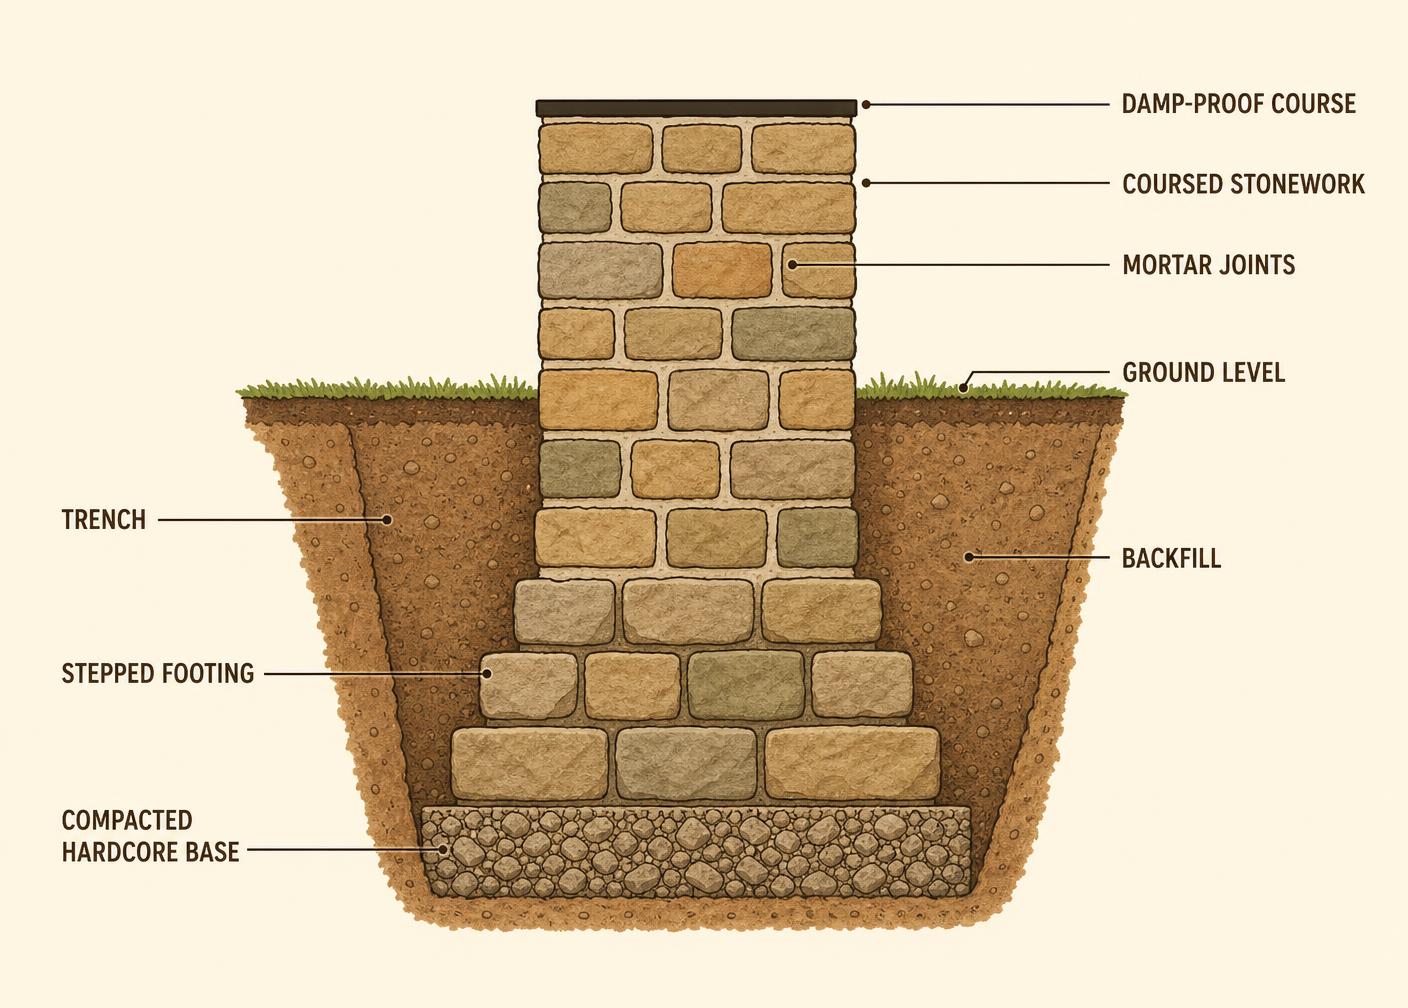
The unglamorous course that decides whether an earth building lasts thirty years or three: a stone plinth that lifts the walls clear of splash and rising damp.
- Estimated cost
- $30 – $150 depending on how far the stone travels
- Skill level
- Beginner
- Time
- 3 – 6 days for a small building
Not yet verified
No confirmed build with photo proof has been submitted for this plan yet. Built it? Send photos and it earns the badge.
Tools
- Mason's hammer
- Cold chisel
- Line and pins
- Spirit level
- Shovel
- Bucket
Short a tool or material? Builders below have often swapped something local in — read Local adaptations before you buy anything.
Materials
Dimensions & cut list
A mortared stone plinth wall 450 mm high under an earth or block building. These are the reference sizes from Appropedia — scale them to what you have, but keep the ratios.
| Plinth height above grade | 450 mm minimumThis is what keeps splash-back and termites off an earth wall |
|---|---|
| Plinth width | Wall thickness plus 50 mm each side |
| Foundation trench | 600 mm deep × 600 mm wide onto firm subsoil |
| Mortar | 1 cement : 4 sand, or 1 : 1 : 6 cement-lime-sand |
| Stone size | Largest stones in the foundation courses |
| Bonding | Cross every joint; through-stones every metre |
| Damp-proof course | Continuous, on top of the plinth |
| Apron | 600 mm wide, sloped 1:20 away from the wall |
Take this list to the yard
- ≈ 0.5 m³ per linear metreBuilding stone
- ≈ 1 bag per 2 linear metresCement
- 0.15 m³ per metreSharp sand
- As per perimeterDPC material (polythene or bitumen felt)
- 1 setLine, level and mason's hammer
Step by step
Step 1 of 6
Dig to firm ground
Trench down past topsoil to undisturbed subsoil, at least 400 mm, wider than the wall by 100 mm each side. Never found on fill.
Swipe or use arrow keys
1. Dig to firm ground
Trench down past topsoil to undisturbed subsoil, at least 400 mm, wider than the wall by 100 mm each side. Never found on fill.
2. Blind the trench with hardcore
Pack 150 mm of broken stone and compact it in layers. This spreads the load and breaks capillary rise from below.
3. Lay the big stones first
Largest stones go in the bottom course, best face out, long dimension into the wall. Break joints — never let a vertical joint run through two courses.
4. Fill and pin, don't float
Bed each stone solid in mortar and wedge with small pinning stones. A stone floating on a thick mortar bed will settle and crack the wall above it.
5. Bring the plinth 300 mm above grade
Carry the stonework at least 300 mm clear of finished ground, higher where rain splashes hard, and finish the top dead level.
6. Cap with a damp-proof layer
Lay a DPC sheet or a rich cement mortar screed over the plinth top before the earth walls start, and grade the ground away from the building.
Why mine failed
The ways this build usually goes wrong, and what fixes it.
Earth wall above is eroding at the base
CausePlinth too low for rain splash
FixTake the plinth to at least 450 mm above finished grade and add a 600 mm sloped apron. This is the classic 'good hat and good boots' rule.
Plinth cracks along a joint line
CauseRunning joints and no through-stones
FixCross every joint and set a through-stone every metre. Never stack two joints above one another.
Damp rising into the wall above
CauseNo damp-proof course
FixLay a continuous polythene or bitumen DPC on top of the plinth before the first wall course, with no breaks at corners.
Plinth settles at one corner
CauseFoundation not down to firm subsoil
FixTake the trench 600 mm deep onto undisturbed ground and put the largest stones in the bottom courses.
Safety notes
- Stone handling crushes fingers — wear gloves and never work alone with heavy stone.
- Wear eye protection when dressing stone; chips fly fast and far.
- Shore or batter any trench deeper than a metre.
Source & attribution
This plan is our build-step write-up of work documented by Appropedia. The original design and documentation belong to them — go read the source before you build.
Foundations for earth buildingsLocal adaptations
What builders changed to make this work where they live.
- No adaptations shared yet for this plan.
Build this alongside
Plans that use the same materials or serve the same need.
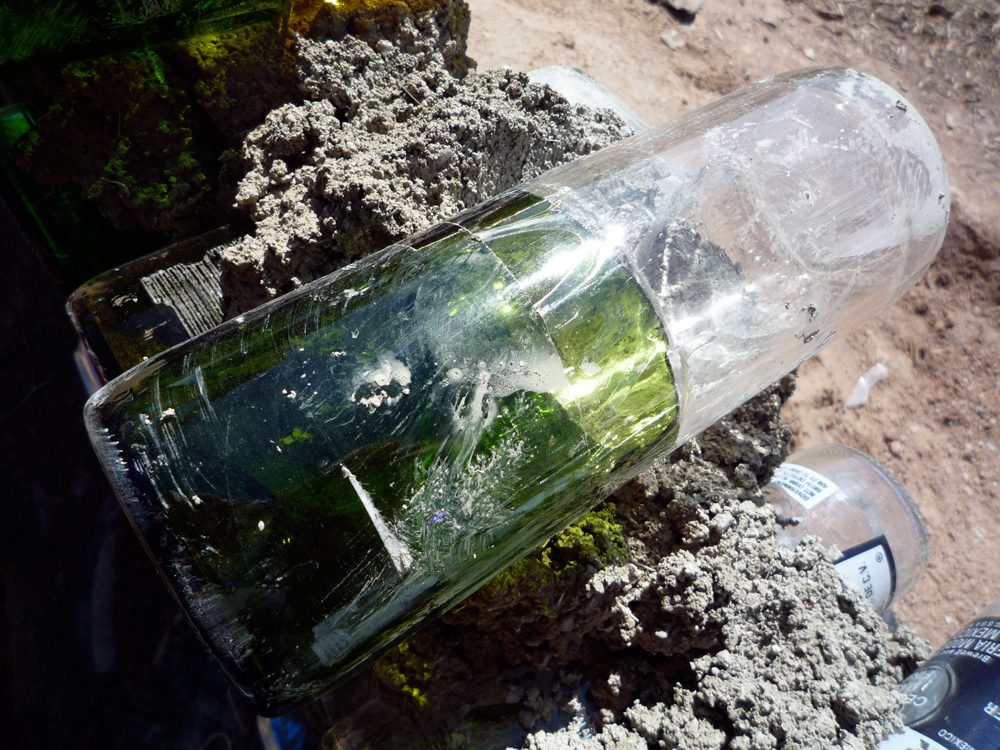
Bottle Wall Infill & Light Panel
Lay glass bottles in mortar between structural posts to fill non-load-bearing panels and bring daylight deep into a room without buying glazing.
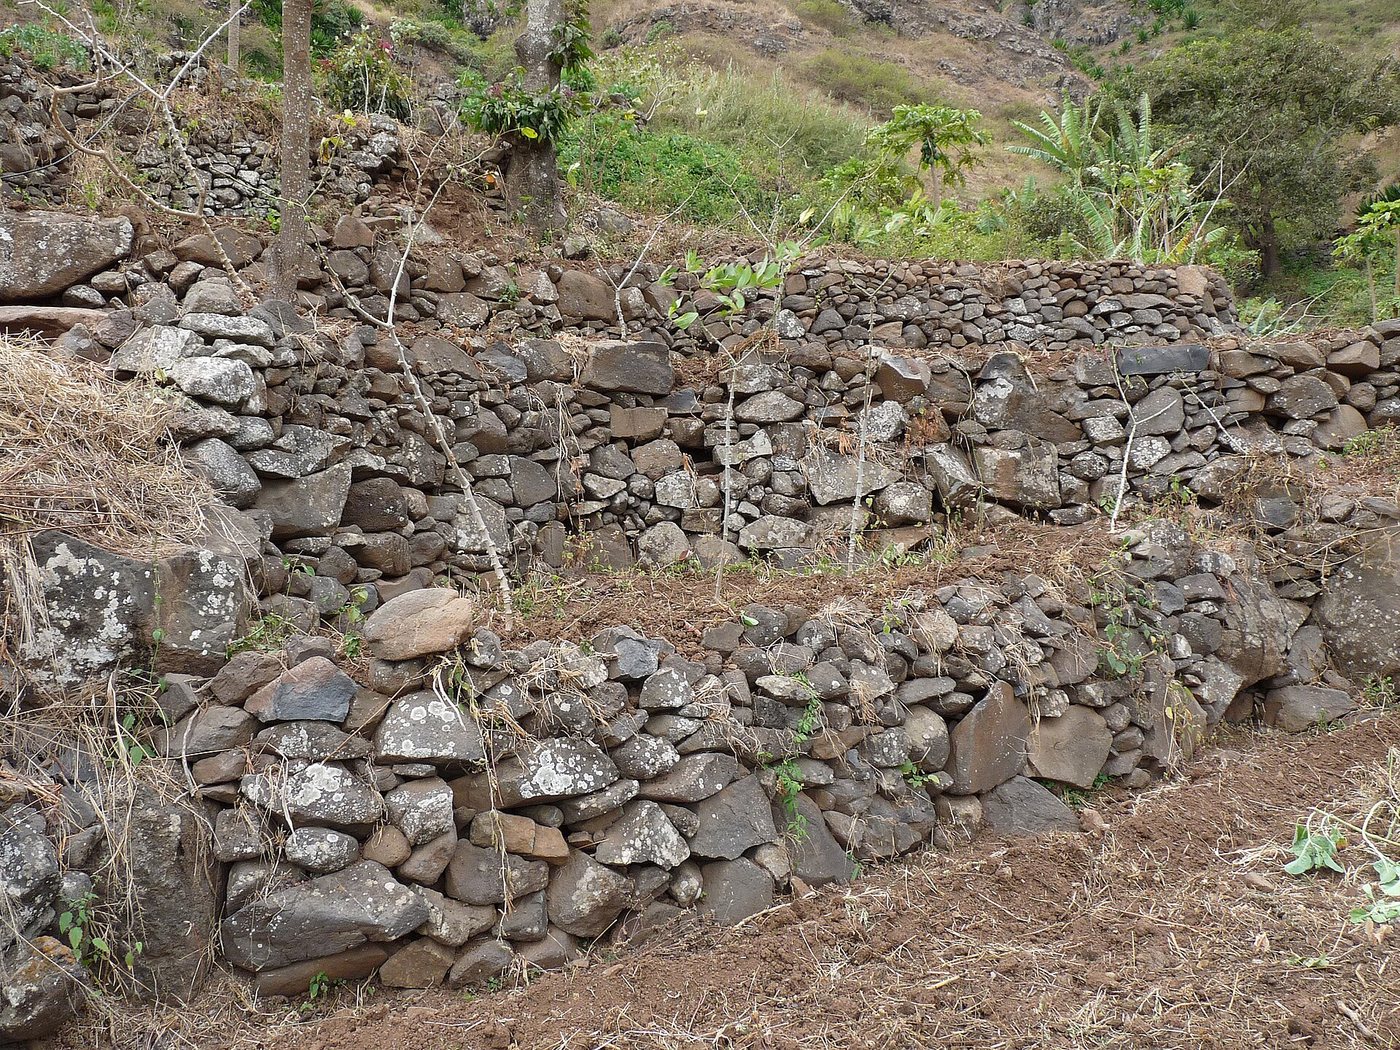
Dry-Stone Retaining Wall
Stack shaped field stone without mortar into a battered, through-stoned wall that drains freely and outlasts anything you could build with a bag of cement.
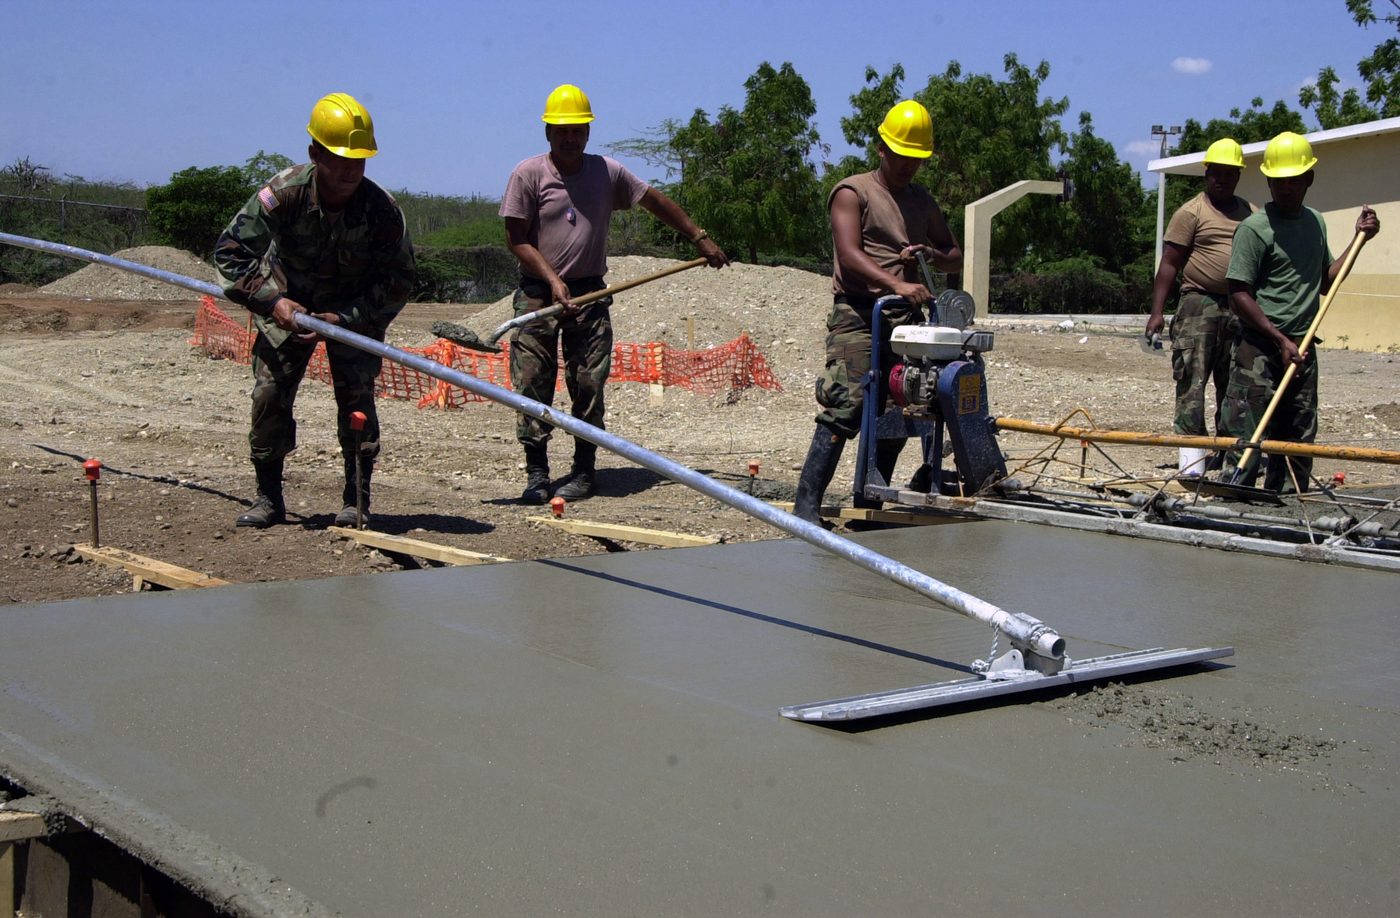
Soil-Cement Floor Slab
Replace a dust floor with a compacted, cement-stabilised earth slab that sweeps clean, resists damp and costs a fraction of a full concrete pour.