
Dry-Stone Retaining Wall
Stack shaped field stone without mortar into a battered, through-stoned wall that drains freely and outlasts anything you could build with a bag of cement.
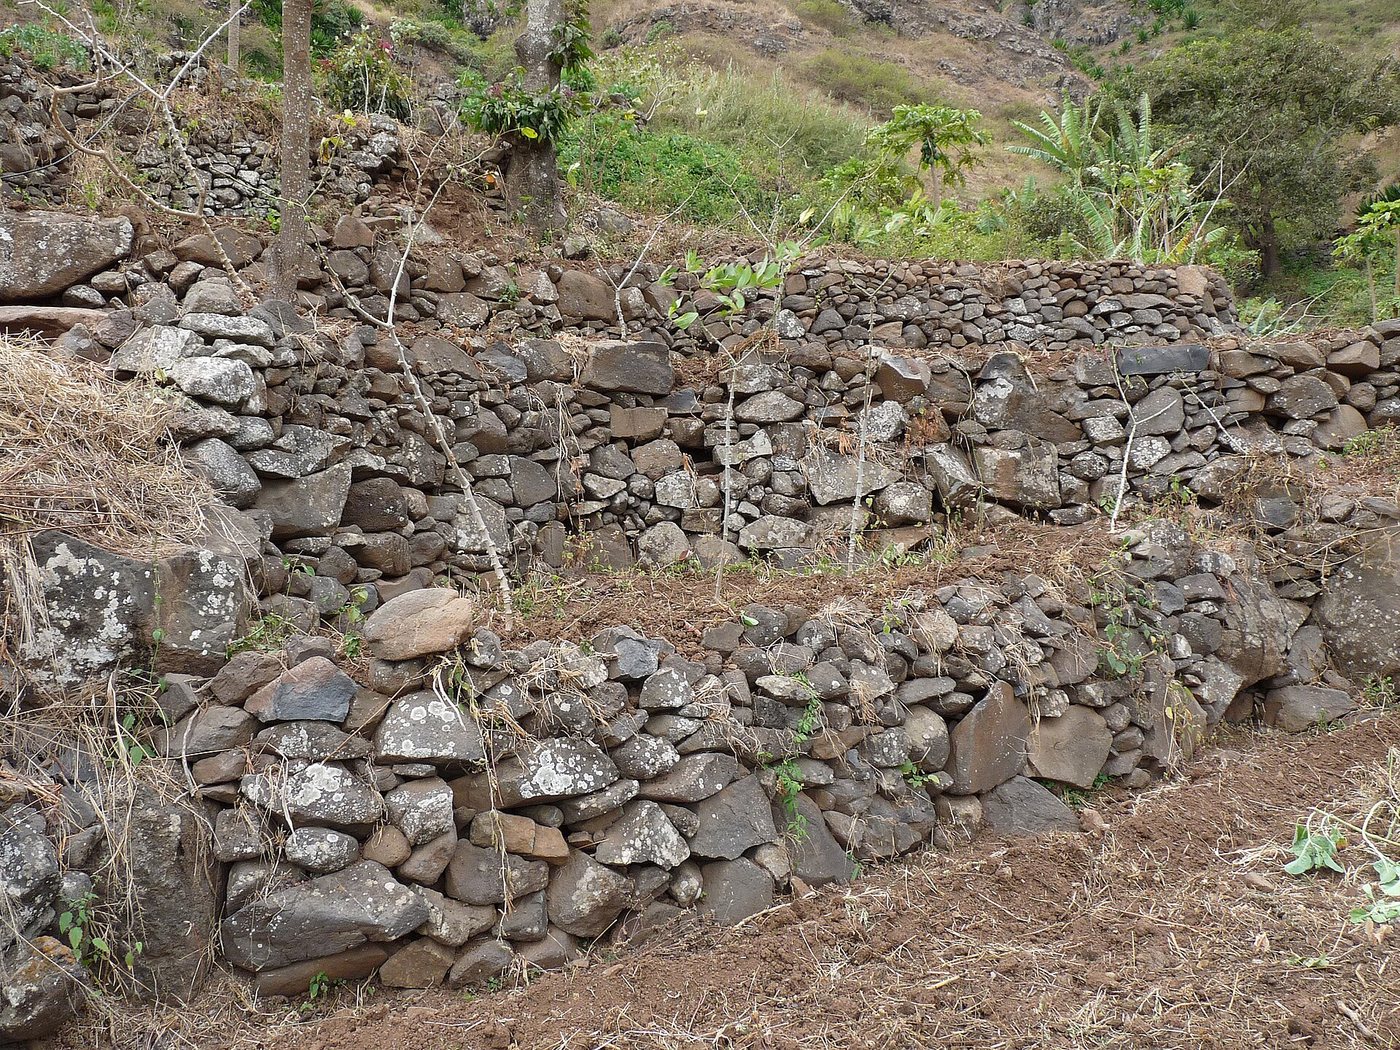
- Estimated cost
- $0 – $40 if stone is on site; tools are the only real cost
- Skill level
- Intermediate
- Time
- 1 – 2 m of finished wall per person per day
Not yet verified
No confirmed build with photo proof has been submitted for this plan yet. Built it? Send photos and it earns the badge.
Tools
- Walling hammer and stone chisel
- Crowbar
- String line and batter frame
- Safety glasses and heavy gloves
- Wheelbarrow
If you don't have it
- No large face stones? Build lower and battered, and use gabion baskets of small rubble for the bottom course.
Materials
Dimensions & cut list
A mortarless retaining wall 1.2 m high, battered into a slope. These are the reference sizes from Appropedia / dry stone walling associations — scale them to what you have, but keep the ratios.
| Base width | 600 mm for 1.2 m of heightBase = half the height, minimum |
|---|---|
| Batter (lean into the bank) | 1:6 |
| Foundation trench | 200 mm below grade onto firm subsoil |
| Through-stones | Every 1 m along the wall, at mid-heightThese tie the two faces together — a wall without them peels apart |
| Coping stones | Set on edge, tight, across the full wall width |
| Backfill drainage | 150 mm of gravel behind the whole face |
| Maximum unretained height | 1.5 m without engineering |
Take this list to the yard
- ≈ 1.2 tonnes per linear metreFace stones, roughly rectangular
- 0.2 m³ per metreHearting (small packing stone)
- 0.2 m³ per metreGravel for drainage
- 1 setString line, batter frame and mason's hammer
Step by step
Step 1 of 6
Sort the stone first
Separate into foundation, building, hearting, throughs and copes before you start. Sorting once saves hours of hunting per course.
Swipe or use arrow keys
1. Sort the stone first
Separate into foundation, building, hearting, throughs and copes before you start. Sorting once saves hours of hunting per course.
2. Dig to firm subsoil and set foundations
Strip topsoil to 150 – 250 mm and bed the largest flat stones directly on undisturbed ground, widest face down, sloping very slightly back into the bank.
3. Set a batter frame
A retaining wall must lean into the slope. Build to a batter of roughly 1:6 using a frame and string lines at both faces so the wall narrows as it rises.
4. Build both faces together, heart as you go
Lay stones long-side into the wall, never along the face. Cross every joint, and pack the middle with tight hearting — never loose soil or spoil.
5. Place through-stones at mid-height
Every metre along, at about half the wall height, lay a stone reaching right across both faces. These tie the wall together and are the difference between a wall and a pile.
6. Backfill with drainage and cope the top
Pack coarse gravel behind a retaining wall so water passes through, not builds up. Finish with heavy copes set upright and tight to lock the top course.
Why mine failed
The ways this build usually goes wrong, and what fixes it.
Wall face bulges then collapses
CauseNo through-stones tying the faces together
FixSet a through-stone every metre at mid-height, spanning the full wall width. Two independent skins with rubble between will always peel apart.
Wall pushes out after heavy rain
CauseWater building up behind it
FixBackfill with 150 mm of gravel over the whole face and keep the batter at 1:6 leaning into the bank. Dry stone works because it drains — never seal the back.
Stones rattle loose within a year
CausePoor hearting and running joints
FixPack the middle tightly with small stone and always cross the joints — one stone over two, never one over one.
Wall settles unevenly
CauseFounded on topsoil
FixDig 200 mm down to firm subsoil and set the biggest stones as the base course, tilted slightly into the slope.
Safety notes
- Stone crushes fingers and feet — steel-toed boots and gloves, and never place hands under a stone being lowered.
- Chip stone with safety glasses on; flakes travel fast and far.
- Do not undercut a bank you are working beneath; batter the excavation or shore it.
- Retaining walls over 1.2 m high should be designed with drainage and surcharge checked by someone experienced.
Source & attribution
This plan is our build-step write-up of work documented by Appropedia / dry stone walling associations. The original design and documentation belong to them — go read the source before you build.
Dry stone wallLocal adaptations
What builders changed to make this work where they live.
- No adaptations shared yet for this plan.
Build this alongside
Plans that use the same materials or serve the same need.
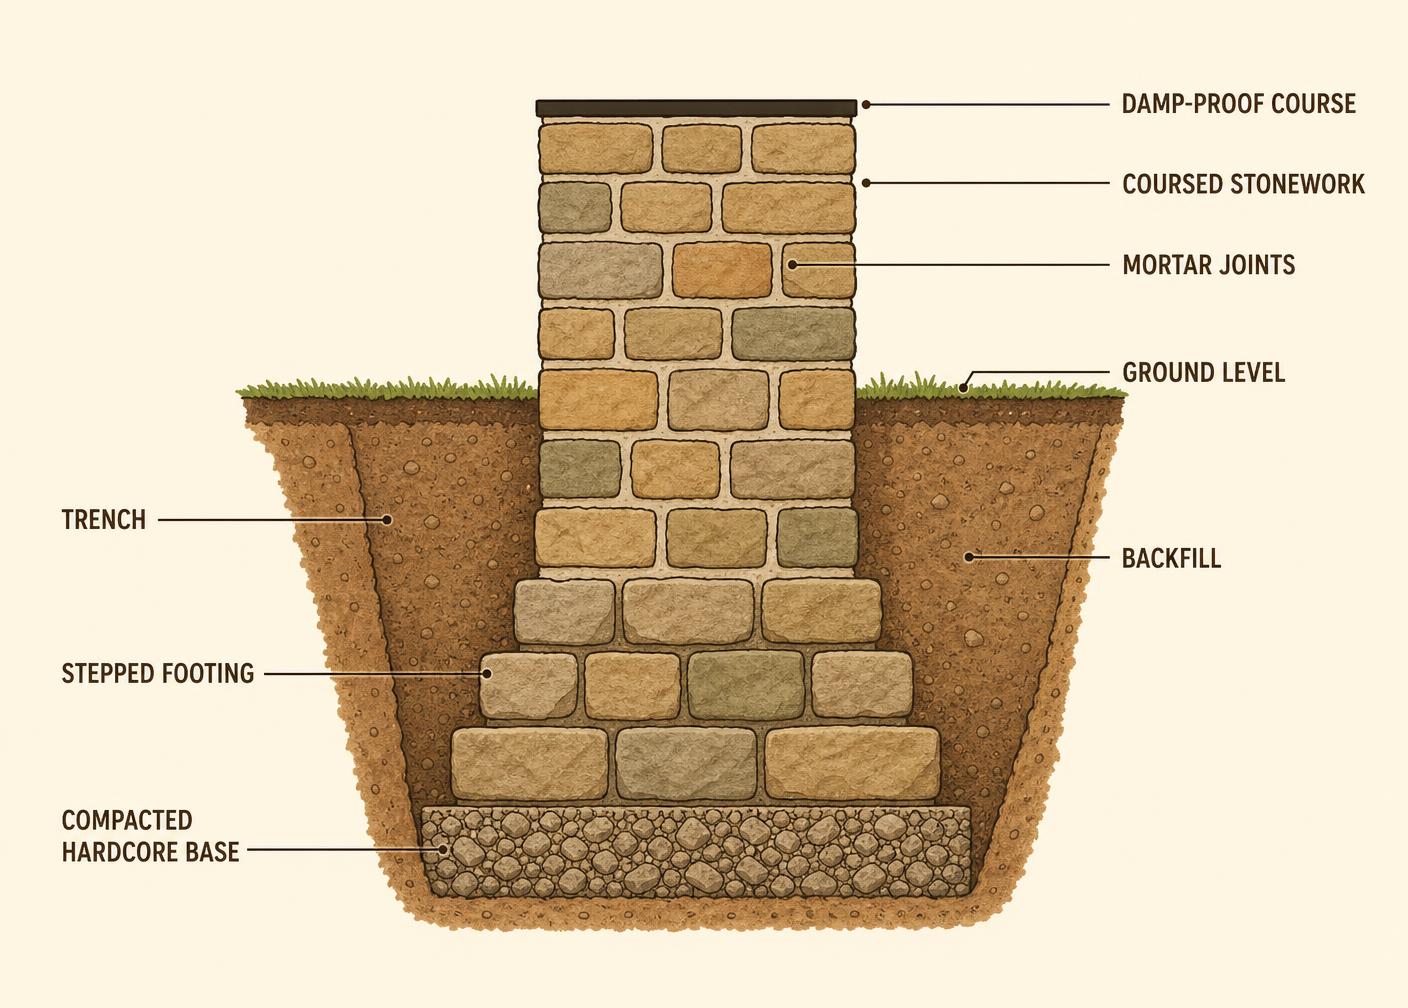 Diagram
Stone Masonry Plinth & Foundation
The unglamorous course that decides whether an earth building lasts thirty years or three: a stone plinth that lifts the walls clear of splash and rising damp.
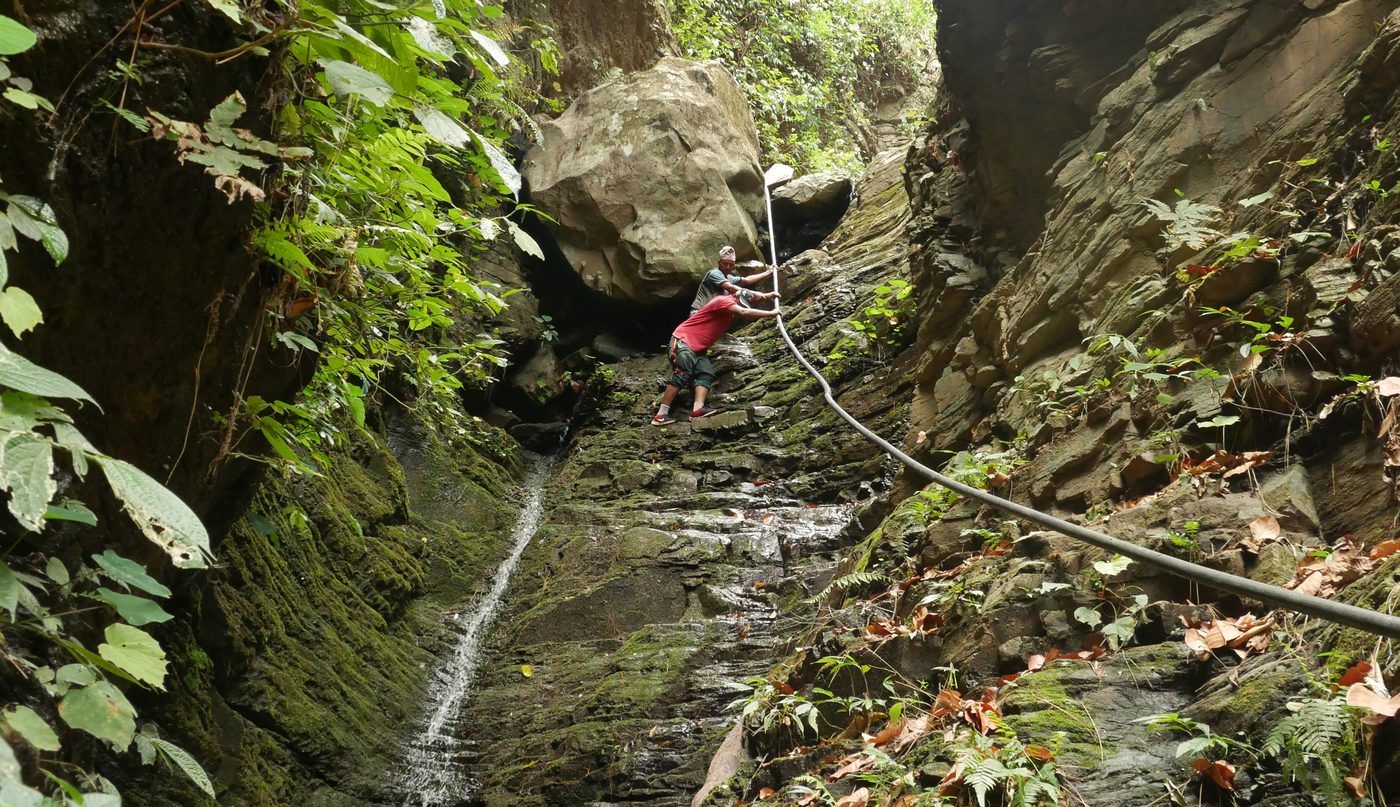
Protected Spring Box
Cap a natural spring at its eye with a sealed masonry box and pipe it to a raised tap, so people collect flowing water that never touches the contaminated surface.
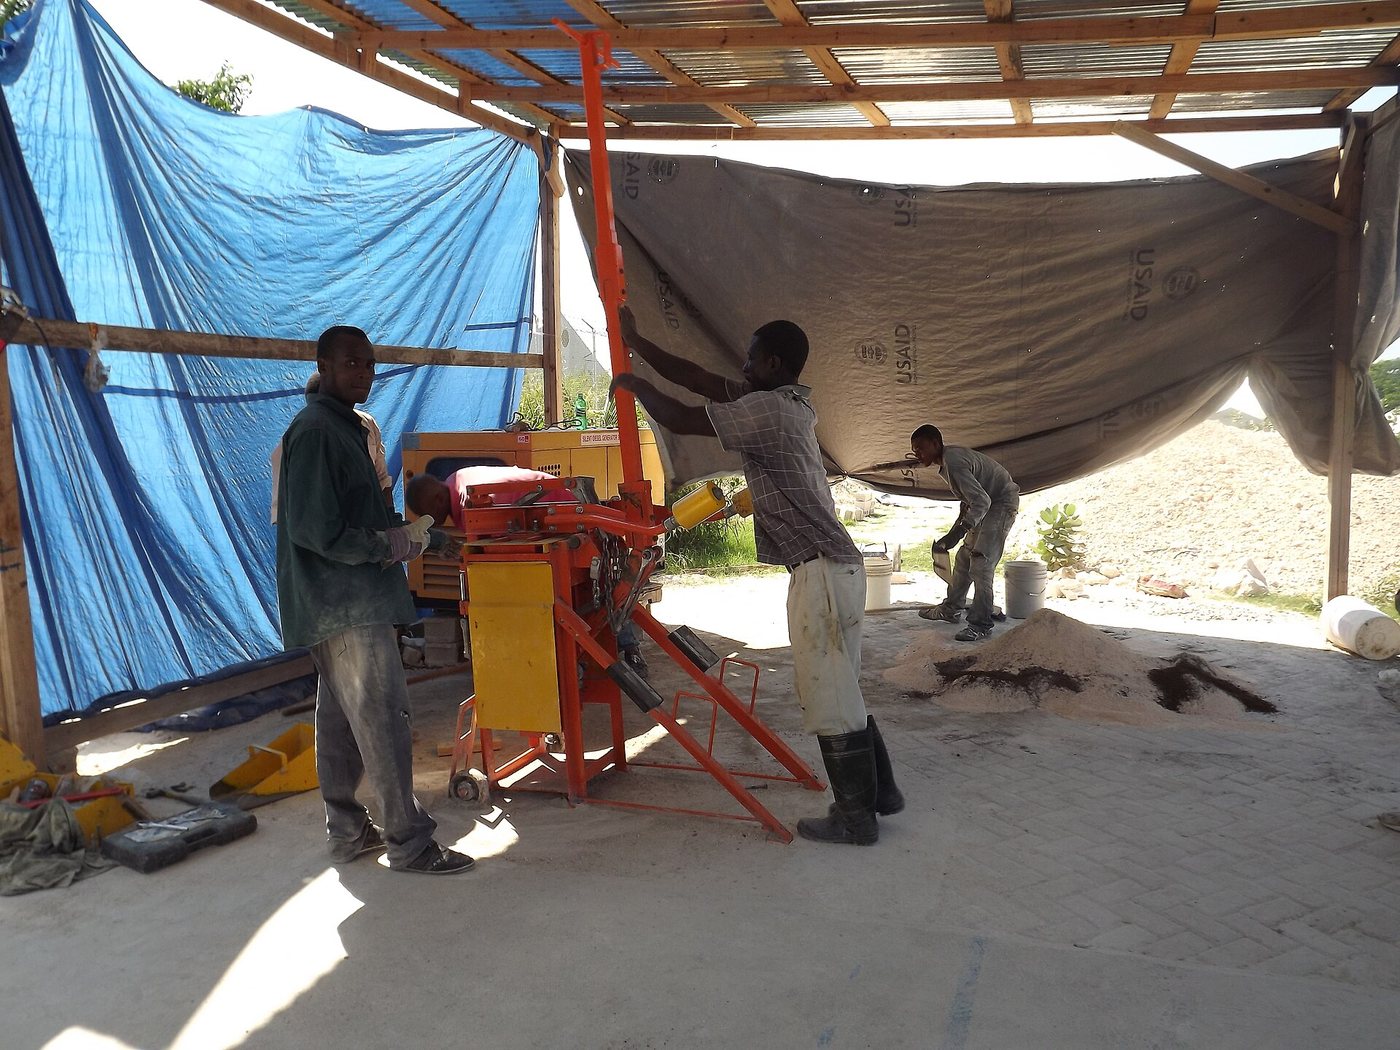
Manual Compressed Earth Block Press
A hand-built compound-lever press that turns local soil into load-bearing building blocks for about the price of a bag of cement.