
Protected Spring Box
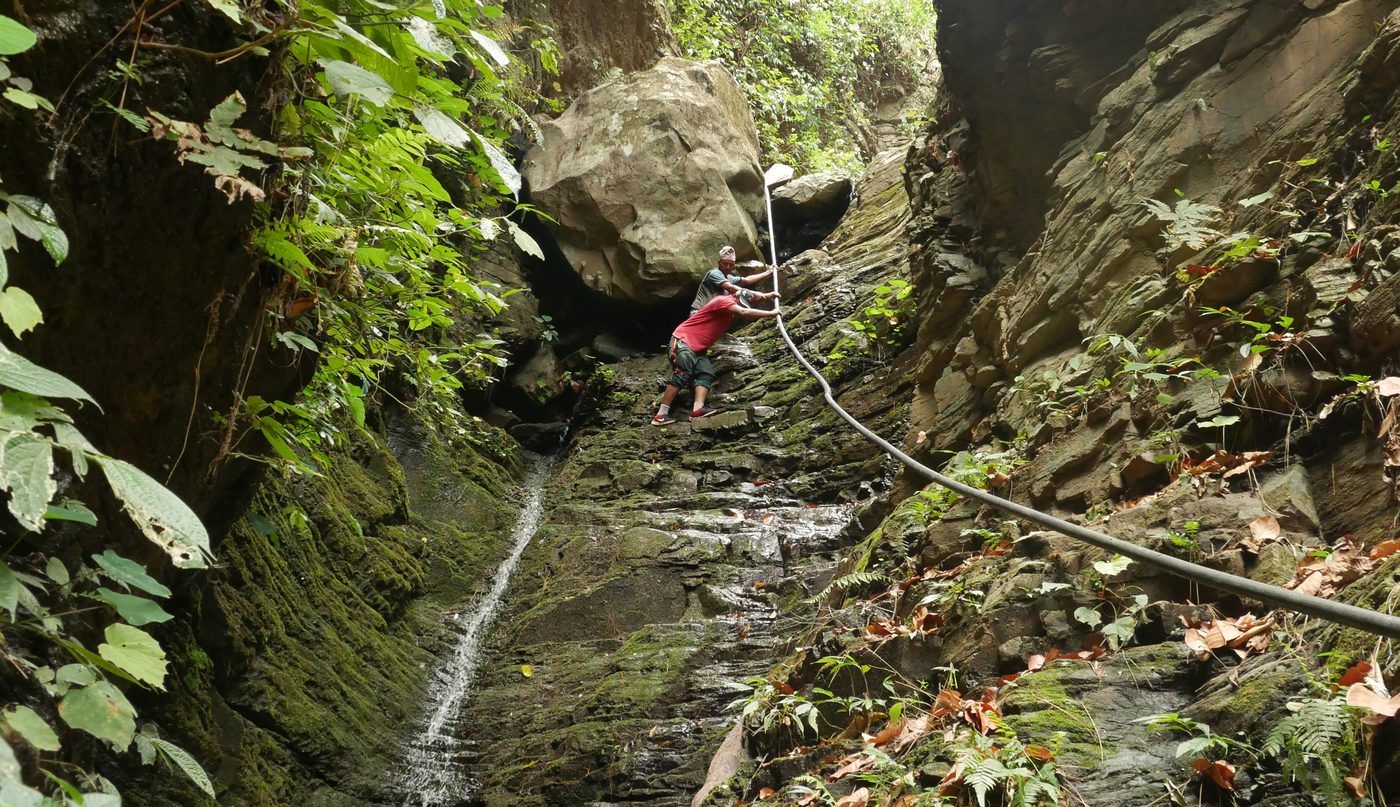
Cap a natural spring at its eye with a sealed masonry box and pipe it to a raised tap, so people collect flowing water that never touches the contaminated surface.
- Estimated cost
- $400 – $1,500 with community labour
- Skill level
- Intermediate
- Time
- 1 – 2 weeks
Not yet verified
No confirmed build with photo proof has been submitted for this plan yet. Built it? Send photos and it earns the badge.
Tools
- Shovels, picks and buckets
- Masonry trowel
- Pipe wrench
- Hacksaw
- Level
Short a tool or material? Builders below have often swapped something local in — read Local adaptations before you buy anything.
Materials
- Cement, sand and hard stone or blocks for the box
- Washed gravel and coarse sand for the infiltration face
- Puddled clay or plastic sheet for the cut-off seal
- Galvanised or HDPE outlet pipe, overflow pipe and a tap
- Lockable steel or reinforced concrete cover, fitted with a screened air vent
Dimensions & cut list
A masonry spring box capturing a hillside seep so it delivers clean water by gravity. These are the reference sizes from Appropedia / WASH field practice — scale them to what you have, but keep the ratios.
| Excavation | Dig back to the eye of the spring, 1–2 m into the slope |
|---|---|
| Box internal size | 1.0 × 1.0 × 1.0 m typical |
| Wall thickness | 150 mm masonry or 100 mm reinforced concrete |
| Intake face | Open into gravel — never seal the water side |
| Gravel pack behind intake | 300 mm of 20–40 mm stone, then 150 mm of coarse sand |
| Outlet pipe | 40–50 mm, set 100 mm above the floorSilt settles below the outlet |
| Overflow pipe | Same size as outlet, 50 mm below the lid |
| Clay cut-off cap | 500 mm puddled clay over the box and 2 m uphill |
| Diversion ditch | 5–10 m uphill of the box, 300 mm deep |
| Fenced exclusion zone | 15 m radius, no livestock, no latrines within 30 m uphill |
Take this list to the yard
- 6–8 × 50 kg bagsCement
- ≈ 1.2 m³Stone or blocks
- 0.5 m³Gravel 20–40 mm
- 0.3 m³Coarse sand
- 3 mGI pipe and screened outlet elbow
- 1Lockable steel or reinforced concrete lid
Step by step
Step 1 of 6
Find the true eye of the spring
Dig back into the slope until the water comes out of undisturbed ground, not out of loose surface soil. Protecting the wrong point protects nothing.
Swipe or use arrow keys
1. Find the true eye of the spring
Dig back into the slope until the water comes out of undisturbed ground, not out of loose surface soil. Protecting the wrong point protects nothing.
2. Build the box against the eye
Construct three watertight walls and a sealed floor, leaving the uphill face open to the water-bearing layer and backed with washed gravel.
3. Seal the top and sides
Lay puddled clay or plastic sheet over the box and 1 – 2 m uphill so surface water cannot seep in alongside the spring flow.
4. Fit outlet, overflow and washout
Set the outlet pipe 100 mm above the floor so silt settles below it. Add an overflow above the outlet and a washout at floor level for cleaning, both screened against vermin.
5. Build the collection apron
Cast a sloped concrete apron with a drainage channel to a soakaway or garden so the collection point never turns to mud.
6. Fence and divert
Cut a diversion ditch uphill, fence at least 10 m around the box against animals, and keep latrines at least 30 m away and downhill.
Why mine failed
The ways this build usually goes wrong, and what fixes it.
Flow drops after the box is built
CauseThe spring eye was sealed with masonry or mortar
FixThe water face must stay open into gravel. Break out any mortar over the eye and rebuild that face as a dry gravel pack — water needs to enter freely.
Water turns muddy after rain
CauseSurface water entering over or around the box
FixAdd the clay cut-off cap over the box and 2 m uphill, and cut the diversion ditch above it. Muddy water after rain always means surface ingress, not a spring problem.
Tests positive for contamination despite the box
CauseLivestock or latrines inside the protection zone
FixFence 15 m around and move latrines at least 30 m downhill. A perfect box below a cattle path is still unsafe water.
Safety notes
- A protected spring is only as safe as its catchment. Test the water and keep latrines, graveyards and cattle uphill of it out of the area.
- Never let the cover be left off or unlocked — an open box is an open contamination route.
- Support any excavation into a wet slope; saturated soil collapses easily.
- Clean the box with the washout at least twice a year and after any flood, and chlorinate it afterwards.
Source & attribution
This plan is our build-step write-up of work documented by Appropedia / WASH field practice. The original design and documentation belong to them — go read the source before you build.
Spring protectionLocal adaptations
What builders changed to make this work where they live.
Field note · Uganda
Water committees add a second tap and a cattle trough fed by the overflow, which keeps animals well away from the collection apron.
Build this alongside
Plans that use the same materials or serve the same need.
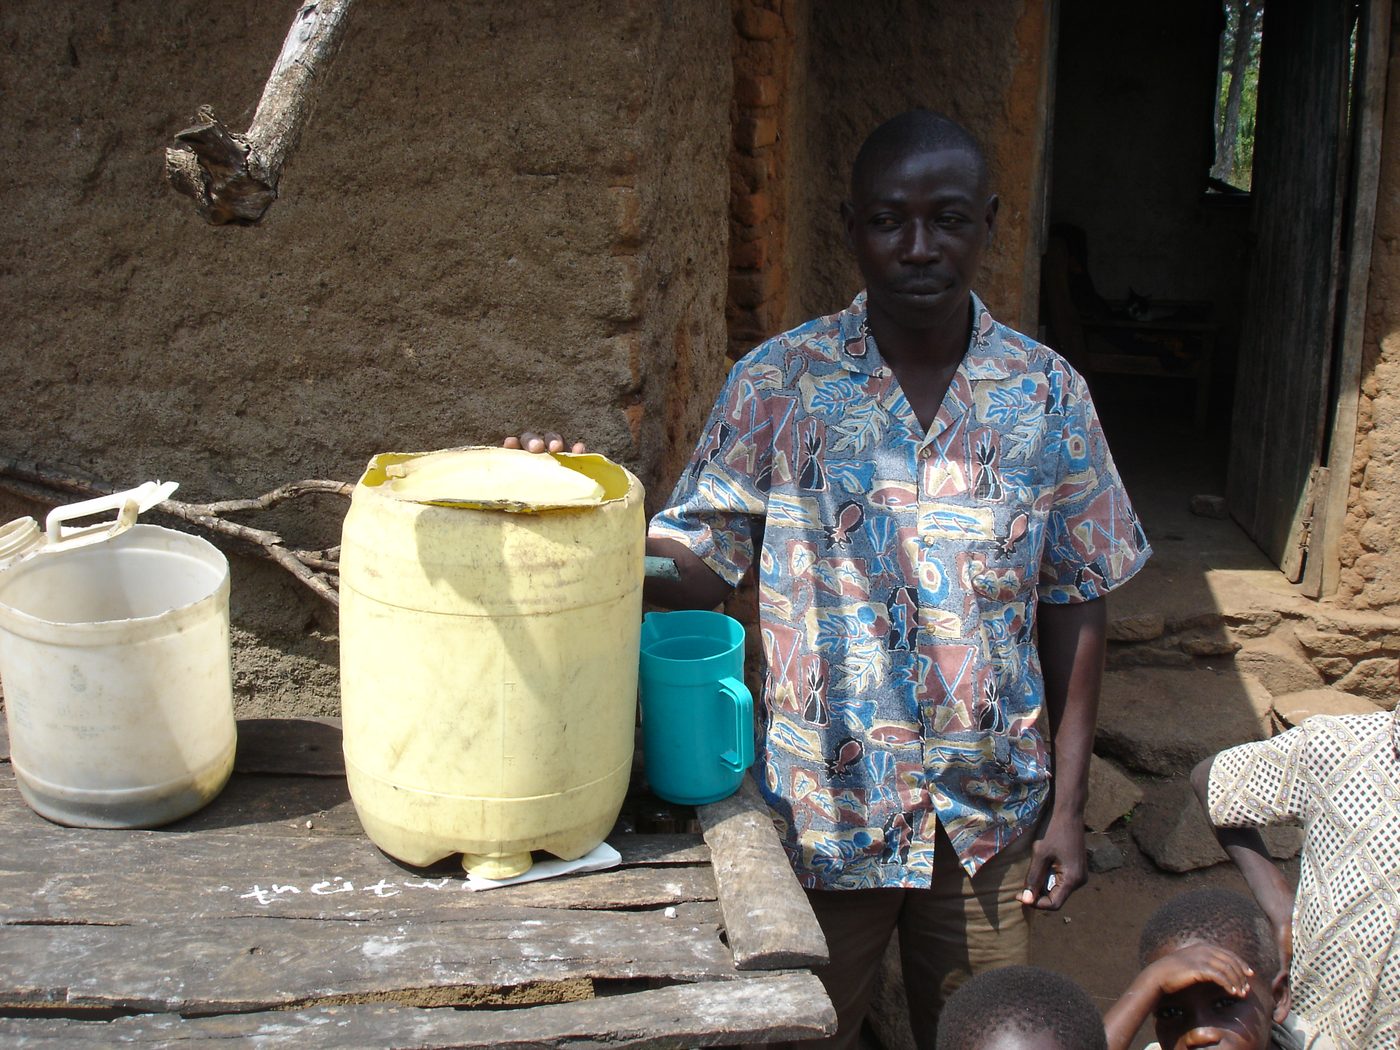
Concrete Biosand Water Filter
A household slow-sand filter in a concrete body that removes most pathogens and turbidity with no power, no cartridges and no ongoing cost.
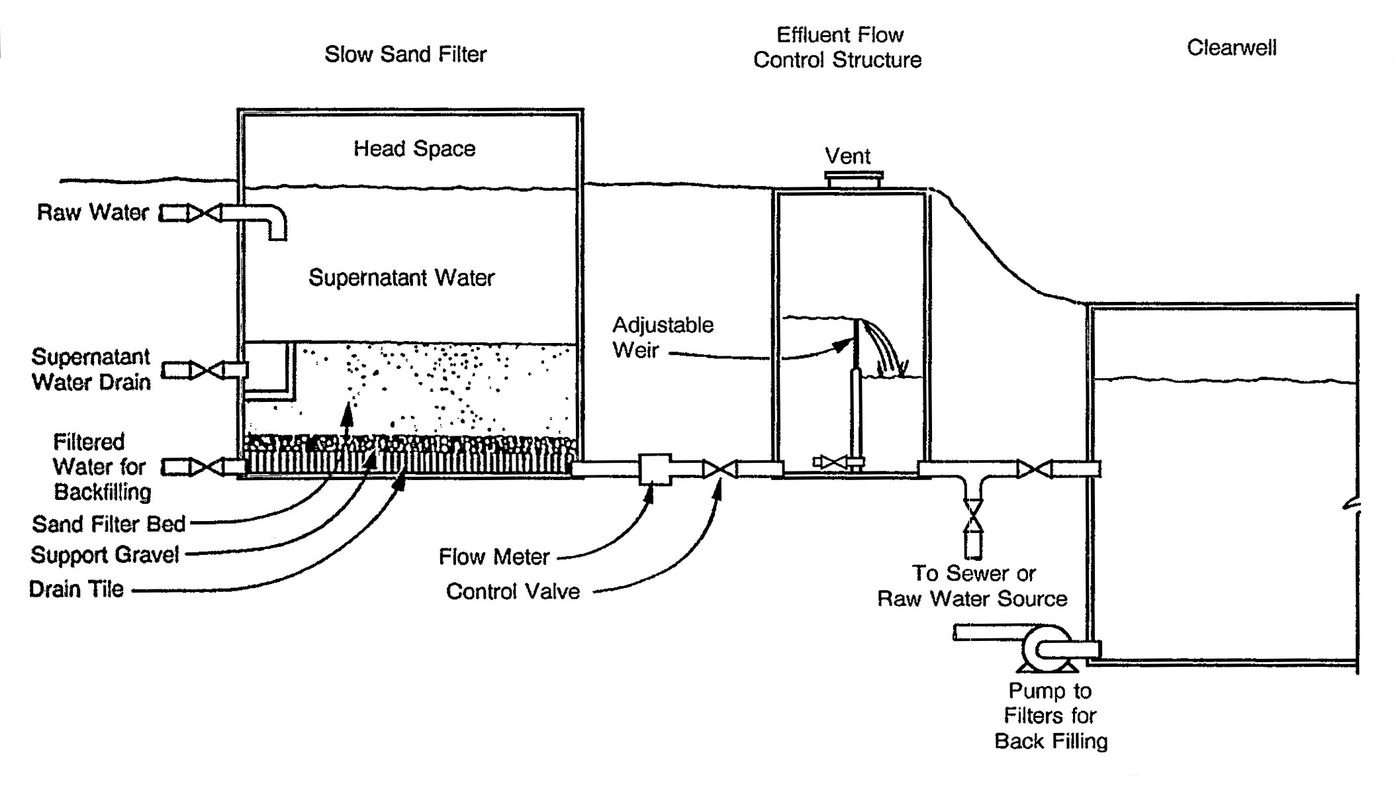
Community Slow Sand Filter
A tank of fine sand with a living biological layer on top that treats a household or small community's drinking water continuously, with no chemicals and no power.
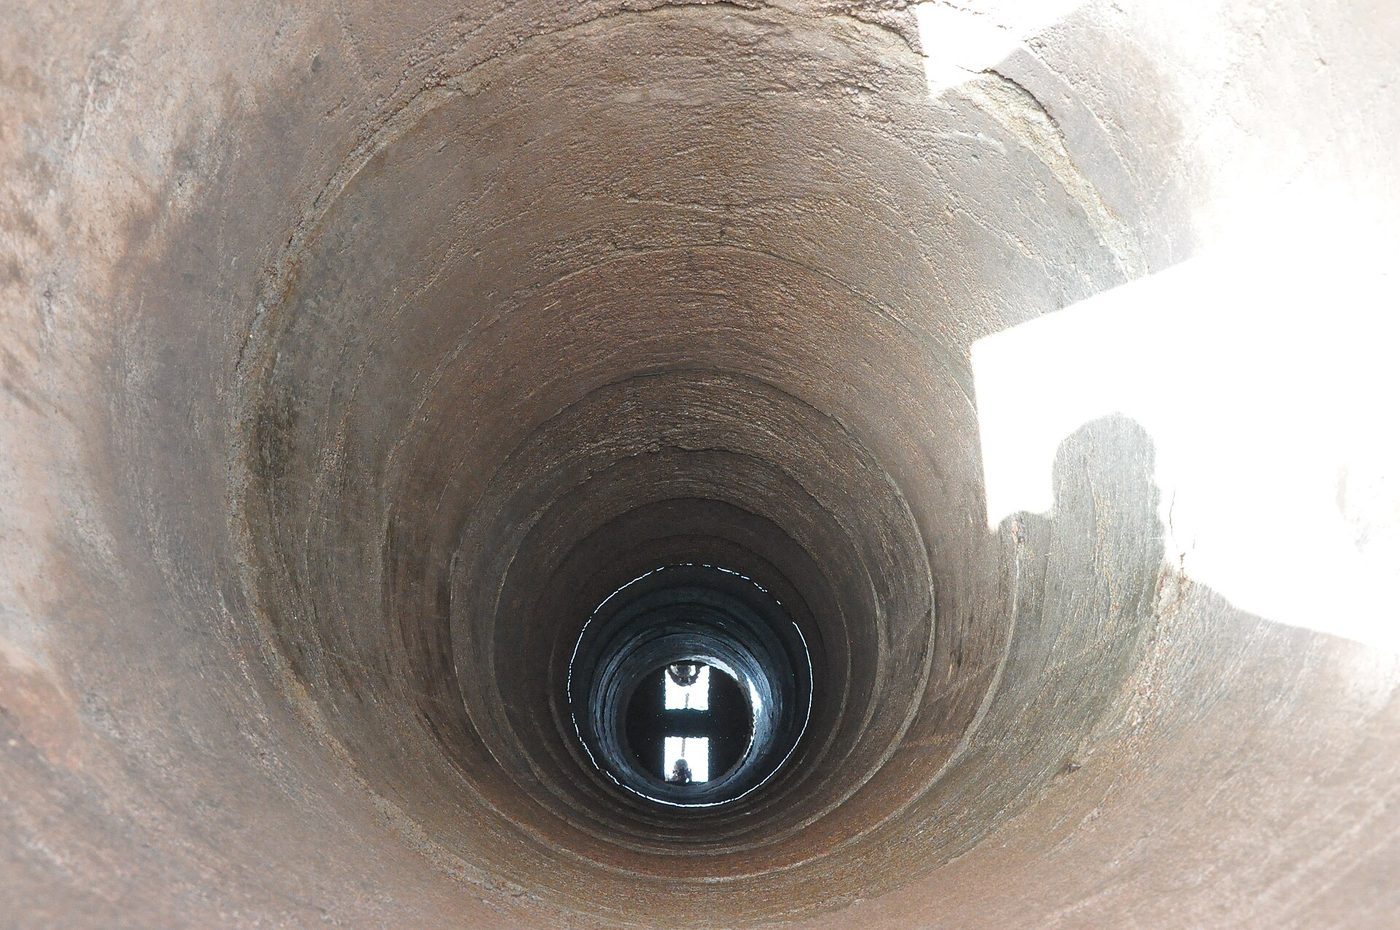
Hand-Dug Well with Concrete Ring Lining
Cast concrete rings on the surface, sink them as you dig, and finish with a sealed apron so the well does not contaminate itself.