
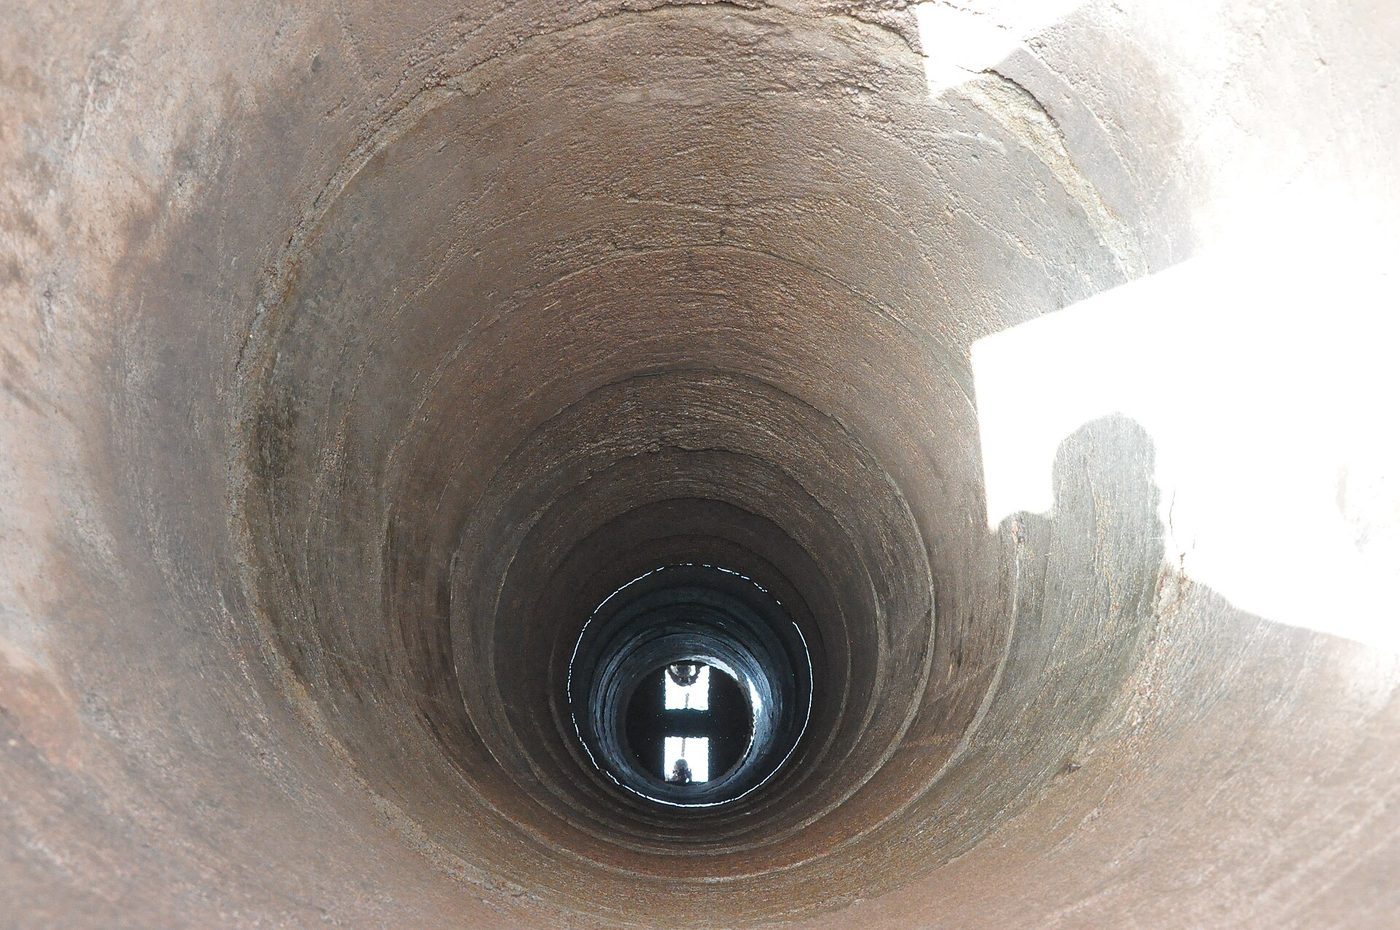
Hand-Dug Well with Concrete Ring Lining
Cast concrete rings on the surface, sink them as you dig, and finish with a sealed apron so the well does not contaminate itself.
- Estimated cost
- $400 – $1,200 depending on depth and cement price
- Skill level
- Advanced
- Time
- 2 – 6 weeks depending on ground and water table
Not yet verified
No confirmed build with photo proof has been submitted for this plan yet. Built it? Send photos and it earns the badge.
Tools
- Ring mould (steel or timber, reusable)
- Digging tools: short-handled hoe, pick, bucket and rope
- Tripod with pulley or windlass
- Concrete mixing platform and tools
- Level, plumb bob and measuring tape
- Hand pump or bailing bucket for dewatering
Short a tool or material? Builders below have often swapped something local in — read Local adaptations before you buy anything.
Materials
- Cement, sand and 10 mm gravel for rings, apron and cover slab
- 6 mm reinforcement bar and binding wire
- Gravel pack for the base, 100 – 200 mm
- Timber for a tripod and shuttering
- Rope, buckets and a strong headworks cover
Dimensions & cut list
Lining a 1.2 m diameter hand-dug well to 12 m with pre-cast concrete rings. These are the reference sizes from Practical Action / Engineers Without Borders — scale them to what you have, but keep the ratios.
| Well diameter | 1.2 m internal |
|---|---|
| Ring dimensions | 1.2 m ID, 75 mm wall, 500 mm tall |
| Ring reinforcement | 6 mm bar, two hoops plus verticals at 200 mm |
| Concrete mix | 1 : 2 : 3, cured wet 7 days minimum |
| Infiltration rings | Bottom 3 m perforated with 20 mm holes at 150 mm spacing |
| Sanitary seal | Top 3 m grouted watertight behind the ringsThis seal is what keeps surface filth out of your water |
| Headwall | 600 mm above ground, with a 2 m apron sloped 1:50 to a drain |
| Cover slab | 100 mm reinforced, with a lockable manhole |
Take this list to the yard
- 24Pre-cast concrete rings
- ≈ 30 bagsCement
- 150 m6 mm reinforcement bar
- 0.5 m³Gravel pack for the base
- 1 setTripod, windlass and bucket
- 1 setRope, harness and a helmet for the diggerNever dig with fewer than three people, and test for bad air with a candle before descending
Step by step
Step 1 of 8
Site the well correctly
At least 30 m from any latrine, animal pen or soakaway, and uphill of them wherever the ground slopes. This single decision decides whether the well is safe water or a slow disease source.
Swipe or use arrow keys
1. Site the well correctly
At least 30 m from any latrine, animal pen or soakaway, and uphill of them wherever the ground slopes. This single decision decides whether the well is safe water or a slow disease source.
2. Cast the rings
Cast reinforced concrete rings roughly 1.2 m internal diameter, 300 mm tall and 75 mm thick, in a reusable mould. Cure them wet under sacking for at least seven days before they go anywhere near the shaft.
3. Dig and sink by caisson
Dig the shaft down about a metre, drop the first ring in, and keep excavating beneath its cutting edge so it sinks under its own weight. Stack the next ring on top and repeat. The lining follows the dig, so the walls never stand unsupported.
4. Ventilate and watch the air
Lower a lit candle before anyone descends. If it dims or dies, do not enter — the shaft is oxygen-poor. Rig a hand blower or sheet-metal wind scoop for deeper work and keep a rope on anyone below.
5. Finish the water column
Once you are a metre or two into the water-bearing layer, place perforated rings and backfill 100 – 200 mm of washed gravel in the base to stop the well pumping silt.
6. Seal the top three metres
Grout the annulus around the top three metres of rings with clay or lean concrete. This sanitary seal is what stops surface runoff and shallow filth from short-circuiting straight into your water.
7. Cast apron, drain and cover
Pour a 2 m apron sloped away from the well to a drainage channel and soakaway, then fit a lockable cover slab with a small access hatch and a pump or fixed drawing bucket kept off the ground.
8. Disinfect and test
Shock-chlorinate the finished well, pump it out, and have the water tested before the household relies on it. Retest after the first heavy rains.
Why mine failed
The ways this build usually goes wrong, and what fixes it.
Well water tests positive for faecal contamination
CauseNo sanitary seal, or surface water running back down the outside of the lining
FixGrout the top 3 m watertight behind the rings, build a 600 mm headwall and a 2 m sloped apron draining away to a soak pit, and keep latrines 30 m away and downhill.
Rings crack or shift as you sink them
CauseUnder-reinforced rings or uneven undercutting
FixReinforce with 6 mm hoops and verticals, cure 7 days wet, and undercut evenly all round so the stack drops level.
Well runs dry in the late dry season
CauseNot deep enough into the aquifer
FixDeepen at the end of the dry season, when the water table is at its lowest — a well dug in the wet season always disappoints.
Digger feels dizzy at depth
CauseBad air (CO₂ pocket) in the shaft
FixStop immediately and haul them up. Lower a lit candle first each morning: if it dies, ventilate with a fan and duct before anyone goes down.
Safety notes
- Shaft collapse and bad air kill well diggers every year. Never dig unsupported ground, never work alone, and always candle-test the air before descent.
- Everyone below wears a hard hat and a safety rope tended by someone at the top; nobody stands at the shaft mouth where tools can fall in.
- Communal drawing buckets set on the ground are a main contamination route — fix a dedicated bucket to the headworks or fit a pump.
- Get local hydrogeological advice before digging. A dry hole is expensive and a collapsed hole is worse.
Source & attribution
This plan is our build-step write-up of work documented by Practical Action / Engineers Without Borders. The original design and documentation belong to them — go read the source before you build.
Hand-dug well construction and sanitary sealingLocal adaptations
What builders changed to make this work where they live.
Ibrahim S. · Ségou, Mali
The sand kept running in below the water table, so we sank the last three rings with an interlocking lip and a heavier ring on top. Sank straight and clean after that.
Build this alongside
Plans that use the same materials or serve the same need.
Concrete Biosand Water Filter
A household slow-sand filter in a concrete body that removes most pathogens and turbidity with no power, no cartridges and no ongoing cost.
Hand-Auger Borehole
Drill a small-diameter well by hand with a rotating auger and extension rods, then case and develop it — reaching cleaner water than an open dug well at a fraction of a rig's cost.
Sand Dam on a Seasonal River
Build a reinforced concrete wall across a sandy seasonal riverbed so each flood leaves coarse sand behind — a buried reservoir that holds clean water through the dry season.