
Hand-Auger Borehole
Drill a small-diameter well by hand with a rotating auger and extension rods, then case and develop it — reaching cleaner water than an open dug well at a fraction of a rig's cost.
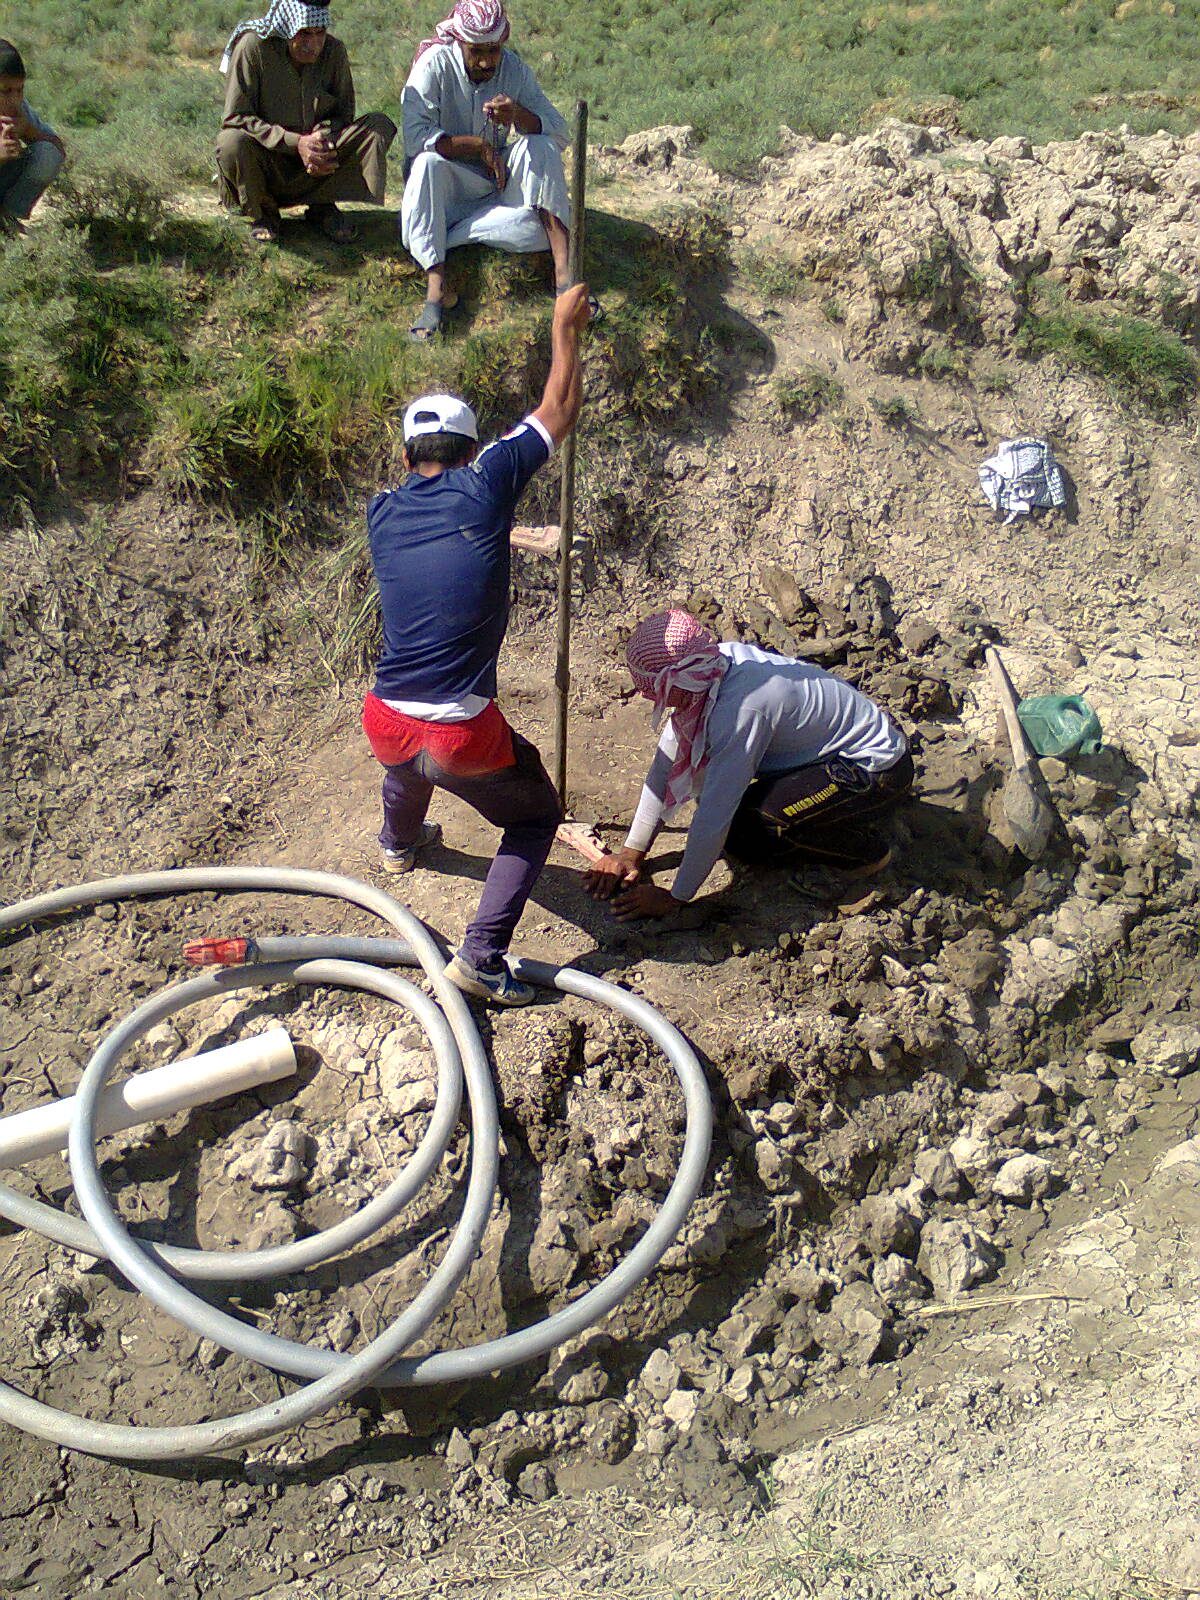
- Estimated cost
- $400 – $900 for an auger set, casing, screen and pump
- Skill level
- Advanced
- Time
- 2 – 5 days to 15 m in soft ground
Not yet verified
No confirmed build with photo proof has been submitted for this plan yet. Built it? Send photos and it earns the badge.
Tools
- Hand auger head set (edelman and riverside bits)
- Extension rods and T-handle
- Pipe wrenches and rod clamp
- Tripod with pulley for pulling rods
- Bailer and measuring tape
Short a tool or material? Builders below have often swapped something local in — read Local adaptations before you buy anything.
Materials
- PVC well casing, 110 mm, plus slotted screen sections
- Gravel pack, 2 – 4 mm, washed
- Bentonite or clay for the sanitary seal
- Cement for the surface apron
- Handpump or rope pump head works
Dimensions & cut list
A hand-drilled borehole in soft sediment, cased and fitted with a hand pump. These are the reference sizes from Appropedia / PRACTICA manual drilling manuals — scale them to what you have, but keep the ratios.
| Practical depth | 10–25 m in sand, silt and soft clayStops dead at rock or hard laterite |
|---|---|
| Borehole diameter | 125–150 mm |
| Casing | 100–110 mm uPVC, slotted for the bottom 3 m |
| Slot size | 1 mm cuts, 20 per 100 mm of pipe |
| Gravel pack | 2–4 mm washed gravel, 3 m above the screen |
| Sanitary seal | 3 m of clay or cement grout from surface down |
| Headworks apron | 2 m × 2 m concrete, sloped 1:50 to a soakaway |
| Team and time | 4 people, 2–5 days to 20 m |
Take this list to the yard
- 1 set, 25 m of rodAuger set with extension rods
- depth + 1 muPVC casing, 110 mm
- 3 mSlotted screen pipe
- ≈ 0.1 m³Washed gravel
- 3 × 50 kg bagsCement for seal and apron
- 1Hand pump (rope or piston)
Step by step
Step 1 of 6
Survey before you drill
Site at least 30 m from any latrine or animal pen and uphill of it. Ask neighbours the depth and yield of nearby wells — that local knowledge beats guesswork.
Swipe or use arrow keys
1. Survey before you drill
Site at least 30 m from any latrine or animal pen and uphill of it. Ask neighbours the depth and yield of nearby wells — that local knowledge beats guesswork.
2. Start the hole plumb
Dig a starter pit and keep the first two metres dead vertical. Every degree off at the top becomes a stuck rod string at depth.
3. Auger, withdraw, empty, repeat
Turn until the bit is full, then hoist, empty and return. Below the water table, switch to the riverside bit and keep the hole full of water to stop collapse.
4. Log the layers
Lay each spoil load out in order and note the depth of every change. This log tells you where to place the screen — the single most important decision in the job.
5. Case, screen and gravel-pack
Lower the casing with screen against the water-bearing sand, then pour gravel into the annulus while gently pulling the temporary casing. Keep the gravel above the screen top.
6. Seal, develop and test
Cap the annulus with clay or bentonite to 3 m depth and pour a concrete apron. Surge and bail until the water runs clear, then test yield over several hours before installing the pump.
Why mine failed
The ways this build usually goes wrong, and what fixes it.
Hole collapses as fast as you drill
CauseLoose sand below the water table with no support
FixKeep the hole full of water or thin bentonite/clay slurry to hold the wall, and follow the bit down with temporary casing. Never bail the hole dry while drilling in sand.
Water stays cloudy weeks after completion
CauseGravel pack too fine or screen slots too wide, so fines pass
FixDevelop the well properly — surge and pump hard for several hours until it clears. If it still runs turbid, the screen is passing sand: it must be pulled and repacked with 2–4 mm washed gravel.
Auger stops dead and will not cut
CauseRock, laterite or gravel layer
FixHand augering ends at rock. Move the site 10–20 m and try again rather than forcing rods — a bent or lost rod string ends the whole job.
Safety notes
- Test the finished water for bacteria and, where relevant, arsenic, fluoride and nitrate before anyone drinks it.
- A rod string under tension can whip. Keep hands off the rope path and everyone clear of the tripod legs.
- Never enter a caving hole. Hand augering is a from-surface method.
- The sanitary seal is not optional — an unsealed annulus routes surface contamination straight into your water.
Source & attribution
This plan is our build-step write-up of work documented by Appropedia / PRACTICA manual drilling manuals. The original design and documentation belong to them — go read the source before you build.
Hand auger drillingLocal adaptations
What builders changed to make this work where they live.
- No adaptations shared yet for this plan.
Build this alongside
Plans that use the same materials or serve the same need.
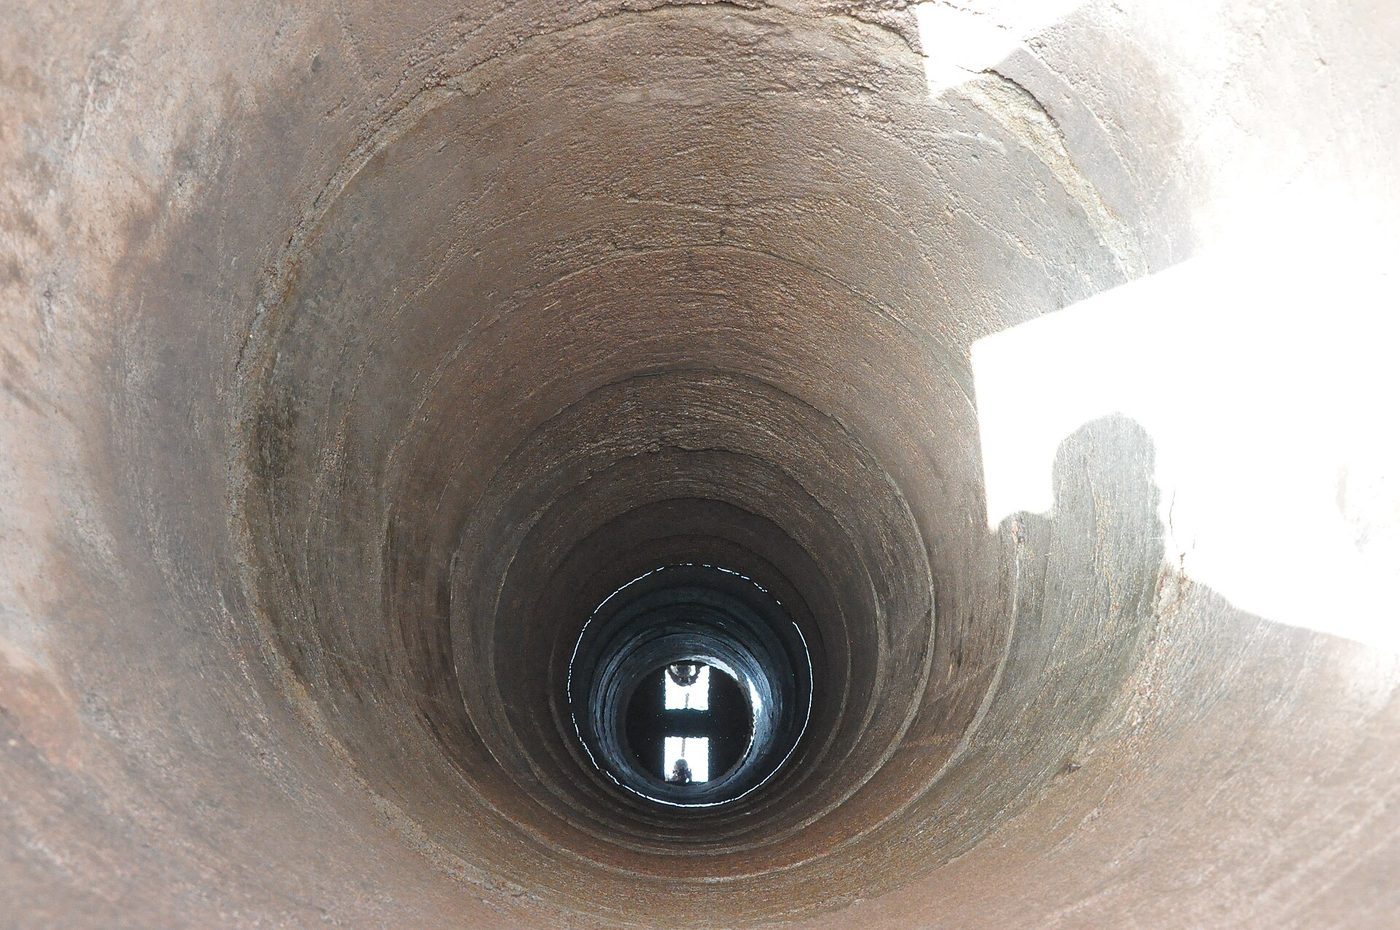
Hand-Dug Well with Concrete Ring Lining
Cast concrete rings on the surface, sink them as you dig, and finish with a sealed apron so the well does not contaminate itself.
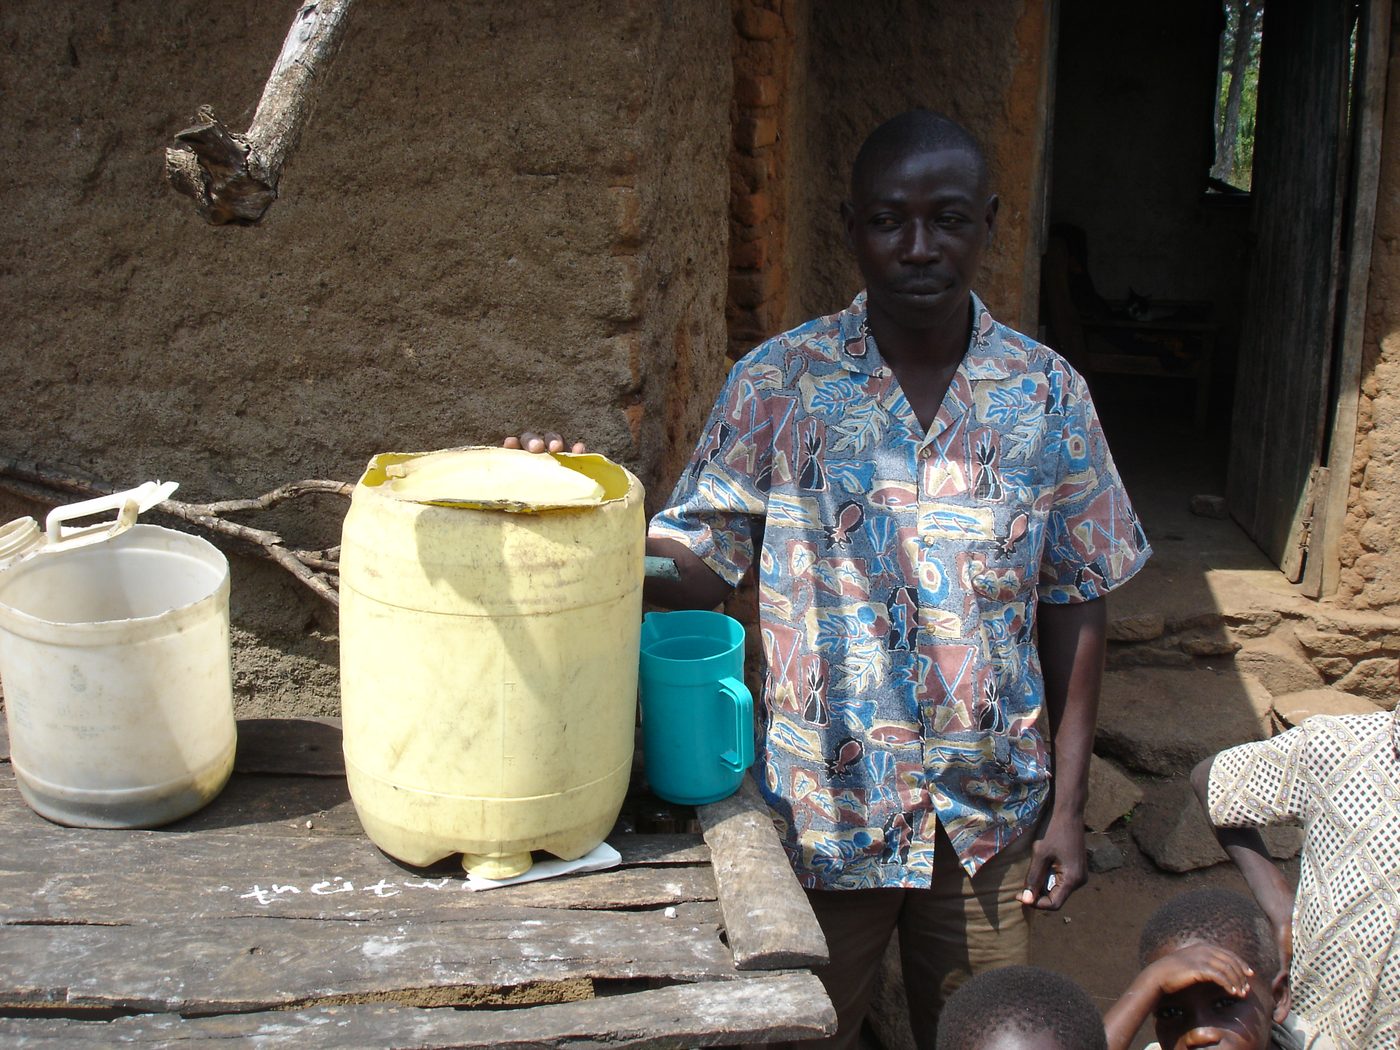
Concrete Biosand Water Filter
A household slow-sand filter in a concrete body that removes most pathogens and turbidity with no power, no cartridges and no ongoing cost.
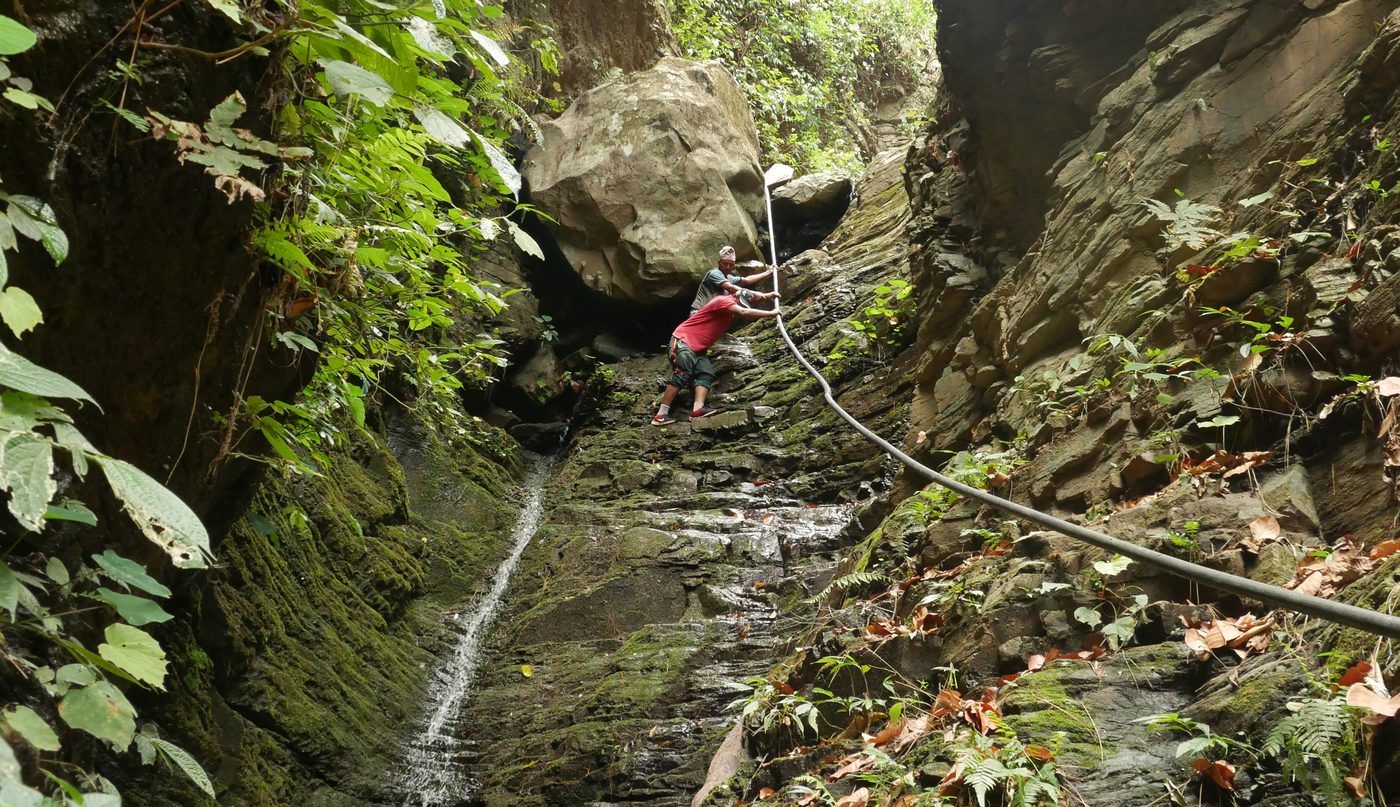
Protected Spring Box
Cap a natural spring at its eye with a sealed masonry box and pipe it to a raised tap, so people collect flowing water that never touches the contaminated surface.