
Soil-Cement Floor Slab
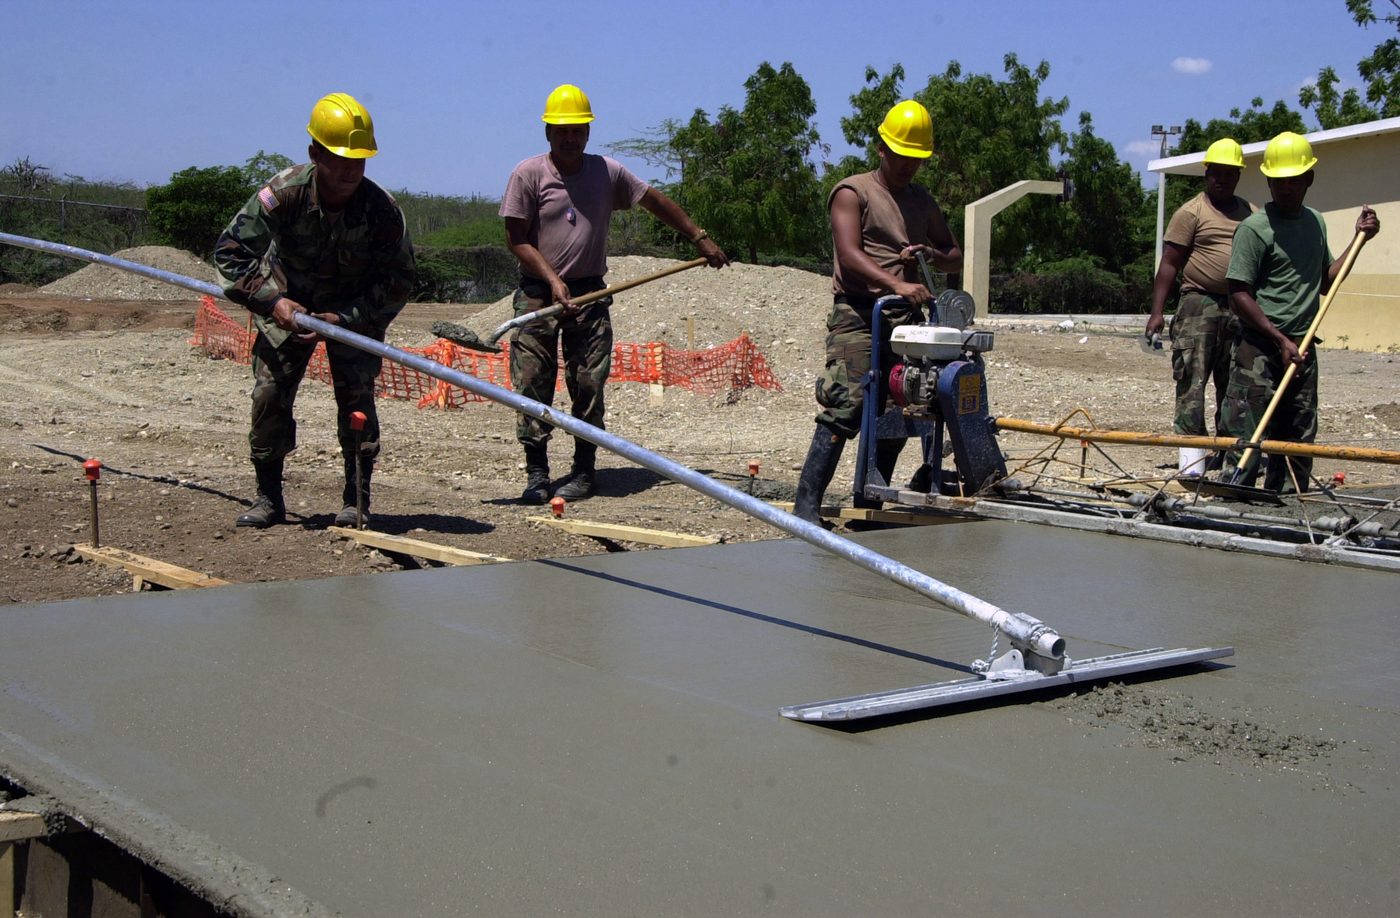
Replace a dust floor with a compacted, cement-stabilised earth slab that sweeps clean, resists damp and costs a fraction of a full concrete pour.
- Estimated cost
- $90 – $250 for a 20 m² room
- Skill level
- Intermediate
- Time
- 2 days to lay, 7 days moist curing
Not yet verified
No confirmed build with photo proof has been submitted for this plan yet. Built it? Send photos and it earns the badge.
Tools
- Hand tamper or plate compactor
- Screed board and wooden float
- Steel trowel
- Wheelbarrow and shovels
- Spirit level and screed rails
Short a tool or material? Builders below have often swapped something local in — read Local adaptations before you buy anything.
Materials
- Sandy sub-soil, low clay, screened of stones over 20 mm
- Cement at roughly 1 part to 10 – 12 of soil by volume
- Clean water
- Damp-proof plastic sheeting, 250 micron
- Hardcore stone for the base layer
Dimensions & cut list
A stabilised soil-cement floor slab over 20 m² of an existing earth floor. These are the reference sizes from Appropedia / stabilised earth construction guides — scale them to what you have, but keep the ratios.
| Slab thickness | 75 mm compactedLaid in one layer over a prepared hardcore base |
|---|---|
| Hardcore base | 100 mm of compacted rubble or coarse stone |
| Cement content | 8–10% by weight of dry soil |
| Soil grading | Sandy soil, under 20% clay, no organic matter |
| Mix moisture | Optimum by drop test — just damp enough to hold a ball |
| Compaction | Hand-rammed in strips, then screeded |
| Curing | Kept damp under plastic or sacking for 7 daysThis is the step people skip, and it is why floors dust up later |
| Finish | Steel-trowelled, then sealed with linseed oil or a lime wash |
Take this list to the yard
- ≈ 8 bags for 20 m²Cement
- 1.8 m³Screened sandy subsoil
- 2 m³Hardcore stone
- 25 m²Plastic sheet or sacking for curing
- 1 setScreed board, ram and steel float
- 4 litresLinseed oil for sealing
Step by step
Step 1 of 6
Excavate and lay hardcore
Strip organic soil, level, then compact 100 mm of hardcore. Any soft spots left now will show as cracks in six months.
Swipe or use arrow keys
1. Excavate and lay hardcore
Strip organic soil, level, then compact 100 mm of hardcore. Any soft spots left now will show as cracks in six months.
2. Lay a damp-proof membrane
Roll plastic sheeting across the whole floor, lapped 300 mm at joints and turned up 100 mm at the walls. This is what keeps ground moisture out of the room.
3. Mix soil and cement dry, then damp
Mix soil and cement dry until the colour is even, then add water to optimum moisture — a squeezed ball holds together and leaves no water on the palm.
4. Place in one continuous pour
Work in bays between screed rails, 75 – 100 mm thick. Place, tamp hard, then screed level. Finish each bay before the mix passes 90 minutes from wetting.
5. Float and trowel the surface
Wood-float once the surface stiffens, then steel-trowel for a hard, sweepable finish. Over-troweling a soil-cement mix brings fines to the top and causes dusting.
6. Cure wet for a full week
Cover with plastic or wet sacking and keep it damp for seven days. Curing — not cement content — is what usually decides whether the floor holds up.
Why mine failed
The ways this build usually goes wrong, and what fixes it.
Floor dusts up within months
CauseNot cured, or too little cement
FixKeep it damp under plastic or sacking for seven full days and use 8–10% cement. Curing is free and it is what makes the floor last.
Floor cracks in a pattern of squares
CauseClayey soil shrinking
FixUse a sandy soil with under 20% clay and no organic matter. Test a small panel before committing to the whole room.
Surface crumbles under foot traffic
CauseMix too wet and poorly compacted
FixMix to the drop test — just damp — and hand-ram in strips before screeding. A soupy mix always gives a weak surface.
Damp comes up through the floor
CauseNo hardcore base or DPC
FixLay 100 mm of compacted hardcore, and a polythene DPC under the slab where the ground stays wet.
Safety notes
- Cement burns skin and eyes. Wear gloves and rinse splashes immediately.
- Mixing dry cement raises silica dust — wear a mask and mix outdoors or with the doors open.
- Do not walk on the slab for 24 hours or load it for a week.
- Skip this floor in rooms that flood; a stabilised earth slab is water-resistant, not waterproof.
Source & attribution
This plan is our build-step write-up of work documented by Appropedia / stabilised earth construction guides. The original design and documentation belong to them — go read the source before you build.
Soil-cementLocal adaptations
What builders changed to make this work where they live.
- No adaptations shared yet for this plan.
Build this alongside
Plans that use the same materials or serve the same need.
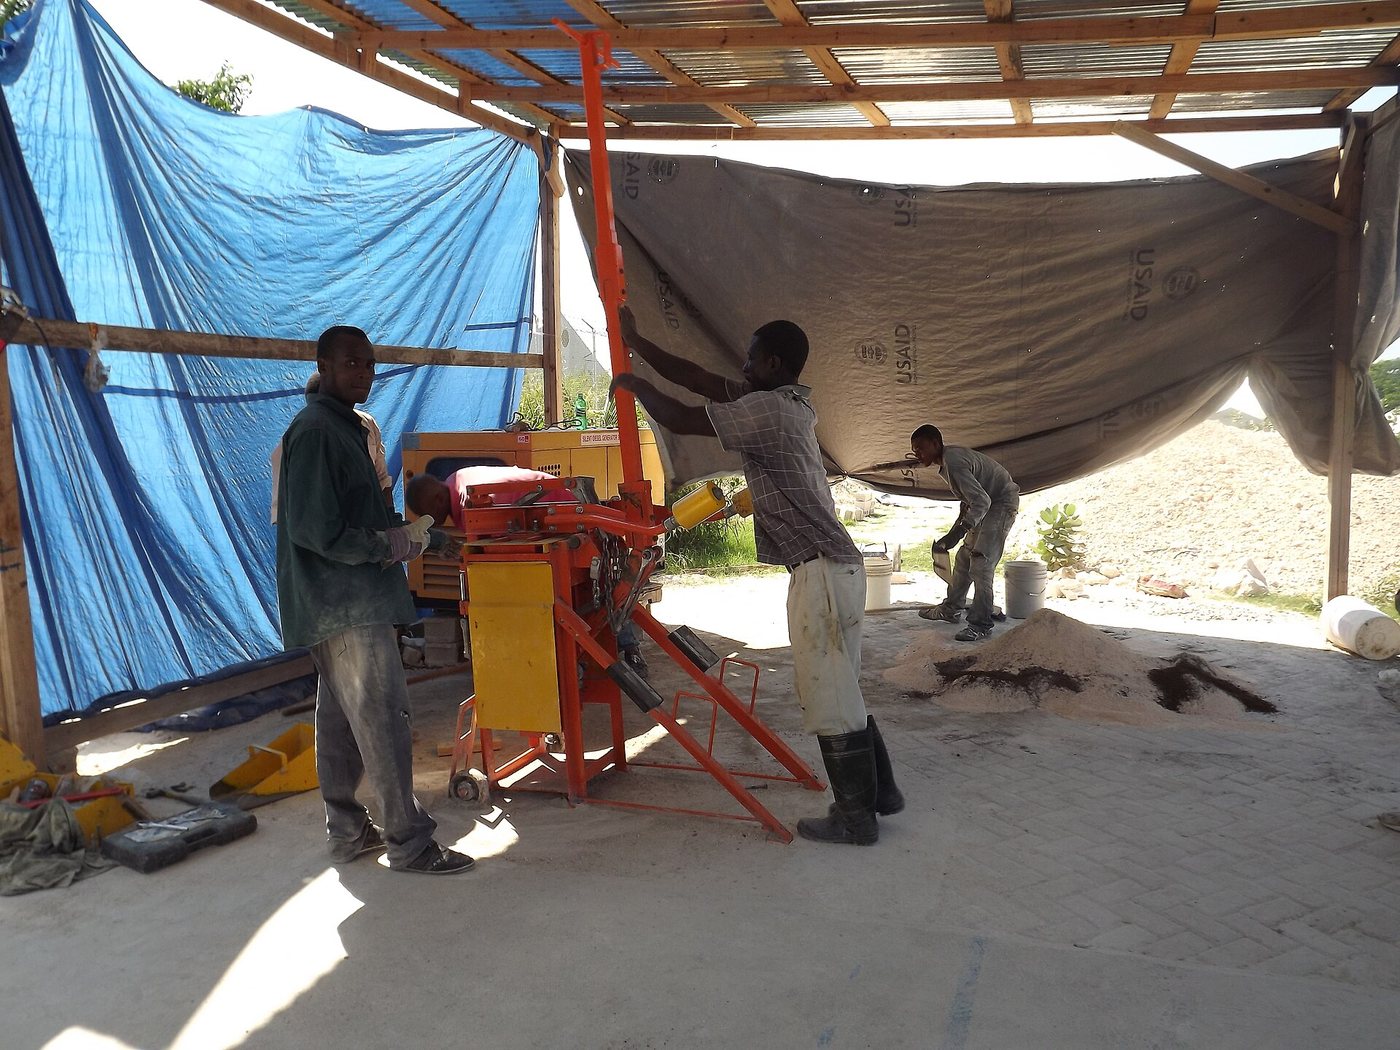
Manual Compressed Earth Block Press
A hand-built compound-lever press that turns local soil into load-bearing building blocks for about the price of a bag of cement.
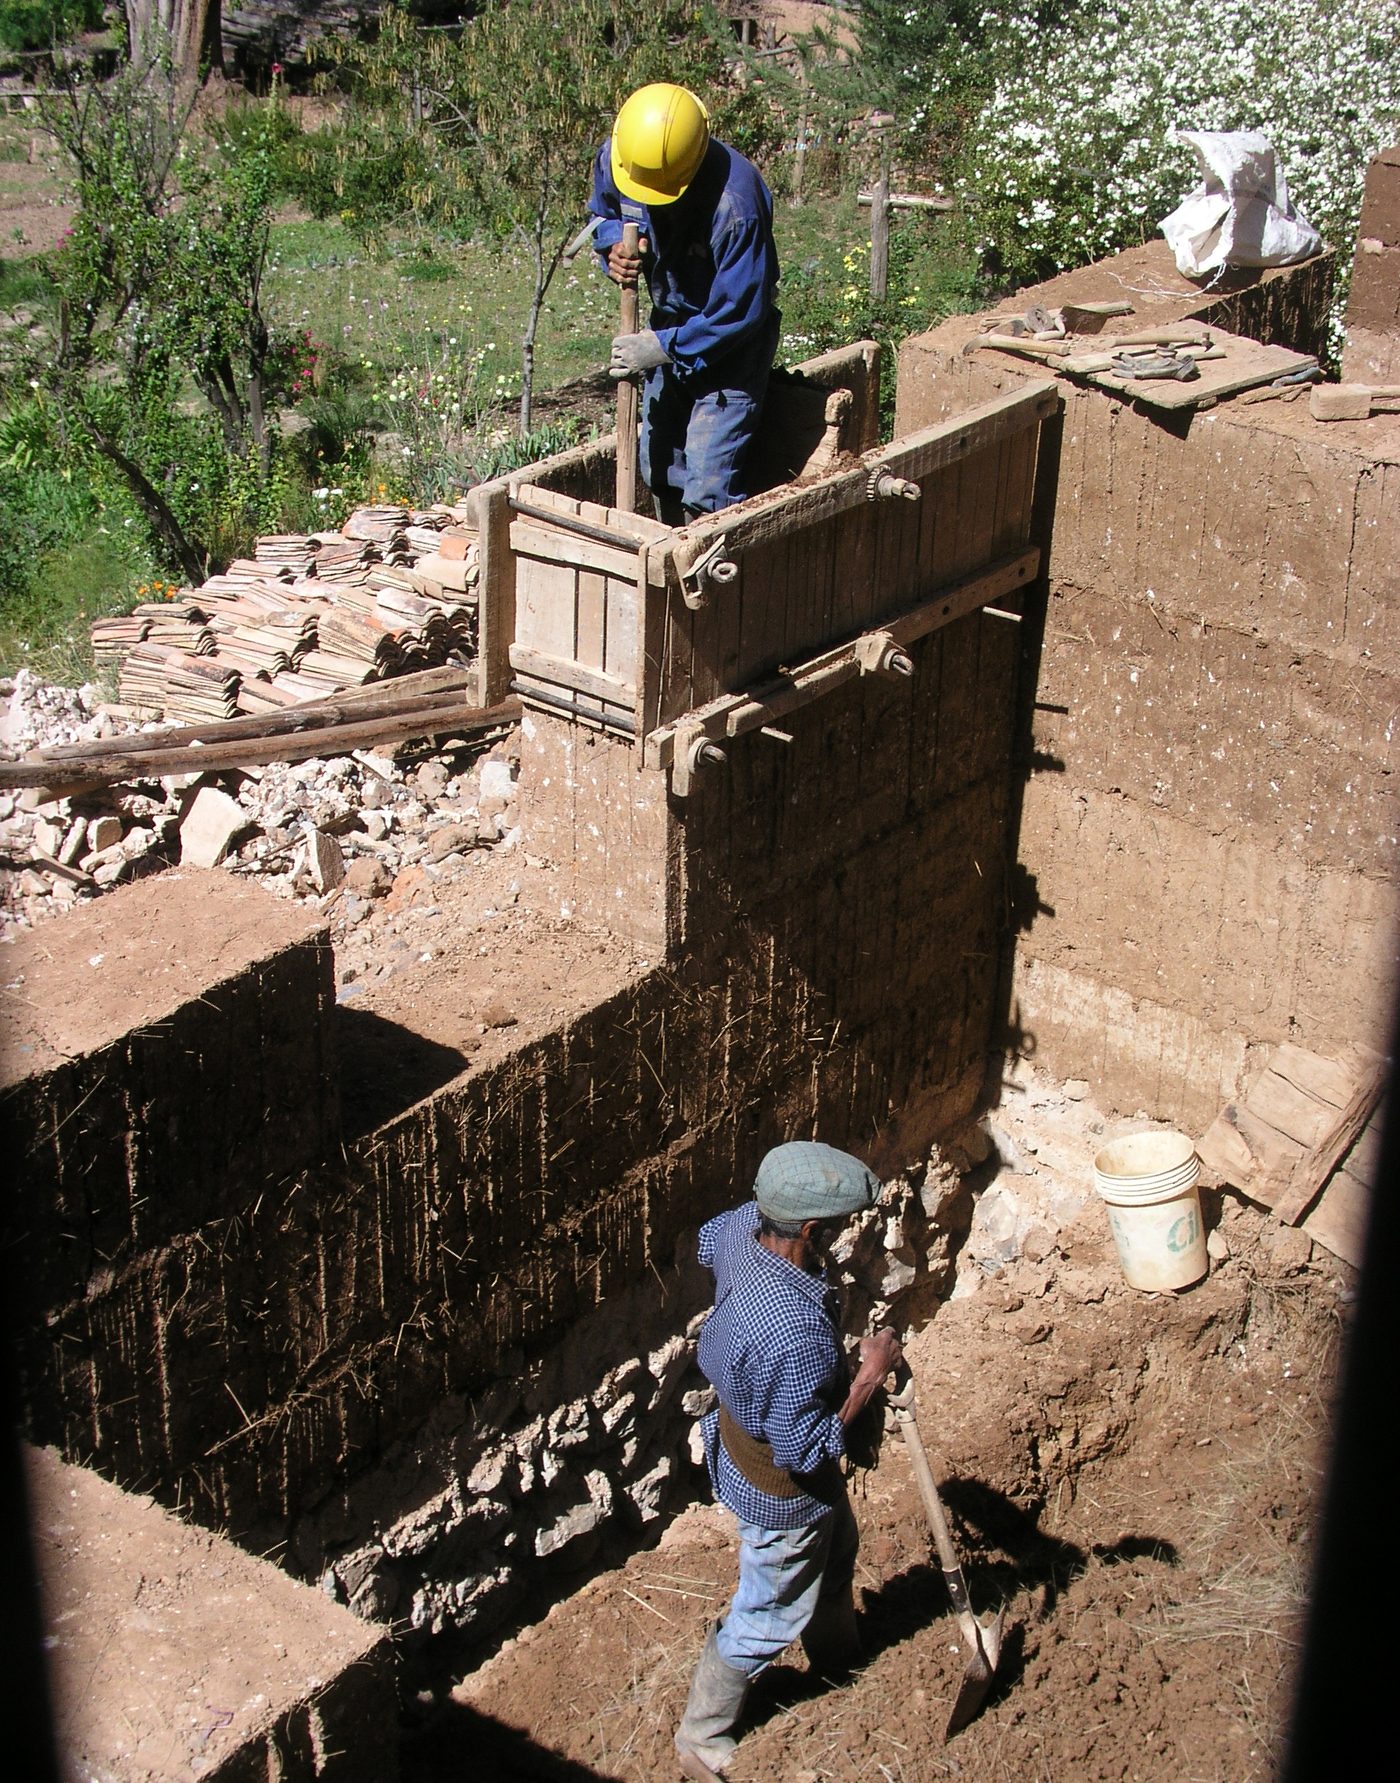
Rammed Earth Wall with Reusable Formwork
Tamp moist sub-soil in timber shuttering to raise thick, thermally massive walls that stay cool through the hottest afternoon.
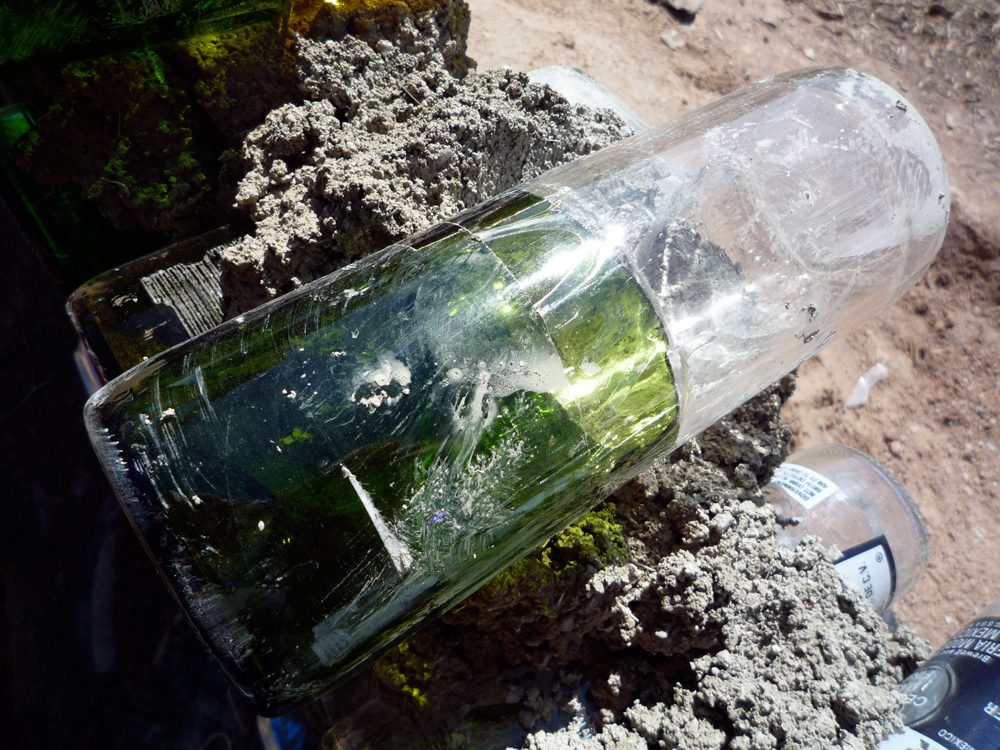
Bottle Wall Infill & Light Panel
Lay glass bottles in mortar between structural posts to fill non-load-bearing panels and bring daylight deep into a room without buying glazing.