
Vermicompost Bin from Stacked Crates
A shaded worm bin that turns kitchen scraps into high-value castings and liquid feed, using stacked crates and a drain tap.
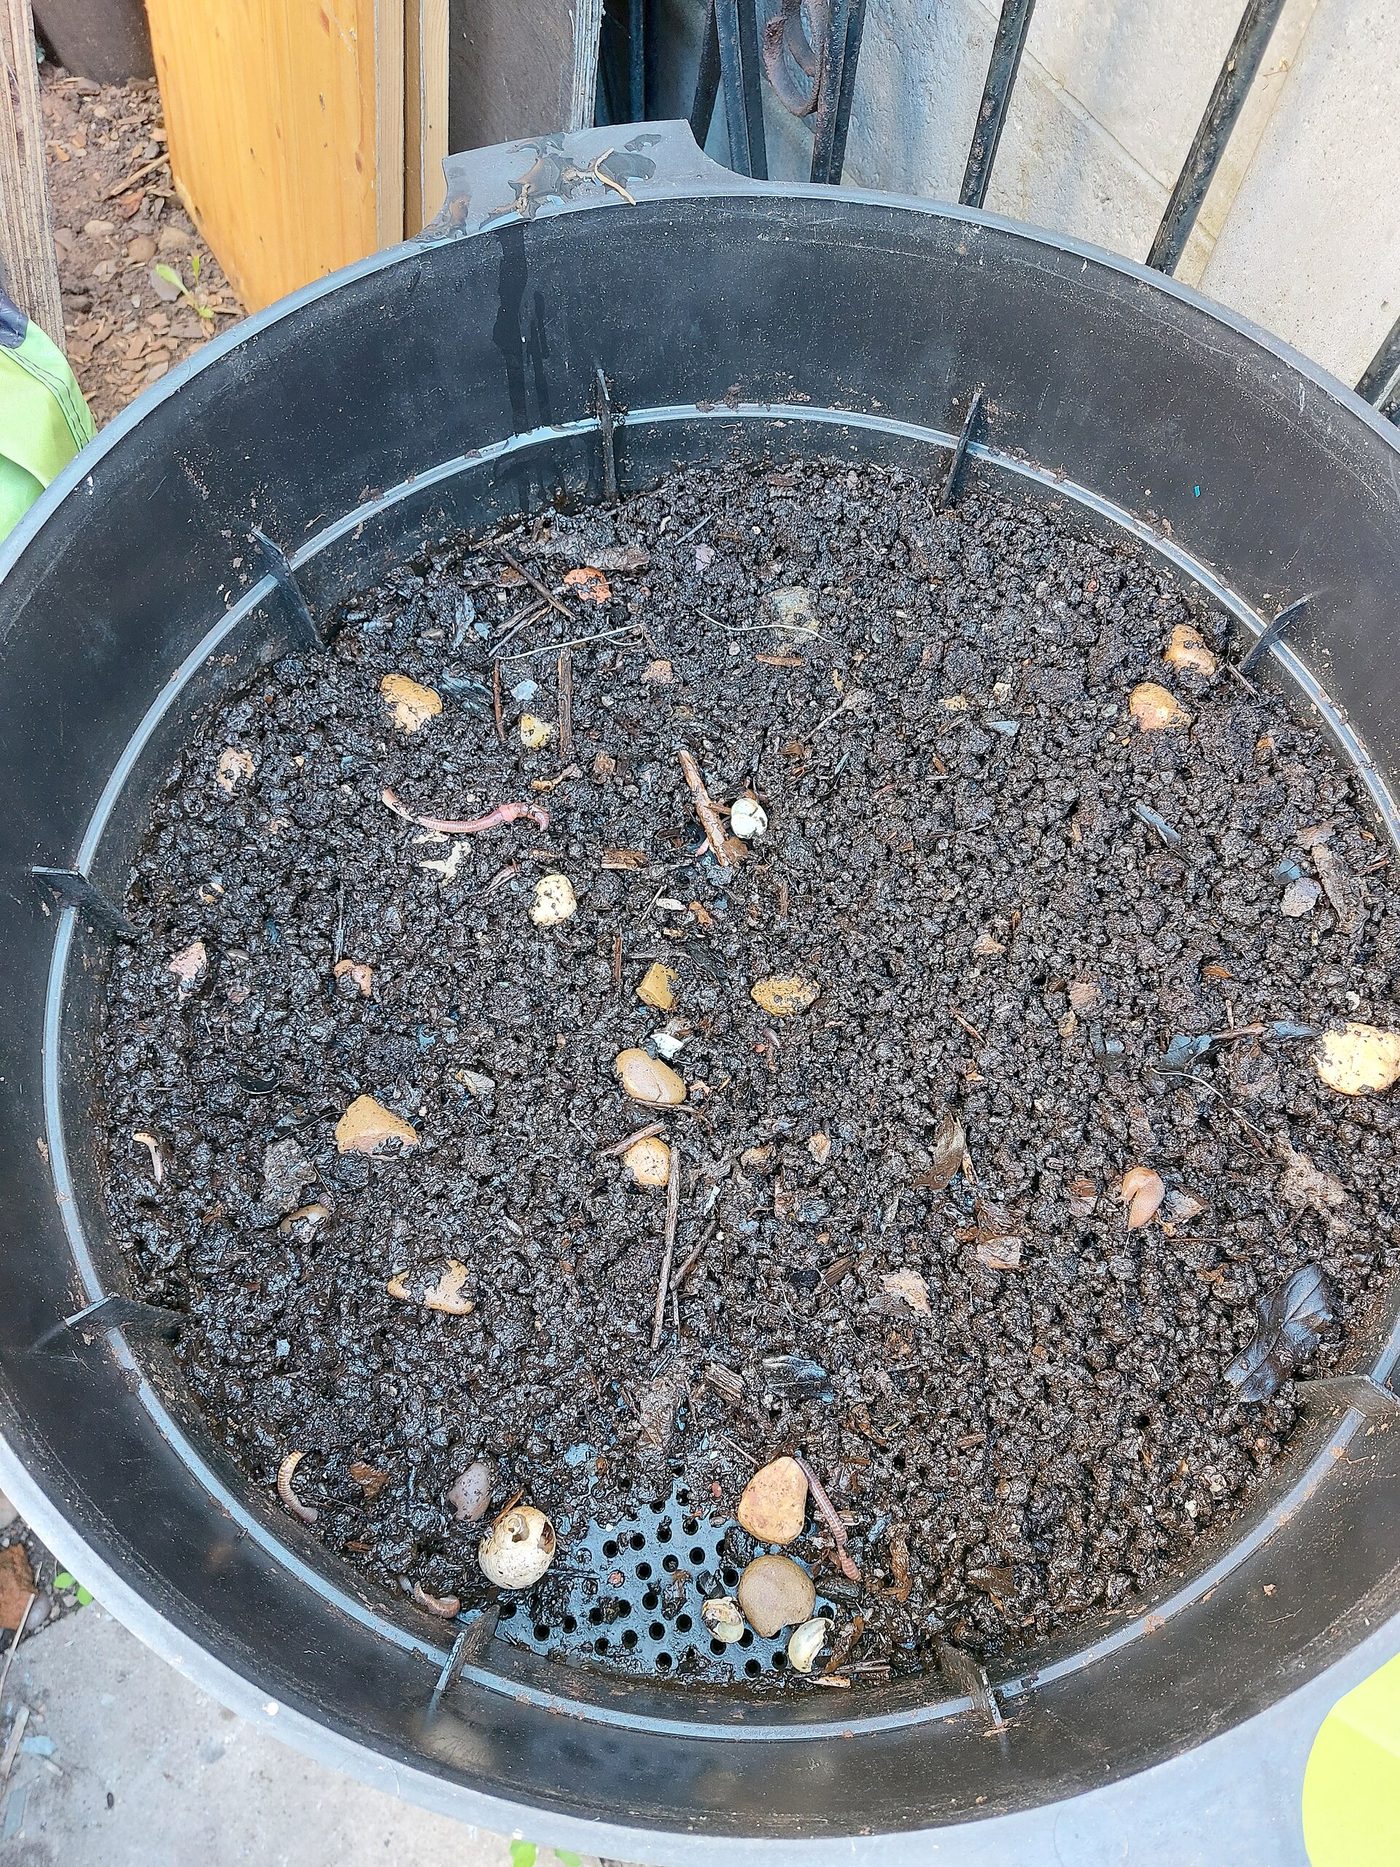
- Estimated cost
- $10 – $30, less with salvaged crates
- Skill level
- Beginner
- Time
- Half a day to build; first castings in 8 – 12 weeks
Not yet verified
No confirmed build with photo proof has been submitted for this plan yet. Built it? Send photos and it earns the badge.
Tools
- Drill
- Handsaw
- Watering can
- Gloves
If you don't have it
- No timber bin? Two stacked 20 L buckets with 6 mm drainage holes in the upper one make a working flow-through bin for a household.
Materials
- Three stackable plastic crates or old buckets
- One solid crate or basin as the liquid catch tray, with a tap
- Bedding: shredded cardboard, dry leaves, coir or aged manure
- Composting worms — Eisenia fetida (red wigglers) or local African nightcrawlers
- Shade net or a lid, and bricks to raise the stack
Dimensions & cut list
A two-tray worm bin for one household's kitchen waste, roughly 1 kg a day. These are the reference sizes from Appropedia / Permies — scale them to what you have, but keep the ratios.
| Bed area | 0.5 m² per kg of waste per day |
|---|---|
| Bedding depth | 20 cm |
| Working depth | Never over 45 cmDeeper beds go anaerobic and stink |
| Starting worm stock | 500 g of worms per 0.5 m² |
| Moisture | Wrung-out sponge — a squeezed handful gives one or two drops |
| Shade | Full shade, under 30 °C at bed level |
| First harvest | 8–12 weeks |
Take this list to the yard
- 2Stacking crates or timber boxesDrainage holes 6 mm in the upper base
- ≈ 40 litresBedding: shredded card, dry leaves
- 1Lid or sacking cover
- 1Drip tray for leachate
Step by step
Step 1 of 7
Drill the working trays
Drill 6 mm holes across the base of the two working crates so worms can migrate up, plus ventilation holes around the top rim. Leave the bottom catch tray solid and fit a tap near its base.
Swipe or use arrow keys
1. Drill the working trays
Drill 6 mm holes across the base of the two working crates so worms can migrate up, plus ventilation holes around the top rim. Leave the bottom catch tray solid and fit a tap near its base.
2. Bed in and moisten
Fill the first working tray 100 mm deep with damp bedding. Squeeze-test it: a handful should feel like a wrung-out cloth and release a drop or two, no more.
3. Introduce the worms
Add worms with a little of their original bedding and leave them undisturbed under a cover for two days before feeding. Use composting worms, not earthworms dug from the garden — soil worms die in a bin.
4. Feed lightly and bury
Start with a couple of handfuls of chopped scraps twice a week, always buried under bedding, and increase only as the previous feed disappears. Overfeeding is the number one cause of a stinking, fly-ridden bin.
5. Keep it cool and shaded
Site the stack in deep shade, off hot ground on bricks, with airflow underneath. Above about 32 °C the worms die, and a bin in afternoon sun cooks in an hour.
6. Harvest by migration
When the first tray is full of dark castings, put fresh bedding and food in the second tray and stack it on top. Worms migrate up within two to three weeks, leaving you a clean tray of castings to empty.
7. Use castings and leachate
Mix castings into planting holes or seed trays. Dilute the tap liquid ten to one before watering plants with it, and never use it neat on seedlings.
Why mine failed
The ways this build usually goes wrong, and what fixes it.
The bin smells sour or of ammonia
CauseToo wet, overfed, or too much fresh green waste
FixStop feeding for a week, mix in dry shredded card or leaves, and check the drainage holes are open.
Worms crawling out or gathering at the lid
CauseBed too hot, too acidic, or too wet
FixMove to full shade, add a handful of wood ash or crushed eggshell to lift acidity, and cut back citrus and onion.
Ants take over the bin
CauseBedding gone dry
FixWet the bedding to sponge-damp and stand the legs in water tins.
Food sits uneaten for weeks
CausePieces too big, or too few worms for the load
FixChop waste small and feed only what disappears within three days. Population doubles in a couple of months — feed to the worms you have.
Safety notes
- Keep out meat, dairy, oil, citrus in quantity, and anything salty — they rot, stink and attract rats.
- Wash hands after handling castings and leachate; treat leachate as raw compost tea, not fertiliser for leafy greens eaten raw.
- Do not let the bin dry out or sit in sun — worms suffocate or cook, and both happen quickly.
Source & attribution
This plan is our build-step write-up of work documented by Appropedia / Permies. The original design and documentation belong to them — go read the source before you build.
Vermicomposting bin design and worm managementLocal adaptations
What builders changed to make this work where they live.
Tendai C. · Harare, Zimbabwe
African nightcrawlers handle our heat far better than red wigglers. We keep the stack under a mango tree and wet a sack over the lid on the worst days.
Build this alongside
Plans that use the same materials or serve the same need.
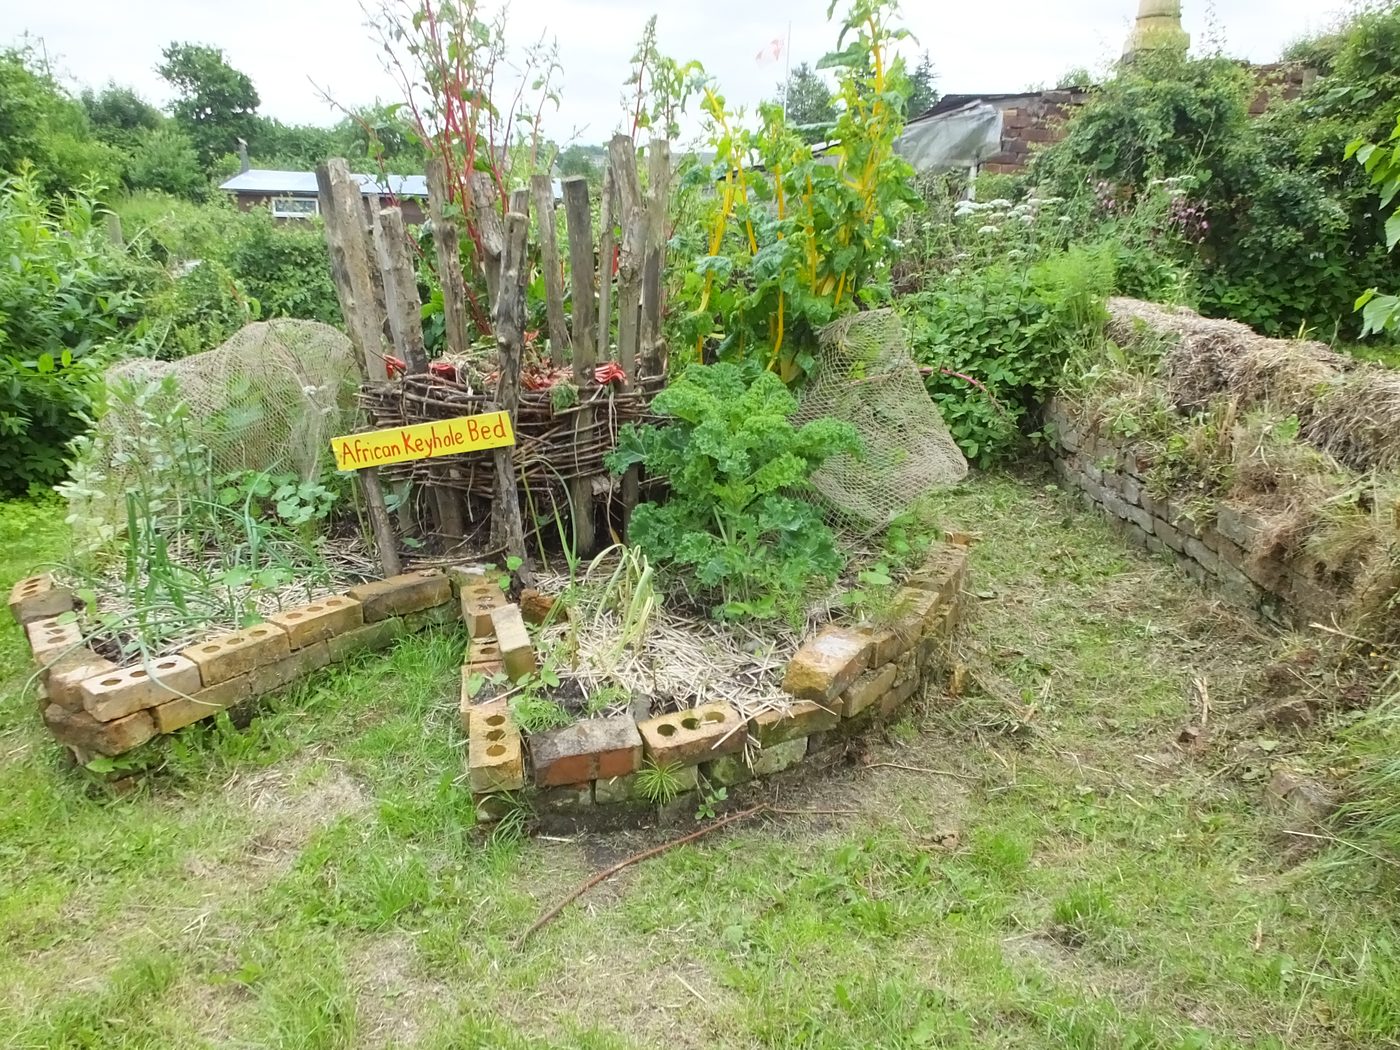
Keyhole Garden with Central Compost Basket
A raised circular bed fed and watered from a compost basket at its centre — high yield on poor soil with very little water.

Zai Pits and Stone Contour Bunds
Hand-dug planting pits and stone lines along the contour that catch runoff and rebuild crusted, degraded soil into cropland.
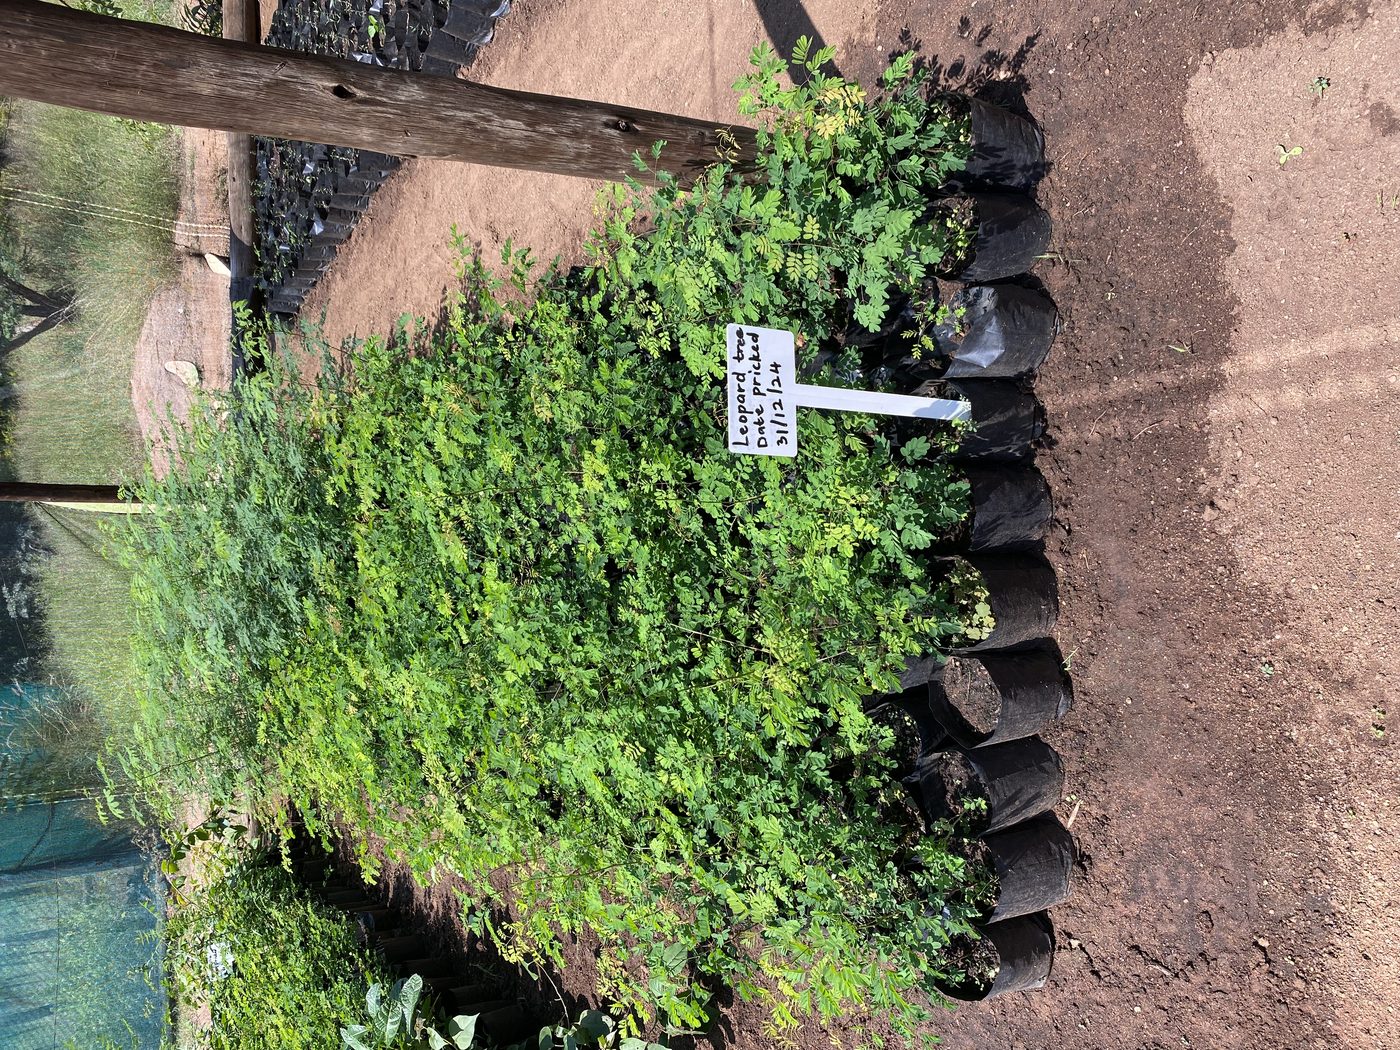
Village Tree Nursery
Raise fruit, fodder and timber seedlings in polythene tubes under a shade frame — thousands of trees a year from a plot the size of a room.