
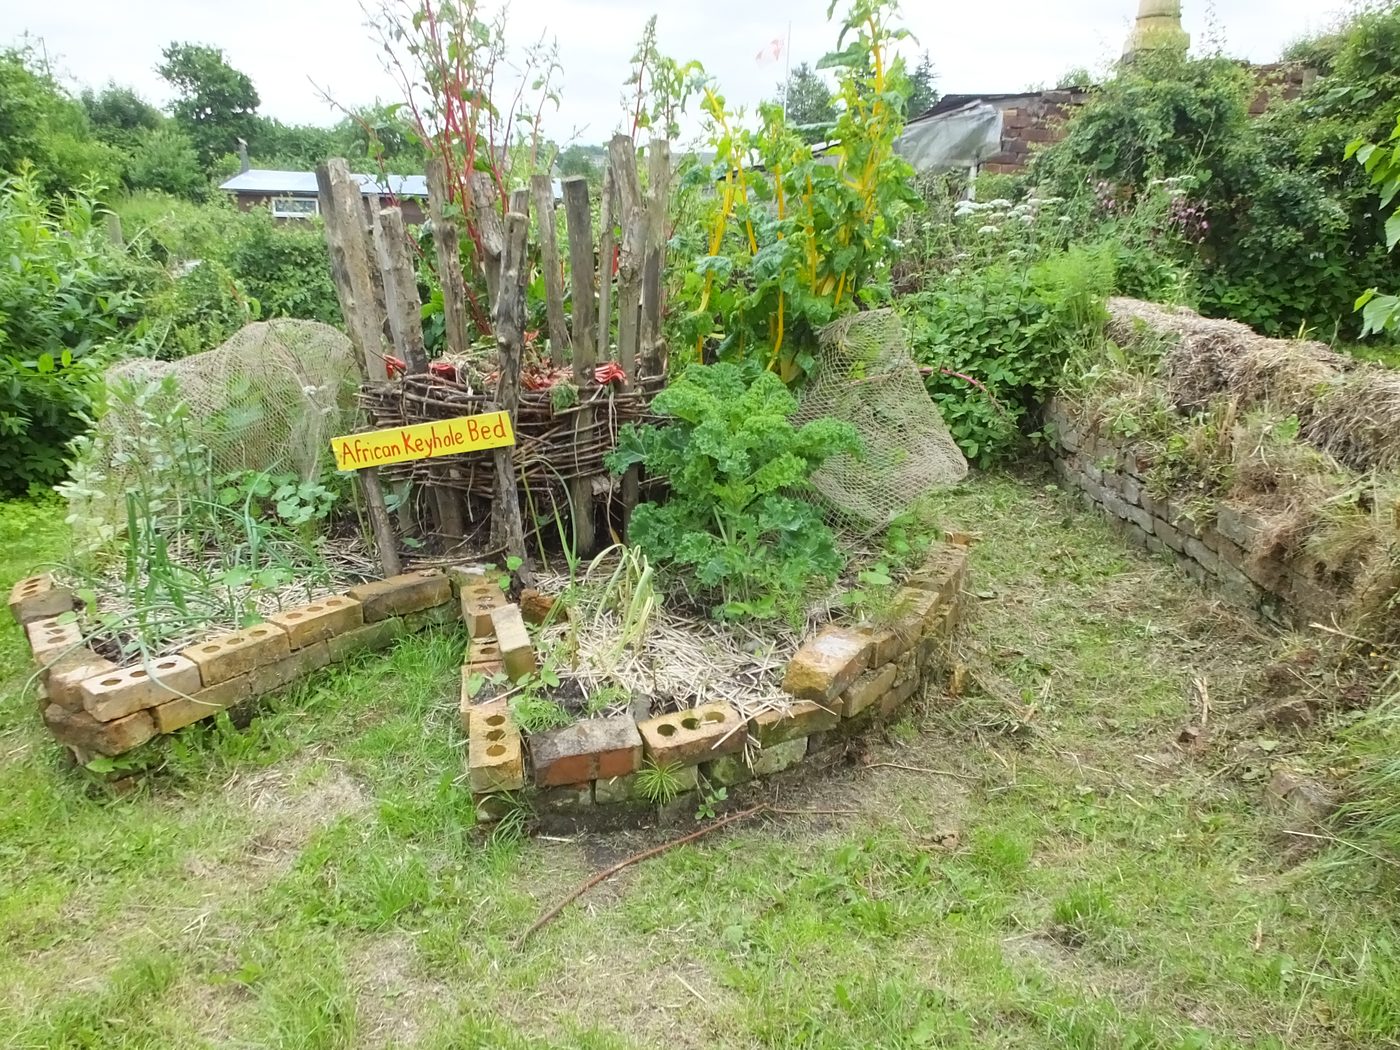
Keyhole Garden with Central Compost Basket
A raised circular bed fed and watered from a compost basket at its centre — high yield on poor soil with very little water.
- Estimated cost
- $0 – $20 using stone, scrap timber and household waste
- Skill level
- Beginner
- Time
- 1 – 2 days to build; productive within a season
Why this is a Verified Build
Verified with photo proof by a women's growers group in Maseru, Lesotho, running four beds through a full dry season with greywater feeding only.
Tools
- Shovel and pick
- Wheelbarrow
- Wire cutters
- Tape measure or a string compass
If you don't have it
- No stone for the wall? Build the retaining ring from mud bricks, old tyres or woven sticks packed with soil.
Materials
- Stone, brick, or scrap timber for a retaining wall about 1 m high
- Chicken wire or woven sticks for the central compost basket
- Coarse material: tin cans, small stones, sticks, cardboard
- Manure, ash, dry leaves and kitchen waste
- Topsoil and finished compost
- Mulch: straw, dry grass or leaves
Dimensions & cut list
One raised keyhole bed feeding a household of 5 with daily greens. These are the reference sizes from Permies / Appropedia — scale them to what you have, but keep the ratios.
| Outside diameter | 2 m |
|---|---|
| Bed height | 1 m at the wallWaist height so nobody bends |
| Access notch | 60 cm wide, cut to the centre |
| Central feeding basket | 30 cm diameter, running the full height |
| Soil slope | Falls 10 cm from the basket to the outer wall |
| Layers inside | Coarse stone 20 cm, then ash and manure, then topsoil 40 cm |
Take this list to the yard
- ≈ 1 m³Stones or blocks for the retaining wall
- 8–10, 120 cm longSticks for the central basket
- ≈ 1.5 m³ combinedTopsoil and compost
- ≈ 4 buckets eachManure and wood ash
Step by step
Step 1 of 6
Mark the circle and the wedge
Peg the centre and swing a 1 m string to mark a 2 m circle. Mark a wedge cut in from the edge to the centre — that notch is the 'keyhole' that lets you reach the compost basket and every part of the bed without stepping on the soil.
Swipe or use arrow keys
1. Mark the circle and the wedge
Peg the centre and swing a 1 m string to mark a 2 m circle. Mark a wedge cut in from the edge to the centre — that notch is the 'keyhole' that lets you reach the compost basket and every part of the bed without stepping on the soil.
2. Build the wall
Lay stone or brick dry, battered slightly inward, to about waist height. Waist height matters — it is what lets older growers work the bed without bending.
3. Set the compost basket
Roll wire mesh into a 300 mm cylinder tall enough to stand 200 mm above the finished soil and set it at the centre, reachable from the keyhole notch.
4. Layer the bed
Fill from the bottom up: coarse rubble and cans for drainage, then cardboard and dry leaves, then manure and ash, then compost, then 200 mm of topsoil on top. Slope the surface gently down from the basket to the outer wall so water spreads outward.
5. Feed through the basket
Put kitchen scraps and greywater into the basket, not on the bed. Nutrients and moisture travel outward through the soil, and the basket keeps the composting away from plant roots.
6. Plant and mulch
Plant heavy feeders near the centre and hardier crops toward the edge. Mulch the whole surface — bare soil in the sun loses most of the water you add.
Why mine failed
The ways this build usually goes wrong, and what fixes it.
Water runs off instead of soaking in
CauseThe soil surface is flat or dished, not sloping away from the basket
FixRebuild the crown so it falls about 10 cm from the central basket to the outer wall, and water only into the basket.
Bed sinks below the wall over a season
CauseNormal settling as the organic layers break down
FixTop up with compost and topsoil each planting cycle. Expect to add a bucket or two a month.
Wall stones work loose
CauseBuilt vertical with no batter, so the soil push topples them
FixLean the wall slightly inward as it rises and keep the largest stones at the base.
Leaves yellow despite regular watering
CauseToo much ash or fresh manure in the layers
FixWater the basket heavily for a week to leach it, and use only well-rotted manure in future top-ups.
Safety notes
- Build the retaining wall with a slight inward lean and do not exceed about 1 m; a taller dry wall can collapse on a child.
- Do not put meat, oil or dog waste in the basket — it attracts vermin and does not break down cleanly.
- Use greywater from washing and rinsing only. Never route toilet waste into the basket.
- Wash hands after handling manure, and let fresh manure compost before planting root crops.
Source & attribution
This plan is our build-step write-up of work documented by Permies / Appropedia. The original design and documentation belong to them — go read the source before you build.
Keyhole garden design and layering guidanceLocal adaptations
What builders changed to make this work where they live.
Mpho L. · Maseru, Lesotho
We plastered the outer stone wall with clay to stop the wind drying the edges. Yield at the rim caught up with the centre.
Esther W. · Nakuru, Kenya
Lined the inside of the wall with old feed bags. Holds moisture much better on our sandy soil.
Build this alongside
Plans that use the same materials or serve the same need.
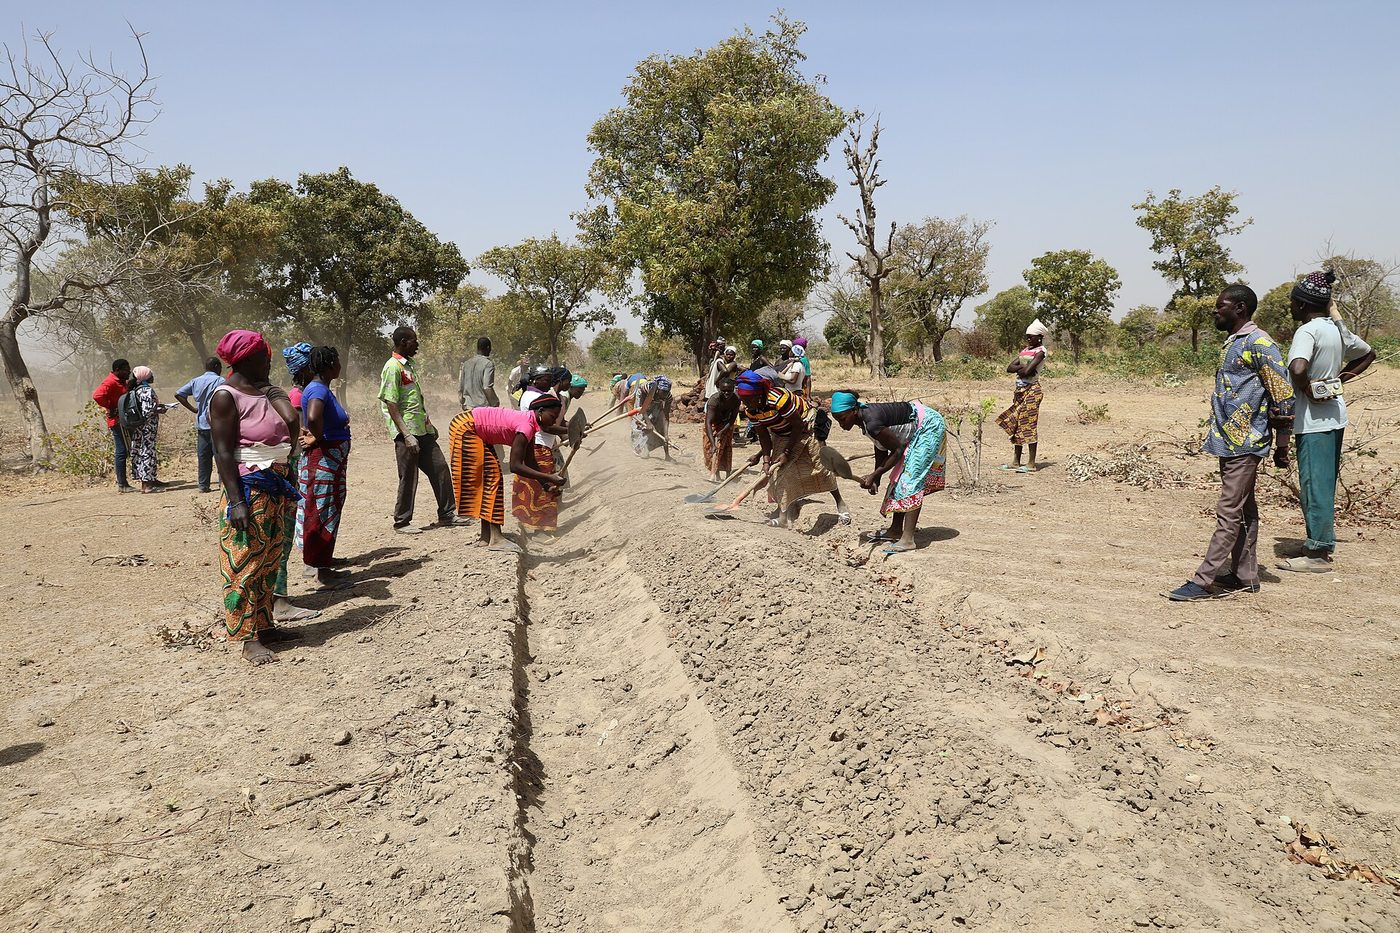
Zai Pits and Stone Contour Bunds
Hand-dug planting pits and stone lines along the contour that catch runoff and rebuild crusted, degraded soil into cropland.
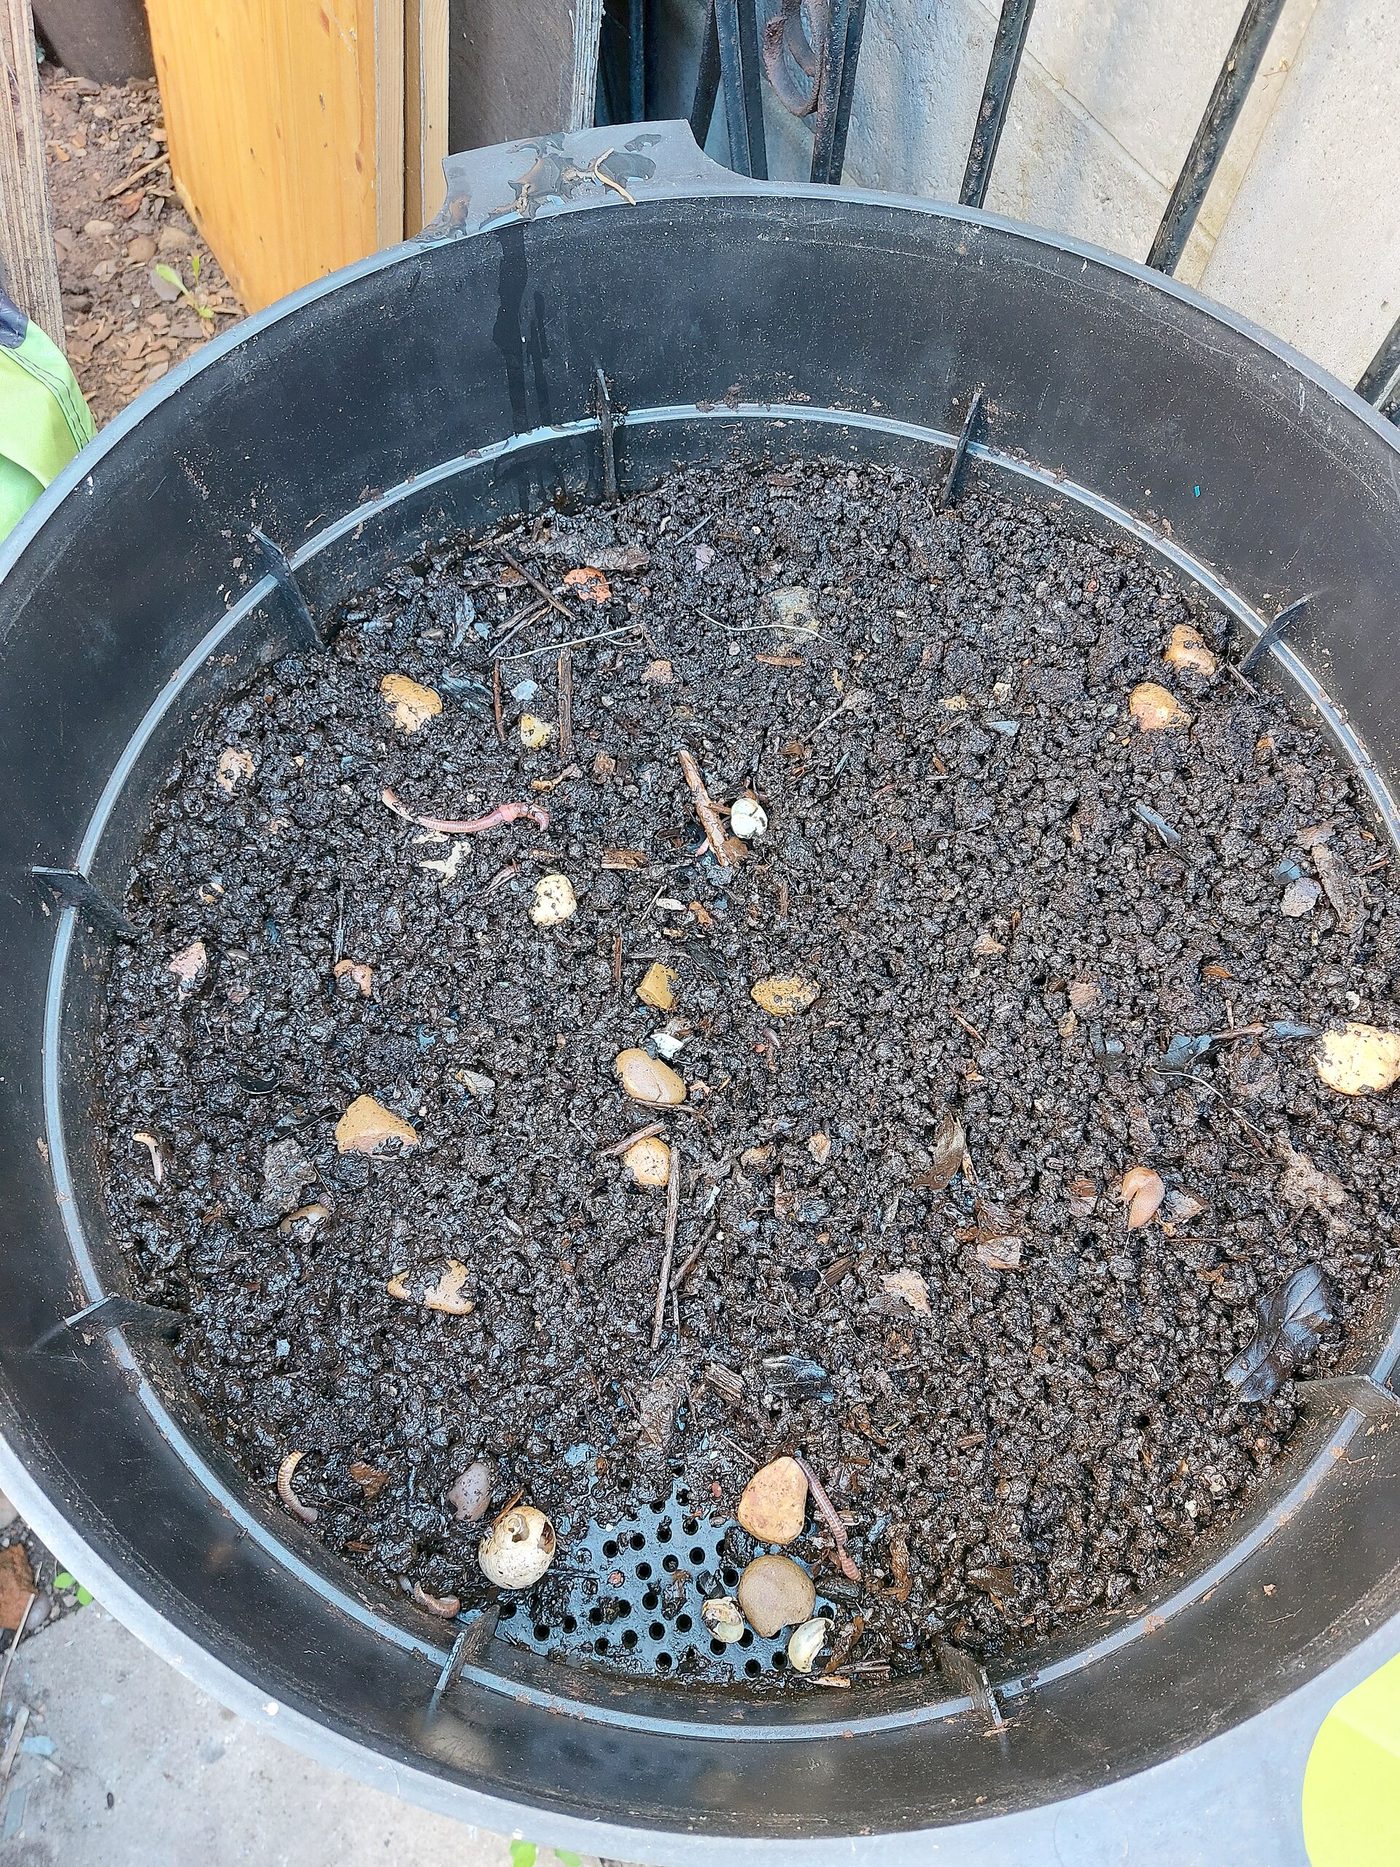
Vermicompost Bin from Stacked Crates
A shaded worm bin that turns kitchen scraps into high-value castings and liquid feed, using stacked crates and a drain tap.
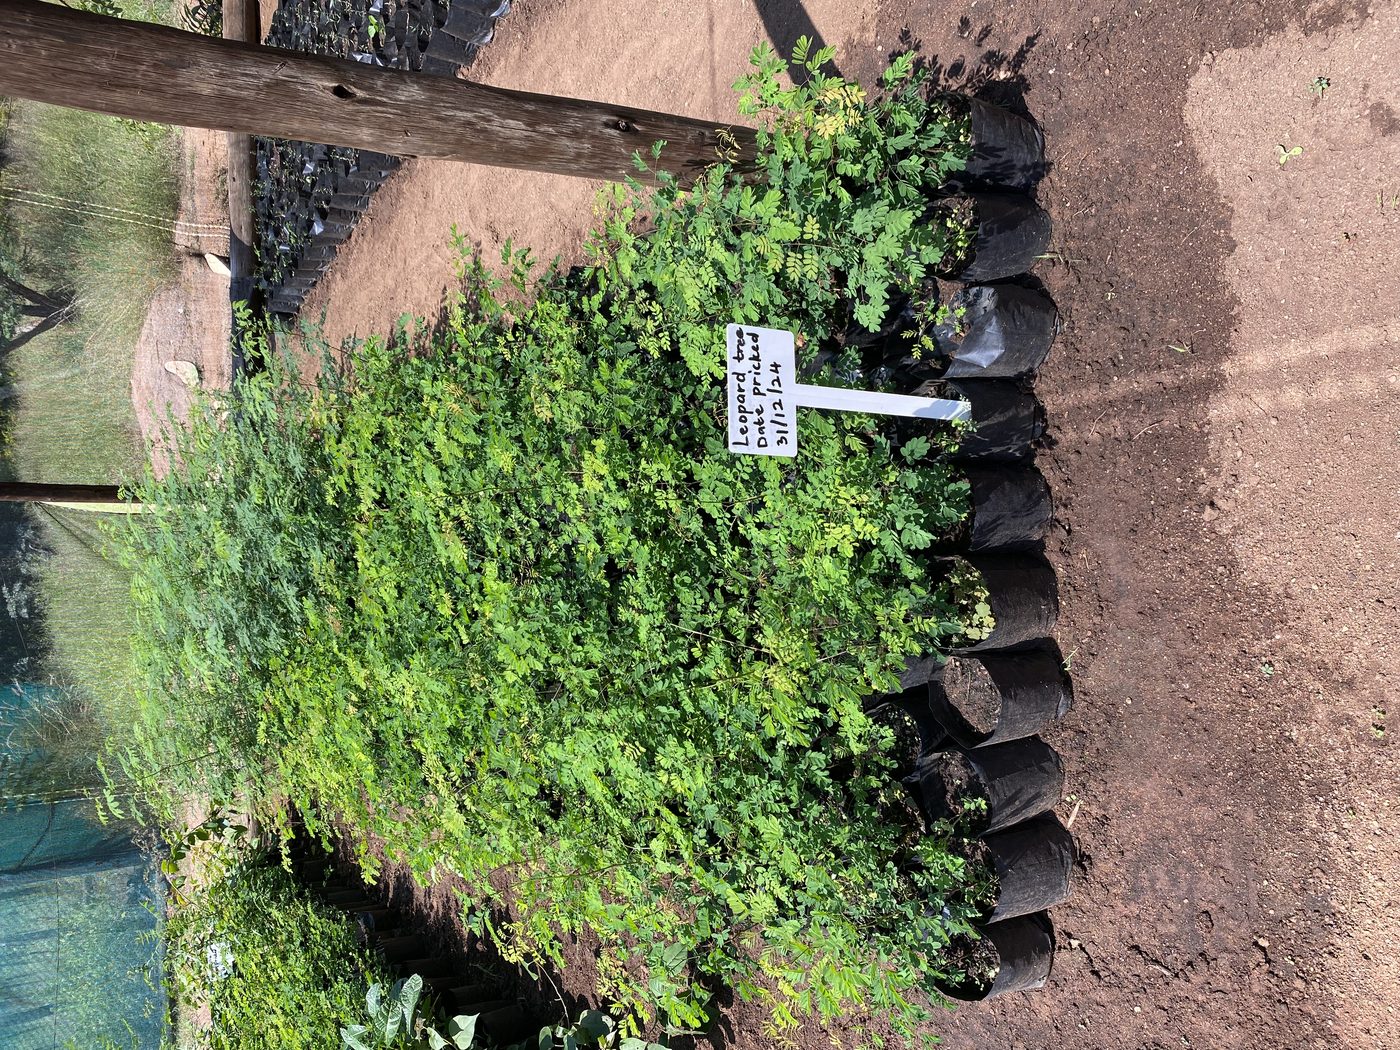
Village Tree Nursery
Raise fruit, fodder and timber seedlings in polythene tubes under a shade frame — thousands of trees a year from a plot the size of a room.