
Gravity Drip Irrigation from a Raised Barrel
A 200 L drum on a stand feeds drip lines by gravity alone, cutting garden water use by around 60% with no pump.
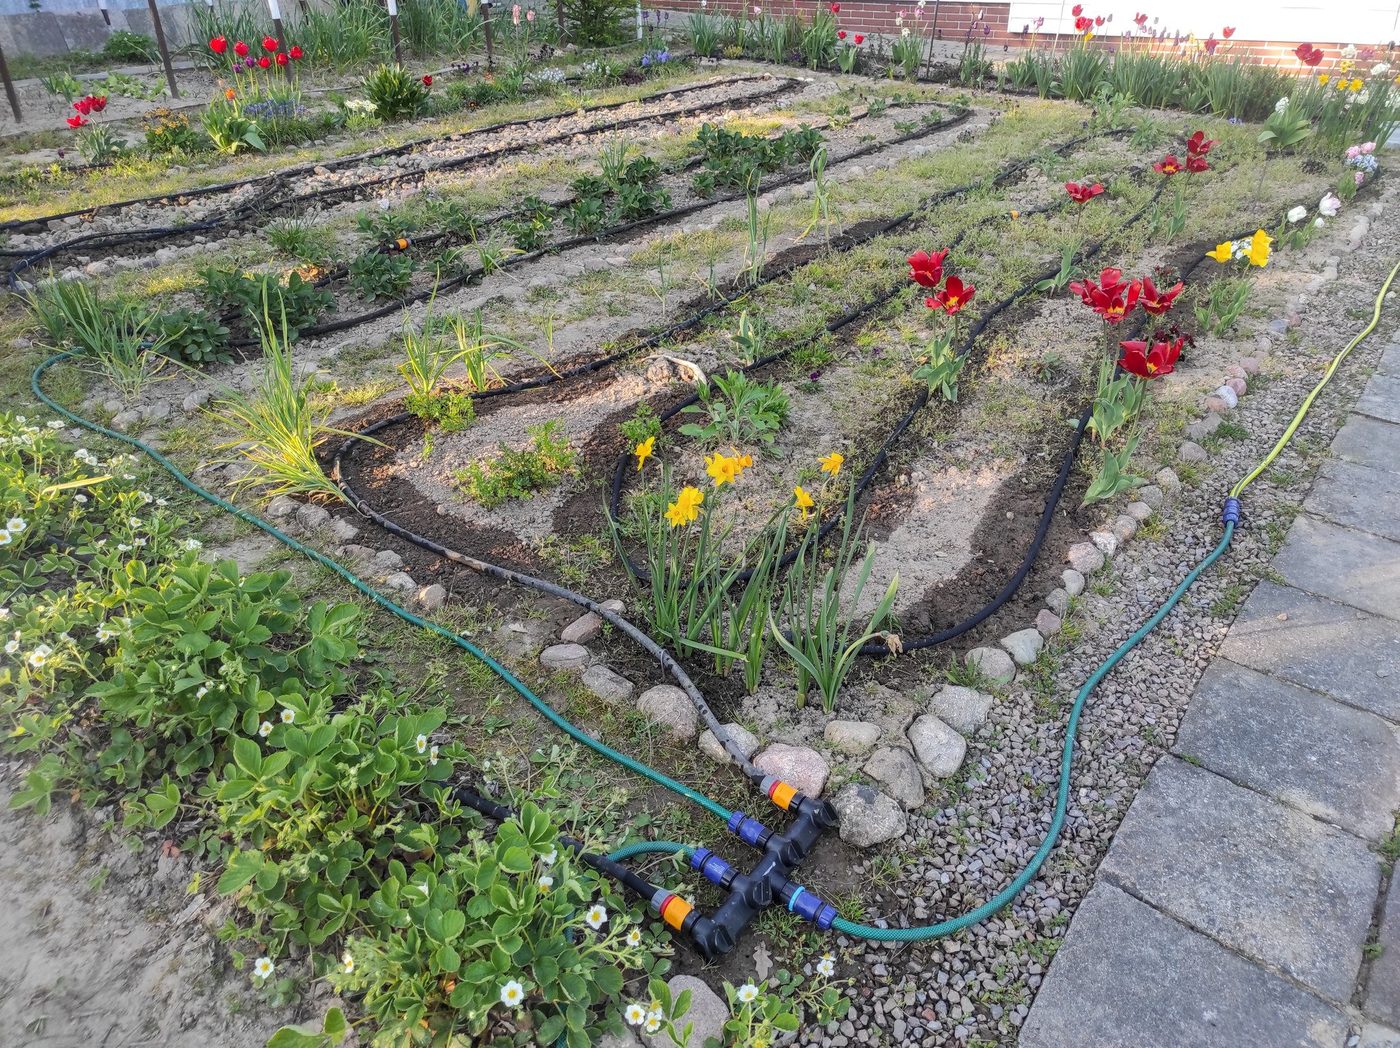
- Estimated cost
- $30 – $90 depending on drip tape and drum price
- Skill level
- Beginner
- Time
- Half a day
Not yet verified
No confirmed build with photo proof has been submitted for this plan yet. Built it? Send photos and it earns the badge.
Tools
- Drill and hole saw
- Hacksaw
- Spanner set
- Spirit level
- Shovel
If you don't have it
- No drip tape? Punch 0.8 mm holes in 16 mm polythene pipe every 300 mm and cover the line with mulch; flush the line weekly against blockage.
- No inline filter? Tie a double layer of cloth over the barrel outlet and rinse it daily — most drip failures are silt, not pressure.
Materials
- 200 L food-grade drum
- Timber, block or stone stand to raise it 1 – 1.5 m
- Bulkhead fitting or tank connector, 20 mm
- 20 mm HDPE or PVC header pipe with drip-tape connectors
- Drip tape or 16 mm lateral pipe with punched emitters
- Inline screen filter — not optional
- Ball valve and end caps
Dimensions & cut list
A gravity drip line off a raised 200 litre drum, watering roughly 100 m² of vegetable beds. These are the reference sizes from Appropedia — scale them to what you have, but keep the ratios.
| Drum height above beds | 1–1.5 m to the baseUnder 1 m and the far emitters starve |
|---|---|
| Mainline | 20 mm LDPE |
| Dripline run length | Maximum 30 m per lateral |
| Emitter spacing | 30 cm for vegetables, 50 cm for maize |
| Emitter flow | 1–2 litres per hour at this head |
| Filter | 120 mesh screen at the drum outletNon-negotiable — silt is what kills drip kits |
| Watering time | 45–90 minutes a day per bed |
Take this list to the yard
- 1200 litre drum
- 1Drum stand, timber or block
- 1Screen filter, 120 mesh
- 10 m20 mm LDPE mainline
- 60 m16 mm dripline
- 1 setConnectors and end plugs
Step by step
Step 1 of 6
Build a solid stand
Raise the drum 1 – 1.5 m. Higher gives more pressure and more even flow along the line. A filled drum is 200 kg — build the stand for four times that and check it is dead level.
Swipe or use arrow keys
1. Build a solid stand
Raise the drum 1 – 1.5 m. Higher gives more pressure and more even flow along the line. A filled drum is 200 kg — build the stand for four times that and check it is dead level.
2. Fit the outlet
Cut the outlet 50 mm above the drum floor so settled grit stays below it. Fit the bulkhead connector with washers and sealant on both faces, then a ball valve.
3. Install the filter
Put an inline screen filter immediately after the valve. Every drip system that fails, fails because of clogged emitters — the filter is what prevents it.
4. Run the header and laterals
Lay the header along the top of the beds and run drip laterals down the rows, keeping runs under 30 m so pressure stays even. Cap the far ends of the laterals.
5. Flush and set the rate
Open the valve with the ends uncapped and flush the lines clear, then cap them. Set the valve so a bed takes 30 – 60 minutes to water and check that the last emitter still drips.
6. Maintain
Clean the filter weekly, flush the laterals monthly, and drain the drum before a long break so algae does not take hold.
Why mine failed
The ways this build usually goes wrong, and what fixes it.
Emitters near the drum drip well, far ones barely wet
CauseNot enough head, or laterals too long
FixRaise the drum to 1.5 m and split runs so no lateral exceeds 30 m. On a slope, always run laterals along the contour.
Emitters blocking within weeks
CauseNo filter, or silty water going straight in
FixFit a 120 mesh screen filter and clean it every filling. Let river water settle in a second drum first.
Dripline splitting in the sun
CauseThin tape left exposed and pressurised all day
FixMulch over the lines, drain the drum after watering, and shade the drum itself.
Plants wilting even though the system runs
CauseWater going deeper than the roots, or run time too short
FixDig beside an emitter an hour after watering — you want damp soil 15–20 cm down. Adjust run time from what you see, not the clock.
Safety notes
- Never use a drum that held pesticide, fuel or industrial chemicals — residue transfers to food crops.
- A raised full drum is a crush hazard. Brace the stand and keep children from climbing it.
- Cover the drum: open water breeds mosquitoes and grows algae that clogs emitters.
- If you fertigate, use only fully dissolved inputs and flush the lines afterwards.
Source & attribution
This plan is our build-step write-up of work documented by Appropedia. The original design and documentation belong to them — go read the source before you build.
Low-pressure gravity drip irrigation for smallholdersLocal adaptations
What builders changed to make this work where they live.
Samuel T. · Arusha, Tanzania
Cut a piece of old mosquito net into the filter housing as a second stage. Emitter blockages basically stopped.
Build this alongside
Plans that use the same materials or serve the same need.
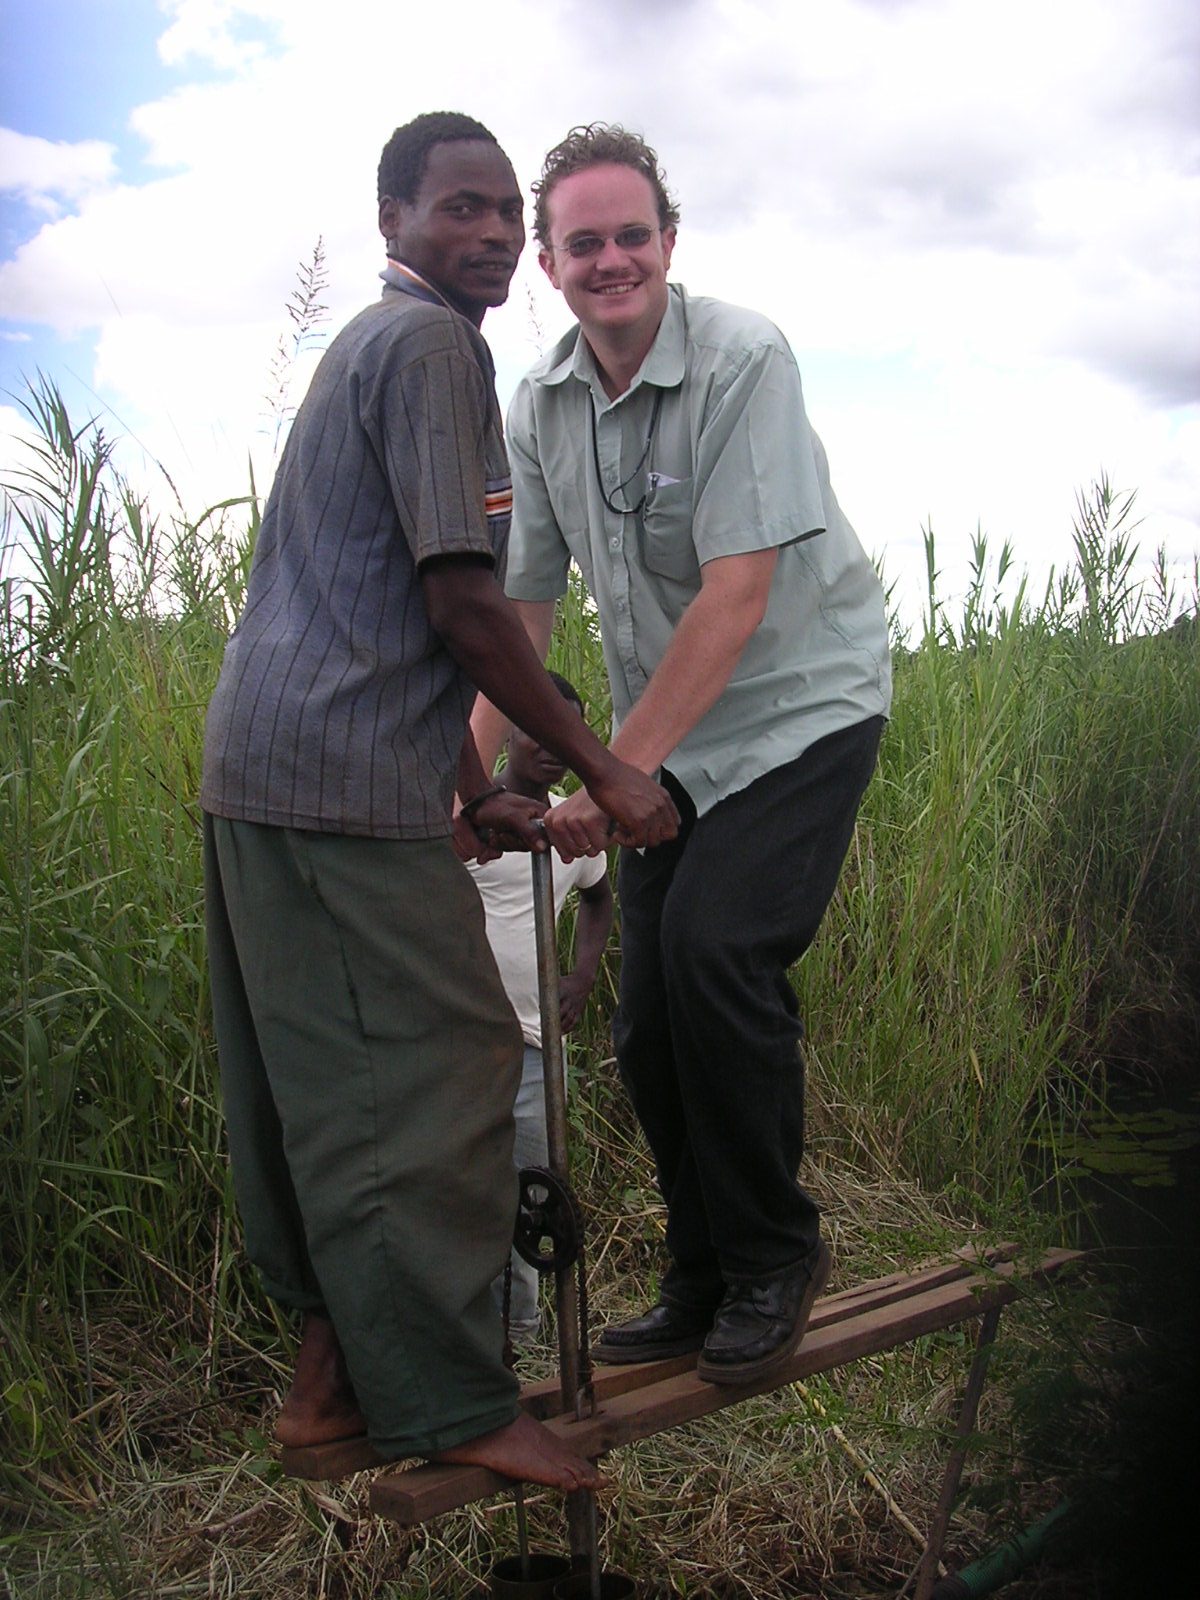
Treadle Pump for Smallholder Irrigation
A foot-powered twin-cylinder pump that lifts shallow groundwater or river water for a quarter-hectare plot without any fuel.
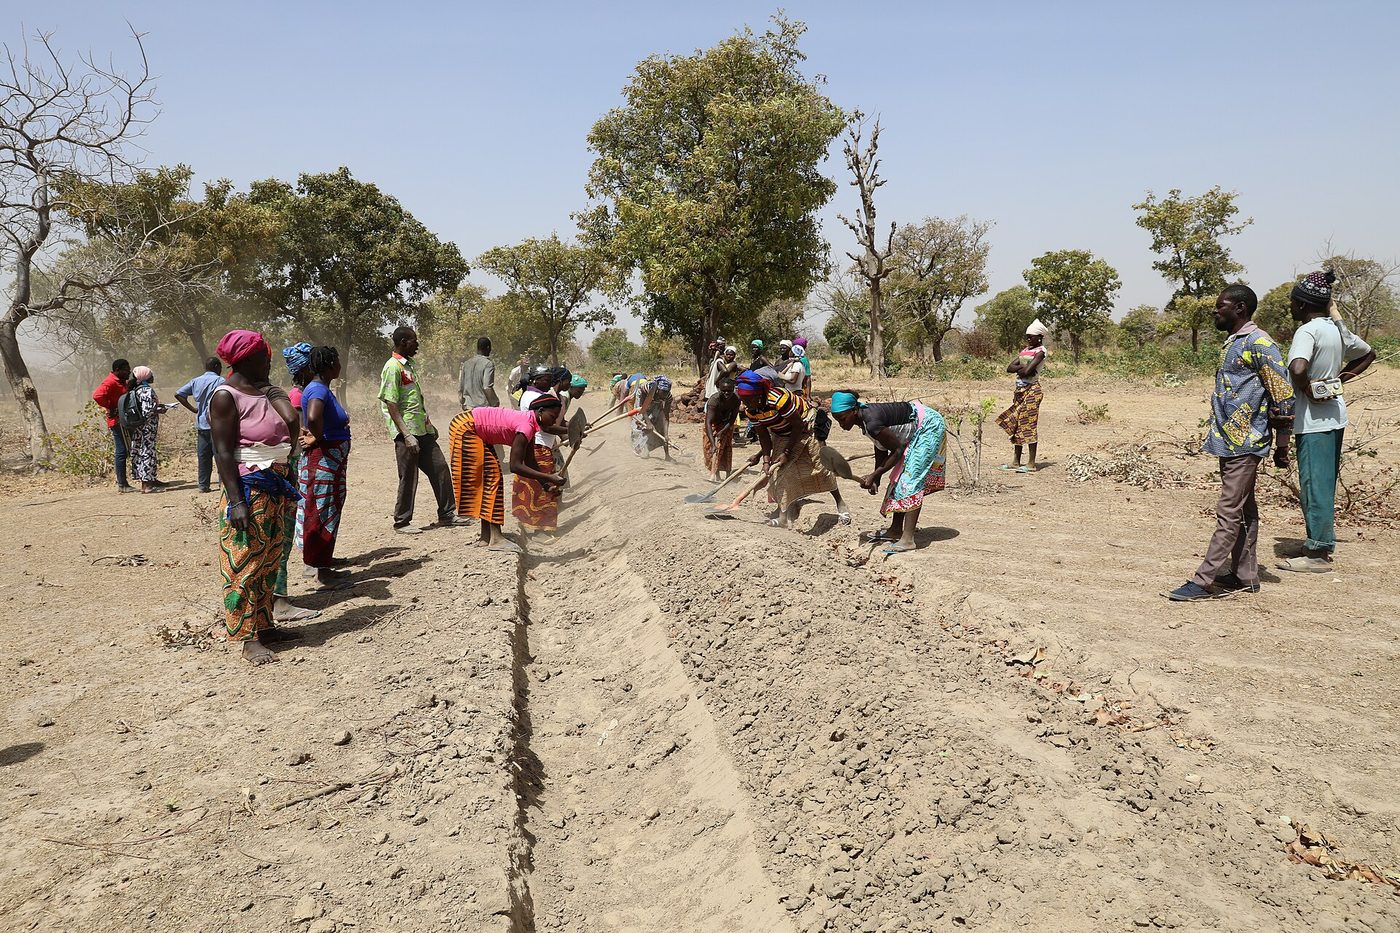
Zai Pits and Stone Contour Bunds
Hand-dug planting pits and stone lines along the contour that catch runoff and rebuild crusted, degraded soil into cropland.
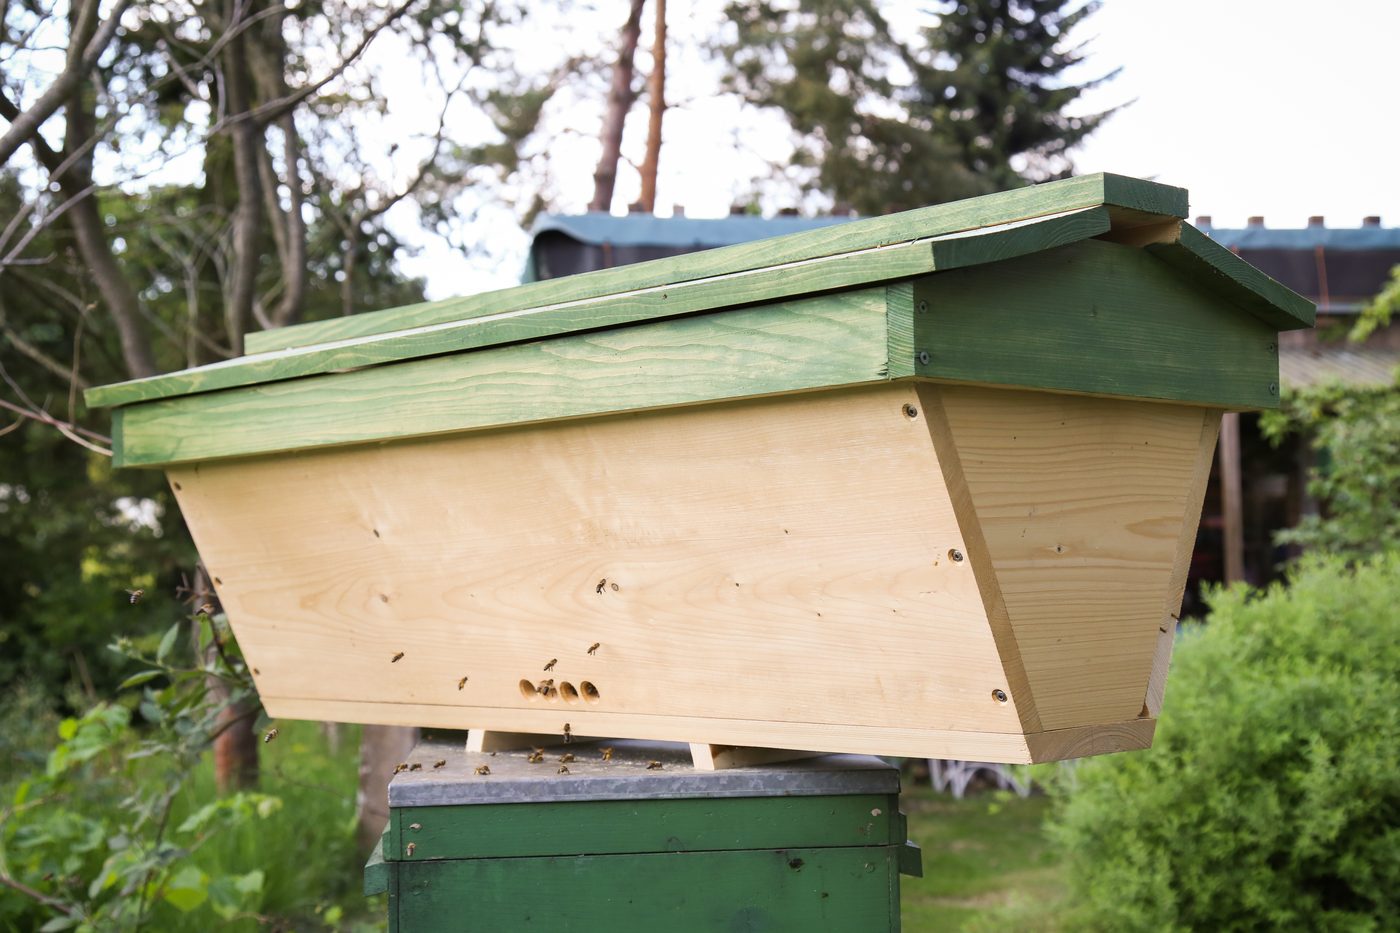
Kenyan Top-Bar Beehive
A sloped-sided hive with removable top bars that lets you inspect and harvest comb without frames, foundation or imported equipment.