
Kenyan Top-Bar Beehive
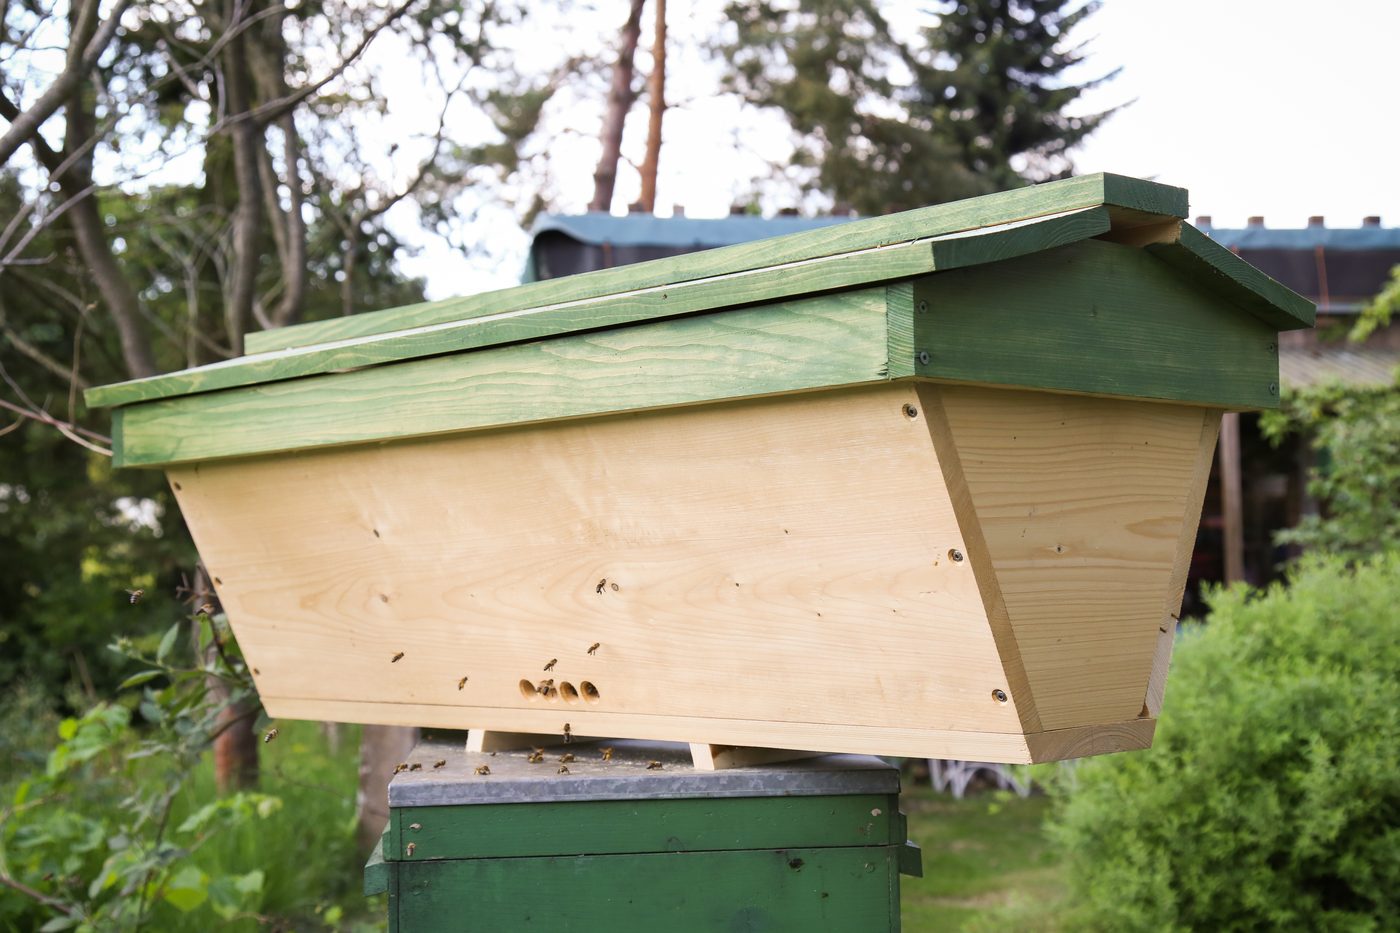
A sloped-sided hive with removable top bars that lets you inspect and harvest comb without frames, foundation or imported equipment.
- Estimated cost
- $25 – $70 per hive in timber
- Skill level
- Beginner
- Time
- 1 day per hive
Not yet verified
No confirmed build with photo proof has been submitted for this plan yet. Built it? Send photos and it earns the badge.
Tools
- Handsaw or circular saw
- Hammer and nails or screws and driver
- Plane or rasp
- Tape measure and square
- Smoker and hive tool for working the bees
If you don't have it
- No planed timber? Split-log or woven-and-plastered hive bodies work; only the top bars need accurate 32 mm spacing.
Materials
- Rough-sawn timber, 25 mm, for body and roof
- Top bars, 32 – 35 mm wide, one per comb — usually 27 bars
- Beeswax for priming the bar guides
- Corrugated sheet or thatch for the roof
- Wire and grease tins for the stand legs
Dimensions & cut list
A Kenyan top-bar hive for one colony, sized for local African honeybees. These are the reference sizes from Appropedia / Bees for Development top-bar hive guidance — scale them to what you have, but keep the ratios.
| Top bar width | 32 mmThis one number decides whether the combs come out straight |
|---|---|
| Number of top bars | 27 |
| Hive length | 90 cm inside |
| Top width | 45 cm, sloping to 20 cm at the base |
| Depth | 30 cm |
| Entrance holes | 3 holes of 10 mm at one end |
| Stand height | 80–100 cm, legs in oil tins |
Take this list to the yard
- ≈ 4 m of 300 mm boardTimber, 25 mm thick
- 27 × 500 mmTop bars, 32 × 20 mm
- 200 gBeeswax for guide strips
- 1 × 1 mCorrugated sheet for roof
Step by step
Step 1 of 6
Cut the body with sloping sides
Sides slope in at about 15° from vertical so bees do not attach comb to the walls. Typical body is 1,000 mm long, 450 mm wide at top, 300 mm deep.
Swipe or use arrow keys
1. Cut the body with sloping sides
Sides slope in at about 15° from vertical so bees do not attach comb to the walls. Typical body is 1,000 mm long, 450 mm wide at top, 300 mm deep.
2. Rip the top bars to exact width
Bar width sets comb spacing: 32 mm for brood, 35 mm for honey. Get this wrong and the bees build cross-comb you can never lift out cleanly.
3. Add a comb guide to every bar
Rub a bead of molten beeswax along the centre line, or nail a thin wedge strip. This tells the bees where to start each comb.
4. Drill entrance holes and fit the roof
Three 12 mm holes at one end near the base. Make the roof overhang generously on all sides and ventilate under it so the hive does not cook.
5. Mount on a stand with ant guards
Stand the hive 800 mm off the ground with legs in grease or oil tins to stop ants and termites. Site it shaded, sheltered and away from paths.
6. Bait, colonise and harvest
Rub the inside with beeswax and lemongrass and wait for a swarm, or transfer one at dusk. Harvest only the capped honey bars at the far end and leave the brood nest intact.
Why mine failed
The ways this build usually goes wrong, and what fixes it.
Bees build combs across several bars instead of one per bar
CauseTop bars are the wrong width, or there were no wax guide strips
FixBars must be 32 mm and touch each other with no gaps. Run a bead of melted beeswax down the centre of every bar before hiving.
Combs break off when lifted
CauseInspecting in the heat of the day, or tilting the bar flat
FixInspect early morning or evening and keep the comb vertical at all times. New comb needs a week before it can be handled.
Ants or lizards raiding the hive
CauseStand legs in direct contact with the ground
FixStand each leg in a tin of used oil or water and keep grass cleared under the hive.
The colony absconds soon after hiving
CauseHive smells of paint or fresh timber, or it sits in full sun
FixNever paint the inside. Rub the interior with beeswax, and site the hive in dappled shade with the entrance away from paths.
Safety notes
- African honeybees defend strongly. Full suit, gloves, boots and a lit smoker every time, and work at dusk.
- Keep hives well away from tethered animals, paths and school routes.
- Have someone nearby who knows where you are and can act if you react to stings.
- Never harvest with fire or by cutting out the brood nest — it destroys the colony.
Source & attribution
This plan is our build-step write-up of work documented by Appropedia / Bees for Development top-bar hive guidance. The original design and documentation belong to them — go read the source before you build.
Top-bar hiveLocal adaptations
What builders changed to make this work where they live.
- No adaptations shared yet for this plan.
Build this alongside
Plans that use the same materials or serve the same need.
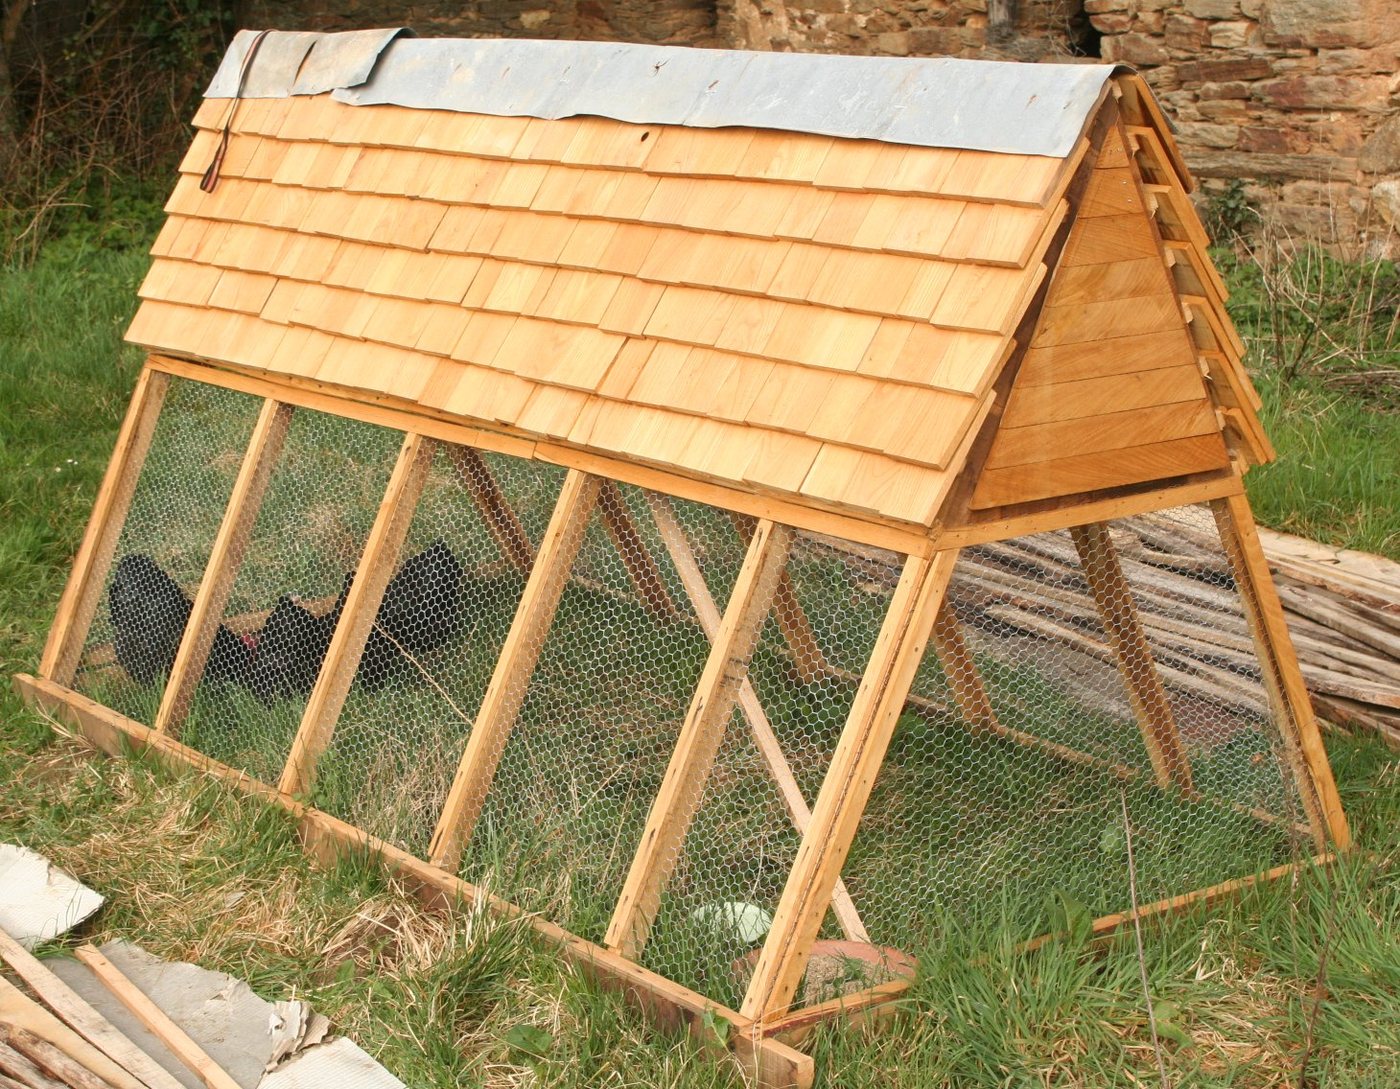
Movable Chicken Tractor
A floorless, lightweight coop you shift daily so birds get fresh forage, the ground gets manured, and nobody has to muck out.
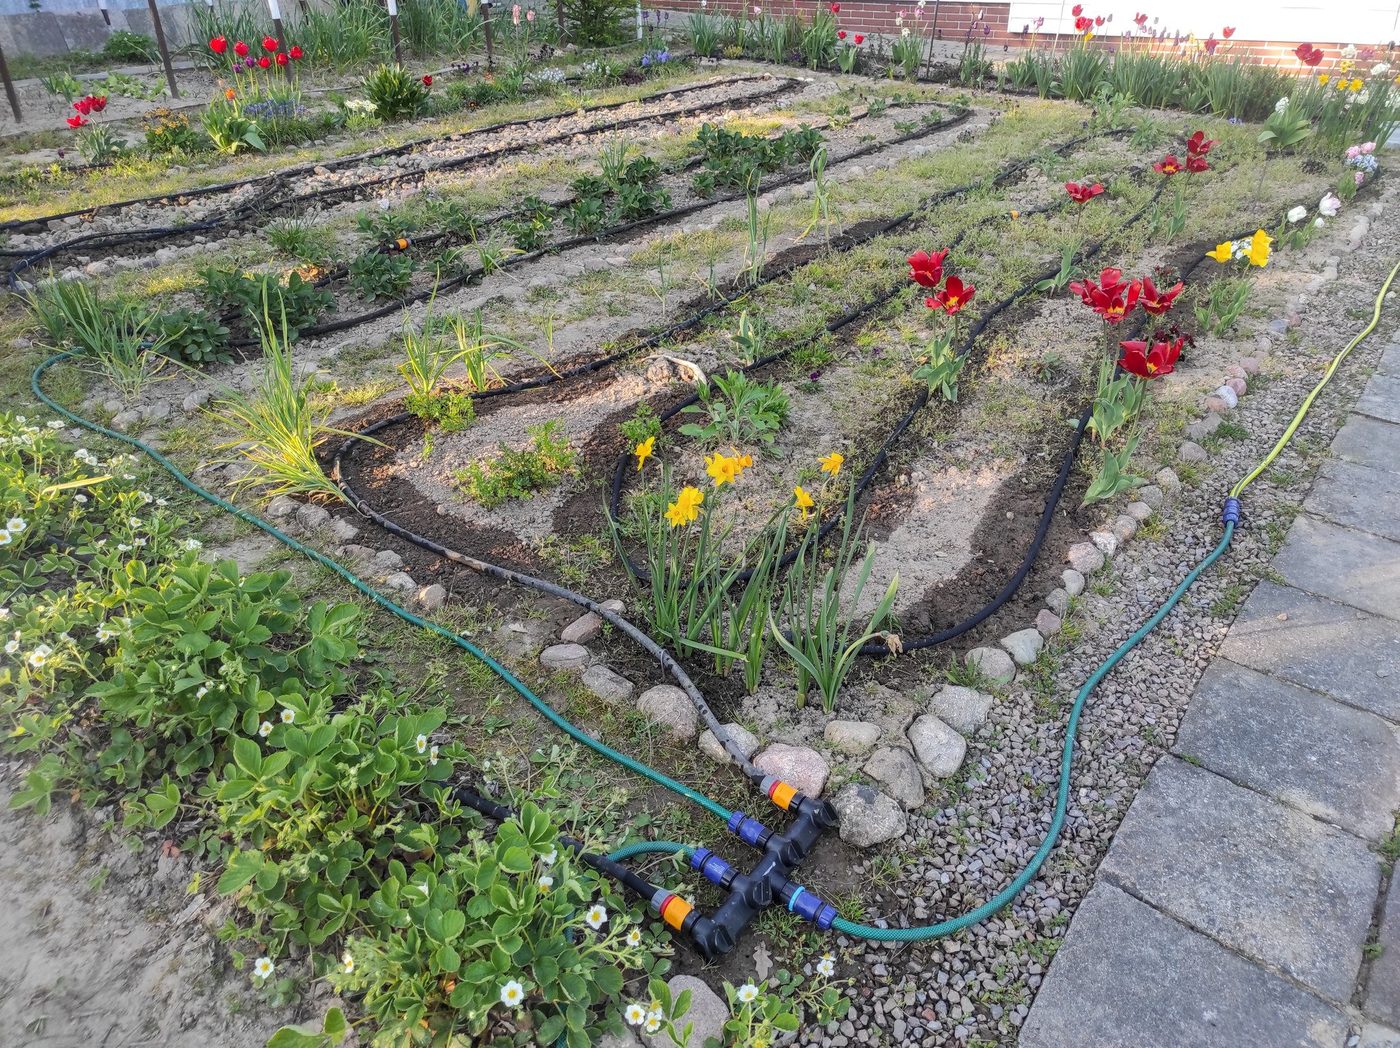
Gravity Drip Irrigation from a Raised Barrel
A 200 L drum on a stand feeds drip lines by gravity alone, cutting garden water use by around 60% with no pump.
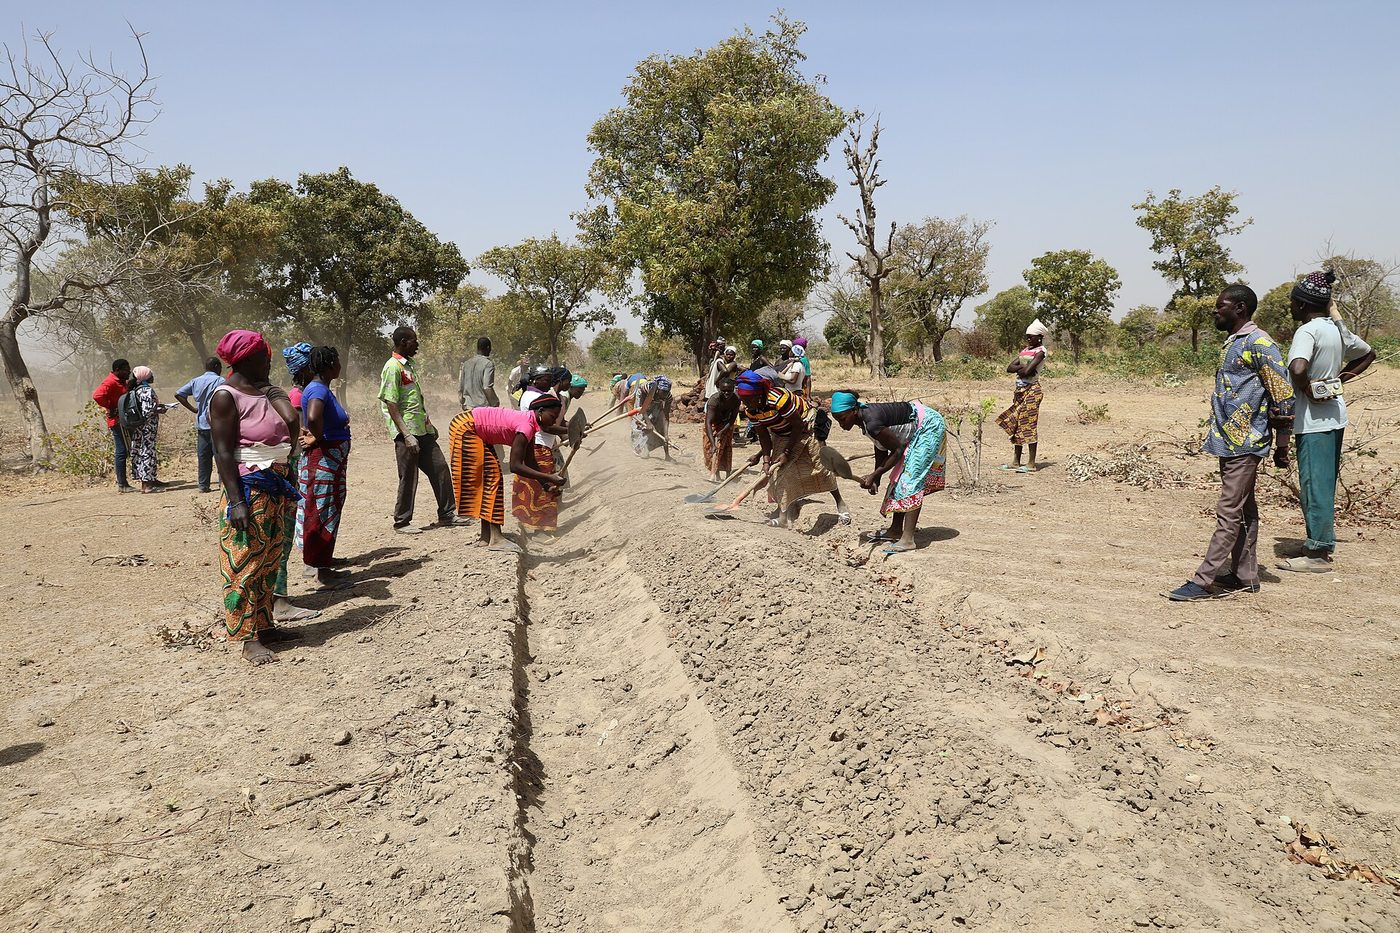
Zai Pits and Stone Contour Bunds
Hand-dug planting pits and stone lines along the contour that catch runoff and rebuild crusted, degraded soil into cropland.