
Arborloo Shallow-Pit Compost Toilet
A shallow pit toilet with a movable slab and superstructure — fill it, cap it with soil, plant a tree on it and dig the next one.
- Estimated cost
- $25 – $70 for a reusable slab and light superstructure
- Skill level
- Beginner
- Time
- 1 – 2 days per relocation
Why this is a Verified Build
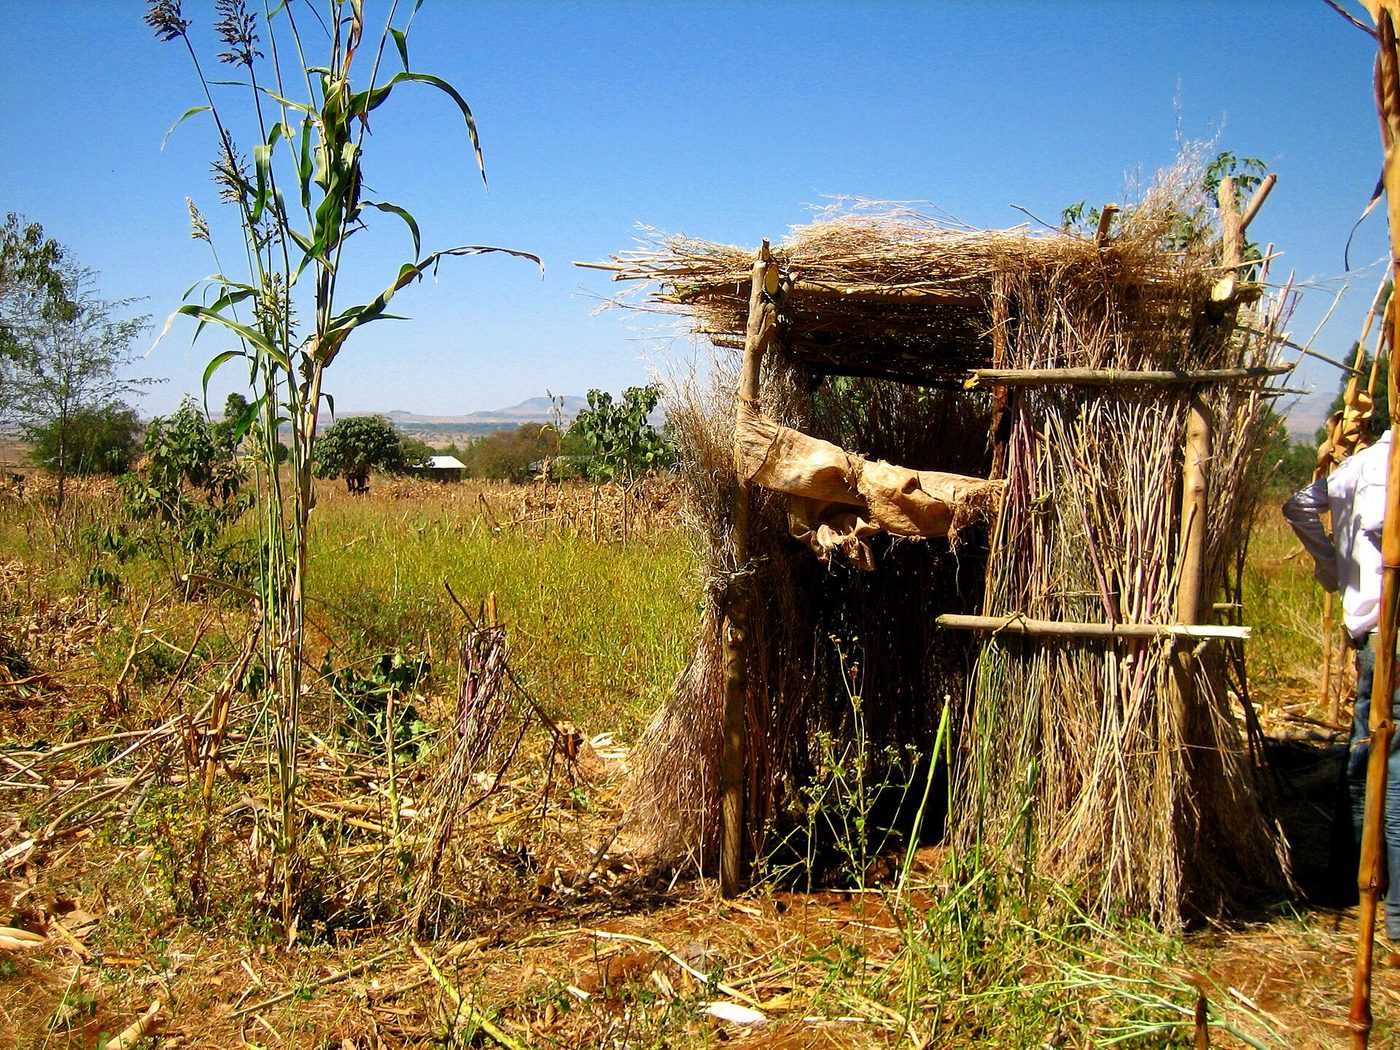
Verified with photos from a household near Hawassa, Ethiopia (2025) showing three successive pits and the papaya and banana planted on the first two.
Tools
- Digging tools
- Concreting tools for the slab
- Handsaw and hammer
- Spirit level
If you don't have it
- No concrete slab? A log-and-mud slab on 100 mm poles works for the shallow pit; replace it if any pole softens.
Materials
- Cement, sand, gravel and 6 mm bar for a reusable squat slab
- Timber or bamboo for a light, movable superstructure
- Thatch, mat or old sheet for walls and roof
- Soil, ash and dry leaves for daily covering
- A tree seedling for each retired pit
Dimensions & cut list
A shallow-pit arborloo with a movable slab, filled and planted with a tree in a season. These are the reference sizes from Appropedia / SuSanA — scale them to what you have, but keep the ratios.
| Pit diameter | 100 cm |
|---|---|
| Pit depth | 100–150 cmShallow on purpose — deep pits never become tree holes |
| Slab | 120 × 120 cm, 5 cm thick concrete with 3 mm wire mesh |
| Drop hole | 20 × 30 cm keyhole shape |
| Pit collar | One course of brick above ground level |
| Cover material added per use | One mug of soil and ash |
| Fill level before moving | Stop 30 cm below ground level |
| Soil cap before planting | 20–30 cm, then plant after one rain |
Take this list to the yard
- 1 bag (50 kg)Cement for the slab
- 0.06 m³ and 0.09 m³Sand and gravel
- 1.2 × 1.2 m3 mm wire mesh
- 1 setSuperstructure: poles and grass or iron sheetLight enough for two people to lift and move
- 1 per filled pitFruit tree seedling
Step by step
Step 1 of 7
Cast a reusable slab
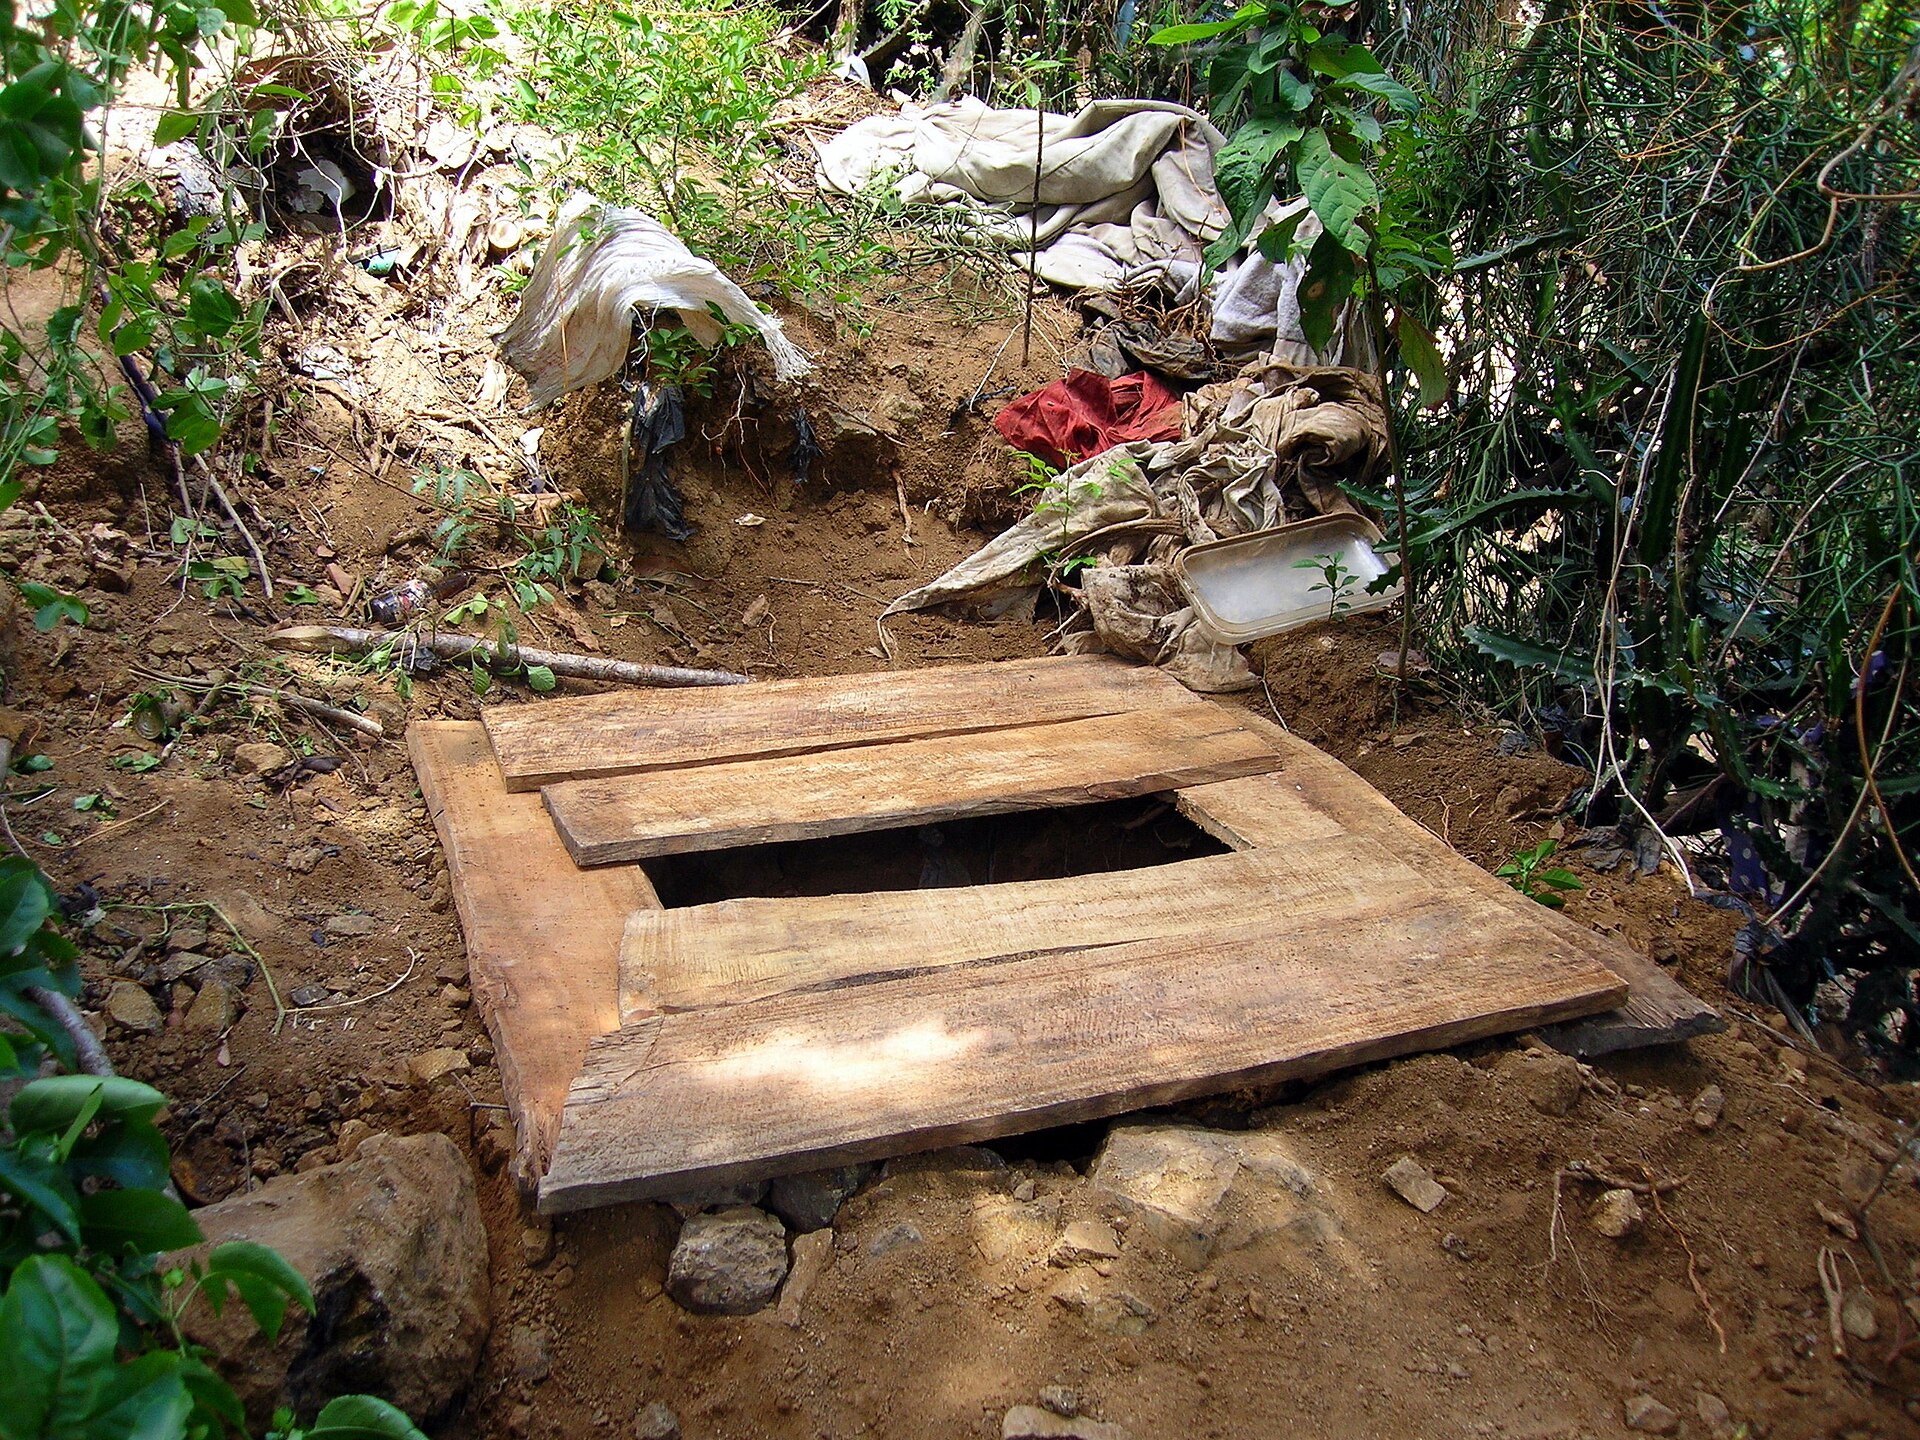
Cast a 1.2 m square reinforced slab with a keyhole squat opening and a tight-fitting lid, about 60 mm thick with two lifting handles. This slab is the investment — it moves from pit to pit for years.
Swipe or use arrow keys
1. Cast a reusable slab
Cast a 1.2 m square reinforced slab with a keyhole squat opening and a tight-fitting lid, about 60 mm thick with two lifting handles. This slab is the investment — it moves from pit to pit for years.
2. Site the pit safely
At least 30 m from any well or spring and downhill of it, and clear of where floodwater runs. Never put an arborloo where the pit could reach groundwater.
3. Dig shallow, deliberately
Dig only 1 – 1.5 m deep and about 1 m across. Shallow is the whole design: it stays in the biologically active soil layer and composts, instead of becoming a deep pit that must be emptied.
4. Set the slab and superstructure
Place the slab on a firm ring of soil or brick around the pit mouth, seal the edges with mud, and stand a light frame over it that two people can carry to the next site.
5. Cover after every use
Keep a bucket of soil, ash and dry leaves with a scoop inside, and add a scoop after each use. This is what controls flies and smell — an arborloo without covering material becomes an ordinary stinking pit.
6. Retire the pit and plant
When contents reach about 500 mm below ground level, move the slab and superstructure to a new pit, top the old one with 150 mm of soil and plant a fruit tree — papaya, banana and guava all do well.
7. Plan the rotation
Mark out where the next four pits will go before you dig the first. Households that plan the sequence keep going for years; those that improvise run out of safe ground.
Why mine failed
The ways this build usually goes wrong, and what fixes it.
Bad smell and flies
CauseCover material not being added after every use
FixKeep a bucket of soil and ash with a mug beside the hole and add one mugful each time. Dry cover material is the whole odour control.
Pit fills much faster than expected
CauseWater or greywater going down the hole
FixKeep all washing water out — an arborloo is a dry pit. Wash at a separate soak pit.
Pit walls collapsing in sandy soil
CauseNo collar and no lining at the top
FixLine the top 50 cm with brick or a cut drum and keep a brick collar above ground so surface water runs away from the pit.
The planted tree dies
CausePlanted straight into the pit contents, or too little soil cap
FixCap with 20–30 cm of soil, wait for a rain, then plant. Roots must reach the contents gradually, not sit in them.
Safety notes
- Never plant a tree on a pit less than a month after capping, and never dig into a retired pit to harvest compost — the contents are not safe to handle.
- Keep at least 30 m and downhill from any water source; in high water table or rocky ground, this design is not appropriate.
- Fit a lid over the squat hole and keep small children supervised; open pits are a drowning and fall hazard.
- Handwashing must be next to the toilet, not somewhere else. Pair this with a tippy tap.
Source & attribution
This plan is our build-step write-up of work documented by Appropedia / SuSanA. The original design and documentation belong to them — go read the source before you build.
Arborloo: shallow pit toilet and tree plantingLocal adaptations
What builders changed to make this work where they live.
Almaz T. · Hawassa, Ethiopia
We keep wood ash from the stove in the toilet bucket instead of soil. No flies at all, and the papaya on pit one is over three metres now.
Build this alongside
Plans that use the same materials or serve the same need.
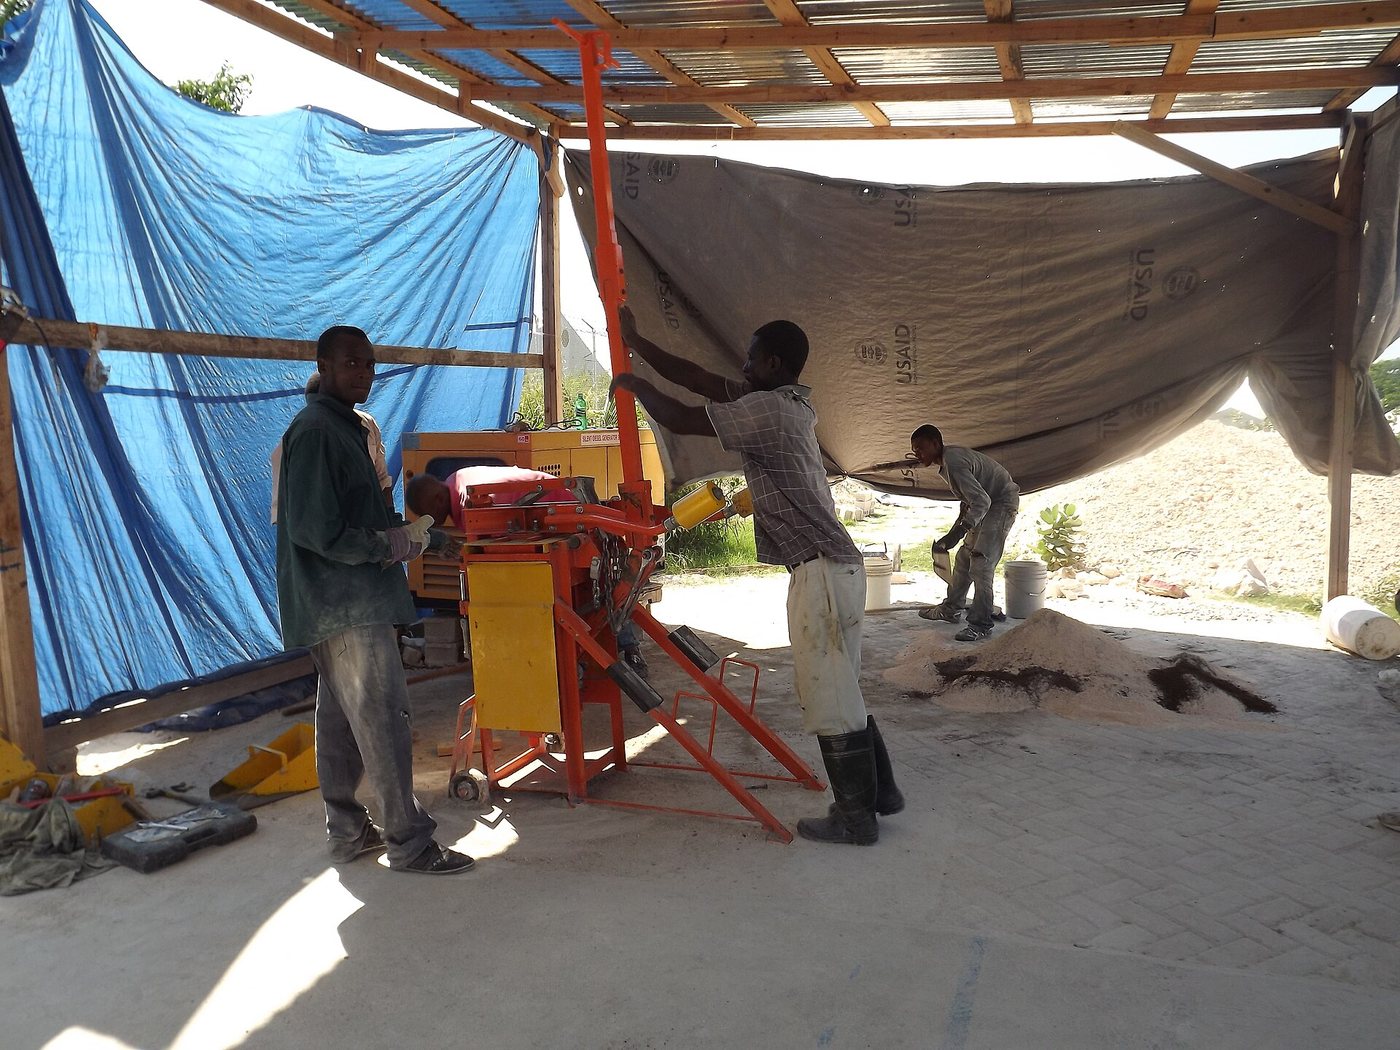
Manual Compressed Earth Block Press
A hand-built compound-lever press that turns local soil into load-bearing building blocks for about the price of a bag of cement.
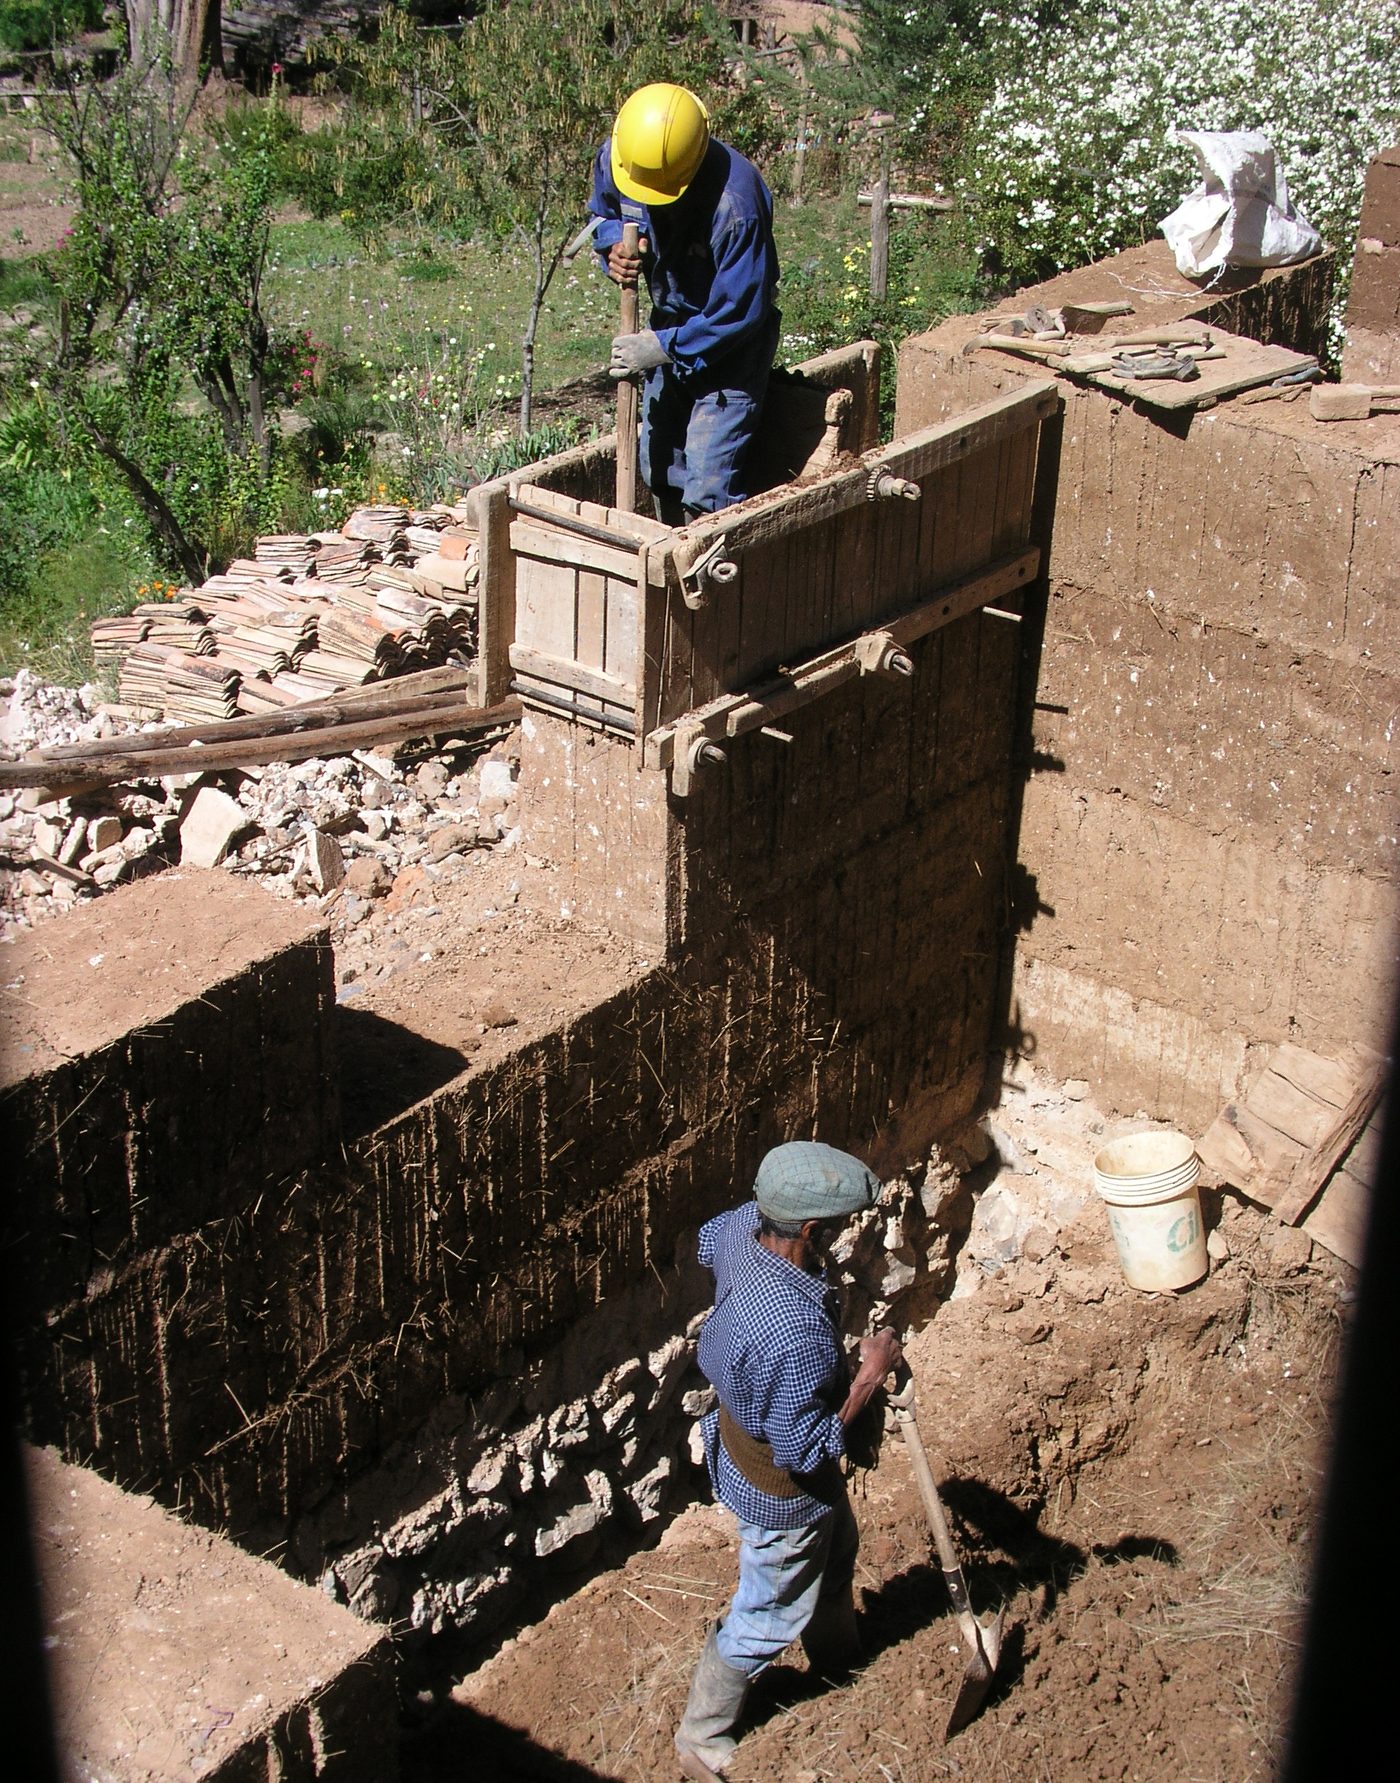
Rammed Earth Wall with Reusable Formwork
Tamp moist sub-soil in timber shuttering to raise thick, thermally massive walls that stay cool through the hottest afternoon.
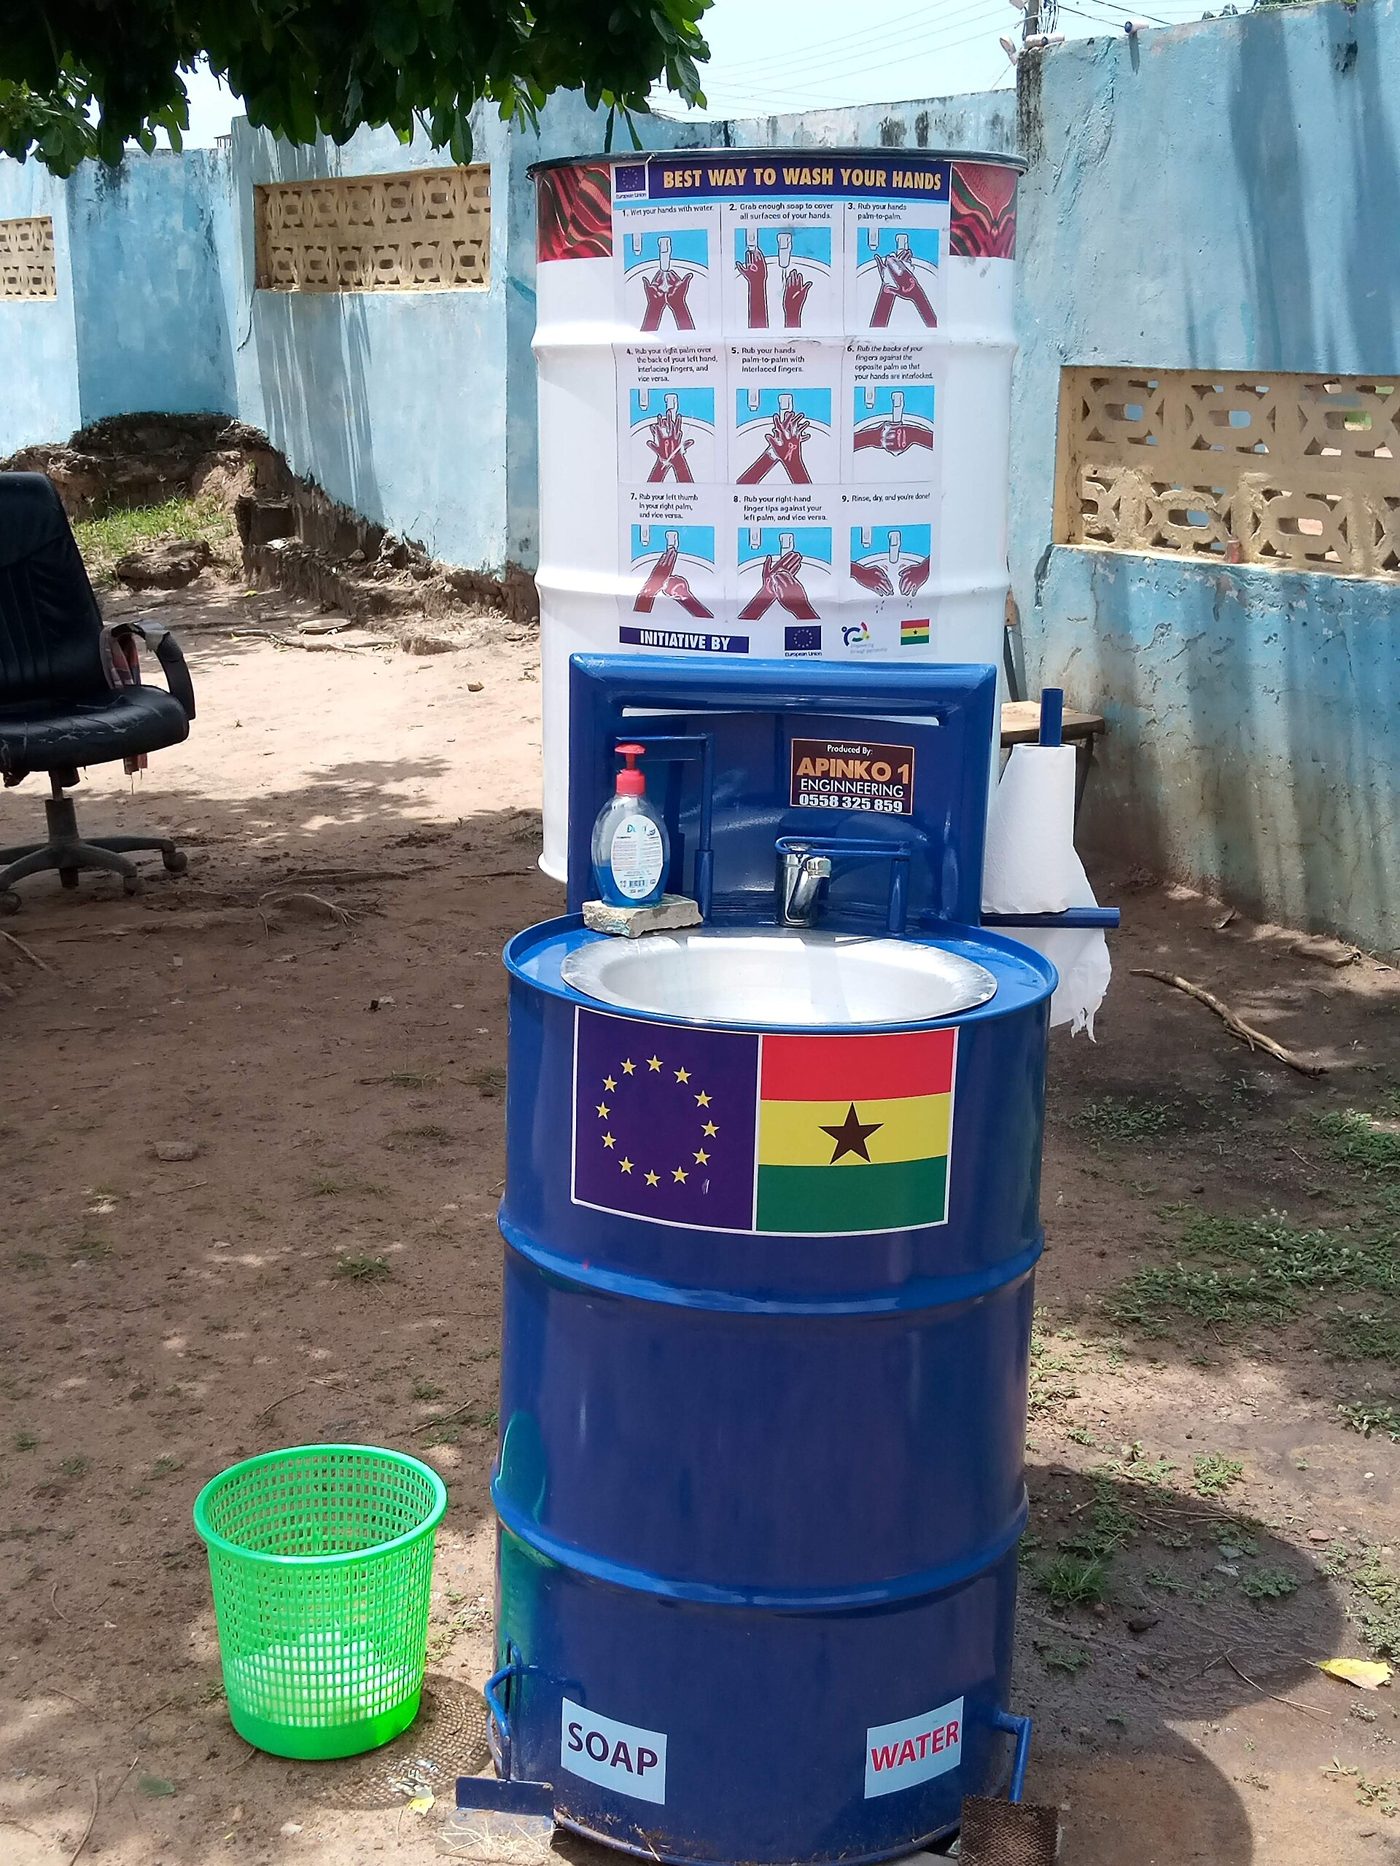
Foot-Pedal Handwashing Station
A hands-free pedal station that runs on a jerrycan of water — no tap to touch, so washing hands doesn't recontaminate them.