
Safe Water Storage Vessel
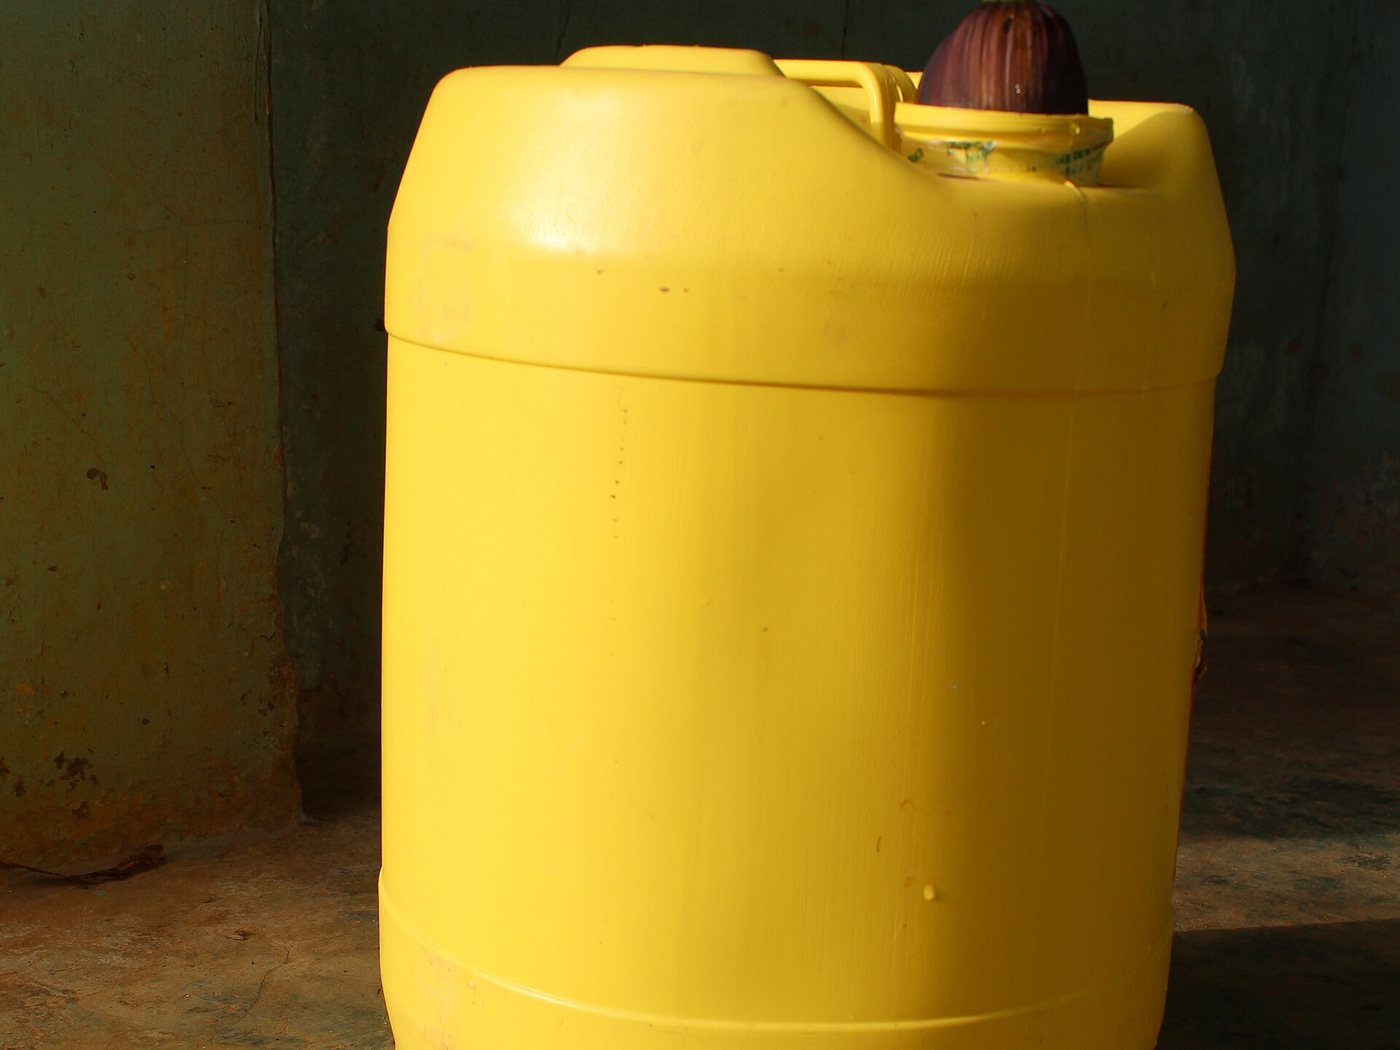
Convert an ordinary jerrycan or clay pot into a narrow-mouth, tap-fitted, lidded storage vessel so treated water does not get recontaminated by hands and cups.
- Estimated cost
- $5 – $20 per vessel
- Skill level
- Beginner
- Time
- 1 hour per vessel
Not yet verified
No confirmed build with photo proof has been submitted for this plan yet. Built it? Send photos and it earns the badge.
Tools
- Hole saw or heated steel tube, 20 mm
- Sharp knife and file
- Spanner for the tap nut
- Bucket for testing
Short a tool or material? Builders below have often swapped something local in — read Local adaptations before you buy anything.
Materials
- Food-grade 20 – 25 litre jerrycan or narrow-neck clay pot
- Plastic bib tap with backnut and two rubber washers
- Tight-fitting screw lid
- Chlorine solution for disinfection
Dimensions & cut list
A household safe-storage vessel holding 20 litres of treated water for a family of six. These are the reference sizes from Appropedia / household water treatment and safe storage guidance — scale them to what you have, but keep the ratios.
| Capacity | 20 litres≈ 1 day for six people at drinking and cooking rates |
|---|---|
| Mouth opening | Under 100 mmThe narrow mouth is the whole health benefit — no hands, no cups inside |
| Tap height above base | 60–80 mmLeaves any settled sediment below the outlet |
| Vessel material | Food-grade HDPE or fired clay, opaque |
| Lid | Screw or tight press fit |
| Cleaning interval | Weekly scrub with soap, plus a chlorine rinse monthly |
| Stand height | 600 mm so a cup fits under the tap |
Take this list to the yard
- 2Narrow-mouth jerrycan or clay jarTwo vessels let one be cleaned while the other is in use
- 1Plastic tap with washer
- 1Screw lid
- 1Simple timber stand
- 1Dedicated cleaning brushUsed for nothing else, ever
Step by step
Step 1 of 6
Pick a narrow-mouth vessel
The whole point is that no hand or cup can enter. A 25 litre jerrycan or a lidded clay pot with a small neck both work; open buckets do not.
Swipe or use arrow keys
1. Pick a narrow-mouth vessel
The whole point is that no hand or cup can enter. A 25 litre jerrycan or a lidded clay pot with a small neck both work; open buckets do not.
2. Cut the tap hole low
Mark 50 mm above the base so sediment stays below the outlet. Cut a clean 20 mm hole with a hole saw, then file the edge smooth.
3. Fit the tap with washers each side
Rubber washer outside and inside, backnut hand-tight then a quarter turn with a spanner. Overtightening cracks the wall and the crack always spreads.
4. Leak-test overnight
Fill and leave on dry ground overnight. A slow weep will only get worse; re-seat the washers rather than tightening further.
5. Disinfect before first use
Rinse with a chlorine solution, then rinse twice with treated water. Repeat monthly, and after any period the vessel stood empty.
6. Fix habits, not just the vessel
Store off the ground, keep the lid on, refill only with treated water, and never top up part-used water with untreated water.
Why mine failed
The ways this build usually goes wrong, and what fixes it.
Treated water still makes the family sick
CauseCups and hands dipped into the vessel
FixUse a vessel with a mouth under 100 mm and draw water only through a tap. Recontamination in storage undoes every treatment step before it.
Green slime inside the vessel
CauseClear or translucent container in the light
FixUse an opaque vessel and keep it out of the sun. Scrub weekly and rinse with a weak chlorine solution monthly.
Grit in the drawn water
CauseTap set too low
FixFit the tap 60–80 mm above the base so sediment settles below the outlet, and rinse the bottom out each week.
Safety notes
- Only use food-grade containers. Old fuel, pesticide or chemical drums cannot be made safe by washing.
- Clean the tap spout regularly — it is the one part hands touch.
- Keep vessels out of direct sun to slow algal growth in translucent plastic.
- Storage does not treat water. Filter, boil or chlorinate first.
Source & attribution
This plan is our build-step write-up of work documented by Appropedia / household water treatment and safe storage guidance. The original design and documentation belong to them — go read the source before you build.
Household water treatment and safe storageLocal adaptations
What builders changed to make this work where they live.
- No adaptations shared yet for this plan.
Build this alongside
Plans that use the same materials or serve the same need.
Rooftop Rainwater Harvesting with First-Flush Diverter
Catch and store roof runoff, and throw away the dirty first few litres automatically so what reaches your tank is worth storing.
SODIS Solar Water Disinfection Rack
Clear PET bottles on a black-painted roof rack, using six hours of sun to make biologically safe drinking water at no running cost.
Moringa Seed Water Clarification
Crush shelled Moringa oleifera seed into a milky suspension that binds silt and much of the bacterial load in turbid water, dropping it out as sludge in an hour.