
Rooftop Rainwater Harvesting with First-Flush Diverter
Catch and store roof runoff, and throw away the dirty first few litres automatically so what reaches your tank is worth storing.
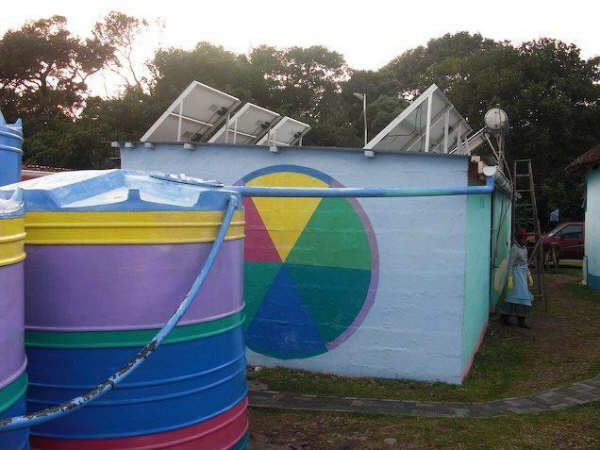
- Estimated cost
- $90 – $300 depending on tank size and gutter run
- Skill level
- Beginner
- Time
- 1 – 2 days
Why this is a Verified Build
Confirmed build with photo proof on a 48 m² iron-sheet roof in Kigali, Rwanda, filling a 5,000 L tank. Owner reported the diverter cut visible sediment in the tank to near zero.
Tools
- Hacksaw
- Drill
- Ladder and a second person to foot it
- Spirit level and string line
- Spanner set
If you don't have it
- No PVC pipe and end cap? Hang a 5 L plastic bottle on the downpipe with a hand-drilled 2 mm drain hole in the base — it fills, diverts and drains itself between storms.
Materials
- Guttering to suit your roof length, plus brackets at 800 mm centres
- 110 mm PVC downpipe and fittings
- 110 mm PVC pipe, 1.5 – 2 m, capped, for the first-flush chamber
- A ball float or a simple slow-release drip cap for the chamber
- Leaf screen mesh and a fine mosquito mesh
- Storage tank — plastic, ferrocement or a lined masonry tank
- Tank overflow pipe and a lockable draw-off tap
Dimensions & cut list
A standpipe first-flush diverter on a downpipe from a 40 m² iron roof. These are the reference sizes from Appropedia — scale them to what you have, but keep the ratios.
| Water to divert | 0.4–1 litre per m² of roof40 m² roof means 16–40 litres dumped first |
|---|---|
| Standpipe diameter | 110 mm PVC |
| Standpipe length | 1.7 m holds ≈ 16 litresAdd a second pipe rather than making one absurdly tall |
| Drain outlet | 8–10 mm hole or tap at the baseMust empty fully between storms |
| Screen mesh | 1 mm at the gutter outlet |
Take this list to the yard
- 2 m110 mm PVC pipe
- 1 each110 mm tee and end cap
- 250 mlSolvent cement
- 3Pipe clips into the wall
Step by step
Step 1 of 7
Size the system to your roof
Roof area in m² × rainfall in mm × 0.8 gives you litres per event. A 50 m² roof in a 30 mm downpour yields about 1,200 L. Size the tank for the dry spell you need to bridge, not the biggest storm.
Swipe or use arrow keys
1. Size the system to your roof
Roof area in m² × rainfall in mm × 0.8 gives you litres per event. A 50 m² roof in a 30 mm downpour yields about 1,200 L. Size the tank for the dry spell you need to bridge, not the biggest storm.
2. Hang gutters with a real fall
Run a string line and set a fall of about 1:150 toward the downpipe. Fix brackets at 800 mm centres — sagging gutter holds water, breeds mosquitoes and eventually tears off in a storm.
3. Fit the leaf screen
Cover the gutter or the downpipe inlet with coarse mesh you can reach and clean. Anything organic that reaches the tank turns into taste, colour and sludge.
4. Build the first-flush chamber
Tee the downpipe so water first fills a capped vertical 110 mm pipe. Size it for about 0.5 L per m² of roof — roughly 25 L for a 50 m² roof, which is about 2.6 m of 110 mm pipe. Once it fills, water backs up and passes on to the tank.
5. Add the drain
Drill a 3 mm hole in the chamber cap, or fit a slow-release drip valve, so the chamber empties over a few hours and is ready for the next rain. Point the drain away from foundations.
6. Seal and screen the tank
Screen every opening — inlet, overflow and vent — with fine mosquito mesh. Fit the draw-off tap 100 mm above the tank floor so settled sediment stays put, and add a washout at the very bottom.
7. Clean on a schedule
Clear gutters before the rains start, check the first-flush drain monthly, and wash out the tank annually at the end of the dry season.
Safety notes
- Do not drink rainwater untreated. Chlorinate, filter or boil, and never harvest from asbestos, lead-flashed or freshly painted roofs.
- Working at roof height causes most injuries on this build — use a footed ladder and never work alone.
- A full 5,000 L tank weighs 5 tonnes. Build it on a compacted, level sand-and-gravel base or a concrete slab, never on loose fill.
- Every opening must be screened or you have built a mosquito hatchery.
Source & attribution
This plan is our build-step write-up of work documented by Appropedia. The original design and documentation belong to them — go read the source before you build.
Rainwater catchment and first-flush diverter sizingLocal adaptations
What builders changed to make this work where they live.
Claudine U. · Kigali, Rwanda
We swapped the drilled cap for a tap on the flush chamber and use that water for the garden instead of losing it.
Build this alongside
Plans that use the same materials or serve the same need.
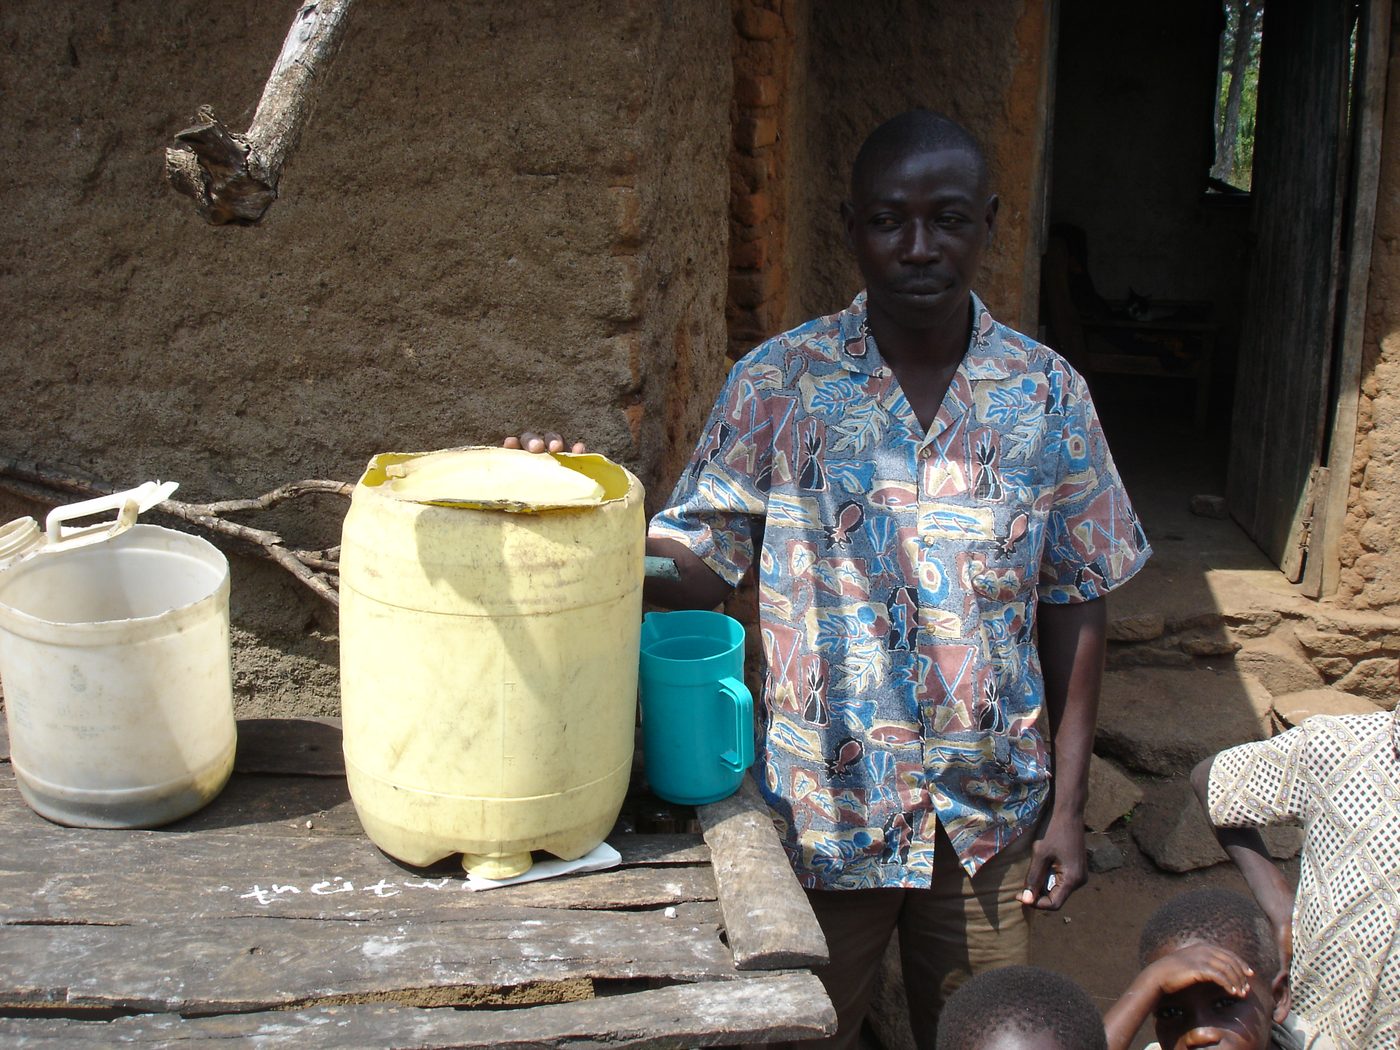
Concrete Biosand Water Filter
A household slow-sand filter in a concrete body that removes most pathogens and turbidity with no power, no cartridges and no ongoing cost.
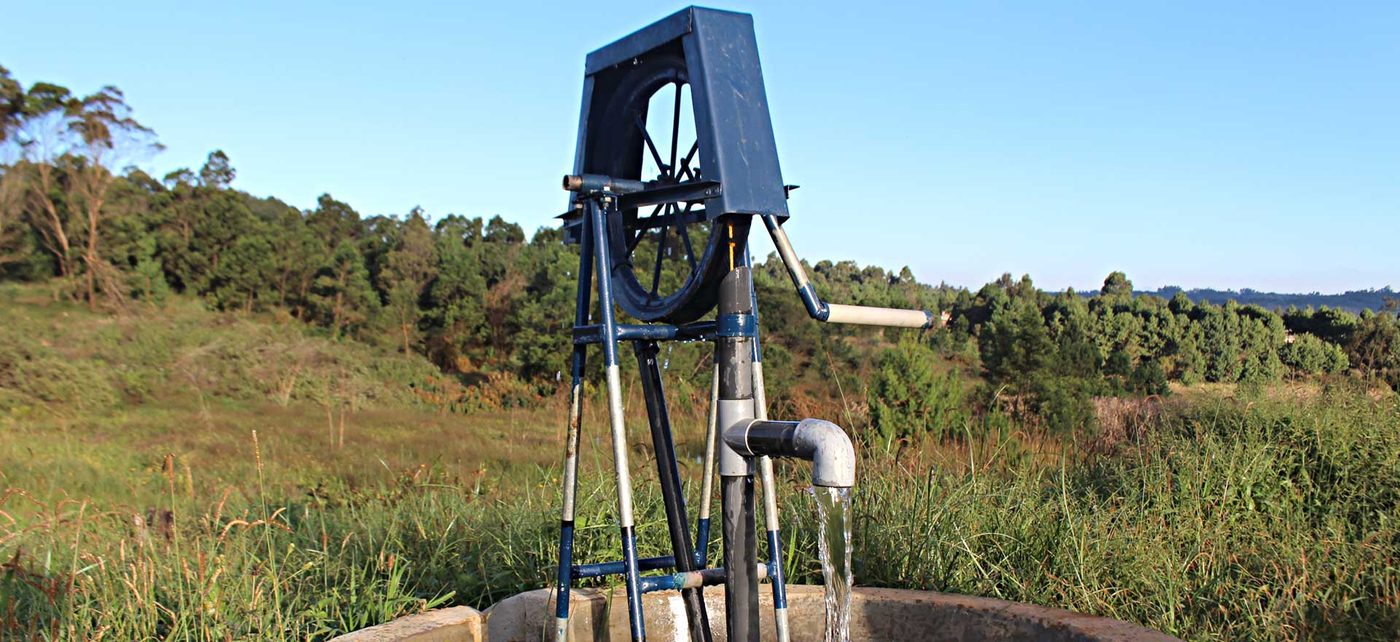
Rope-and-Washer Pump
A hand-cranked loop of rope with rubber washers that lifts water up to about 35 metres, built almost entirely from salvage.
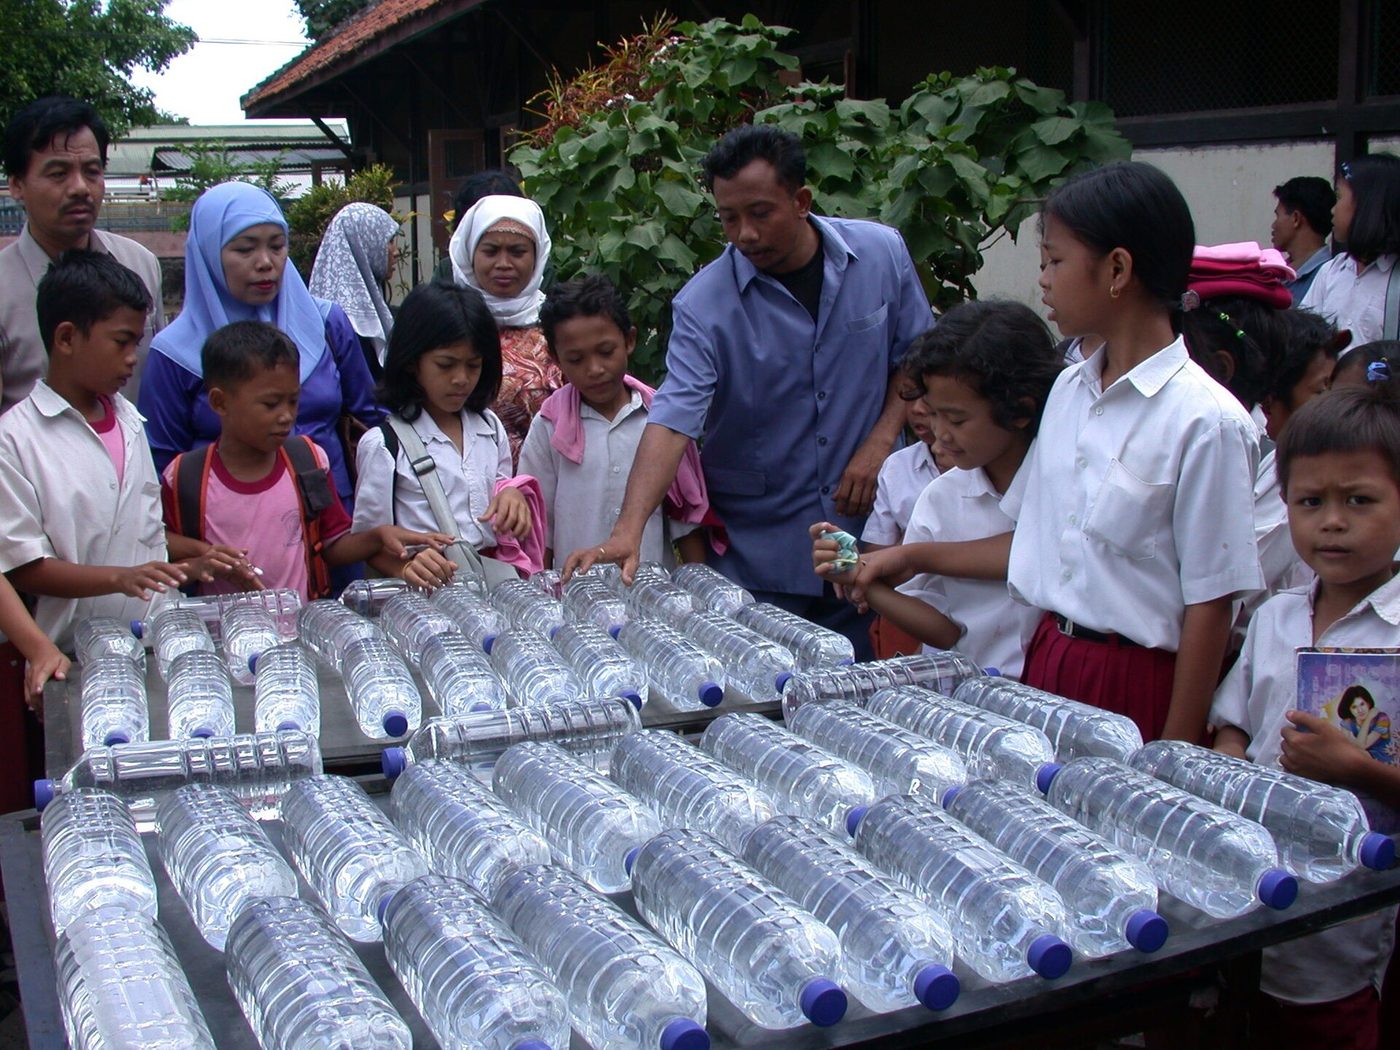
SODIS Solar Water Disinfection Rack
Clear PET bottles on a black-painted roof rack, using six hours of sun to make biologically safe drinking water at no running cost.