
Lime and Earth Plaster for Earthen Walls
A breathable three-coat render that protects mud, adobe and earth-block walls from rain without trapping moisture the way cement does.
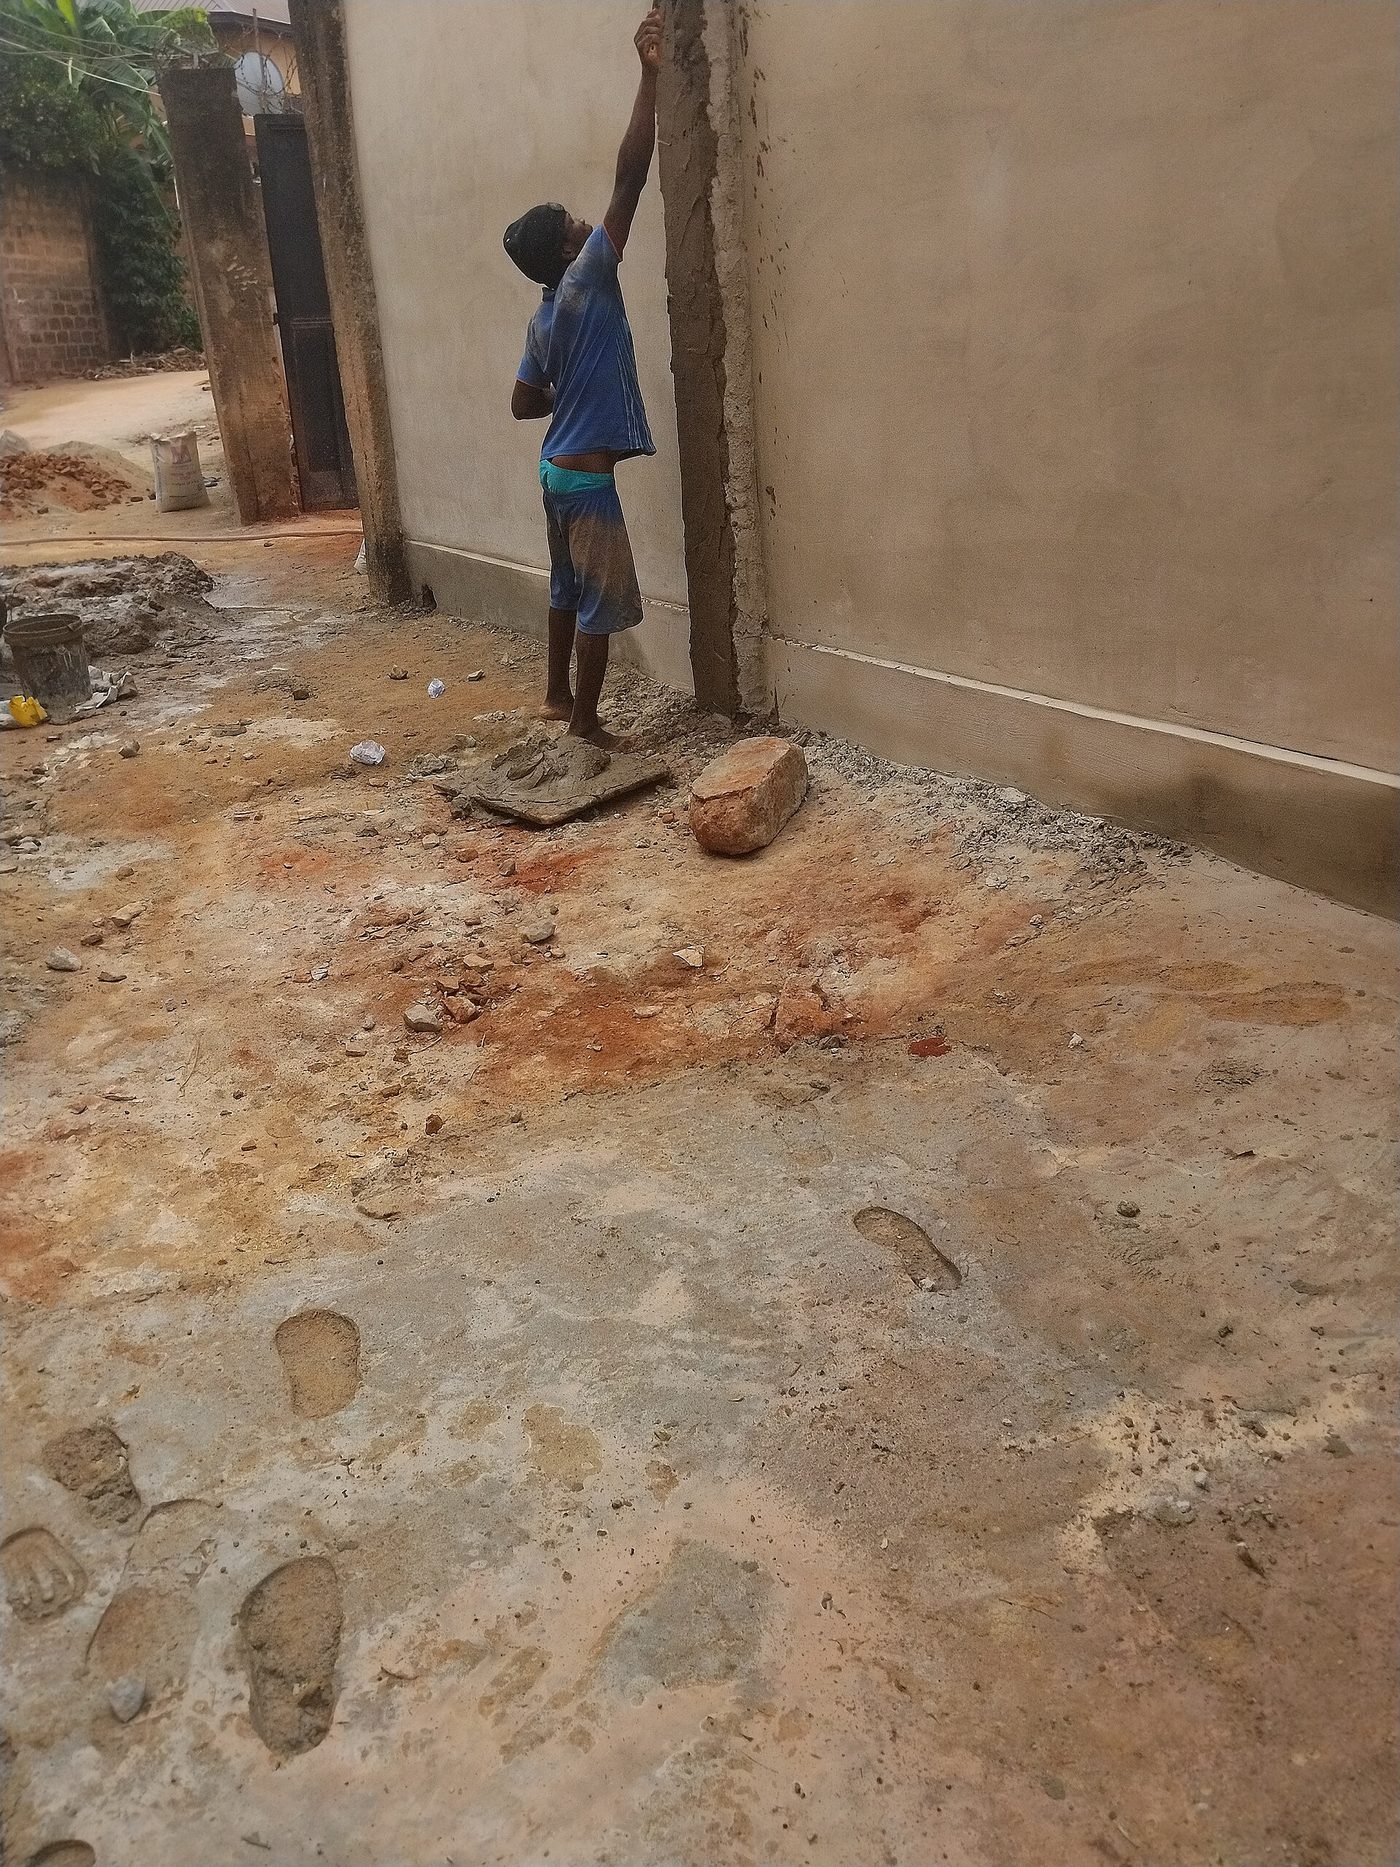
- Estimated cost
- $40 – $90 per small house of lime and sand
- Skill level
- Intermediate
- Time
- 2 – 3 days per coat, with a week between coats
Not yet verified
No confirmed build with photo proof has been submitted for this plan yet. Built it? Send photos and it earns the badge.
Tools
- Hawk and steel trowel
- Wooden float
- Mixing tub or tarpaulin
- Stiff brush
- Spray bottle or hose with fine nozzle
- Rubber gloves and goggles
If you don't have it
- No bagged hydrated lime? Burnt and slaked local limestone or crushed seashell lime works; slake at least two weeks before use.
Materials
Dimensions & cut list
Three-coat lime render on 20 m² of earth or masonry wall. These are the reference sizes from Appropedia — scale them to what you have, but keep the ratios.
| Scratch coat | 1 lime putty : 2.5 sharp sand, 8 mm thick, keyed with a comb |
|---|---|
| Float coat | 1 : 3, 8 mm thick |
| Finish coat | 1 : 3 with fine sand, 3 mm thick |
| Time between coats | 3–7 daysEach coat must set before the next; rushing this causes the whole render to delaminate |
| Total thickness | ≈ 20 mm |
| Curing | Mist twice a day for 5 days, keep out of direct sun and wind |
| Lime putty maturing | Slaked putty rested at least 2 weeks |
| Coverage | ≈ 1 bag hydrated lime per 4–5 m² of three-coat work |
Take this list to the yard
- 5 bags for 20 m²Hydrated lime or lime putty
- 0.6 m³Sharp washed sand, two grades
- 25 m²Hessian or shade cloth for curing
- 1 setWooden float, hawk, comb scratcherSteel-trowelling lime burnishes it closed and it will craze
- 1 setGoggles and gloves
Step by step
Step 1 of 7
Prepare and dampen the wall
Brush the wall clean, rake out loose material, and knock back any high spots. Dampen the whole surface the evening before and again just before plastering — a dry wall sucks water out of the mix and the render fails.
Swipe or use arrow keys
1. Prepare and dampen the wall
Brush the wall clean, rake out loose material, and knock back any high spots. Dampen the whole surface the evening before and again just before plastering — a dry wall sucks water out of the mix and the render fails.
2. Key the surface
On smooth earth block, score a diamond pattern with a nail bar or press in a scratch coat. Renders grip mechanically, not chemically, on earthen walls.
3. Mix the base coat
One part lime to three parts sharp sand, plus a good handful of chopped straw per bucket. Mix to a stiff, slightly greasy consistency. Let it stand 30 minutes, remix, and use within the day.
4. Lay on the base coat
Trowel on 10 – 12 mm firmly enough to squash it into the key. Do not try to make it flat and pretty — scratch it with a comb or nail float while soft so the next coat grips.
5. Cure slowly and mist
Shade the wall with damp hessian or sacking and mist twice a day for at least three days. Lime cures by absorbing carbon dioxide, slowly. Fast drying in sun or wind causes shrinkage cracking, every time.
6. Second coat and finish coat
After a week apply an 8 mm second coat at 1:3, then a thin 1:2 finish coat with fine sand, floated smooth with a wooden float. Wooden floats close the surface; steel trowels burnish it and cause crazing.
7. Limewash for a wearing surface
Two to four thin coats of limewash — lime and water at the consistency of milk — give a sacrificial layer you can recoat each year rather than replastering.
Why mine failed
The ways this build usually goes wrong, and what fixes it.
Render crazes into fine cracks
CauseToo rich in lime, dried too fast, or steel-trowelled
FixStay at 1:3 for the outer coats, finish with a wooden float, and mist twice a day for five days under hessian.
Whole coat sheets off the wall
CauseNext coat applied before the previous set, or no key
FixComb-scratch the first coat, wait 3–7 days between coats, and dampen the surface before applying the next.
Render stays soft and chalky
CauseLime never carbonated — kept sealed or too cold and wet
FixLime hardens by taking up CO₂ from the air. Keep it damp but airy, never wrapped in plastic, and do not render in continuous heavy rain.
Burns on hands and eyes
CauseFresh lime is caustic
FixGoggles and gloves every time, and slake in the open air. Rinse splashes long and hard with clean water.
Safety notes
- Lime is caustic and burns skin and eyes badly. Wear goggles and gloves every time, and keep clean water and vinegar on hand for splashes.
- Never slake quicklime in a closed container; it boils violently.
- Do not use cement render on earthen walls. It traps moisture behind the skin and rots the wall from the inside.
Source & attribution
This plan is our build-step write-up of work documented by Appropedia. The original design and documentation belong to them — go read the source before you build.
Lime plaster and earthen render guidanceLocal adaptations
What builders changed to make this work where they live.
Samuel K. · Arusha, Tanzania
We mixed cactus mucilage into the limewash as a water repellent, an old trick here. Two rainy seasons and the finish is still shedding water.
Build this alongside
Plans that use the same materials or serve the same need.
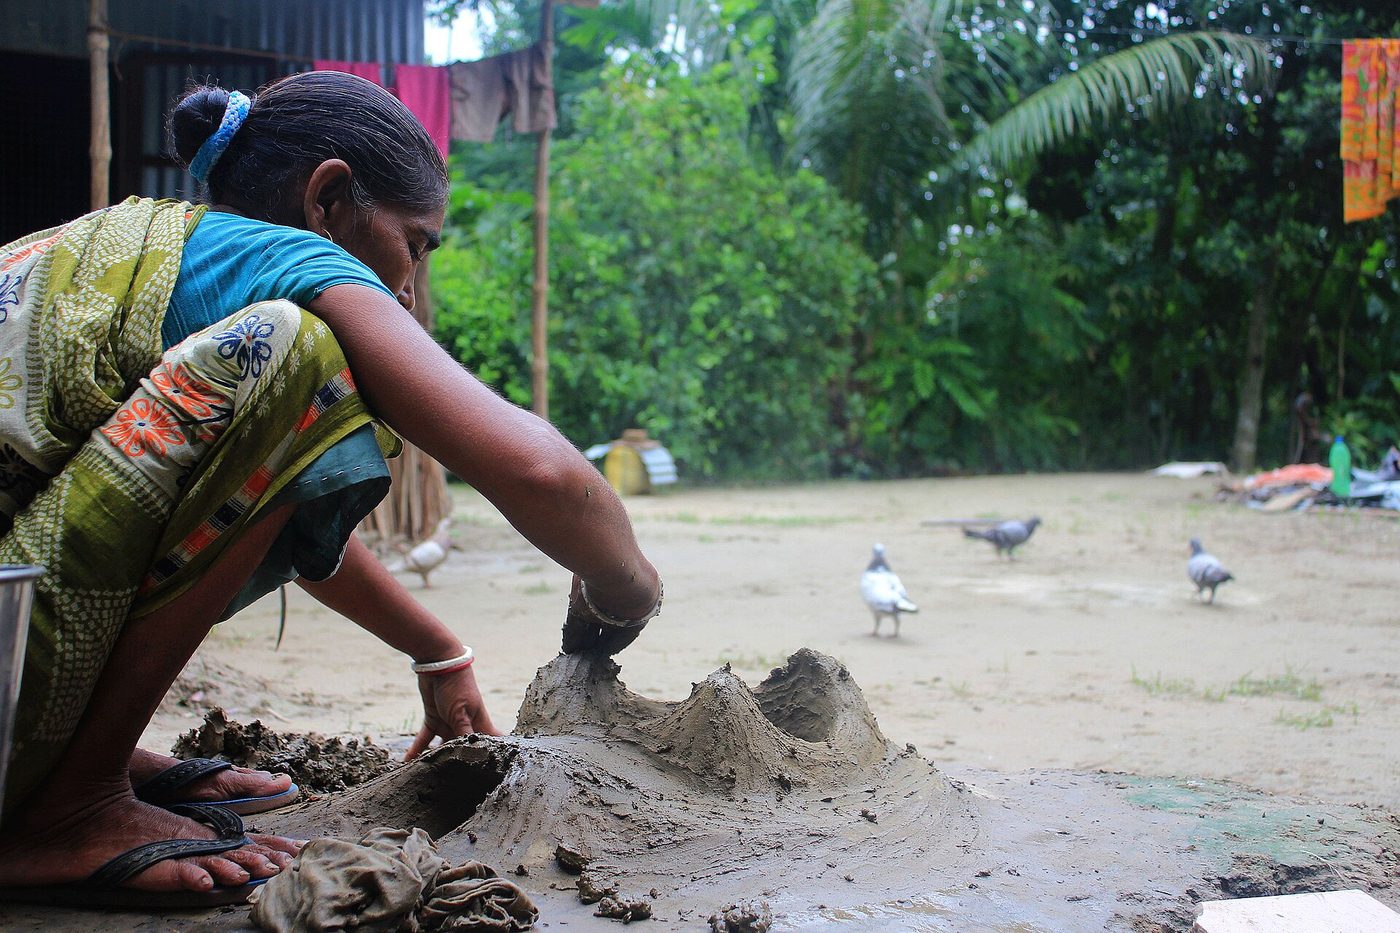
Cob Bread and Pizza Oven
A domed earth oven on a raised base that holds baking heat for hours from one small fire of scrap wood.

Improved Mud Cookstove with Fuel Shelf
A moulded clay-and-sand stove with a sized combustion chamber and pot skirt that cuts firewood use by roughly a third against a three-stone fire.
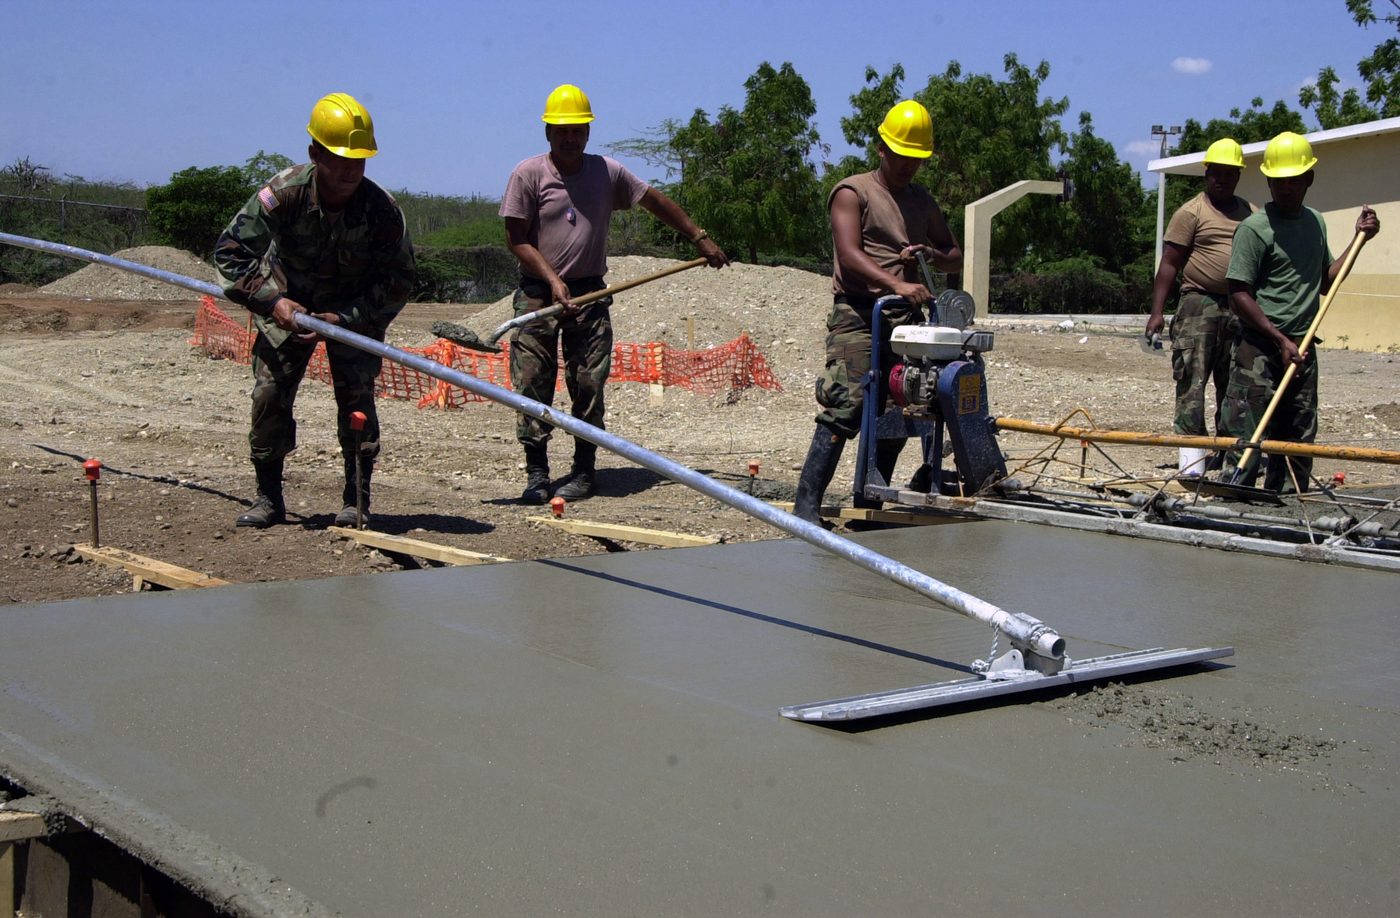
Soil-Cement Floor Slab
Replace a dust floor with a compacted, cement-stabilised earth slab that sweeps clean, resists damp and costs a fraction of a full concrete pour.