
Improved Mud Cookstove with Fuel Shelf
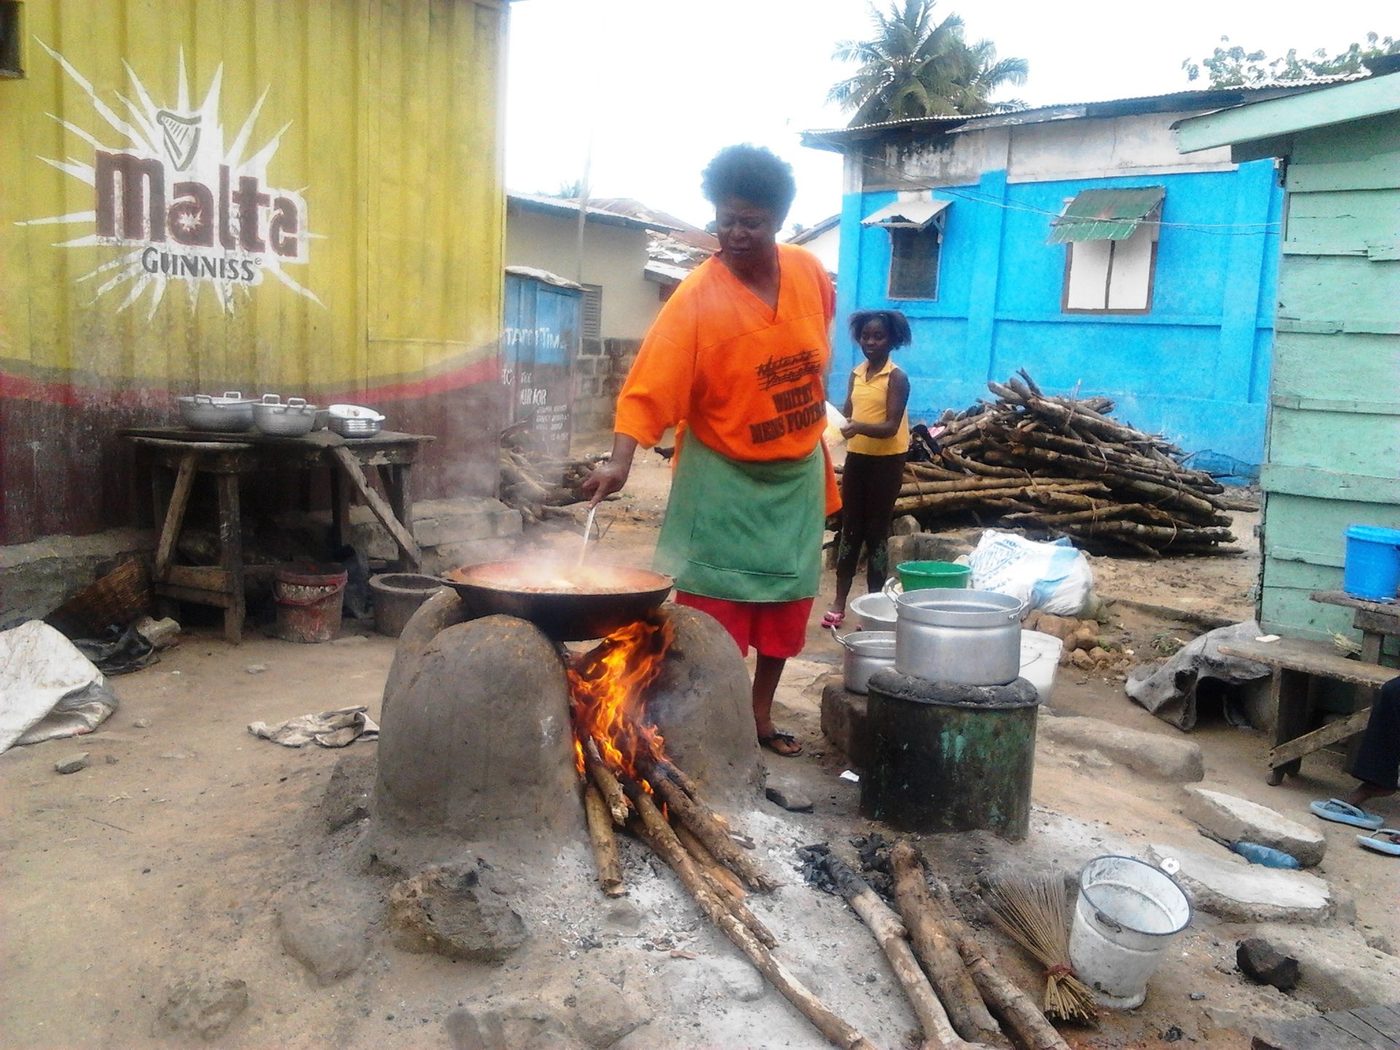
A moulded clay-and-sand stove with a sized combustion chamber and pot skirt that cuts firewood use by roughly a third against a three-stone fire.
- Estimated cost
- Under $10 — mostly labour and local clay
- Skill level
- Beginner
- Time
- 1 day to build, 2 weeks drying
Why this is a Verified Build
Verified with build photos and a two-week fuel weighing log from Tamale, Ghana (2026): firewood use dropped from 6.1 kg to 3.9 kg per cooking day for the same family meals.
Tools
- Hoe and buckets
- Trowel
- Old knife
- Stick gauge cut to the chamber dimensions
If you don't have it
- No termite-mound clay? Any subsoil clay with 25% sharp sand and 10% dry grass fibre performs the same; test-fire a small block first.
Materials
Dimensions & cut list
A mud-and-dung fixed stove sized to one common pot, with a shielded fire and controlled draught. These are the reference sizes from Permies / Appropedia — scale them to what you have, but keep the ratios.
| Combustion chamber | 160 mm internal diameterSized to the pot — an oversized chamber wastes wood |
|---|---|
| Chamber height under the pot | 180–200 mm |
| Fuel feed opening | 100 mm wide × 120 mm high |
| Pot rest gap | 10–12 mm between pot wall and stove wall |
| Wall thickness | 80–100 mm mud, dung and grass mix |
| Mix | 3 parts clay soil, 1 part fresh dung, chopped grass to bulk |
| Curing | Dry 7 days in shade, then 3 small warming fires before full use |
| Wood saving | 35–45% versus a three-stone fire when the pot fits |
Take this list to the yard
- 2 × 20 litre bucketsClay-rich soil
- 1 × 20 litre bucketFresh dung
- 2 handfuls per bucket of mixChopped dry grass
- 1The actual pot to be usedBuild the stove around the pot, not to a drawing
Step by step
Step 1 of 7
Measure the pot first
Build the stove around the pot the household actually uses every day. Pot seat diameter, chamber size and skirt gap all follow from that one measurement.
Swipe or use arrow keys
1. Measure the pot first
Build the stove around the pot the household actually uses every day. Pot seat diameter, chamber size and skirt gap all follow from that one measurement.
2. Mix and cure the cob
Mix clay, sand, ash and chopped straw to a stiff, sticky mix and leave it overnight. Test a fist-sized ball: dry it by the fire and check it does not crack apart or crumble.
3. Build the combustion chamber
Form a chamber roughly 150 × 150 mm in section, with walls 75 – 100 mm thick, tapering slightly toward the pot. Undersize it and the fire smokes; oversize it and you are back to burning fuel for nothing.
4. Fit the fuel shelf and air gap
Set a metal or fired-clay shelf in the fuel port so sticks feed in above a clear air gap. Air must pass under the burning ends — this single detail is most of the smoke reduction.
5. Form the pot seat and skirt
Shape the seat so the pot sits with a 10 mm gap all around and build a short skirt up the pot's side. Hot gas scrubbing the pot wall rather than escaping sideways is where the fuel saving comes from.
6. Dry slowly, then fire gently
Air-dry two weeks out of the rain, then run small fires for several days before full use. Patch any hairline cracks with fresh cob — cracks leak air and kill the draught.
7. Maintain it
Re-plaster the mouth every few months, keep ash cleared from below the shelf, and keep the stove under a roof. A cared-for mud stove lasts two to three years.
Why mine failed
The ways this build usually goes wrong, and what fixes it.
Cracks appear all over as it dries
CauseToo much clay, or dried in the sun too fast
FixAdd more sand and chopped grass to the mix, dry in shade for a week, and rub wet slurry into cracks. Fine hairline cracks are normal; wide ones need filling before firing.
Smokes badly and burns more wood than the open fire
CauseChamber too big, or fuel opening oversized
FixBuild to the pot: 160 mm chamber, 100 × 120 mm feed. An oversized chamber pulls cold air across the fire, and the wood burns to make smoke instead of heat.
Front of the stove crumbles after a month
CausePushing wood in hard, and no protection at the mouth
FixCut wood short so it feeds without levering, and line the mouth with a fired brick or a strip of scrap sheet metal.
Safety notes
- This stove reduces smoke, it does not eliminate it. Cook in a ventilated space or under an open-sided shelter, never in a closed room.
- Keep the stove on a non-combustible base and clear of thatch walls.
- Never burn plastic, treated wood or rubber — the fumes are far more harmful than woodsmoke.
Source & attribution
This plan is our build-step write-up of work documented by Permies / Appropedia. The original design and documentation belong to them — go read the source before you build.
Improved cookstove geometry and combustion chamber sizingLocal adaptations
What builders changed to make this work where they live.
Mariam I. · Tamale, Ghana
We mixed in crushed termite mound instead of pure clay. It sets harder and our stove has not cracked through a full rainy season under a lean-to.
Build this alongside
Plans that use the same materials or serve the same need.
Cob Bread and Pizza Oven
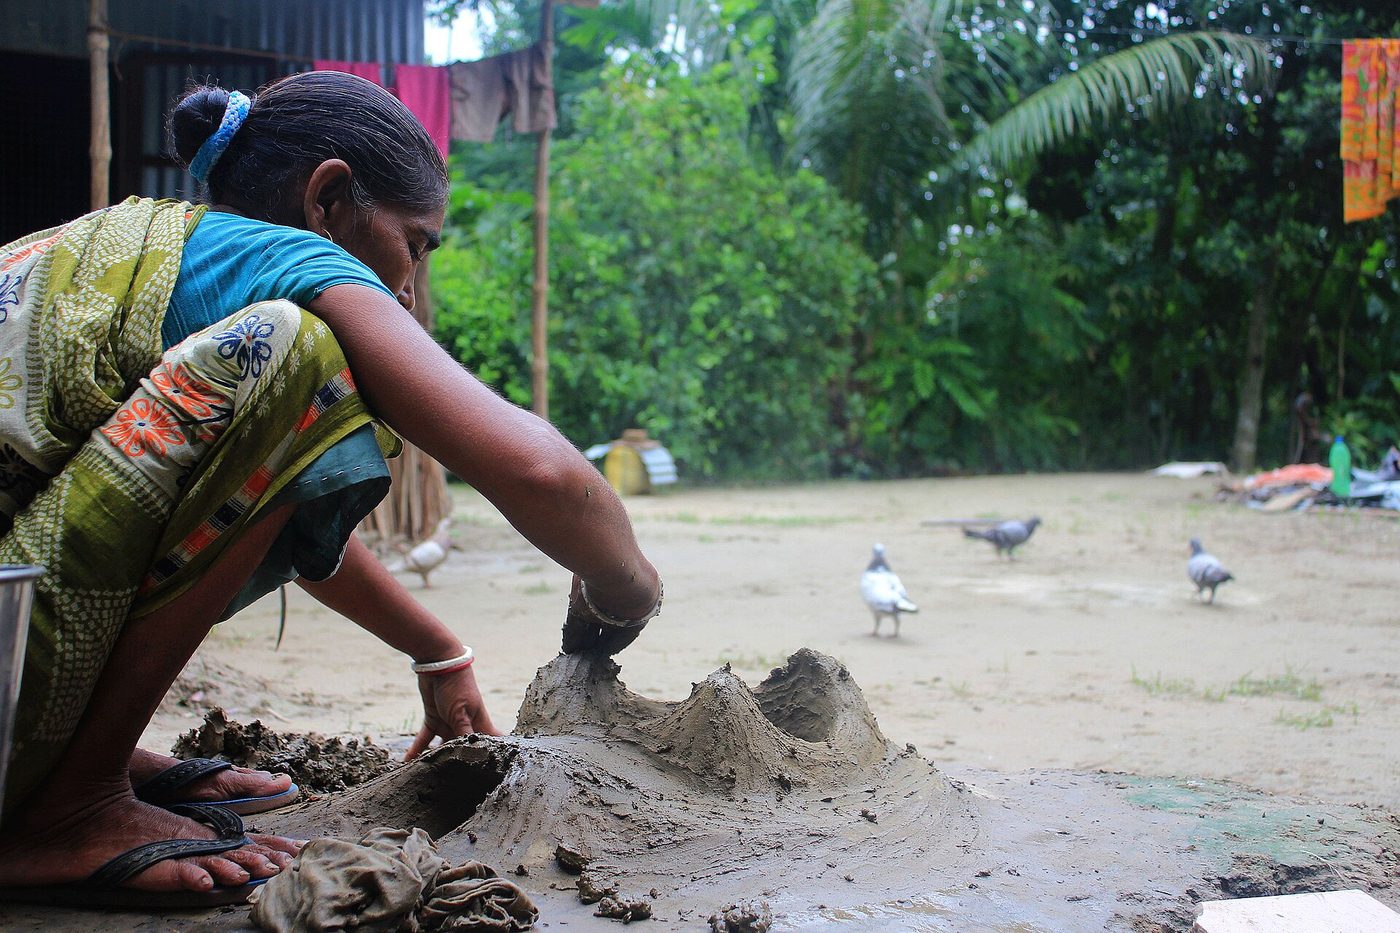
A domed earth oven on a raised base that holds baking heat for hours from one small fire of scrap wood.
Insulated Brick Rocket Stove
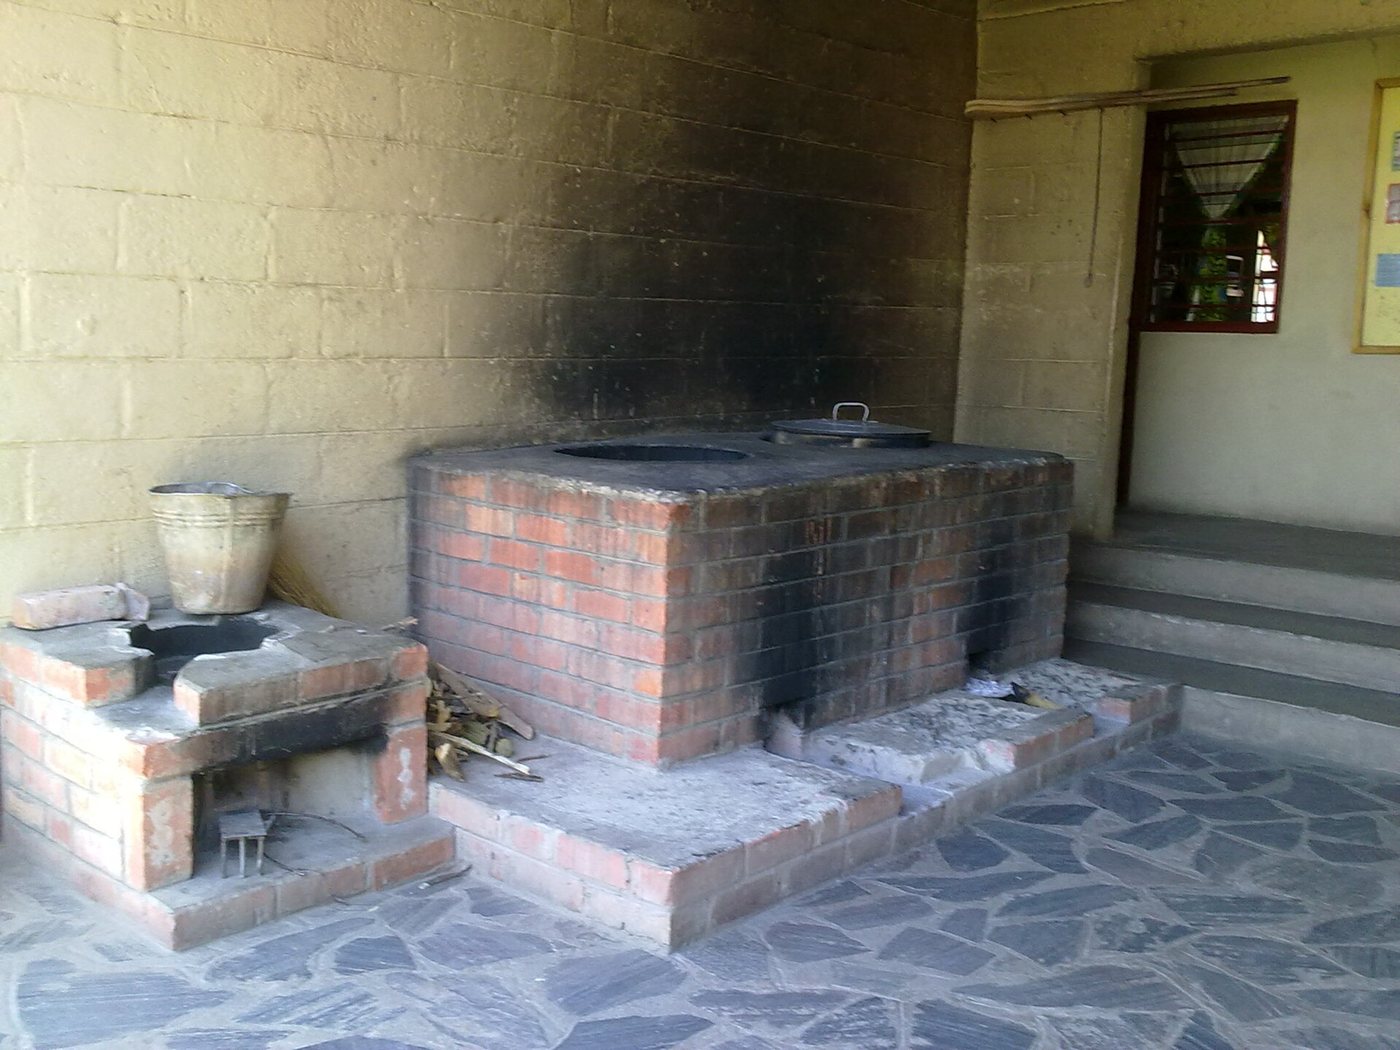
A J-shaped combustion chamber that burns small sticks hot and nearly smoke-free, cutting cooking fuel by half or more.
Lime and Earth Plaster for Earthen Walls
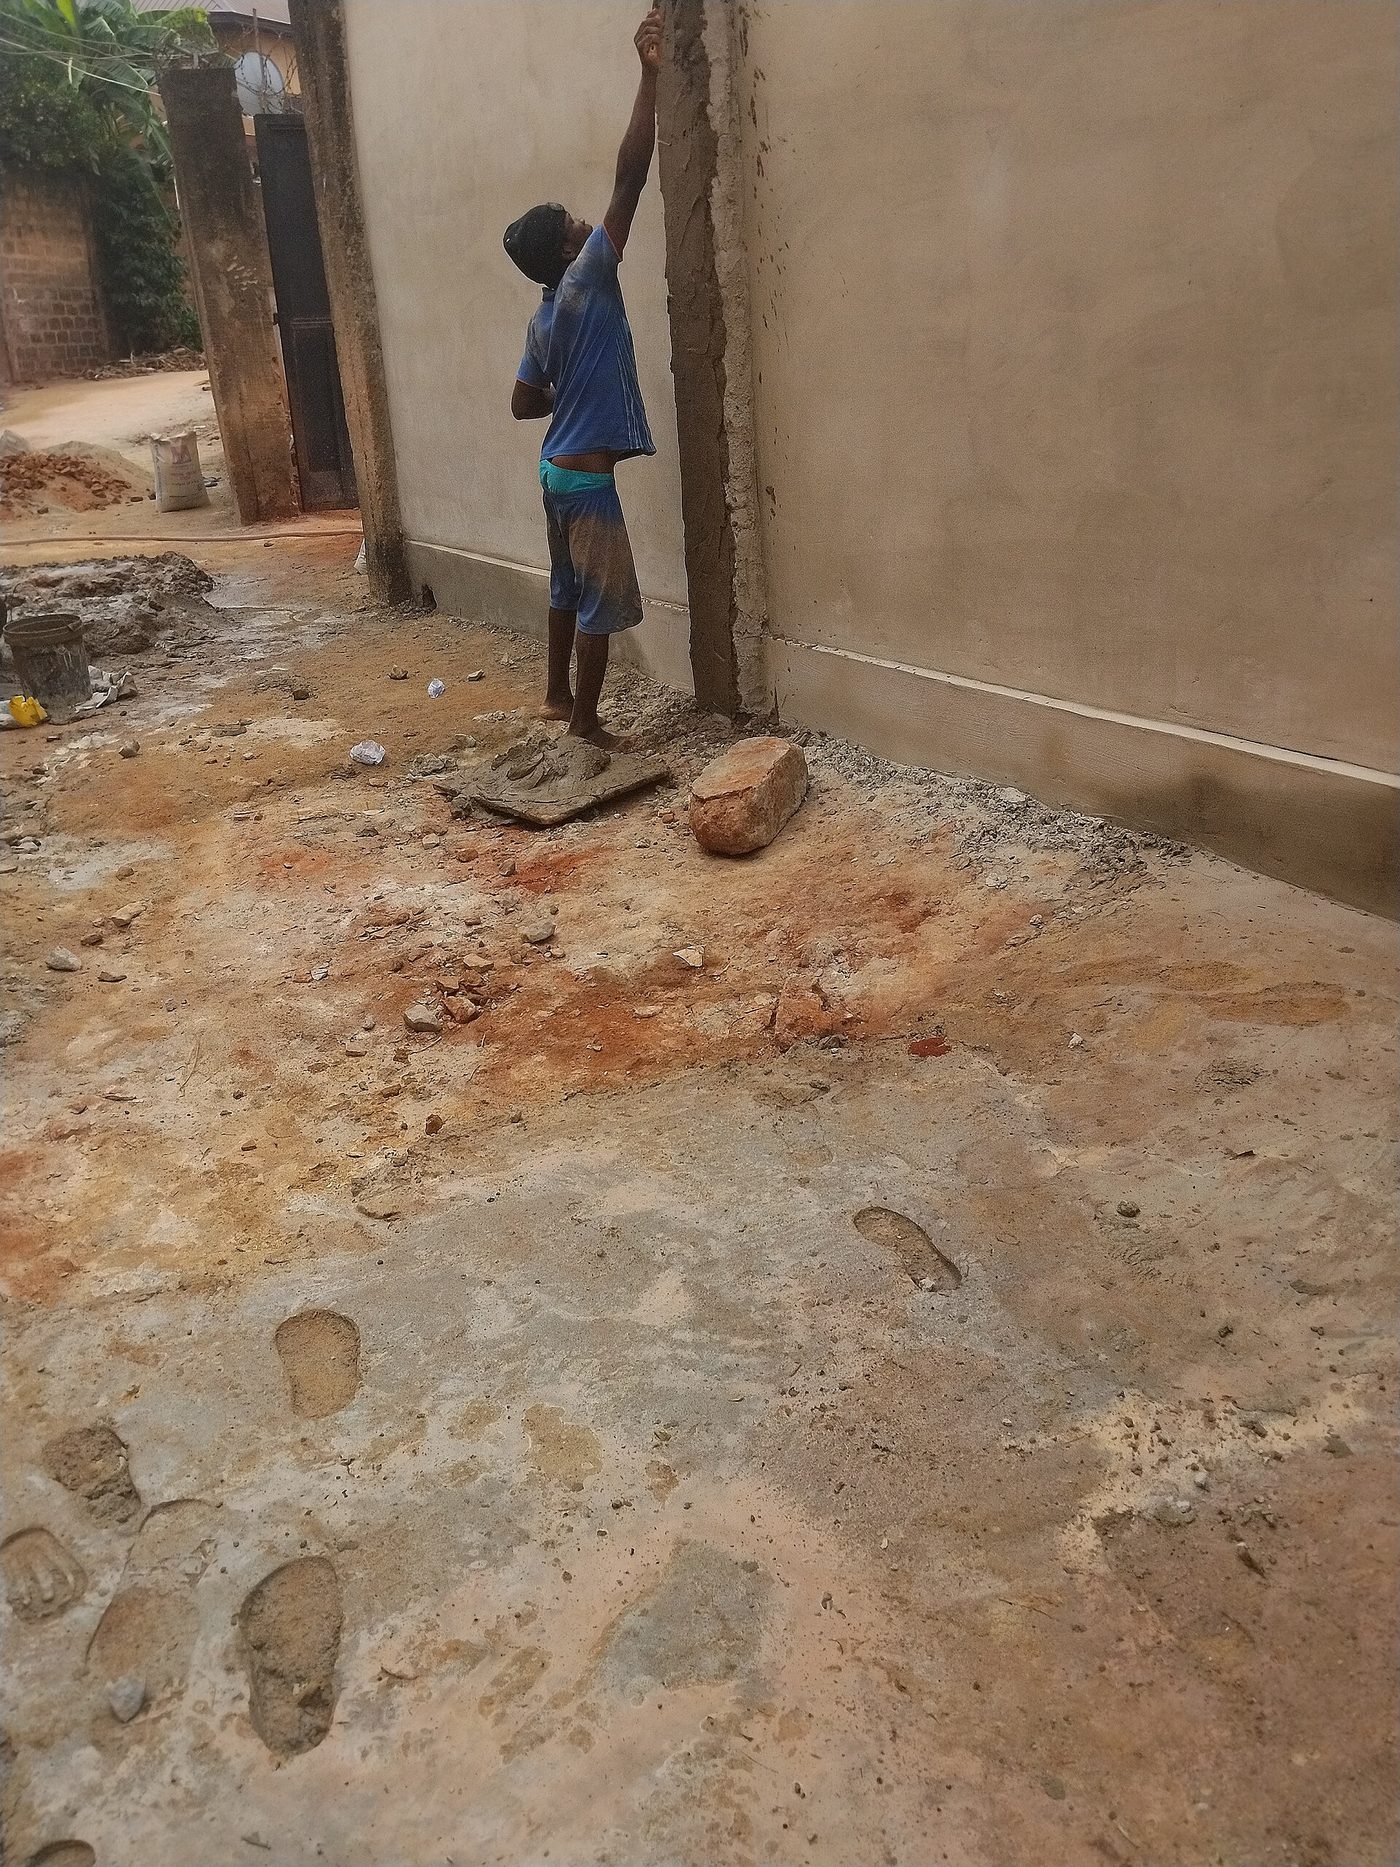
A breathable three-coat render that protects mud, adobe and earth-block walls from rain without trapping moisture the way cement does.