
Cob Bread and Pizza Oven
A domed earth oven on a raised base that holds baking heat for hours from one small fire of scrap wood.
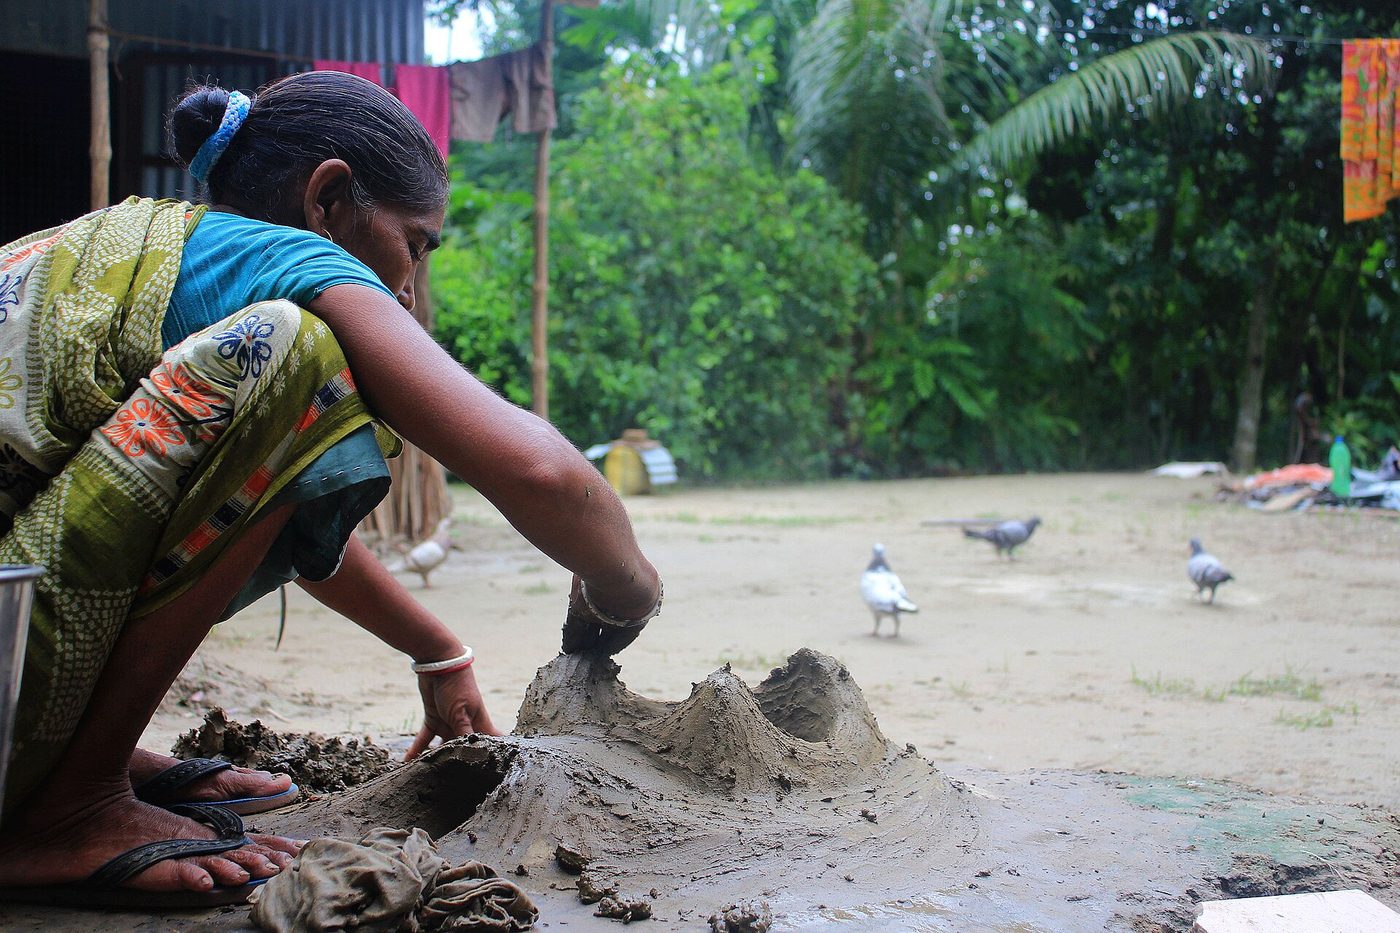
- Estimated cost
- $15 – $40 if the base is salvaged block or stone
- Skill level
- Beginner
- Time
- 2 days to build, 2 – 3 weeks drying
Not yet verified
No confirmed build with photo proof has been submitted for this plan yet. Built it? Send photos and it earns the badge.
Tools
- Hoe and buckets
- Tarpaulin for mixing
- Trowel
- Handsaw
- Old knife for carving the door
If you don't have it
- No firebrick floor? Lay the floor from well-fired local bricks bedded in sand, or from a 50 mm slab of rammed clay and grog.
Materials
- Clay-rich sub-soil, roughly 6 wheelbarrows
- Sharp sand, roughly 12 wheelbarrows
- Chopped straw
- Firebricks or dense clay bricks for the oven floor (about 20)
- Salvaged block, stone or rammed earth for the base
- Dry sand for the dome former
- Bottles, ash or wood shavings for the insulating layer
Dimensions & cut list
A single-chamber cob bread oven on a plinth, baking 4–6 loaves per firing. These are the reference sizes from Permies — scale them to what you have, but keep the ratios.
| Oven floor | 60 cm diameter firebrick or fired-brick base |
|---|---|
| Dome interior height | 40 cm at the crownAbout 0.63 × the floor diameter |
| Door height | 63% of internal dome height (≈ 25 cm)Get this wrong and the oven smokes or will not draw |
| Thermal layer | 8–10 cm of sand-clay cob, no straw |
| Insulation layer | 8 cm of straw-heavy clay slip over the thermal layer |
| Plinth height | 90 cm — working height, filled with rubble and insulated with glass bottles |
| Firing | 2–3 h fire, rake out, floor at 250 °C for bread, then falling heat for pizza to stew |
Take this list to the yard
- ≈ 25Fired bricks for the floor
- ≈ 0.3 m³Clay-rich subsoil
- ≈ 0.5 m³Sharp sandIncludes the sand dome former, which is dug out later
- 2 balesStraw
- 1 stackDamp newspaper for the release layer
Step by step
Step 1 of 8
Build a waist-high base
Lay a stable base about 900 mm high and 1200 mm square from block, stone or old brick, filled with rubble and topped with a level slab. Waist height means you bake standing up instead of kneeling in ash.
Swipe or use arrow keys
1. Build a waist-high base
Lay a stable base about 900 mm high and 1200 mm square from block, stone or old brick, filled with rubble and topped with a level slab. Waist height means you bake standing up instead of kneeling in ash.
2. Insulate under the floor
Spread 75 – 100 mm of glass bottles, wood ash or dry earth-and-shavings mix on the slab and level it with sand. Without this layer the heat drains into the base and your oven never holds temperature.
3. Lay the oven floor
Bed the firebricks tightly on a levelled sand screed, butted dry with no mortar so they can move with heat. Sweep fine sand into the joints and check the floor with a straight edge.
4. Form the dome in sand
Pile damp sand on the floor into a smooth dome roughly 450 mm high and 750 mm across, and cover it with wet newspaper. This is a temporary former — you dig it out later.
5. Apply the thermal-mass layer
Mix clay and sand roughly 1:3 by volume with just enough water to hold together, then pack a 100 mm even layer over the sand dome. Work with your fists, no smearing, and keep the thickness consistent all round.
6. Cut the door and dig out the sand
Cut a door 63% of the internal dome height — that ratio draws properly. Once the cob is firm the next day, scoop out all the sand and newspaper.
7. Insulate and render
Add a 75 mm outer layer of clay slip mixed heavily with straw or shavings for insulation, then a thin clay-sand render. Keep the oven covered from rain, or build a small roof over it.
8. Dry slowly, then fire up
Air-dry 2 – 3 weeks, then run five small fires over five days, each a little bigger. Rushing this steam-cracks the dome. For baking: burn a hot fire for 2 hours, rake out the coals, mop the floor and load bread.
Why mine failed
The ways this build usually goes wrong, and what fixes it.
Smoke pours out of the door instead of drawing
CauseDoor opening the wrong height for the dome
FixThe door should be about 63% of the internal dome height. Too tall and it will not draw; build the lintel down, or raise the dome.
Heats up then goes cold before the bread bakes
CauseThermal mass too thin, or no insulation layer
FixBuild the sand-clay thermal layer to at least 8 cm, then add a separate straw-rich insulation layer over it. Skipping the second layer is the usual cause.
Cracks appear across the dome after the first firings
CauseNormal shrinkage, but made worse by firing too soon
FixLet the cob dry for two to three weeks, then fire small and increasing over several days. Fill fine cracks with clay slip; anything wider than a finger needs repacking.
Safety notes
- Never light a big first fire in a green oven — trapped steam blows chunks out of the dome.
- Keep the oven mouth clear of anything flammable and never leave a live fire unattended near thatch.
- Rake hot coals into a metal bucket, not onto the ground.
Source & attribution
This plan is our build-step write-up of work documented by Permies. The original design and documentation belong to them — go read the source before you build.
Cob oven build threads and dome ratiosLocal adaptations
What builders changed to make this work where they live.
Fatou D. · Thiès, Senegal
We used broken termite mound clay instead of dug clay — it needed less sand and fired hard. The dome has taken two years of daily bread.
Build this alongside
Plans that use the same materials or serve the same need.
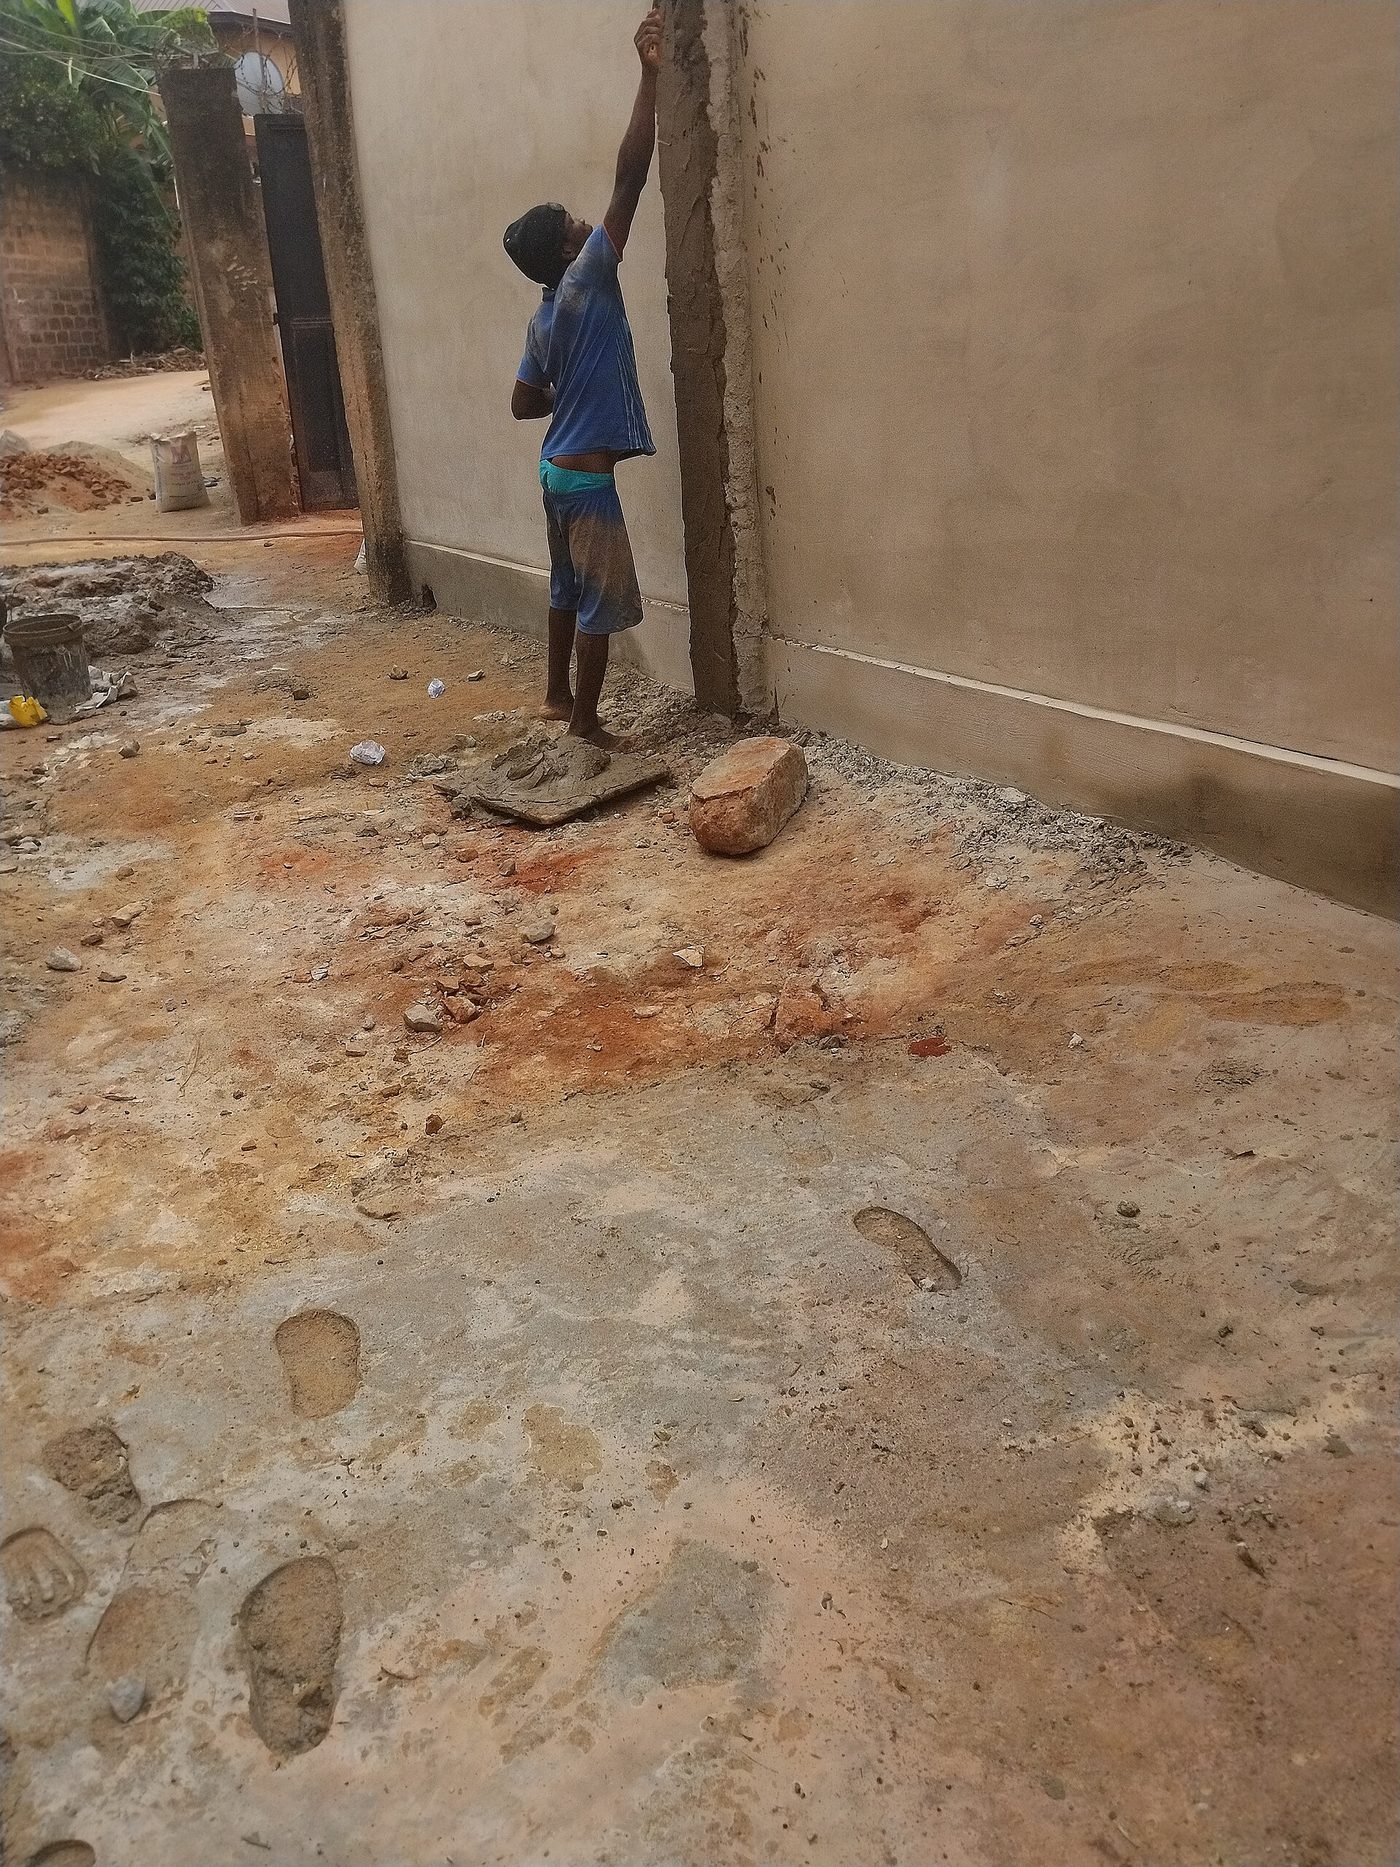
Lime and Earth Plaster for Earthen Walls
A breathable three-coat render that protects mud, adobe and earth-block walls from rain without trapping moisture the way cement does.
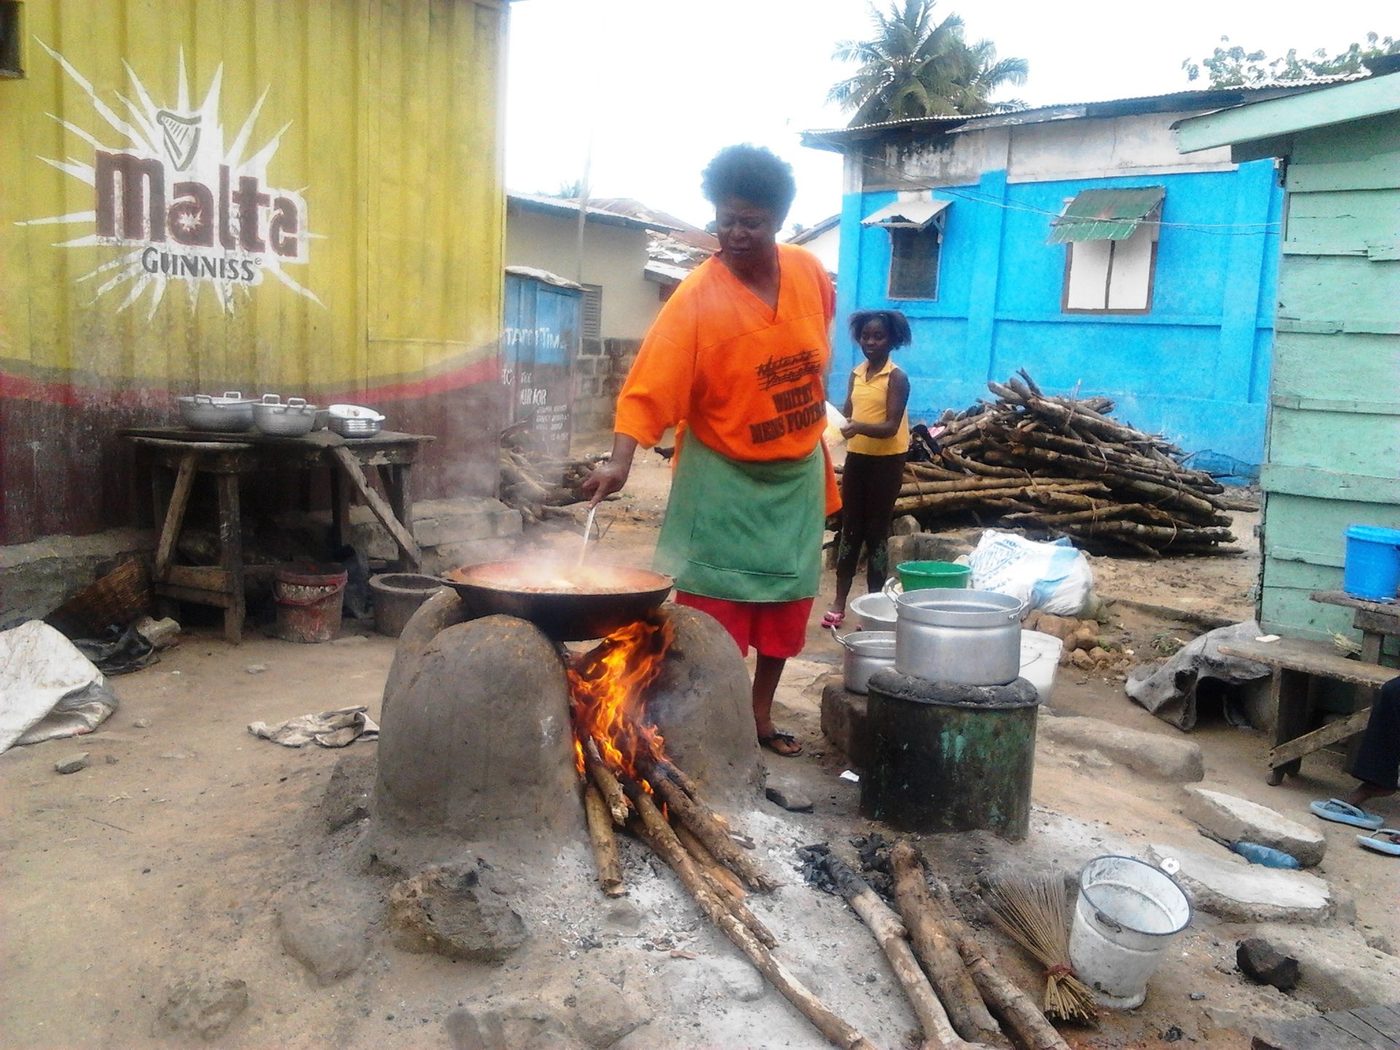
Improved Mud Cookstove with Fuel Shelf
A moulded clay-and-sand stove with a sized combustion chamber and pot skirt that cuts firewood use by roughly a third against a three-stone fire.
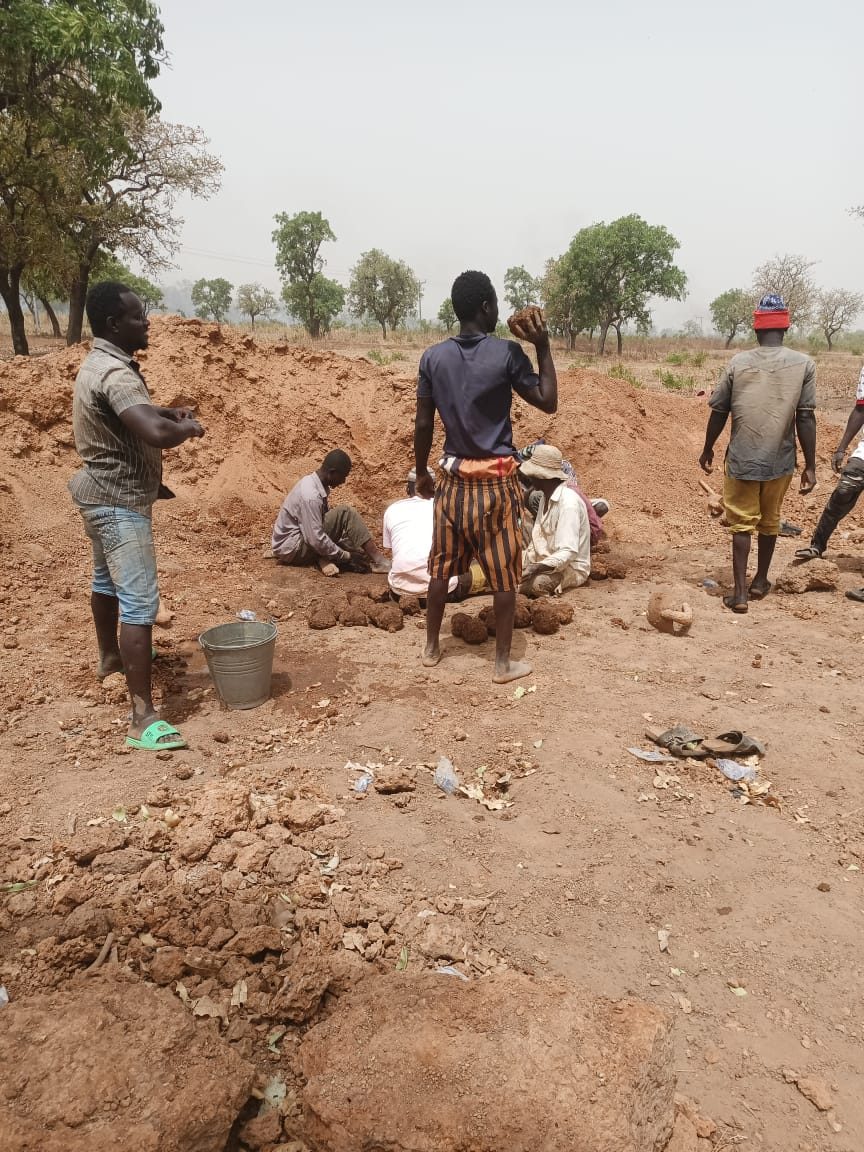
Sun-Dried Adobe Brick Yard
Mould and sun-cure mud bricks in the open with nothing but soil, straw, water and a timber mould — the cheapest wall material there is.