
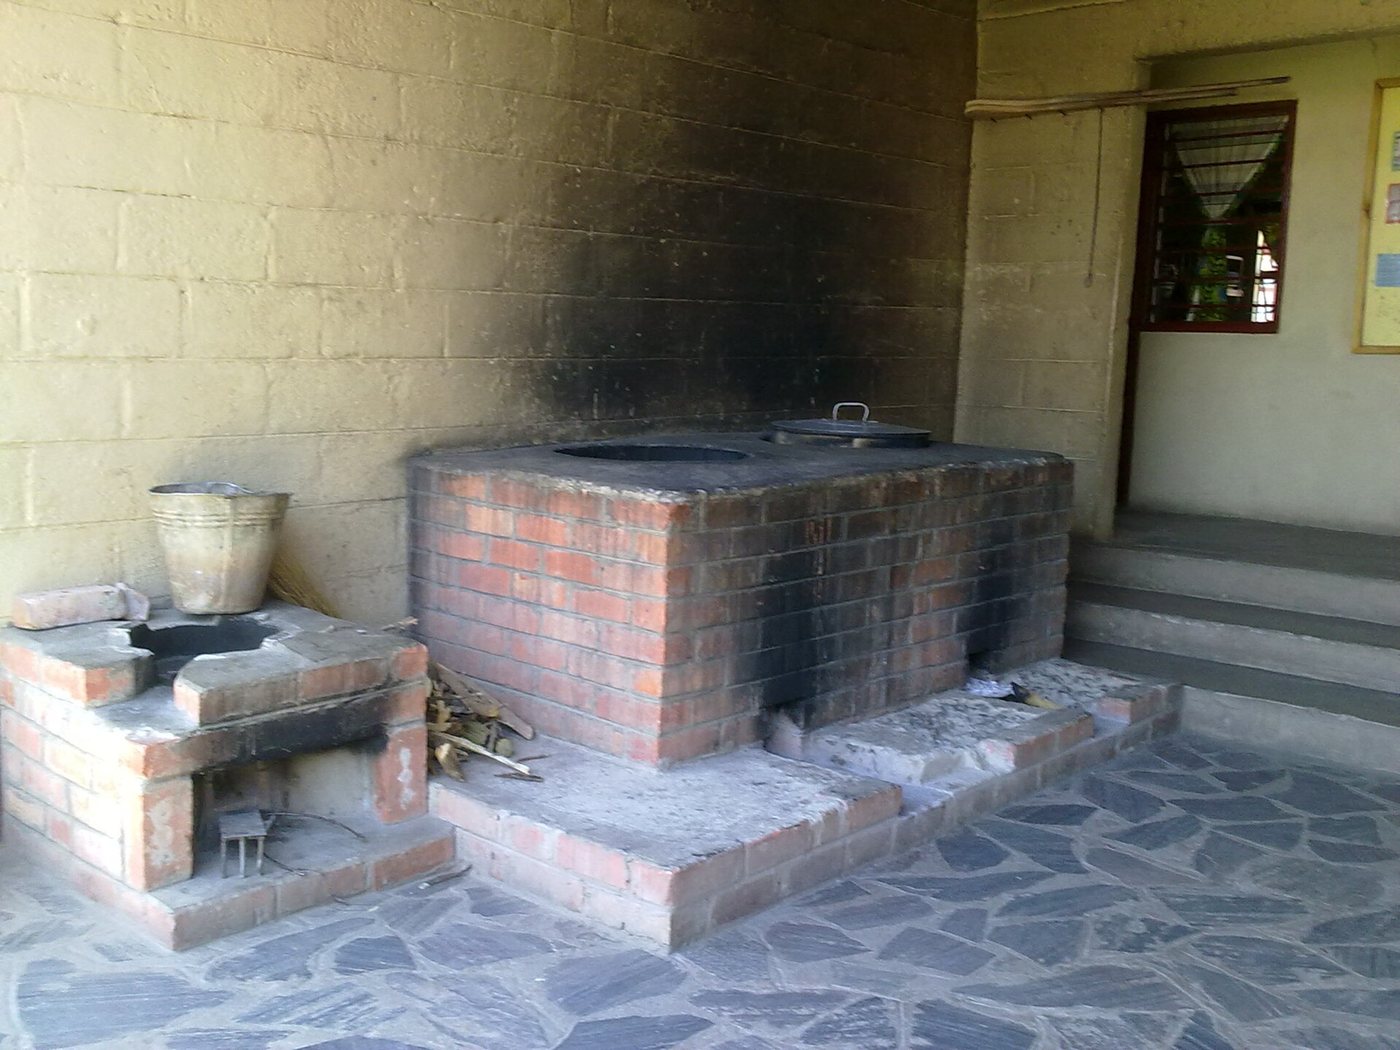
Insulated Brick Rocket Stove
A J-shaped combustion chamber that burns small sticks hot and nearly smoke-free, cutting cooking fuel by half or more.
- Estimated cost
- $8 – $20, or free from reclaimed brick and clay
- Skill level
- Beginner
- Time
- Half a day, plus drying time for mortar
Why this is a Verified Build
Verified with photo proof by a cooking group in Lilongwe, Malawi, who logged fuel use before and after: firewood consumption for the same meals dropped by just over half.
Tools
- Trowel
- Bucket and mixing hoe
- Brick hammer or chisel
- Spirit level
- Hacksaw or tin snips if fitting a pot skirt
If you don't have it
- No insulating firebrick? Line the combustion chamber with a 1:4 clay-to-wood-ash mix rammed 50 mm thick; it insulates nearly as well and is repairable in place.
- No steel pot skirt? Wrap the pot with a strip of flattened tin can 10 mm off the pot wall — the gap size is what matters, not the metal.
Materials
- 16 – 20 fired bricks (or well-cured stabilised earth blocks)
- Clay and sand for mortar, roughly 1:3
- Wood ash, vermiculite or pumice for the insulating jacket
- Sheet metal offcut for the fuel shelf
- Sheet metal for a pot skirt and three pot supports
Dimensions & cut list
A single-pot insulated brick J-tube stove for a household cooking pot. These are the reference sizes from Permies (Rocket Stove forum) / Appropedia — scale them to what you have, but keep the ratios.
| Fuel opening | 12 × 12 cm |
|---|---|
| Combustion tunnel | Same cross-section as the fuel opening, all the way throughNever narrow it — a pinch point kills the draft |
| Internal chimney height | 3 × the fuel opening height (about 36 cm) |
| Insulation gap | 5 cm of wood ash, vermiculite or pumice around the tunnel |
| Pot gap | 1 cm between pot skirt and stove body |
| Fuel shelf | Half the tunnel height, so air passes under the sticks |
Take this list to the yard
- ≈ 40Fired bricks
- ≈ 20 litresClay-sand mortar1 part clay to 2–3 parts sand
- ≈ 25 litresWood ash or pumice for insulation
- 1 offcutSheet metal for the pot rest
Step by step
Step 1 of 7
Understand the J
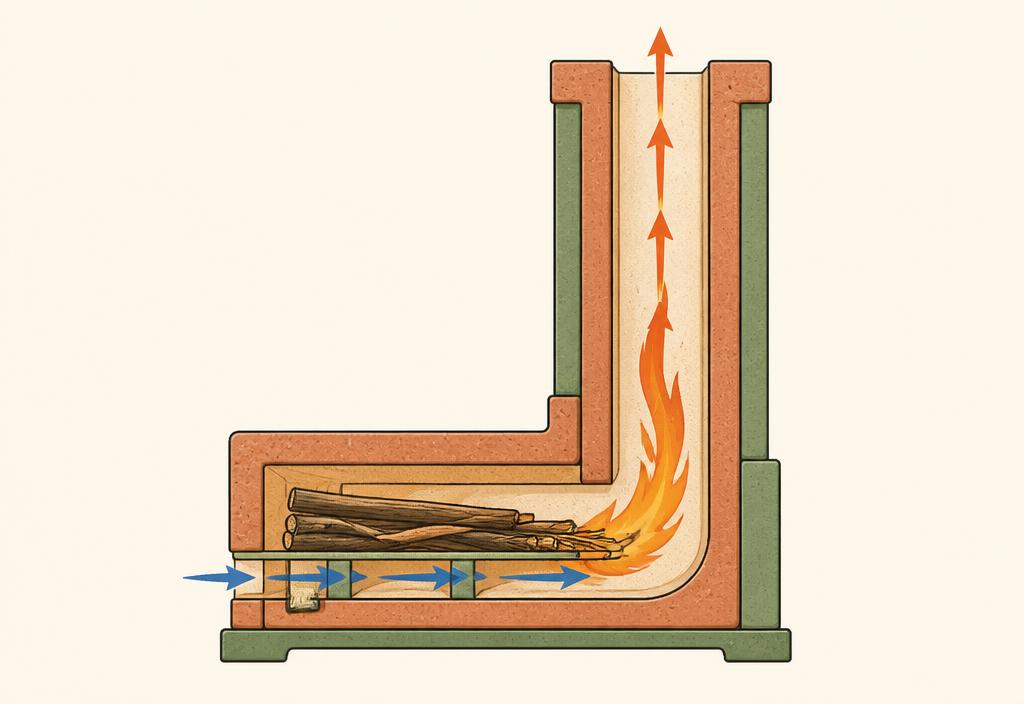
A rocket stove is a horizontal fuel tunnel meeting a vertical insulated chimney. Fire burns at the elbow; the chimney draws air through the fuel and burns the smoke. Get those proportions right and everything else is detail.
Swipe or use arrow keys
1. Understand the J
A rocket stove is a horizontal fuel tunnel meeting a vertical insulated chimney. Fire burns at the elbow; the chimney draws air through the fuel and burns the smoke. Get those proportions right and everything else is detail.
2. Lay the base and fuel tunnel
Build a level brick base. Form a fuel tunnel roughly 100 × 100 mm and 200 mm long. Keep the internal cross-section constant from the fuel inlet all the way up the chimney — any pinch or bulge kills the draw.
3. Raise the chimney
Build the vertical section three times the tunnel height — about 300 mm — directly above the elbow. Mortar joints thin and smooth on the inside; rough internal faces slow the gas.
4. Insulate the outside
Pack wood ash, pumice or vermiculite in the cavity between the combustion bricks and an outer brick skin. Insulation is what keeps the fire hot enough to burn its own smoke. A rocket stove without insulation is just a smoky brick box.
5. Fit the fuel shelf
Slide a sheet-metal shelf halfway up the fuel tunnel. Sticks rest on top; primary air flows underneath and hits the burning ends. This single piece transforms combustion quality.
6. Add a pot skirt
Wrap sheet metal around the pot leaving a 10 mm gap all round, so hot gas scrubs the pot sides instead of escaping. This often gains another 20 – 30% efficiency for almost no cost.
7. Dry slowly, then cure with fire
Air-dry for several days. Then run three small fires, each a little hotter, before full cooking use. Firing a wet stove hard cracks it.
Why mine failed
The ways this build usually goes wrong, and what fixes it.
Smoke pours out of the fuel opening
CauseToo little draft — usually a chimney that is too short or a blocked tunnel
FixInternal chimney should be about three times the fuel-opening height. Clear ash from the tunnel and check nothing narrows the passage.
Fire burns but the pot heats slowly
CauseHeat is escaping around the pot instead of scraping past it
FixClose the pot gap to about 1 cm with a metal skirt, so hot gases are forced against the pot wall.
Stove body cracks after a few weeks
CauseMortar too rich in clay, so it shrinks as it dries
FixRe-point with 1 part clay to 3 parts sand, and light small fires for the first week to cure it gently.
Eats as much wood as an open fire
CauseInsulation gap left empty, or sticks pushed too far in
FixFill the gap with ash, pumice or vermiculite, and feed the sticks in only as they burn.
Safety notes
- Feed only a few small sticks at a time — the stove is designed for that, and overfeeding causes smoke and flame-out of the tunnel.
- Cook outdoors or under a well-ventilated shelter. Any biomass fire produces carbon monoxide.
- The chimney top and pot supports get extremely hot. Keep small children away and mark a safe zone.
- Never use scrap-painted, treated or plastic-coated wood — the fumes are toxic.
Source & attribution
This plan is our build-step write-up of work documented by Permies (Rocket Stove forum) / Appropedia. The original design and documentation belong to them — go read the source before you build.
Rocket stove design proportions and insulation practiceLocal adaptations
What builders changed to make this work where they live.
Chisomo B. · Lilongwe, Malawi
We could not get vermiculite so we used dry wood ash sieved fine. Works, but keep it bone dry while packing or it slumps.
Fatou D. · Kaolack, Senegal
Added a second pot support ring so we can simmer a second pot on the exhaust. Slower, but free heat.
Build this alongside
Plans that use the same materials or serve the same need.
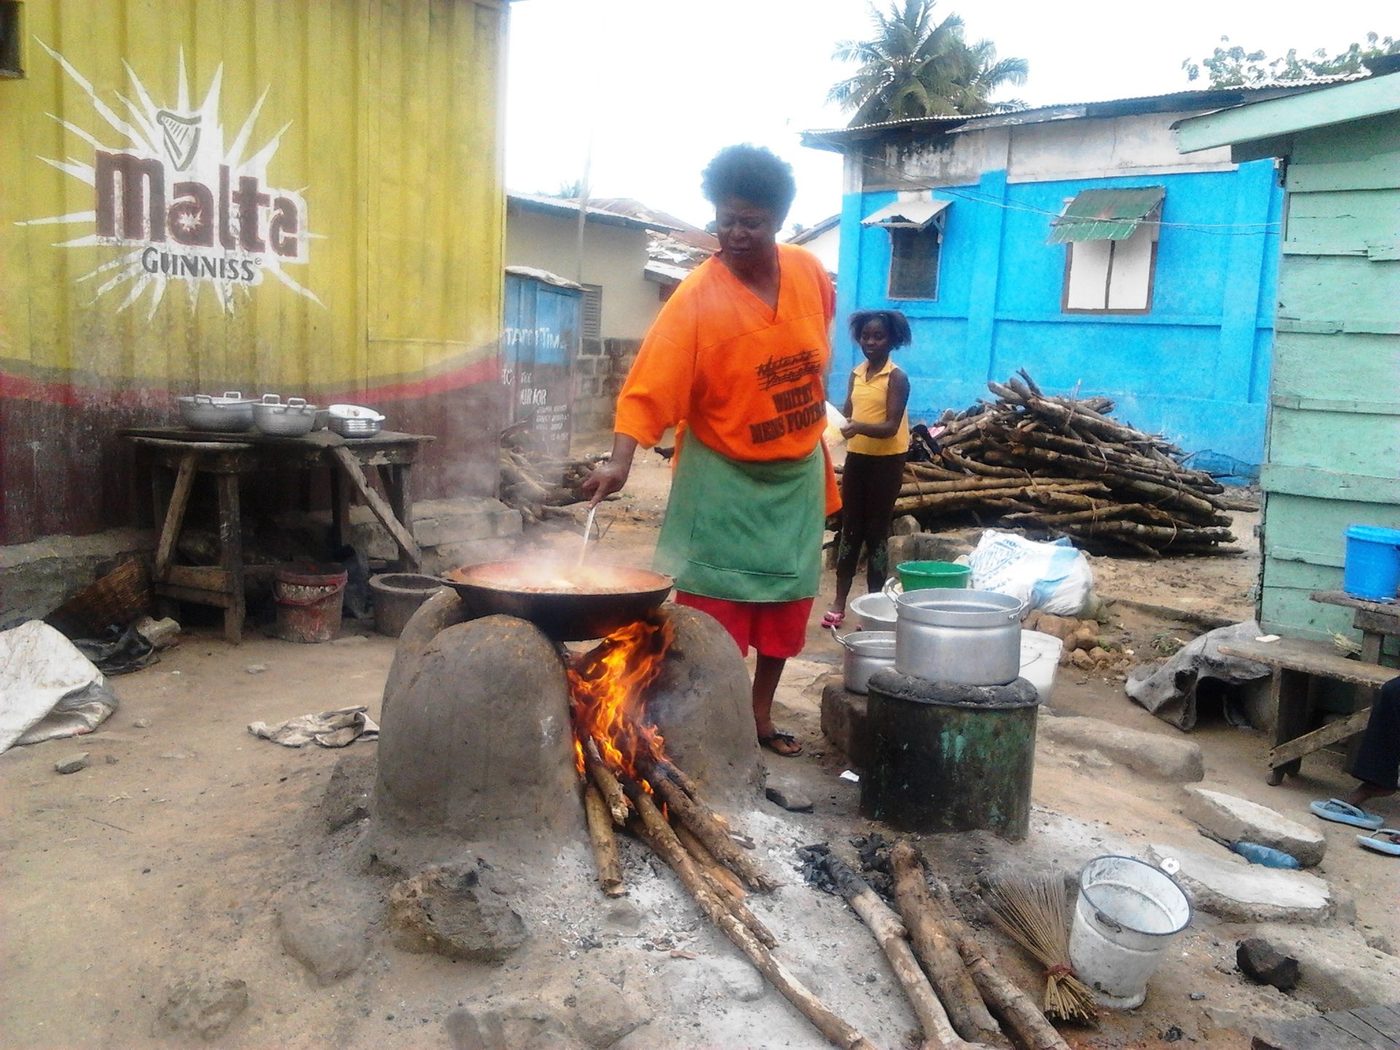
Improved Mud Cookstove with Fuel Shelf
A moulded clay-and-sand stove with a sized combustion chamber and pot skirt that cuts firewood use by roughly a third against a three-stone fire.
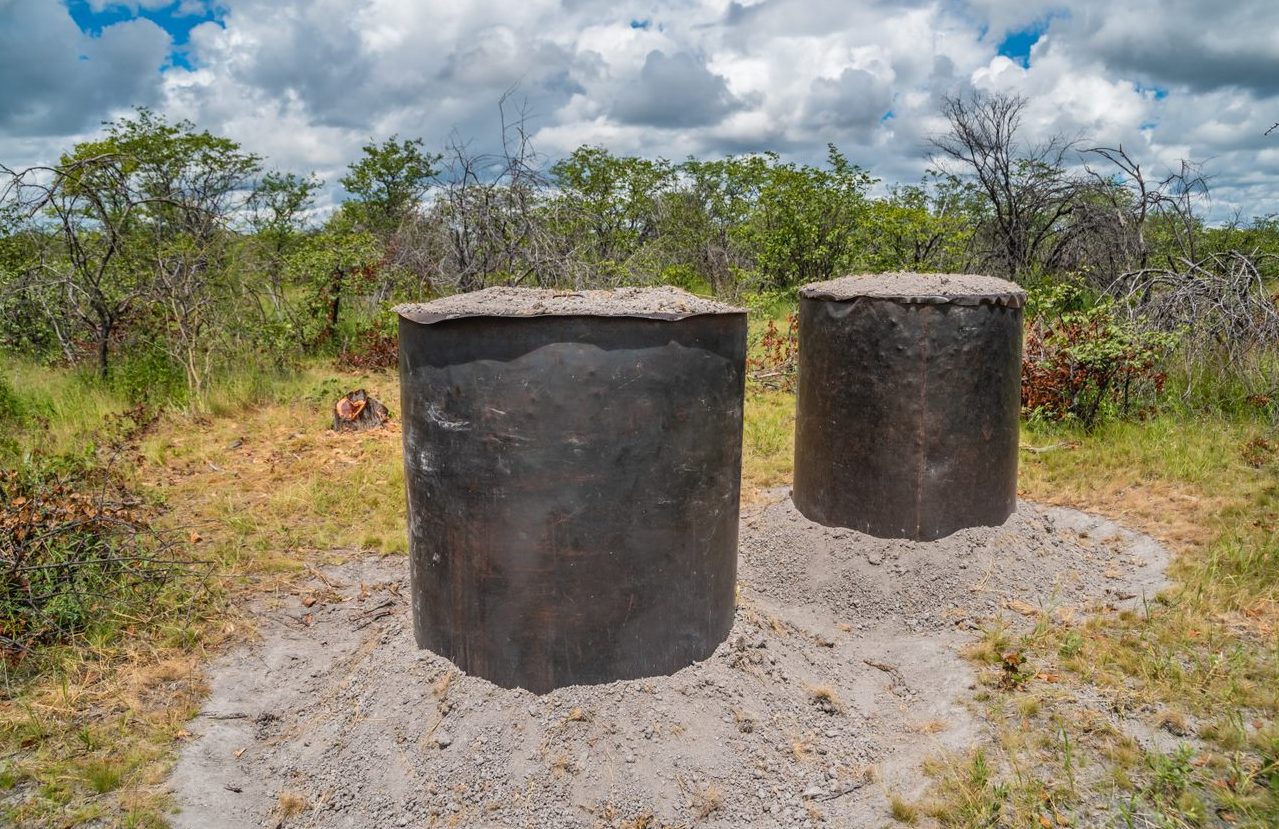
Drum Retort Charcoal Kiln
Char wood inside a sealed inner drum heated from outside, burning the smoke as fuel — far higher yield and far less smoke than an earth-mound burn.
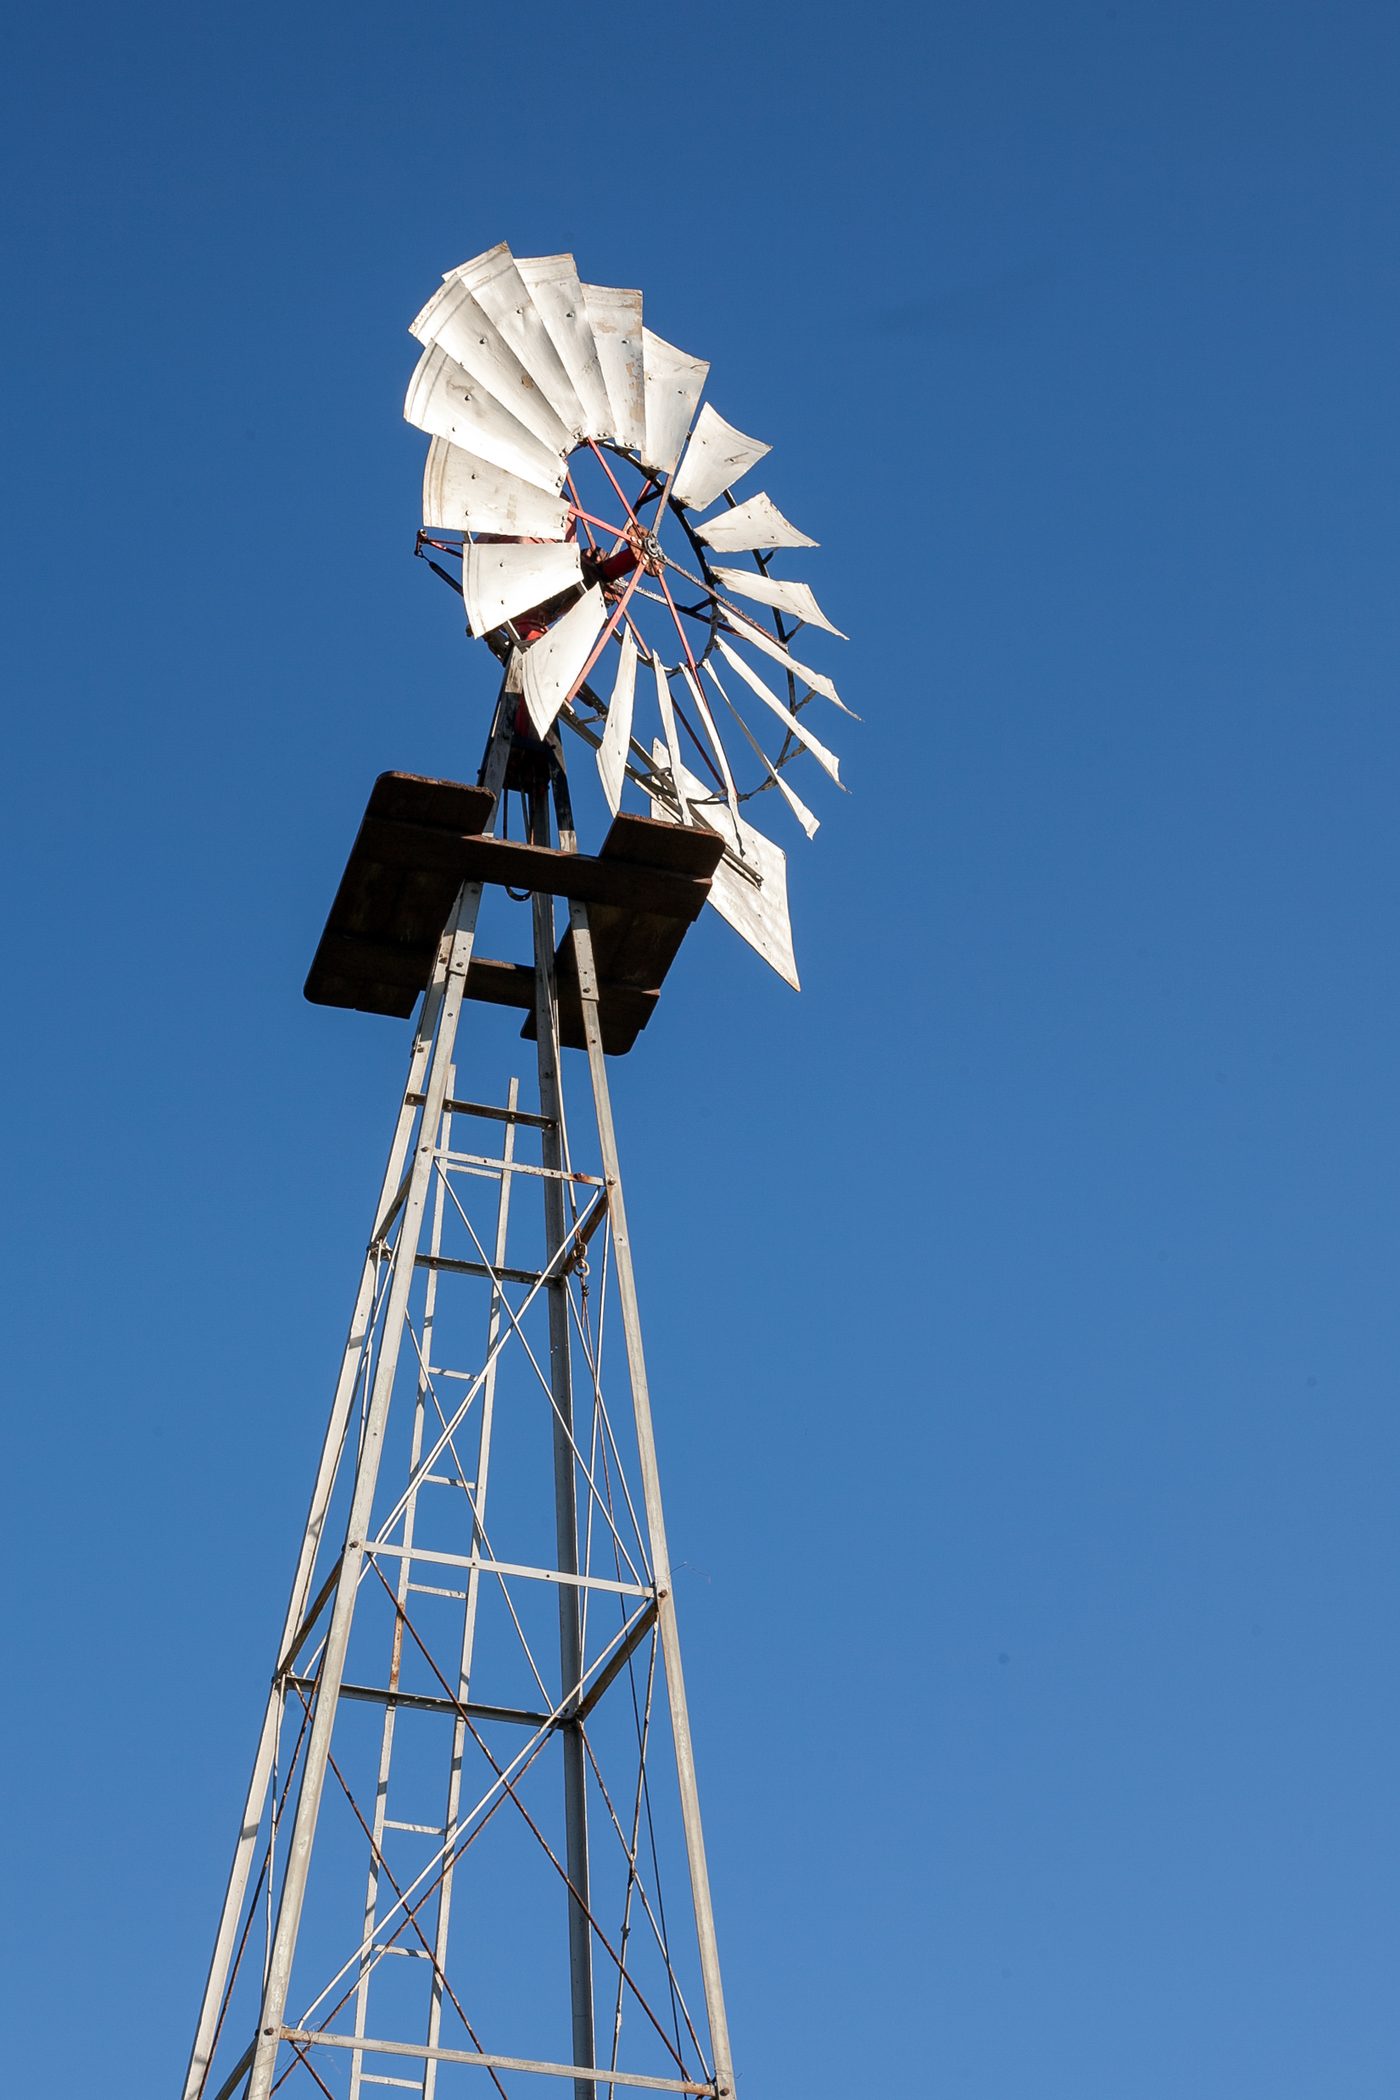
Windmill Water Pump
A multi-blade rotor on a guyed tower driving a piston pump down a shallow well — steady stock and irrigation water anywhere the wind blows most days.