
Windmill Water Pump
A multi-blade rotor on a guyed tower driving a piston pump down a shallow well — steady stock and irrigation water anywhere the wind blows most days.
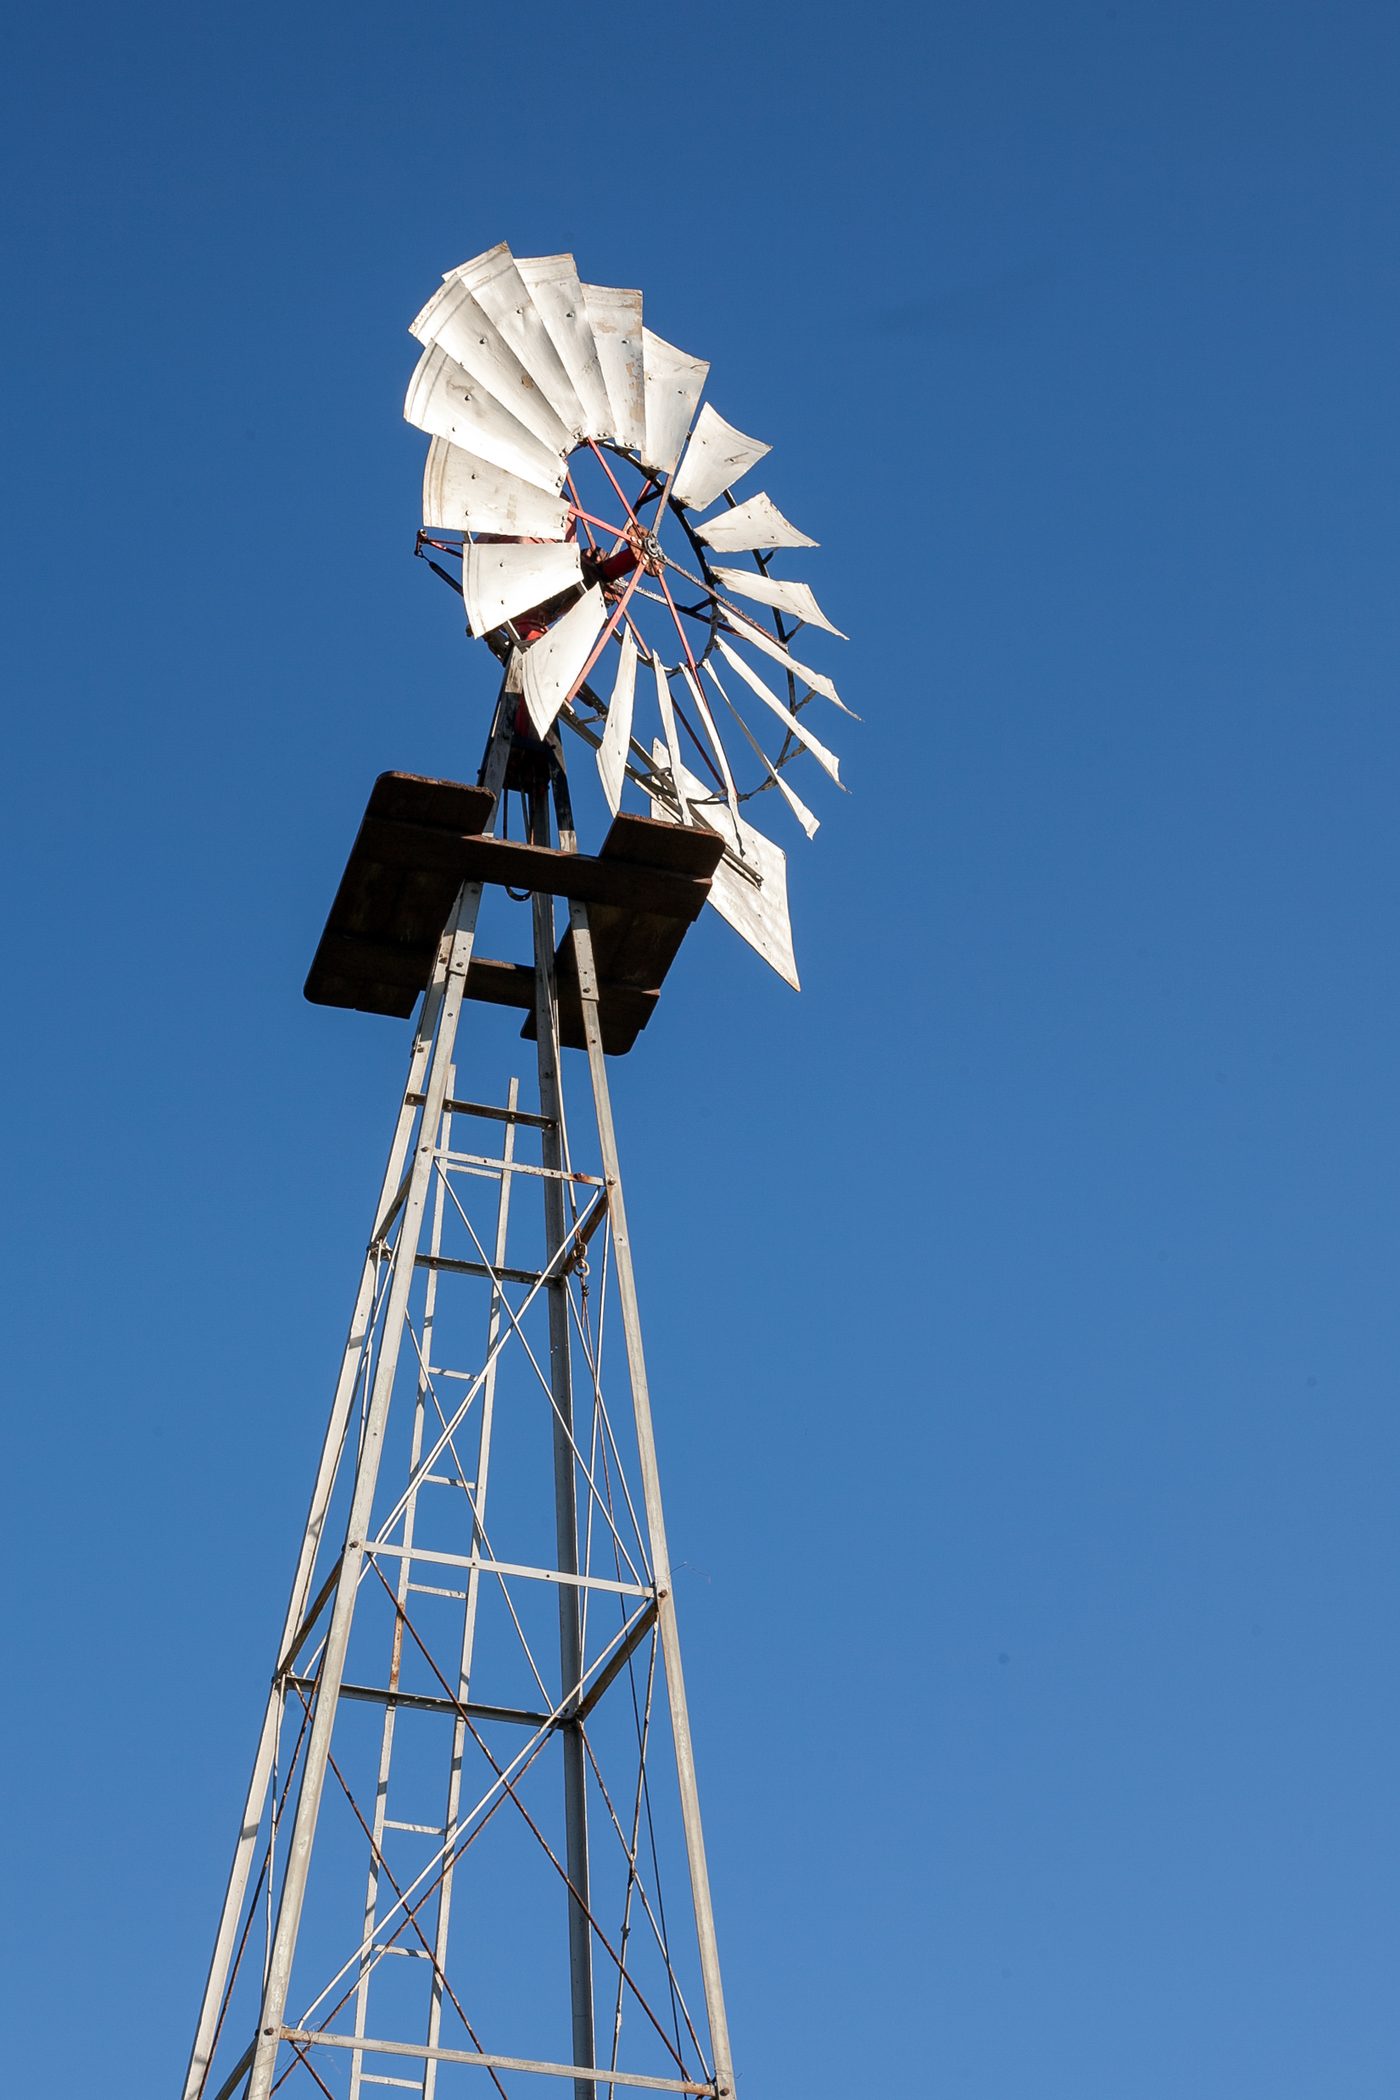
- Estimated cost
- $400 – $1,200 depending on tower height and pump depth
- Skill level
- Advanced
- Time
- 2 – 3 weeks
Not yet verified
No confirmed build with photo proof has been submitted for this plan yet. Built it? Send photos and it earns the badge.
Tools
- Welding set and grinder
- Drill press or hand drill with metal bits
- Pipe threader and wrenches
- Spanners, hammer, spirit level
- Hoist or gin pole for raising the tower
Short a tool or material? Builders below have often swapped something local in — read Local adaptations before you buy anything.
Materials
- Angle iron for a 6 – 9 m guyed lattice tower
- Sheet steel or drum sections for 12 – 18 rotor blades
- Hub with two sealed bearings, crank and connecting rod
- Tail vane and furling hinge
- Piston pump, rising main, sucker rod and foot valve
- Guy wire, anchors and concrete for footings
Dimensions & cut list
A multi-blade sailwing windpump lifting water from a 15 m well, ≈ 2,000 litres a day in a 4 m/s wind. These are the reference sizes from Appropedia / small wind pumping practitioner community — scale them to what you have, but keep the ratios.
| Rotor diameter | 3 m |
|---|---|
| Blades | 8, sailwing or curved sheet, 30% solidityMany blades give the high starting torque a piston pump needs |
| Tower height | 8 mRotor must clear all obstacles by at least 5 m |
| Cut-in wind speed | ≈ 2.5 m/s |
| Pump | 63 mm piston pump, 150 mm stroke |
| Gear/crank ratio | Direct crank, 1 stroke per rotor revolution |
| Furling | Tail-vane side furling, set to fold at ≈ 12 m/sWithout furling the first gale destroys the machine |
| Tower footings | Four 600 × 600 × 800 mm concrete pads |
Take this list to the yard
- 8 m of towerAngle-iron lattice tower sections
- 1 setRotor hub, spokes and blade sheet
- 1 setCrank, connecting rod and guide bearings
- 1Piston pump with foot valve and leathersCarry spare leathers — they are the wear part
- 18 mPump rod, 12 mm galvanised
- 18 mRising main, 50 mm galvanised
- 1 setTail vane and furling spring
- 2,000 litres+Storage tank
Step by step
Step 1 of 6
Check the wind before you build
Multi-blade pumps need about 3 m/s. Record wind for a few weeks or ask about existing pumps nearby — a windmill on a poor site is expensive scrap.
Swipe or use arrow keys
1. Check the wind before you build
Multi-blade pumps need about 3 m/s. Record wind for a few weeks or ask about existing pumps nearby — a windmill on a poor site is expensive scrap.
2. Cast the footings and build the tower flat
Assemble the lattice on the ground, then raise with a gin pole onto four concrete footings. Guy at three points, tensioned even.
3. Make and balance the rotor
Cut identical blades, set them all to the same 20 – 25° pitch, and balance the finished rotor on a shaft before mounting. An unbalanced rotor destroys bearings within a season.
4. Build the crank and pump rod
Convert rotation to a 100 – 200 mm stroke through a crank and connecting rod. Guide the sucker rod so it stays true down the rising main.
5. Fit the tail and furling
The tail keeps the rotor into wind; a hinged offset tail lets it turn out in a gale. Fit a manual furling lever you can reach and tie off from the ground.
6. Install the pump and commission
Set the cylinder below the lowest water level with a foot valve, prime, and run at low wind first while you check every fastener. Re-torque everything after the first week.
Why mine failed
The ways this build usually goes wrong, and what fixes it.
Rotor spins but no water comes up
CausePump leathers worn or the foot valve is leaking
FixPull the pump, replace the leathers and lap the foot valve. Always keep a spare set of leathers on site — this is the routine failure.
Machine will not start turning in a light breeze
CauseToo few blades for the pump load
FixBuild 8 or more blades at around 30% solidity. A few slender blades look fast but cannot break a piston pump loose.
Wrecked in the first big storm
CauseNo furling mechanism
FixFit tail-vane side furling set to fold at about 12 m/s, plus a manual furling lever at the tower base you can pull before a storm.
Pump rod bends and binds
CauseRod unguided over a long drop
FixFit rod guides every 3 m in the rising main and keep the crank in true alignment above the well centre.
Output far below expectation
CauseTower too short — rotor in turbulent air
FixGet the rotor at least 5 m above every nearby obstacle. Wind speed near the ground is a fraction of what it is at 8 m.
Safety notes
- Always furl and tie the rotor before climbing. A turning rotor at head height is lethal.
- Use a harness on the tower and never work aloft alone.
- Check guy tension, bolts and bearings quarterly; a tower failure usually starts as a loose guy.
- Keep children away from the crank and rod path — fit a guard at the base.
Source & attribution
This plan is our build-step write-up of work documented by Appropedia / small wind pumping practitioner community. The original design and documentation belong to them — go read the source before you build.
WindpumpLocal adaptations
What builders changed to make this work where they live.
- No adaptations shared yet for this plan.
Build this alongside
Plans that use the same materials or serve the same need.
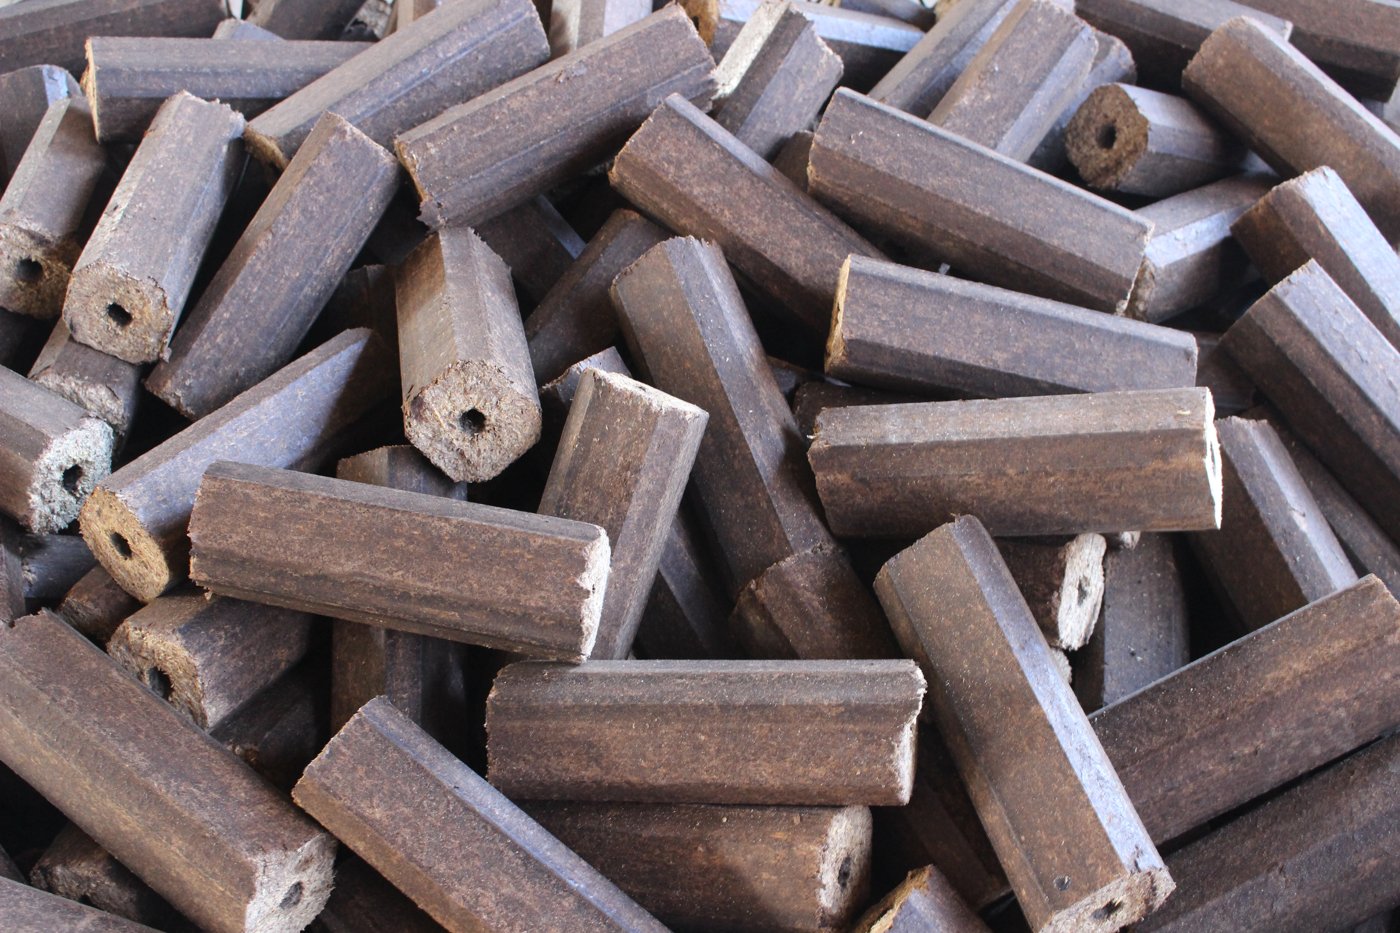
Hand-Cranked Screw Briquette Extruder
A screw auger in a tapering barrel that extrudes a continuous log of compacted biomass — higher output than a piston press once the feedstock is right.
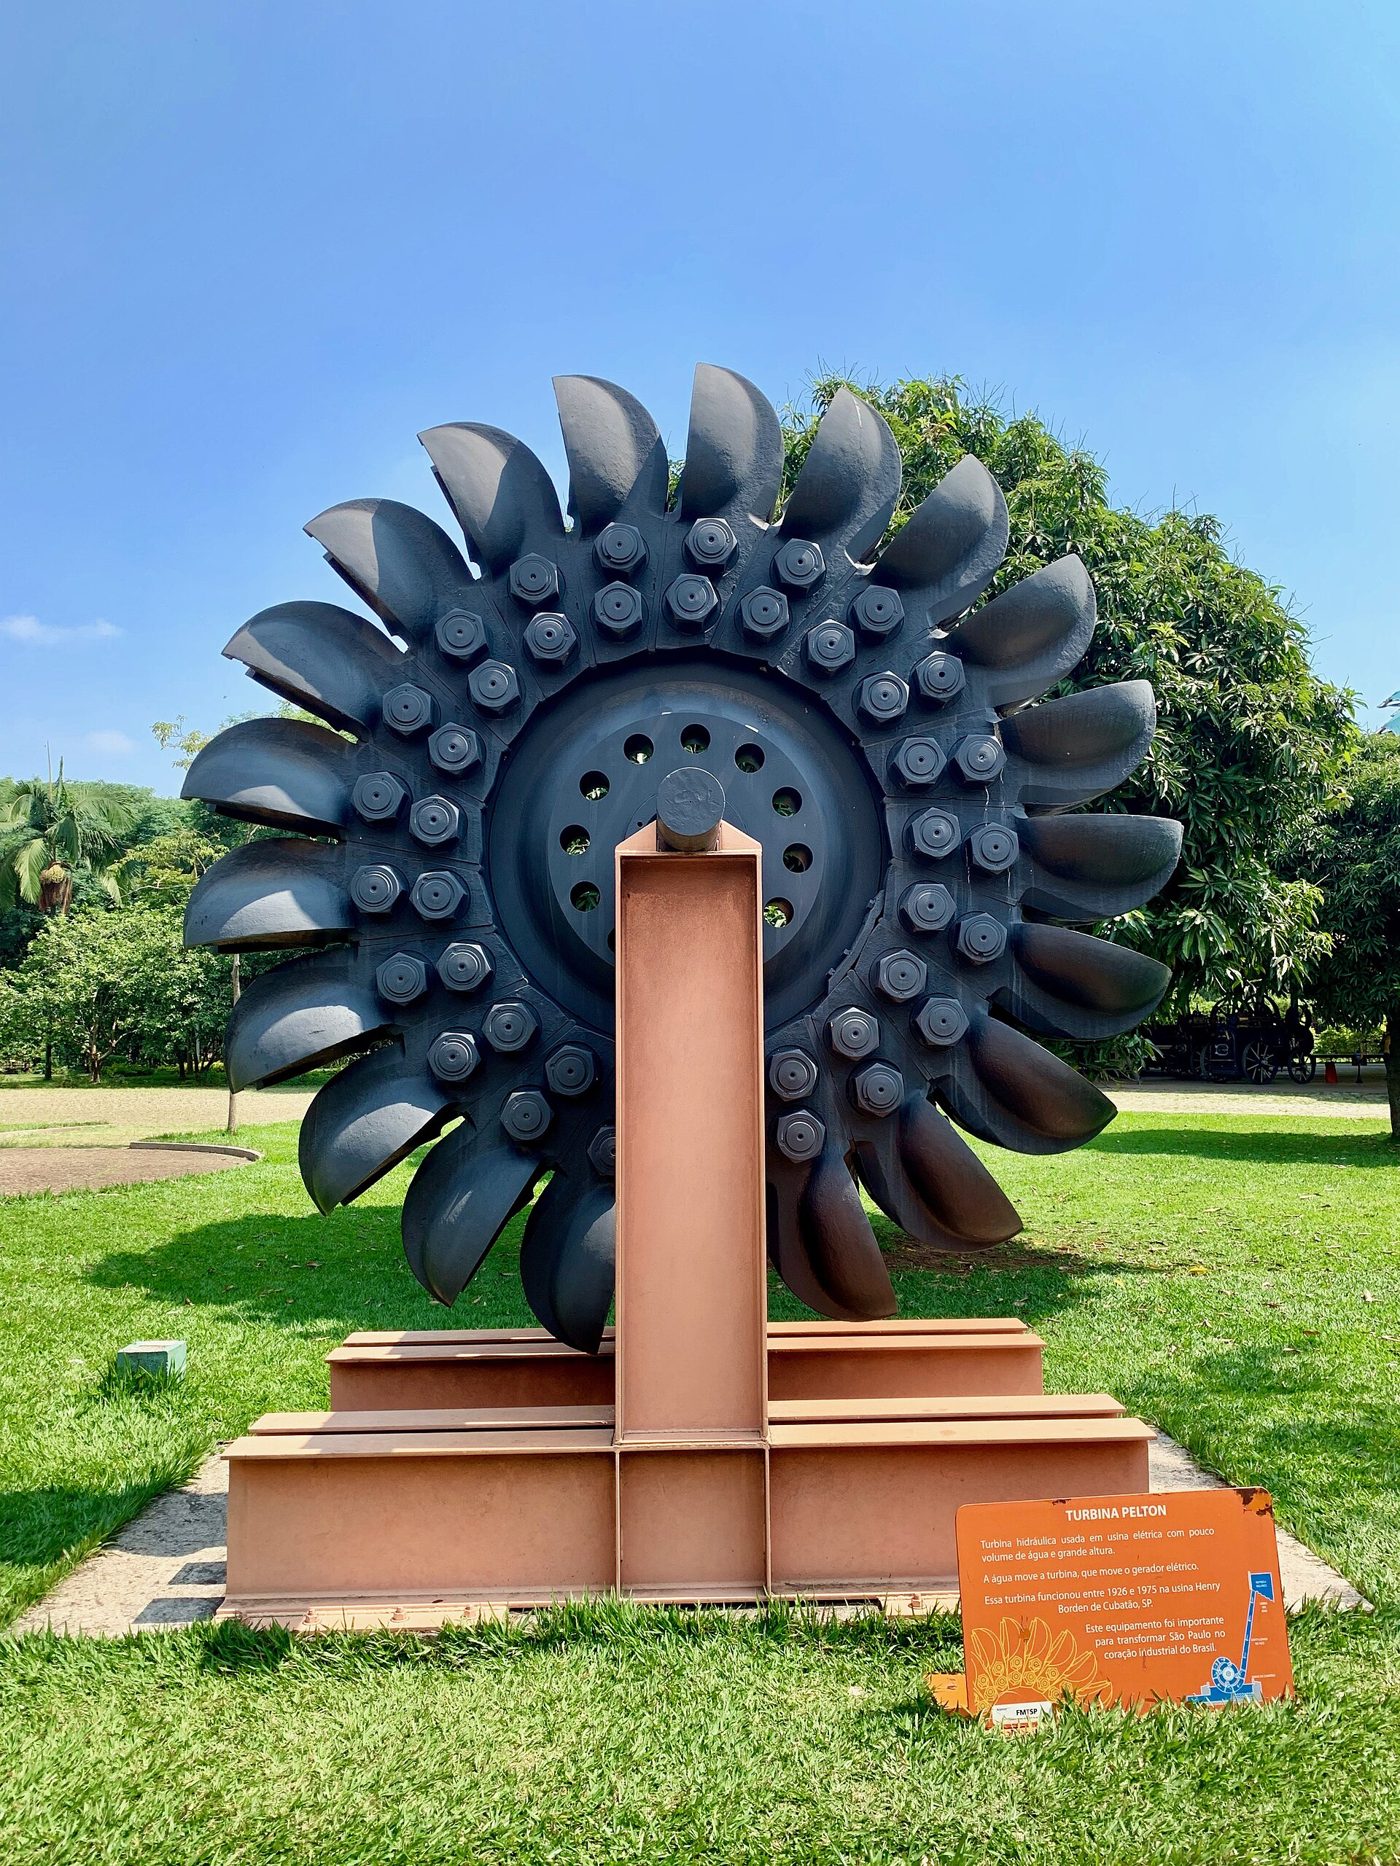
Micro-Hydro Pelton Wheel
Where a stream drops ten metres or more, a spoon-bucket Pelton wheel on a penstock can run lights and charge batteries around the clock.

Hand-Cranked Maize Sheller
A simple drum-and-plate sheller that strips maize cobs several times faster than hand shelling, without bruising the grain.