
Micro-Hydro Pelton Wheel
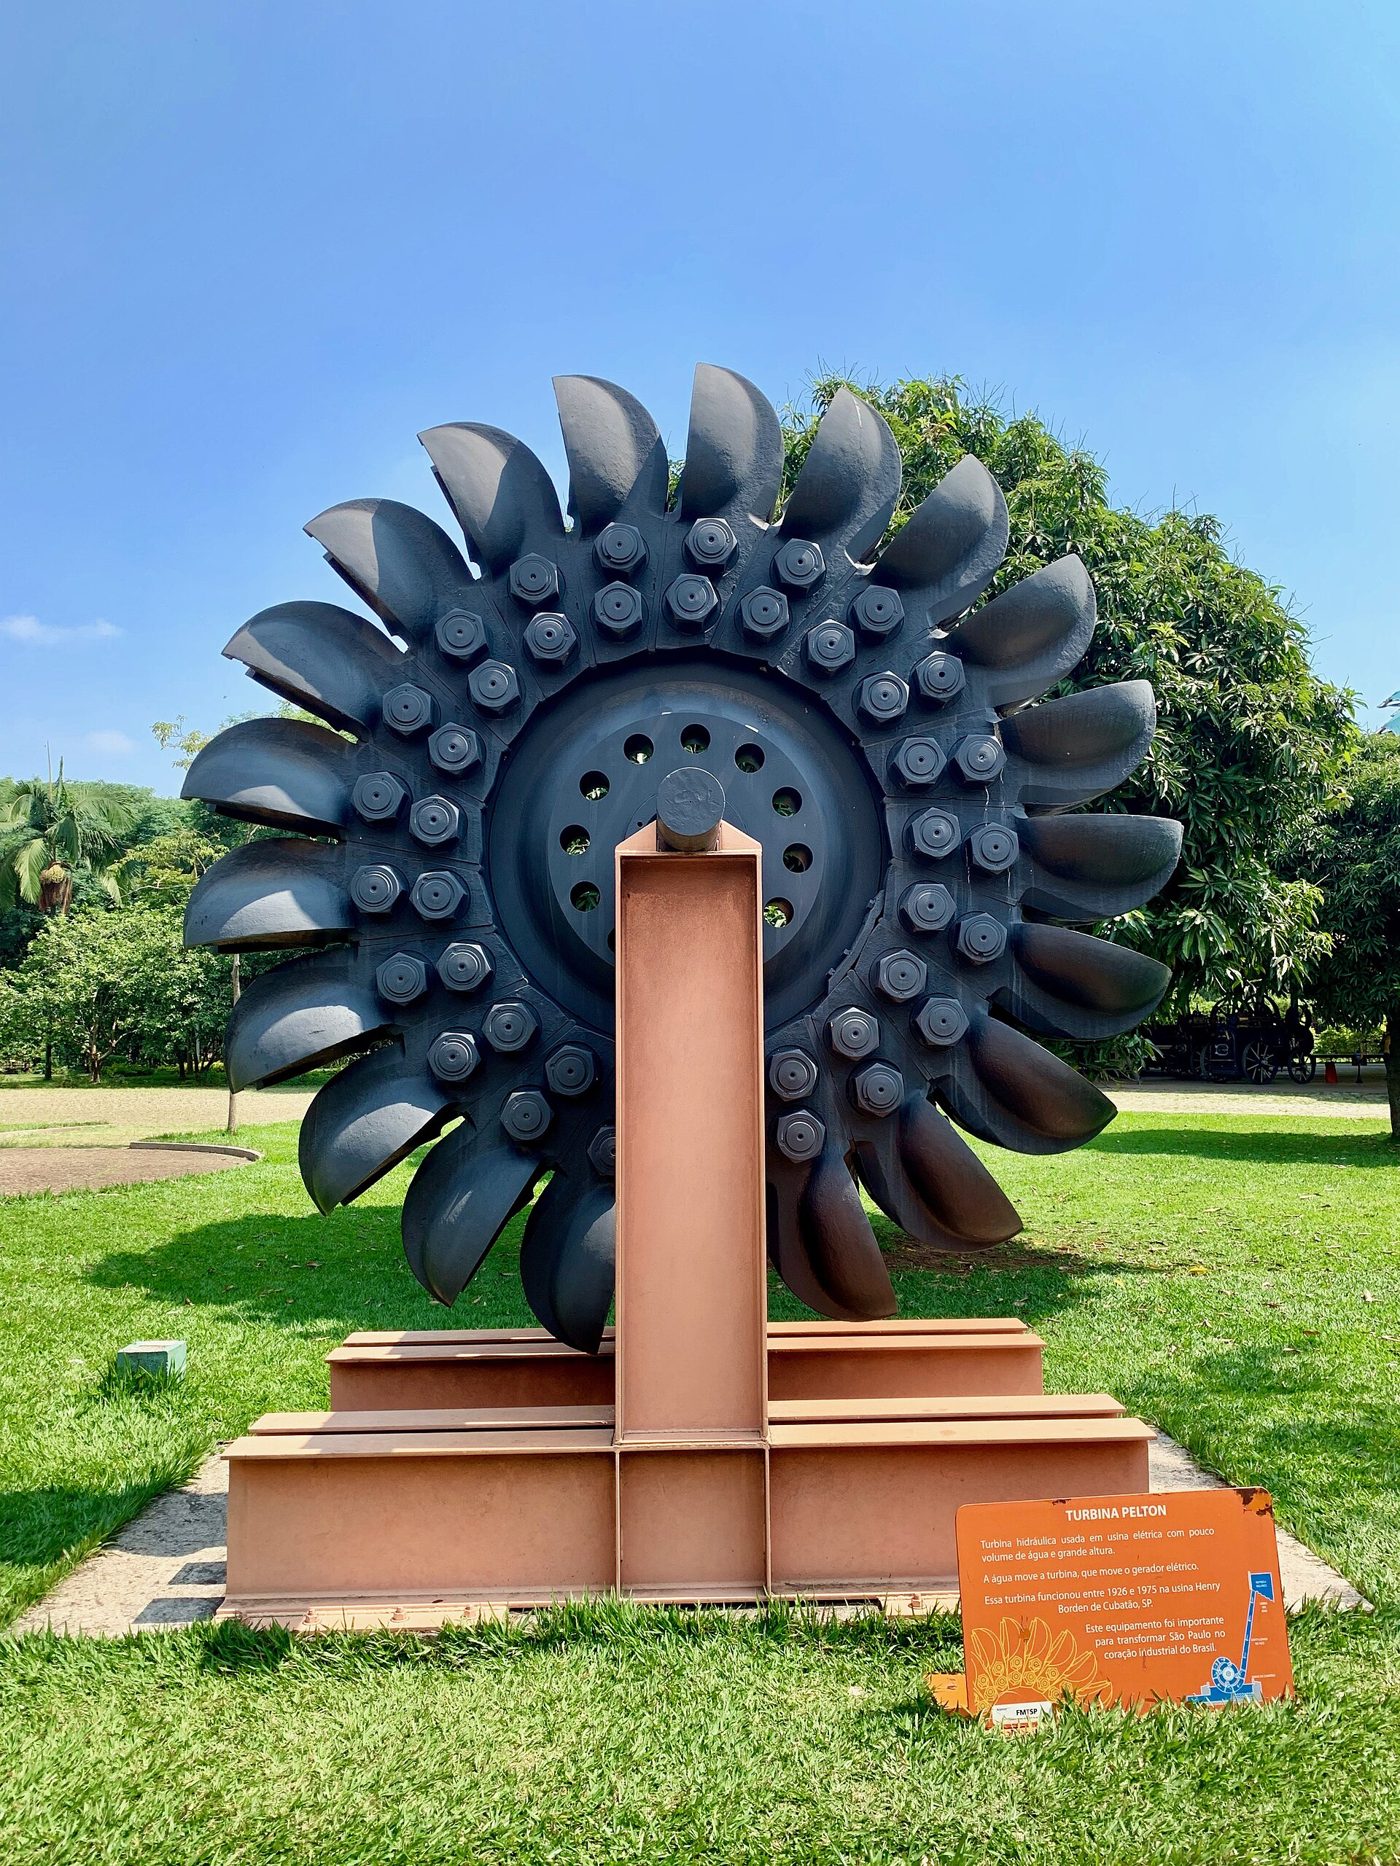
Where a stream drops ten metres or more, a spoon-bucket Pelton wheel on a penstock can run lights and charge batteries around the clock.
- Estimated cost
- $300 – $1,200 including pipe, alternator and wiring
- Skill level
- Advanced
- Time
- 2 – 4 weeks
Not yet verified
No confirmed build with photo proof has been submitted for this plan yet. Built it? Send photos and it earns the badge.
Tools
- Welder
- Angle grinder
- Drill press
- Pipe tools
- Multimeter
- Spanner set
- Clear hose level
Short a tool or material? Builders below have often swapped something local in — read Local adaptations before you buy anything.
Materials
- PVC or HDPE penstock pipe sized to the flow, with a screened intake
- A runner disc with bolted spoon buckets (cut steel spoons or cast buckets)
- One or more nozzles with adjustable jets
- A permanent-magnet alternator or converted car alternator plus pulleys
- Bearings, shaft, housing, charge controller, battery bank and wiring
Dimensions & cut list
A small Pelton turbine on a piped stream: 20 m head, 5 litres/second, roughly 500–700 W at the shaft. These are the reference sizes from Appropedia — scale them to what you have, but keep the ratios.
| Runner pitch diameter | 200 mm |
|---|---|
| Buckets | 16, spoon halves 60 mm wide |
| Nozzle bore | 18 mmSized to the flow: too big and the head collapses |
| Jet-to-bucket ratio | Bucket width ≈ 3 × jet diameter |
| Runner speed | ≈ 900 rpm at design head |
| Penstock | 75 mm HDPE, minimum length 60 m to gain the 20 m head |
| Intake settling tank | 1 m³ with a screen and overflow |
Take this list to the yard
- 1Runner disc, 8 mm steel plate
- 16Cast or split-pipe buckets
- 1 set25 mm shaft with two sealed bearings
- 60 m75 mm HDPE penstock pipe
- 1Gate valve and nozzle assembly
- 1Permanent-magnet alternator or car alternator
- 1 setCharge controller, dump load and battery bankNever run the turbine into an open circuit
Step by step
Step 1 of 6
Measure head and flow honestly
Measure vertical drop with a hose level and flow with a bucket and stopwatch. Power available is roughly head × flow × 7 watts per metre-litre-second at realistic efficiency — do this before you buy anything.
Swipe or use arrow keys
1. Measure head and flow honestly
Measure vertical drop with a hose level and flow with a bucket and stopwatch. Power available is roughly head × flow × 7 watts per metre-litre-second at realistic efficiency — do this before you buy anything.
2. Build a settling intake
Take water off through a screened forebay that lets sand settle out. Grit is what destroys nozzles and buckets.
3. Lay the penstock straight and supported
Run the pipe as straight as terrain allows, avoiding high points that trap air, and anchor it at every bend. Oversize the pipe rather than under — friction loss eats head.
4. Build and balance the runner
Bolt buckets evenly around the disc and spin it in its bearings until it stops in a random position every time. An unbalanced runner destroys its bearings within weeks.
5. Set nozzle and speed
Aim the jet at the bucket splitter, tangential to the runner. Optimum runner speed is about half the jet speed; change pulley ratios until the alternator hits its rated rpm.
6. Wire through a controller and dump load
Feed a charge controller with a dump load — a micro-hydro must always have somewhere to put its power, or it will overspeed when the batteries fill.
Why mine failed
The ways this build usually goes wrong, and what fixes it.
Output is a fraction of the calculation
CauseHead lost in the penstock, or wrong nozzle size
FixMeasure pressure at the nozzle with a gauge, not at the intake. Undersized or kinked pipe eats the head — go one pipe size up and size the nozzle to the measured flow.
Turbine surges and stalls
CauseAir entering the penstock from a starved intake
FixAdd a settling tank with the outlet at least 300 mm below the water surface, plus an overflow, and screen the inlet against leaves.
Bearings fail every few months
CauseWater spray entering the bearings
FixUse sealed bearings, fit a drip shield on the shaft and drain the housing. Never let the runner casing fill with water.
Voltage spikes and burns out loads
CauseLoad dropped while the turbine keeps spinning
FixFit a dump load — a water-heating element is ideal — governed by the controller so the turbine always has somewhere to put its power.
Safety notes
- A spinning runner is lethal: fully enclose it in a housing before the first test.
- A filled penstock stores huge energy — never open a joint under pressure.
- Isolate and fuse all electrical work; wet ground and DC systems still kill.
- Get community and authority agreement before diverting any watercourse.
Source & attribution
This plan is our build-step write-up of work documented by Appropedia. The original design and documentation belong to them — go read the source before you build.
Pelton wheel micro-hydroLocal adaptations
What builders changed to make this work where they live.
- No adaptations shared yet for this plan.
Build this alongside
Plans that use the same materials or serve the same need.
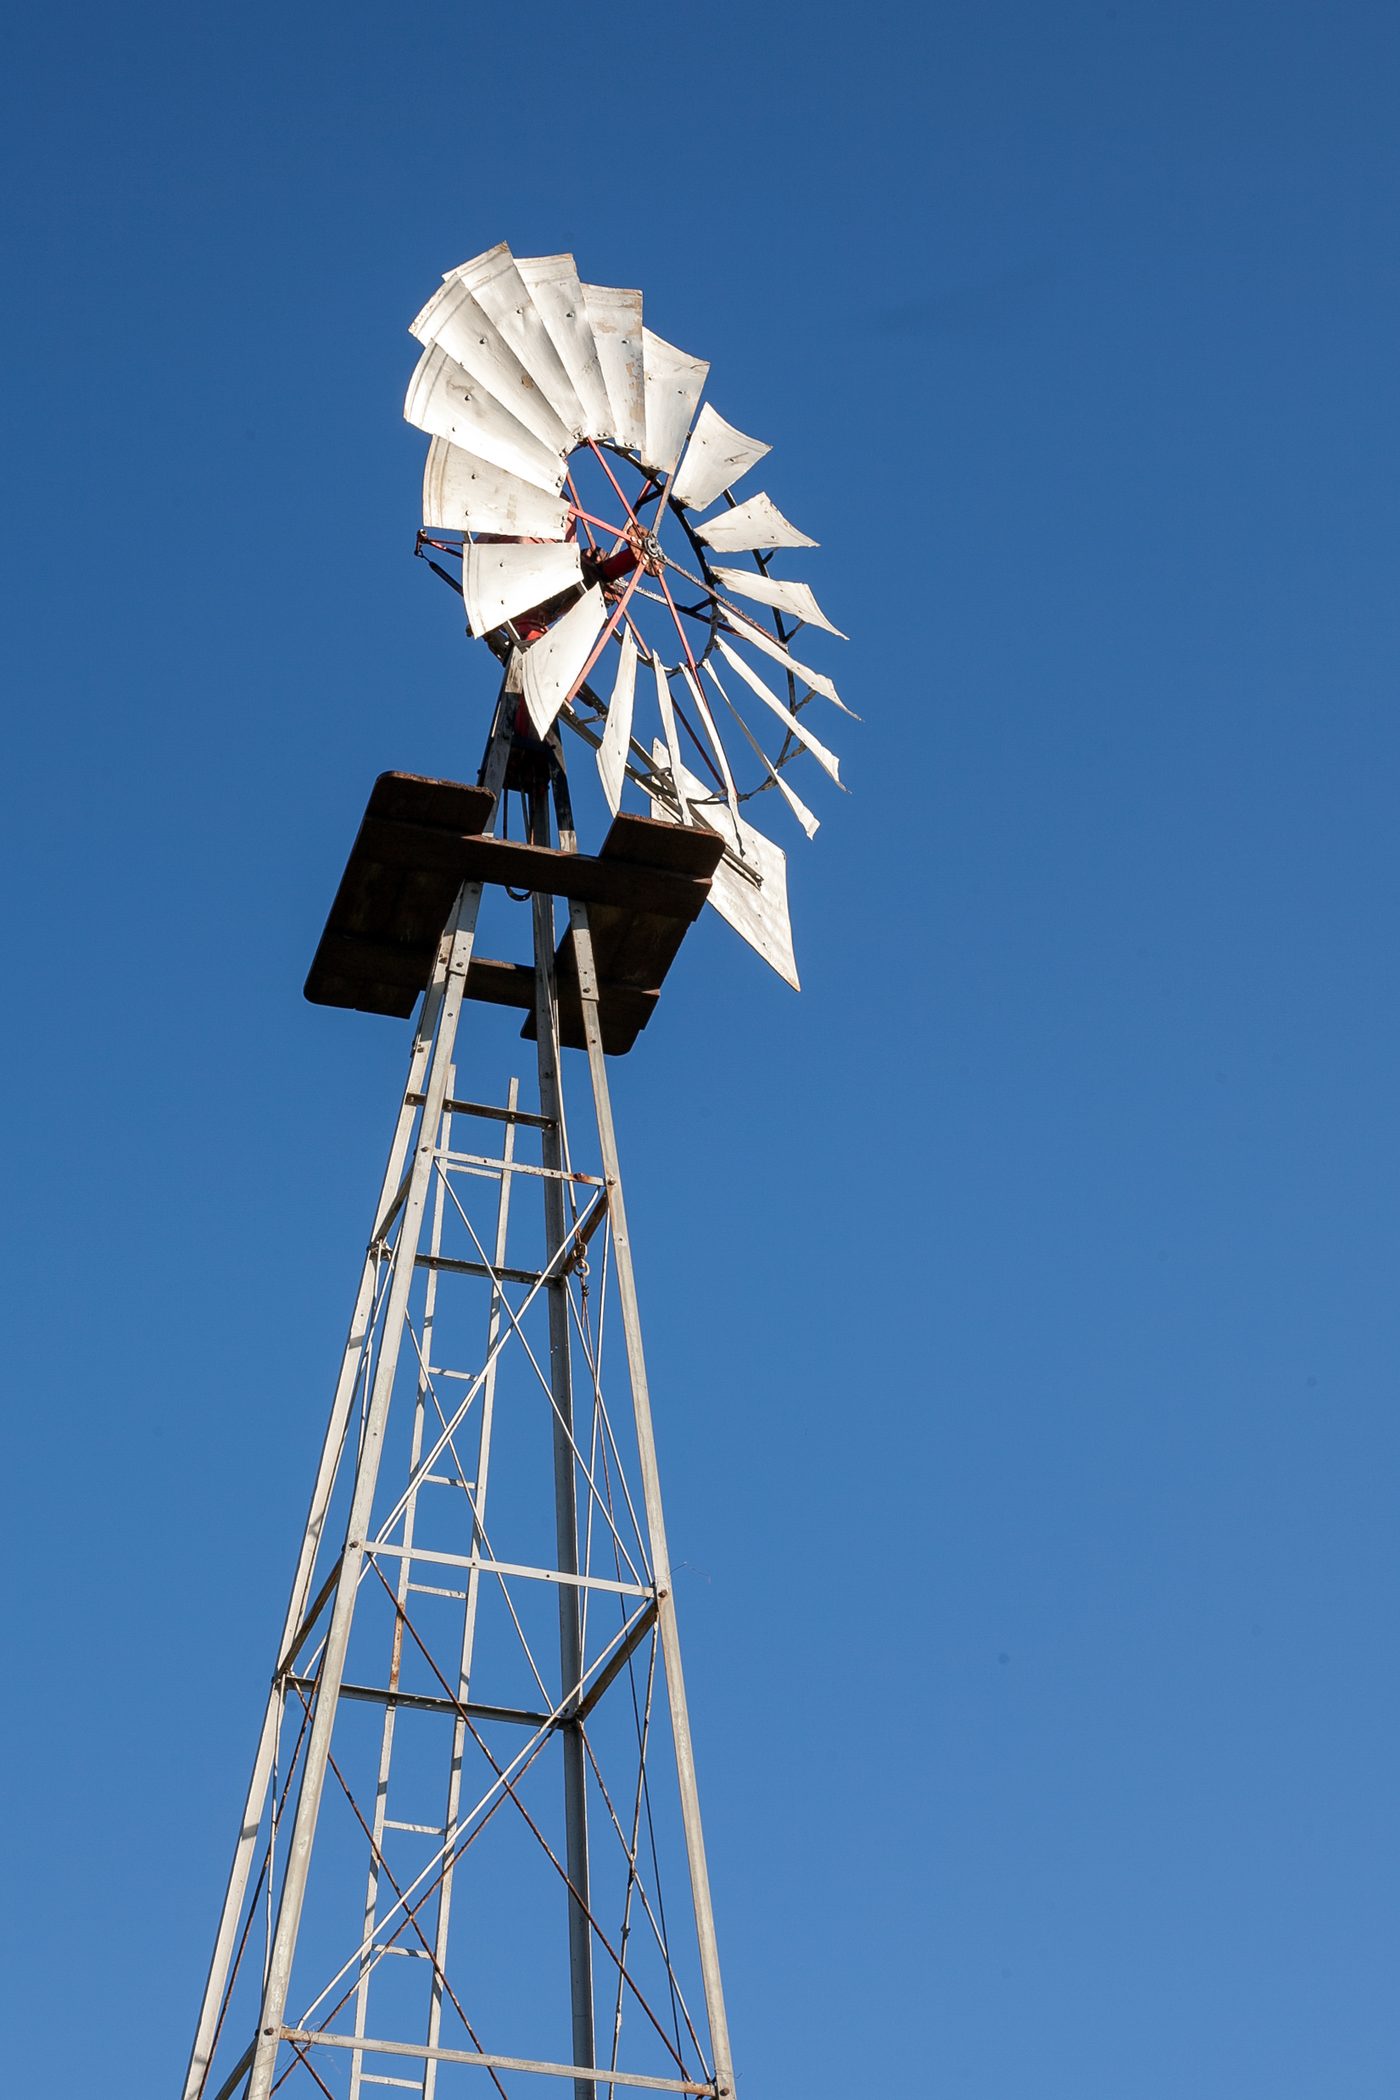
Windmill Water Pump
A multi-blade rotor on a guyed tower driving a piston pump down a shallow well — steady stock and irrigation water anywhere the wind blows most days.
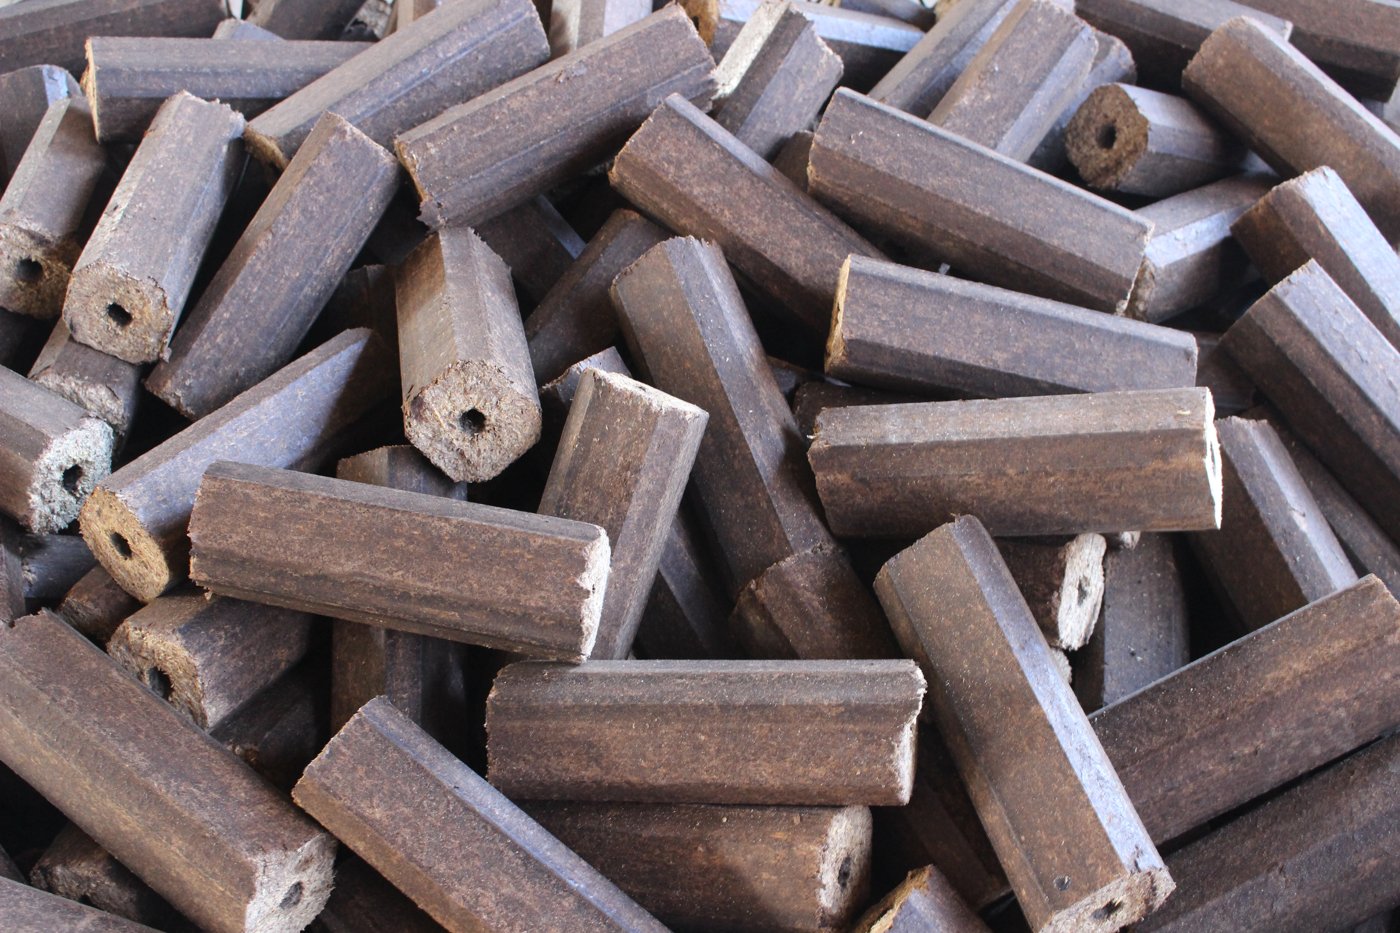
Hand-Cranked Screw Briquette Extruder
A screw auger in a tapering barrel that extrudes a continuous log of compacted biomass — higher output than a piston press once the feedstock is right.
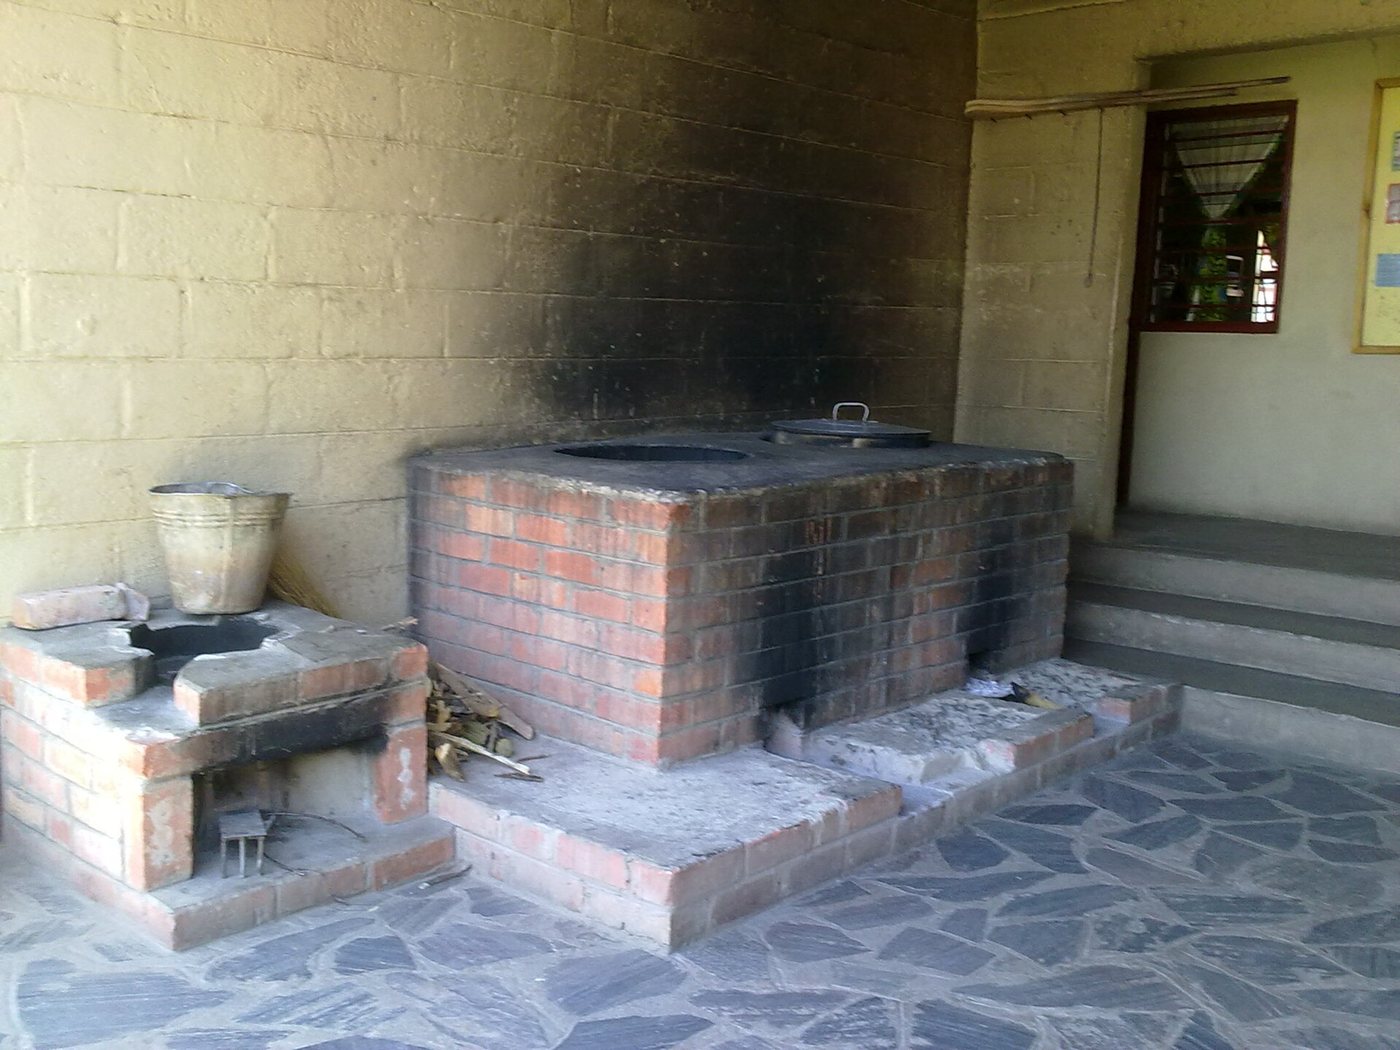
Insulated Brick Rocket Stove
A J-shaped combustion chamber that burns small sticks hot and nearly smoke-free, cutting cooking fuel by half or more.