
Hand-Cranked Screw Briquette Extruder
A screw auger in a tapering barrel that extrudes a continuous log of compacted biomass — higher output than a piston press once the feedstock is right.
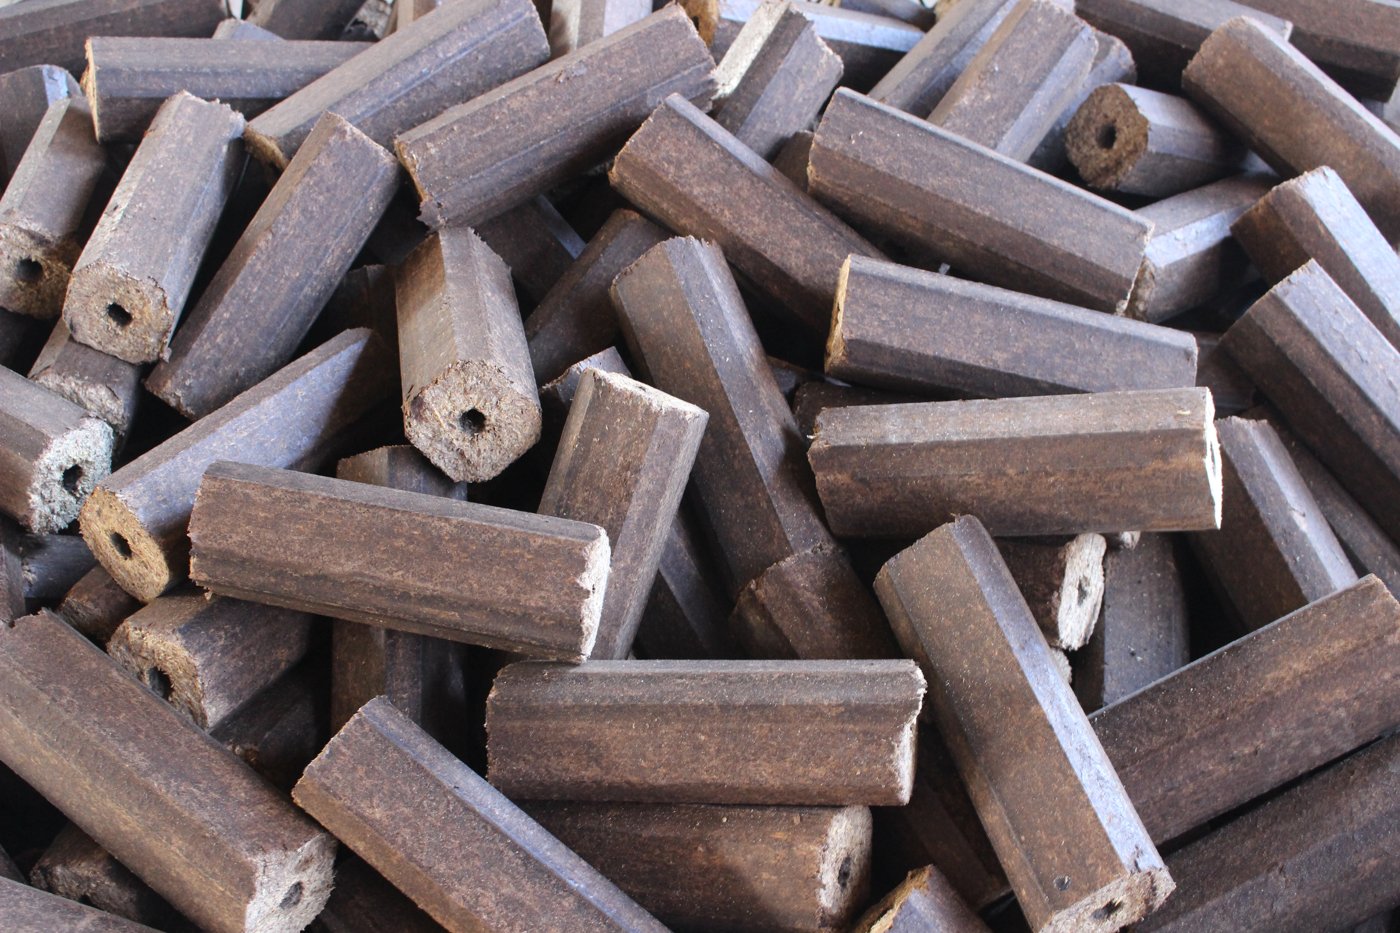
- Estimated cost
- $120 – $400 depending on whether the auger is fabricated or salvaged
- Skill level
- Advanced
- Time
- 1 – 2 weeks fabrication
Not yet verified
No confirmed build with photo proof has been submitted for this plan yet. Built it? Send photos and it earns the badge.
Tools
- Welder
- Angle grinder
- Drill press
- Spanner set
- Vice
- Files
If you don't have it
- No fabricated auger flighting? Salvage a grain auger, post-hole auger or ice auger flight and cut the barrel to suit it. Matching the barrel to a found auger is far easier than making flighting by hand.
- No thrust bearing? Stack a hardened washer against a bolted collar in an oil-filled pocket as a plain thrust face. It wears, so treat it as a service item and keep a spare — do not simply run the shaft against mild steel.
- No the fabrication skill or budget? Build the lever press instead. It makes a denser briquette per unit of effort at a fifth of the cost, and it is the right machine until you are reliably selling everything you can press.
Materials
Dimensions & cut list
A motor-driven screw extruder producing continuous hollow-core briquettes, 60–100 kg an hour. These are the reference sizes from Lee Hite / Engineers Without Borders — scale them to what you have, but keep the ratios.
| Screw diameter | 80 mm, tapering pitch from 70 mm down to 35 mm |
|---|---|
| Barrel length | 600 mm |
| Die bore | 55 mm with a 12 mm centre pin |
| Die taper | Compression cone over the last 120 mm |
| Screw speed | 300–400 rpm |
| Motor | 5.5–7.5 kW three-phase |
| Feedstock moisture | 8–12%Wetter feed steams and blows the briquette apart at the die |
| Particle size | Under 5 mm, hammer-milled |
Take this list to the yard
- 1Hardened screw shaft (wear-faced flights)Rebuild the last two flights with hardfacing rod every few hundred hours
- 1Seamless barrel pipe
- 1Die block, machined steel
- 1 setElectric motor, pulleys and belts
- 1Hopper with agitator
- 1Die band heater (optional)Preheating the die improves lignin bonding on dry sawdust
Step by step
Step 1 of 6
Match auger to barrel closely
Clearance between the flight edge and the barrel wall should be a couple of millimetres. Too loose and material rolls instead of advancing; too tight and it seizes.
Swipe or use arrow keys
1. Match auger to barrel closely
Clearance between the flight edge and the barrel wall should be a couple of millimetres. Too loose and material rolls instead of advancing; too tight and it seizes.
2. Taper the die
The last 100 – 150 mm of the barrel must narrow. Compression happens in the taper — a parallel barrel produces loose crumbs.
3. Carry the thrust properly
Extrusion pushes the shaft backwards hard. Fit a proper thrust bearing at the drive end or the shaft will chew through its supports in a week.
4. Dry and size the feedstock
Screw extrusion wants dry material — roughly 8 – 12% moisture — ground under 5 mm. Wet feed jams the die and can steam back through the hopper.
5. Run it in and tune
Start with a slightly larger die opening and reduce it until briquettes hold together but the crank stays turnable. Add binder such as cassava starch only if needed.
6. Cut, cool and stack
Cut the extruded log to length as it emerges, cool it on racks — extruded briquettes come out hot — and store dry off the ground. Two people cranking in turns can expect a continuous output well past a piston press, but only while feedstock stays at 8 – 12% moisture, so size the drying area for the feedstock as well as the product.
Why mine failed
The ways this build usually goes wrong, and what fixes it.
Briquettes come out steaming and crumbling
CauseFeedstock too wet
FixDry the biomass to 8–12% moisture before milling. Above that, water flashes to steam at the die and blows the briquette apart.
Screw tip wears out in weeks
CauseAbrasive feed and no hardfacing
FixHardface the last two flights and the tip, screen out grit and sand from the feedstock, and treat the tip as a consumable you rebuild on schedule.
Machine stalls and the motor trips
CauseOversized particles or overfeeding
FixHammer-mill everything under 5 mm and meter the hopper with an agitator. Never force a jammed barrel — clear the die and restart empty.
Briquettes are soft and never harden
CauseDie too cool for lignin bonding
FixFit a die band heater or let the machine run up to temperature for ten minutes and discard the first output. Lignin needs heat to act as its own binder.
Safety notes
- Never clear a blocked hopper by hand or with the crank engaged; stop and use a stick.
- Guard the crank, shaft and any belt drive — augers take hands off.
- The die and fresh briquettes get hot; wear gloves.
Source & attribution
This plan is our build-step write-up of work documented by Lee Hite / Engineers Without Borders. The original design and documentation belong to them — go read the source before you build.
Biomass briquette machine build notesLocal adaptations
What builders changed to make this work where they live.
- No adaptations shared yet for this plan.
Build this alongside
Plans that use the same materials or serve the same need.
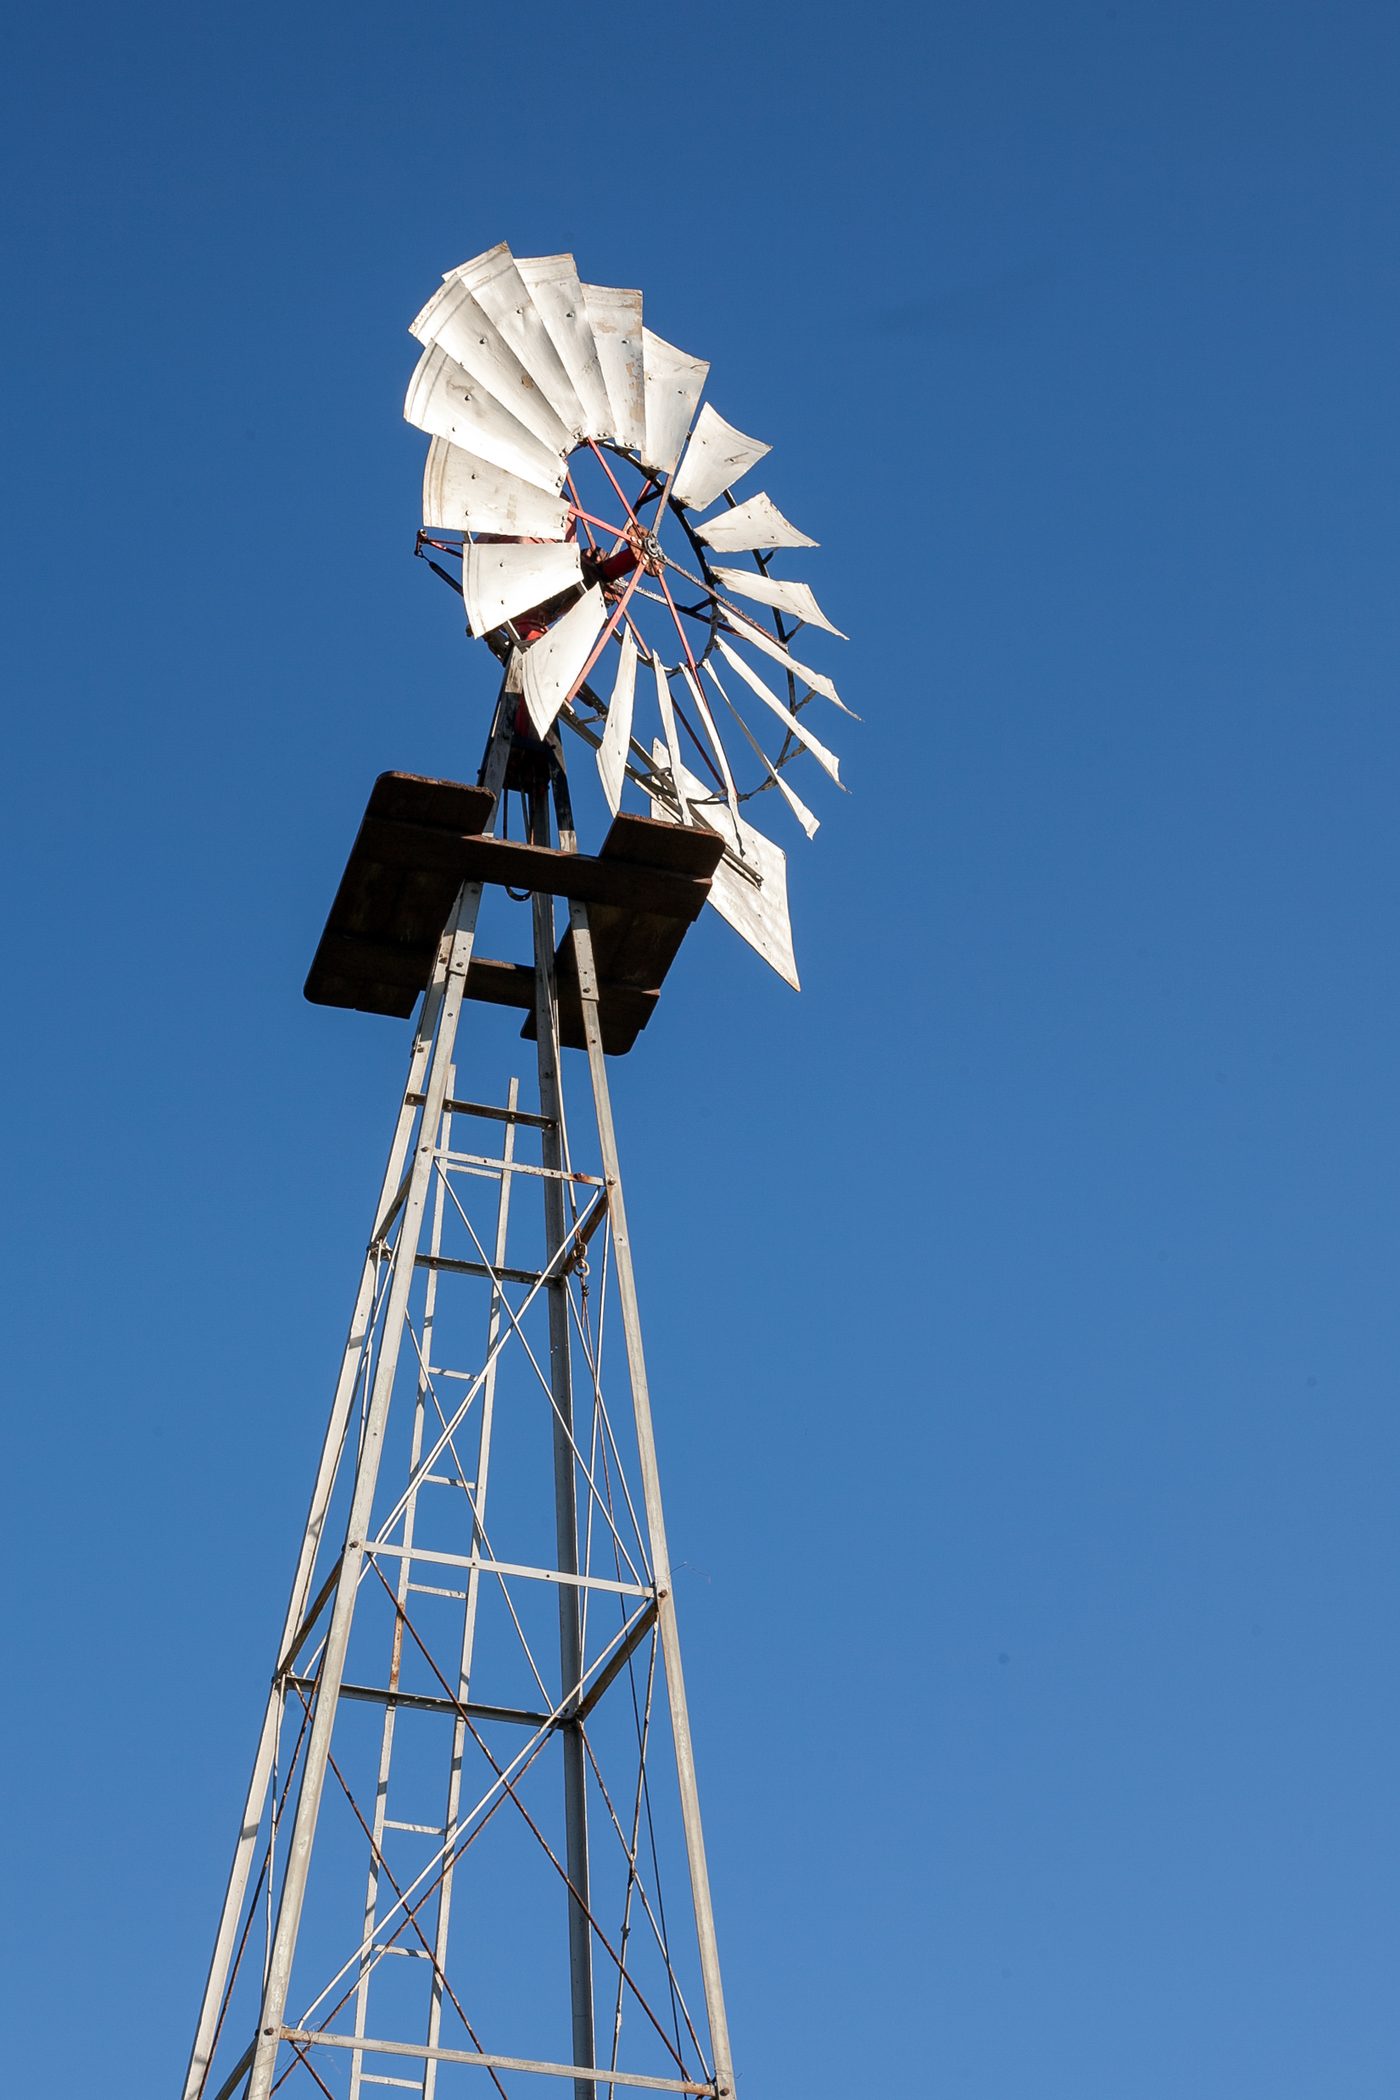
Windmill Water Pump
A multi-blade rotor on a guyed tower driving a piston pump down a shallow well — steady stock and irrigation water anywhere the wind blows most days.
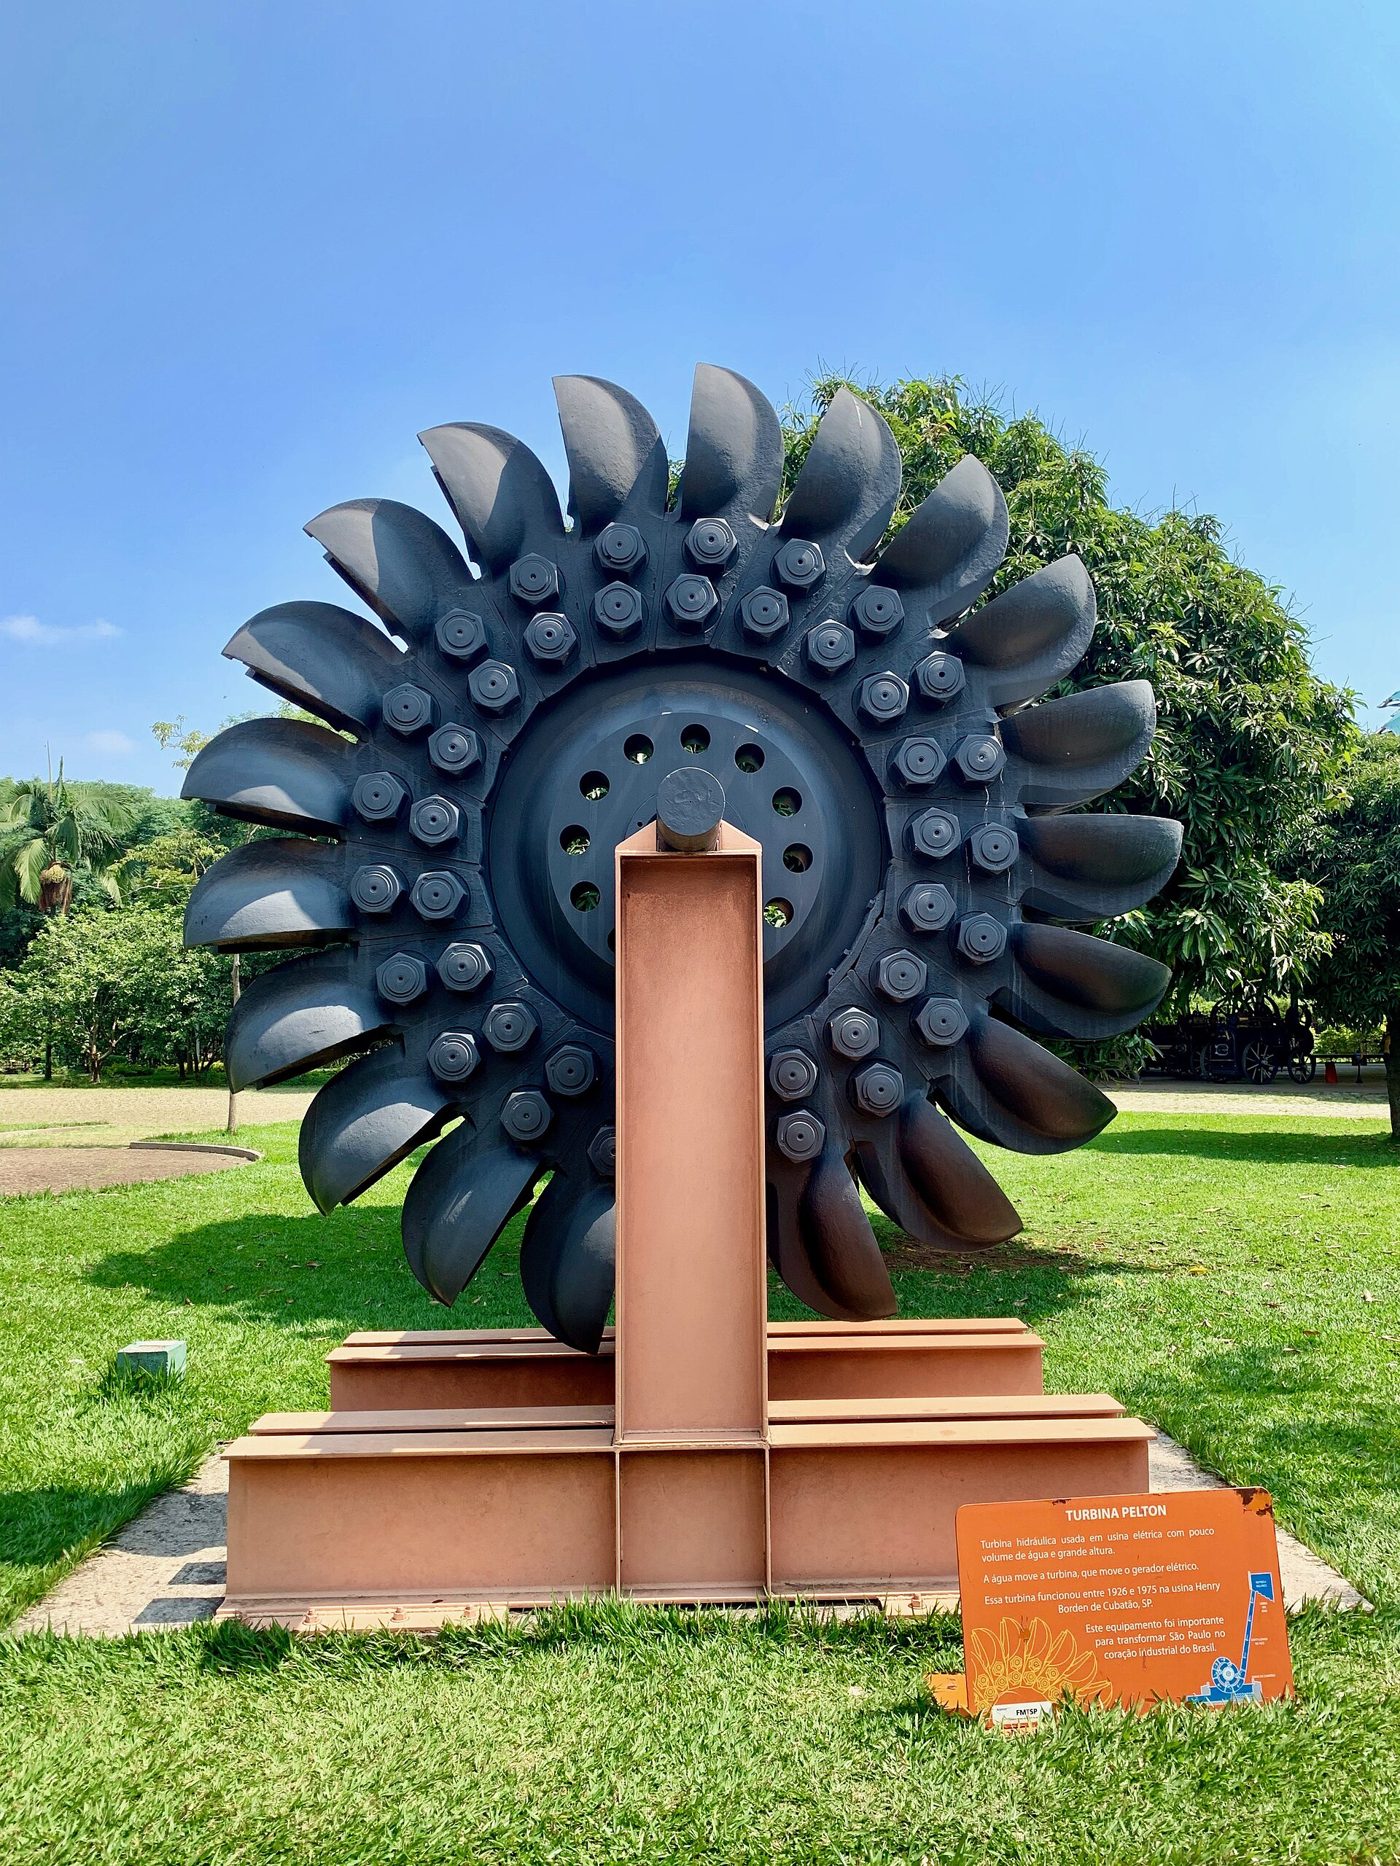
Micro-Hydro Pelton Wheel
Where a stream drops ten metres or more, a spoon-bucket Pelton wheel on a penstock can run lights and charge batteries around the clock.
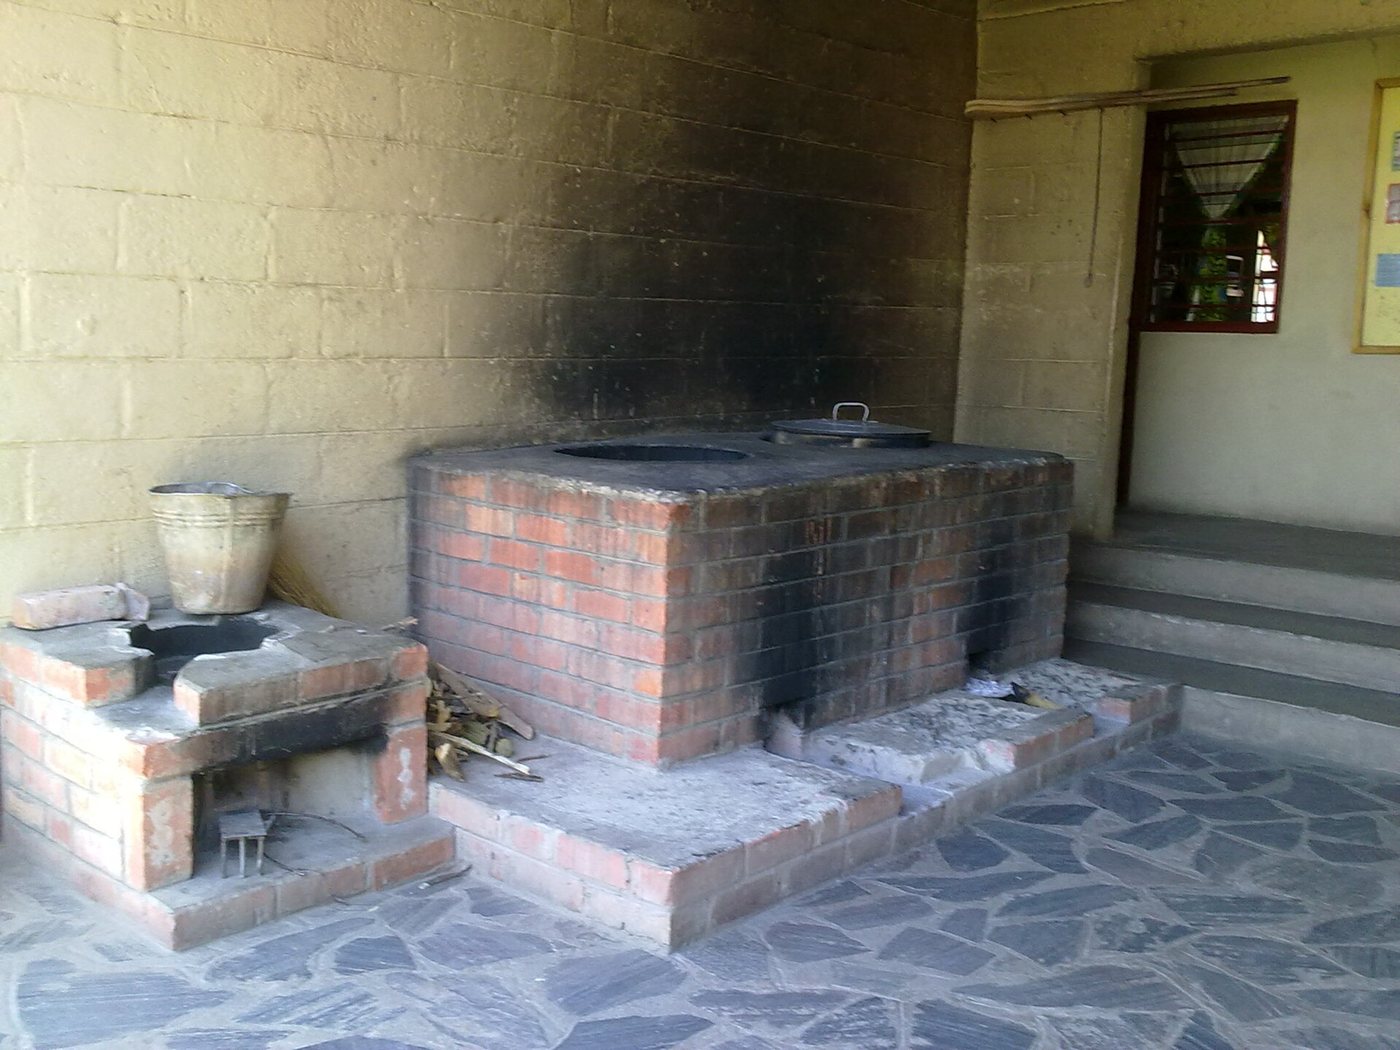
Insulated Brick Rocket Stove
A J-shaped combustion chamber that burns small sticks hot and nearly smoke-free, cutting cooking fuel by half or more.