
Raised Biomass Drying Rack
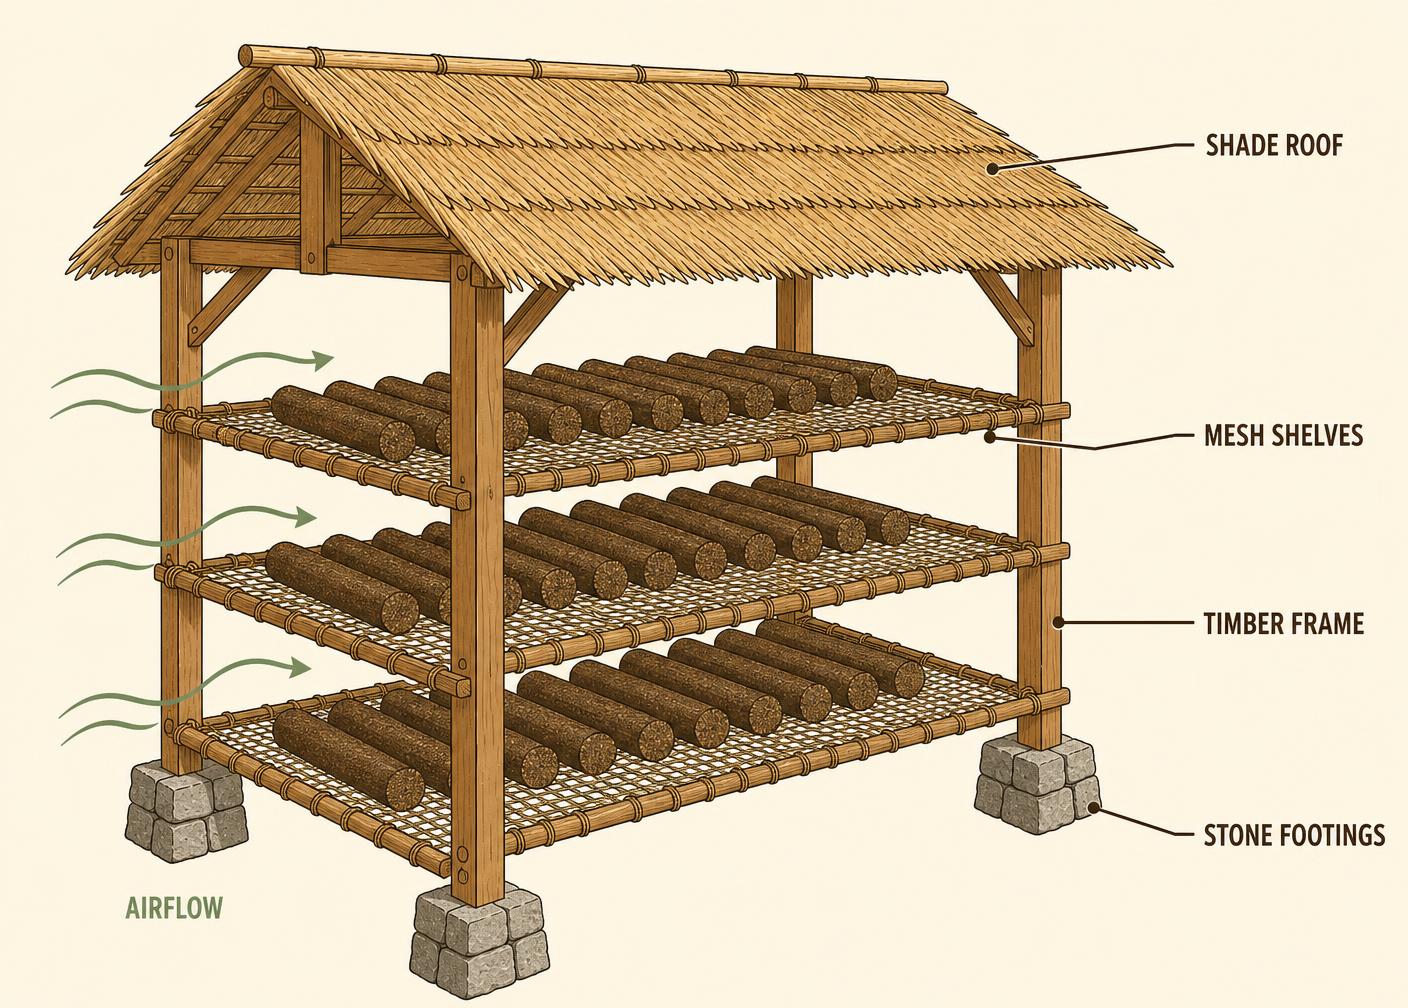
The unglamorous rack that makes every fuel project work: raised, ventilated and shaded from rain so briquettes and firewood actually dry instead of moulding.
- Estimated cost
- $10 – $60 in poles, mesh and roofing offcuts
- Skill level
- Beginner
- Time
- 1 day
Not yet verified
No confirmed build with photo proof has been submitted for this plan yet. Built it? Send photos and it earns the badge.
Tools
- Saw
- Panga
- Hammer
- Pliers
- Spade
If you don't have it
- No timber for the frame? Lash bamboo or eucalyptus poles with sisal rope; the only rule is 500 mm clear under the lowest tray and open sides.
Materials
- Poles or offcut timber for legs and frame
- Wire mesh, split bamboo or slatted timber for the shelves
- A light roof sheet or thatch for rain cover only — not shade over the whole rack
- Wire or nails, and stones or bottle bases for termite-proof feet
Dimensions & cut list
One three-tier shaded rack, enough for a day's briquette output. These are the reference sizes from Lee Hite / Engineers Without Borders — scale them to what you have, but keep the ratios.
| Rack footprint | 180 × 90 cm |
|---|---|
| Tier spacing | 35 cmEnough clearance for air to move over each tray |
| Lowest tier | 40 cm above the ground, so splash and damp stay off it |
| Legs | Set on stones or short posts, never straight into wet soil |
| Shade roof | Overhangs 20 cm each side, open at both ends |
| Tray surface | Slats or mesh, gaps 20–30 mm |
Take this list to the yard
- ≈ 18 mPoles or timber, 50 × 50 mm
- ≈ 5 m²Slats or wire mesh for trays
- 1 kgNails or wire ties
- ≈ 2 m²Grass thatch or old iron sheet for shade
Step by step
Step 1 of 6
Site it for wind, not just sun
Airflow removes more water than heat does. Put the rack in the open, aligned so prevailing wind blows across the shelves, and off any hollow where damp air pools.
Swipe or use arrow keys
1. Site it for wind, not just sun
Airflow removes more water than heat does. Put the rack in the open, aligned so prevailing wind blows across the shelves, and off any hollow where damp air pools.
2. Get the shelves off the ground
The lowest shelf sits at least 500 mm up. Ground contact means damp, termites and rats.
3. Use open mesh shelves
Every shelf must let air pass from below. Solid boards trap moisture under the briquettes and cause mould on the underside.
4. Space shelves generously
Leave 300 mm or more between shelves so air moves between layers and you can turn items easily.
5. Roof against rain, not against sun
A narrow roof or removable sheet keeps rain off. Do not enclose the sides — a closed shed is a mould box in the humid season.
6. Turn and rotate on a schedule
Turn items every second day and move the driest to the top. Test dryness by weight: stop when it stops getting lighter.
Safety notes
- Keep drying fuel well away from cooking fires and stove chimneys.
- Check for snakes and scorpions under stacked material before reaching in.
- Brace the rack; a tall loaded rack blows over in a storm.
Source & attribution
This plan is our build-step write-up of work documented by Lee Hite / Engineers Without Borders. The original design and documentation belong to them — go read the source before you build.
Briquette drying observationsLocal adaptations
What builders changed to make this work where they live.
- No adaptations shared yet for this plan.
Build this alongside
Plans that use the same materials or serve the same need.
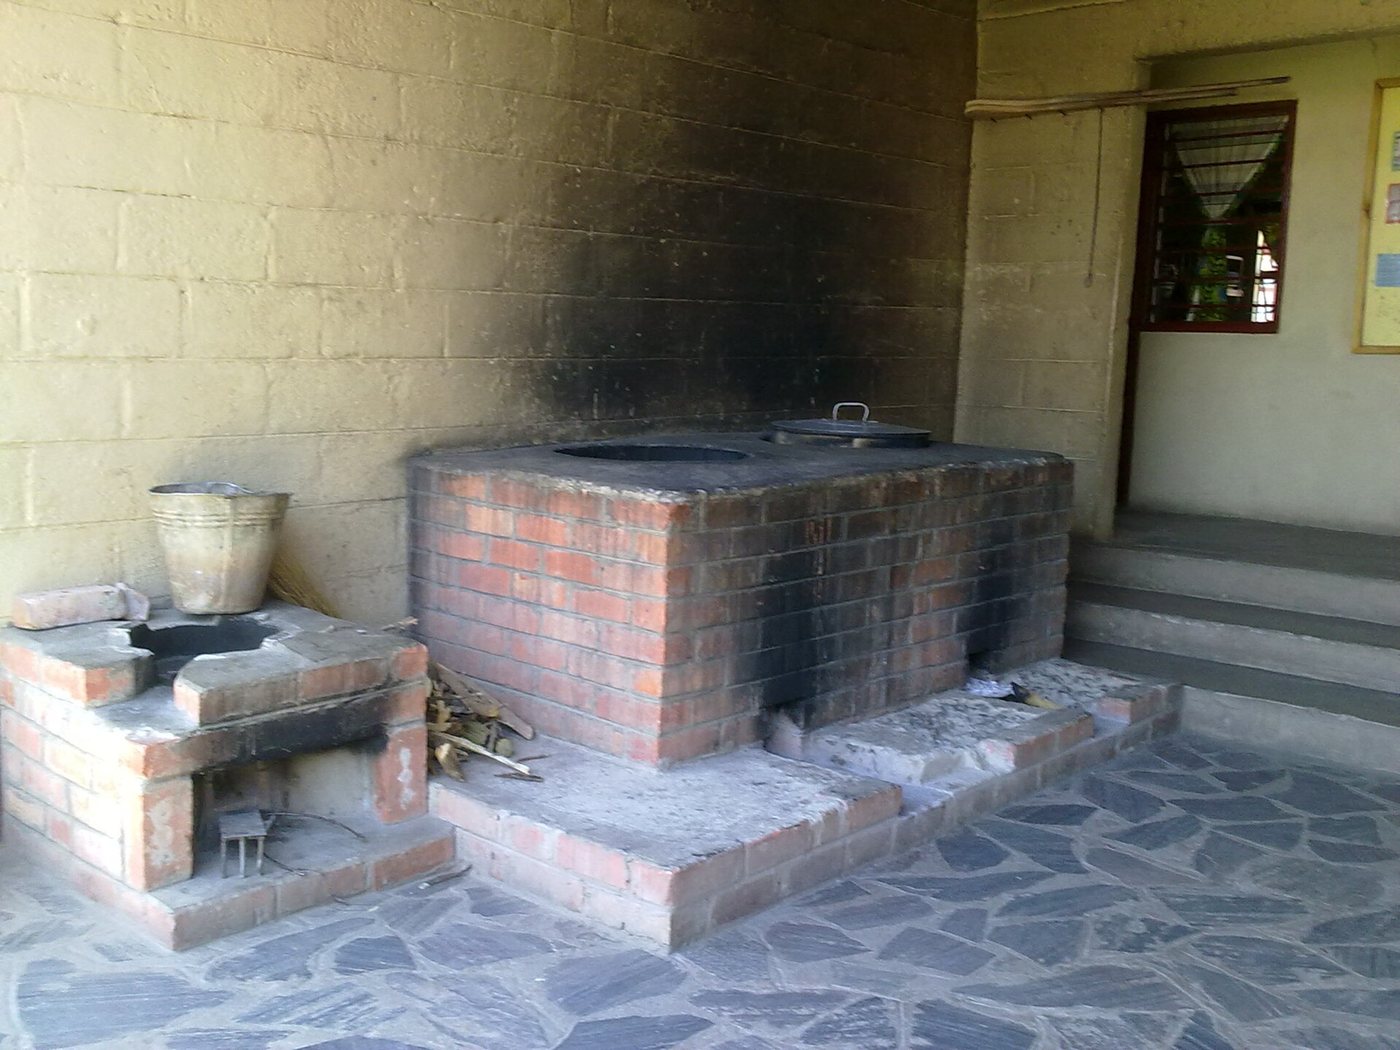
Insulated Brick Rocket Stove
A J-shaped combustion chamber that burns small sticks hot and nearly smoke-free, cutting cooking fuel by half or more.
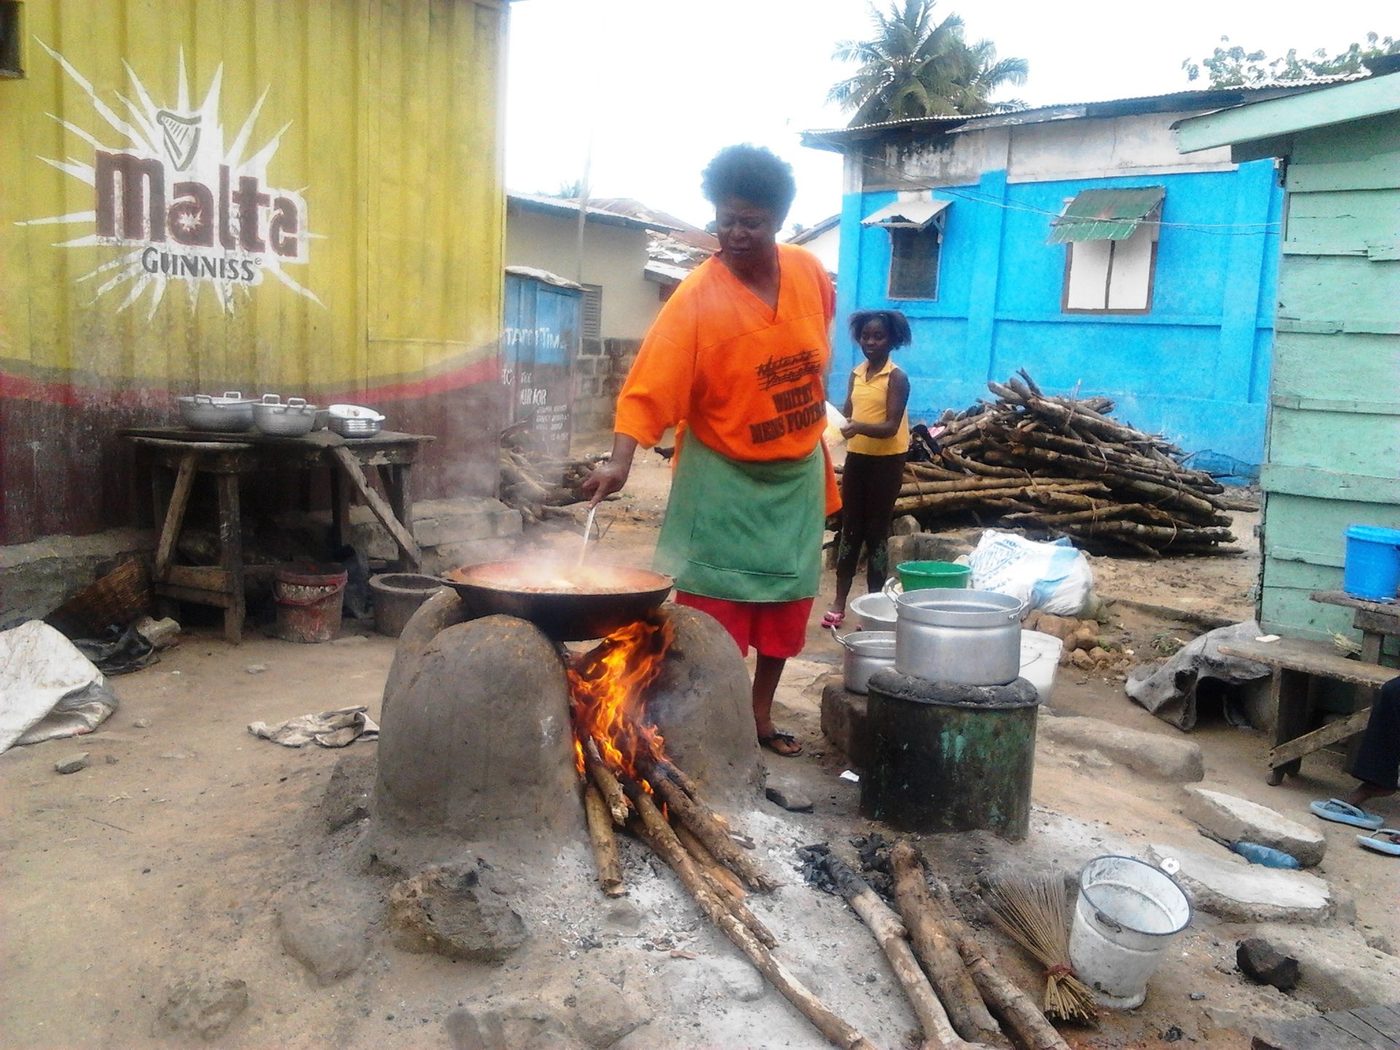
Improved Mud Cookstove with Fuel Shelf
A moulded clay-and-sand stove with a sized combustion chamber and pot skirt that cuts firewood use by roughly a third against a three-stone fire.
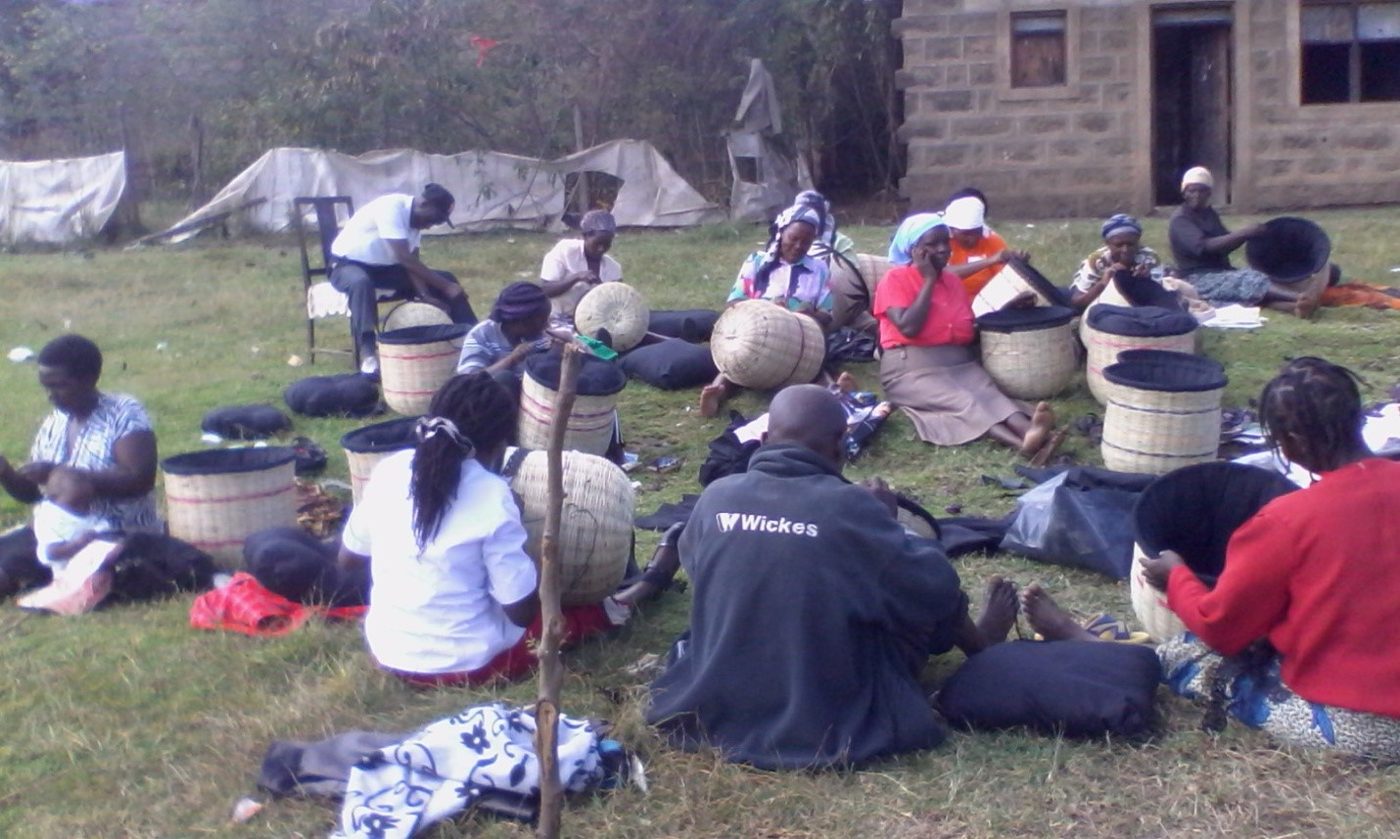
Retained-Heat Basket Cooker
An insulated basket that finishes cooking beans, rice and stews off the fire, cutting fuel for long-boil foods by half or more.