
Ferrocement Water Storage Tank
A wire-mesh and mortar shell that stores 5,000 litres for a fraction of the price of an imported plastic tank, built entirely on site.
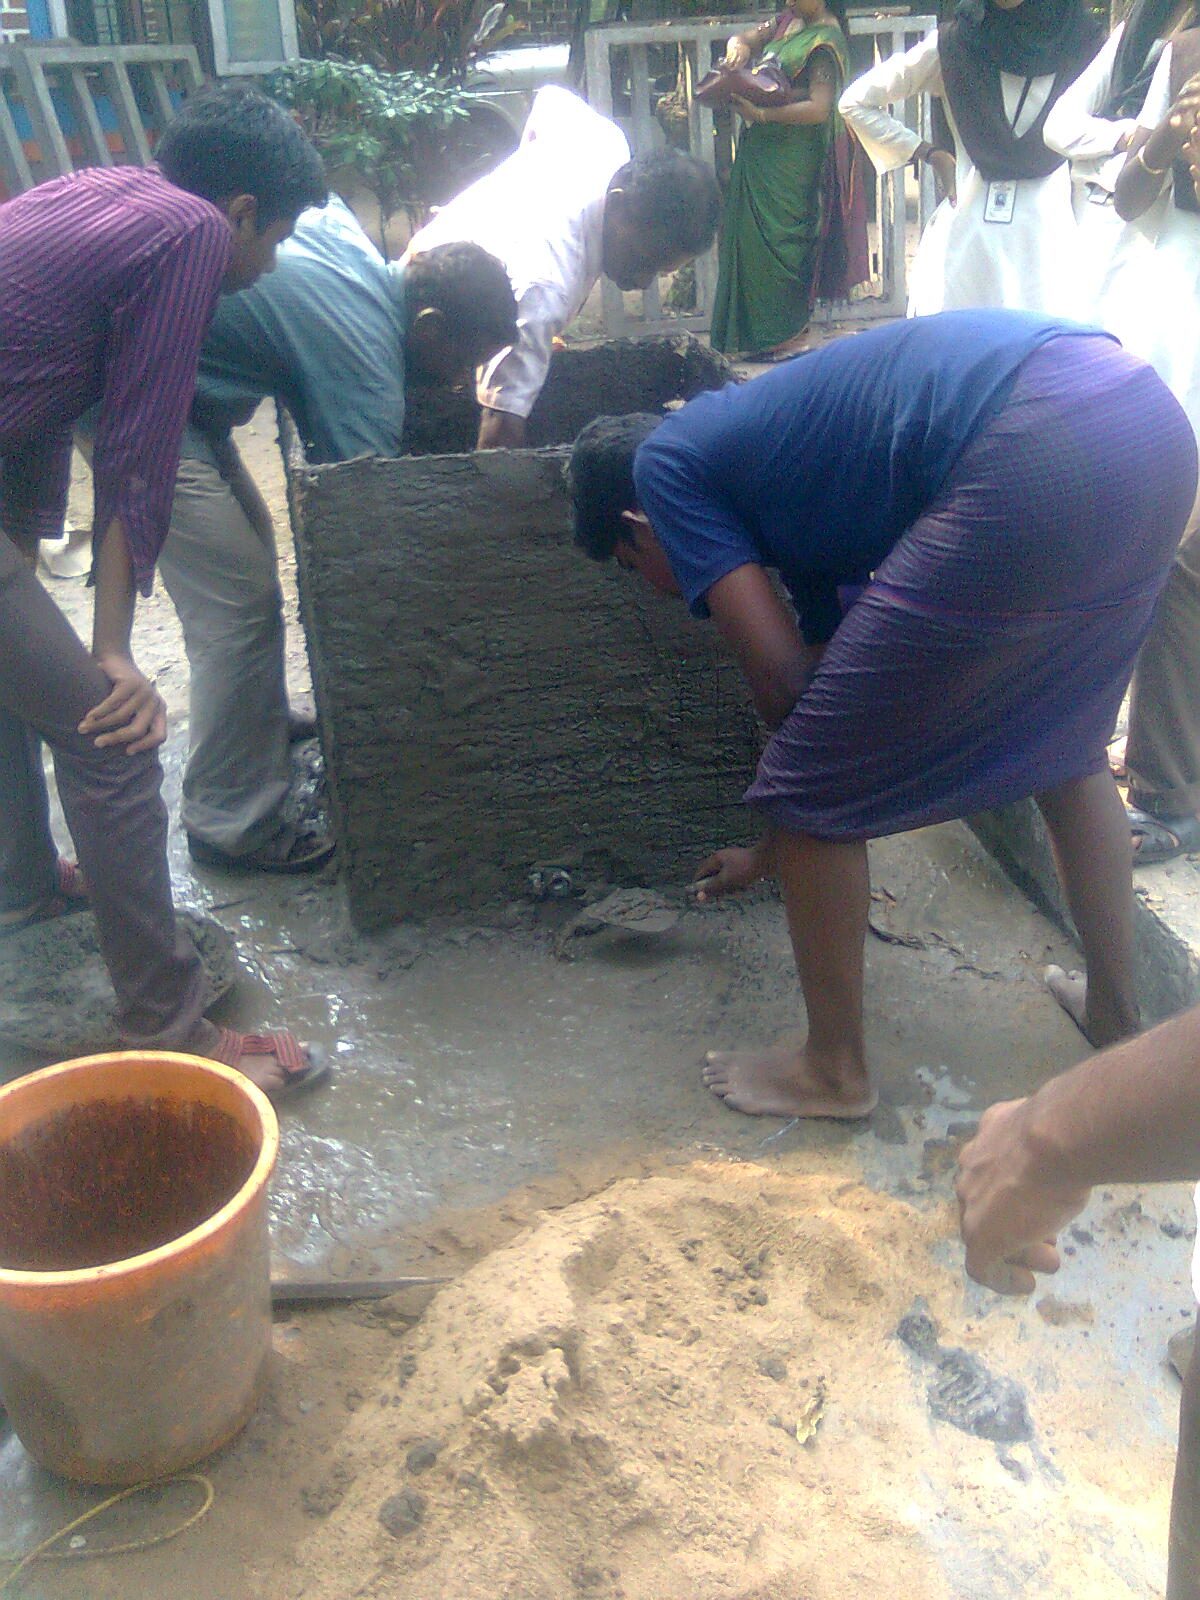
- Estimated cost
- $150 – $350 for a 5,000 L tank
- Skill level
- Advanced
- Time
- 5 – 7 days including curing
Not yet verified
No confirmed build with photo proof has been submitted for this plan yet. Built it? Send photos and it earns the badge.
Tools
- Wire cutters and pliers
- Plastering trowels and a float
- Mixing tools and buckets
- Spirit level and string line
- Hacksaw
- Hosepipe for curing
If you don't have it
- No chicken wire mesh? Weave a cage of 3 mm mild-steel wire on 75 mm centres and tie every crossing; add a second layer at the base where hoop stress is highest.
- No vibrating plate? Compact the mortar by hand with a wooden float in 10 mm layers, wetting between coats.
Materials
- Cement — about 15 – 20 bags for 5,000 L
- Clean sharp river sand, washed
- 6 mm steel reinforcing rod for the vertical ribs and the ring
- Chicken wire mesh, 25 mm, two to three layers
- Binding wire
- Aggregate for the base slab
- Tank fittings: inlet, screened overflow, draw-off tap, washout
- A close-fitting lid
Dimensions & cut list
A 5,000 litre cylindrical ferrocement tank on a cast plinth. These are the reference sizes from Appropedia / Practical Action — scale them to what you have, but keep the ratios.
| Internal diameter | 1.9 m |
|---|---|
| Wall height | 1.8 m |
| Wall thickness | 4–5 cm |
| Base slab | 8 cm thick, 30 cm wider than the tank all round |
| Reinforcement | 2 layers chicken mesh over 3 mm wire rings at 15 cm spacing |
| Outlet | 20 cm above the floor, so silt stays below it |
| Cure time | Keep damp and shaded for 21 days before filling |
Take this list to the yard
- 10–12 bags (50 kg)Cement
- ≈ 1.5 m³Clean sharp sand
- ≈ 25 m²Chicken mesh, 25 mm
- ≈ 60 mMild steel wire, 3 mm
- 1 setOutlet tap and fittings
Step by step
Step 1 of 7
Cast the base slab
Excavate and compact a level pad, then cast a 100 mm reinforced slab about 300 mm wider than the tank all round. A settled or uneven base cracks the shell — this step decides the tank's life.
Swipe or use arrow keys
1. Cast the base slab
Excavate and compact a level pad, then cast a 100 mm reinforced slab about 300 mm wider than the tank all round. A settled or uneven base cracks the shell — this step decides the tank's life.
2. Set the vertical reinforcement
Stand 6 mm rods every 200 mm around the tank perimeter, cast into the slab, and tie horizontal rings at 300 mm spacing up the height.
3. Wrap the mesh
Wrap two to three layers of chicken wire tightly around the reinforcement, tying every 150 mm. Tight, tightly-tied mesh is what carries the tension; loose mesh gives you a shell that weeps.
4. Plaster from inside and out
Mix mortar at 1 part cement to 3 parts washed sand, stiff enough to hold on a trowel. Work it fully through the mesh from one side while a second person backs it from the other, then build up to a 40 mm total thickness in two or three passes.
5. Finish the inside smooth
Steel-trowel the internal face, then apply a cement slurry wash for waterproofing. Round the wall-to-floor junction with a mortar fillet — sharp internal corners are where cracks start.
6. Cure wet for at least 7 days
Keep the shell continuously damp with wet sacking and shade it from direct sun. Rushing the cure is the most common cause of a leaking ferrocement tank.
7. Fit, test and screen
Install the inlet, screened overflow, tap 100 mm above the floor and a bottom washout. Fill slowly over 24 hours, watch for damp patches, patch any before commissioning, and screen every opening against mosquitoes.
Why mine failed
The ways this build usually goes wrong, and what fixes it.
Tank weeps through the wall when first filled
CauseMortar not dense enough, or filled before curing finished
FixDrain, dry, and render a fresh 1:3 cement-sand slurry coat inside. Cure damp for 21 days before filling again.
Cracks appear near the base
CauseThe base slab settled unevenly
FixSlab needs compacted hardcore and to extend 30 cm past the tank wall. A cracked base cannot be patched reliably — rebuild the plinth.
Water smells and grows algae
CauseLight reaching the water through an open or thin cover
FixCover fully and keep it dark. Algae needs light; take the light away and it stops.
Silt keeps coming out of the tap
CauseOutlet set at floor level
FixMove the outlet 20 cm up the wall and add a washout at the base for cleaning.
Safety notes
- Wet cement burns skin and eyes. Wear gloves, boots and eye protection throughout plastering.
- Cut mesh ends are sharp — fold or tape every exposed end, especially at working height.
- A full 5,000 L tank weighs over 5 tonnes. Never build on uncompacted fill or close to a slope crest.
- Curing water first drawn from a new tank is highly alkaline. Fill, stand and drain the tank once before using it for drinking supply.
Source & attribution
This plan is our build-step write-up of work documented by Appropedia / Practical Action. The original design and documentation belong to them — go read the source before you build.
Ferrocement water tank constructionLocal adaptations
What builders changed to make this work where they live.
Njeri G. · Nyeri, Kenya
We used old bed-spring mesh under the chicken wire where we had no 6 mm rod. Held fine at 3,000 L, but I would not push it larger.
Build this alongside
Plans that use the same materials or serve the same need.
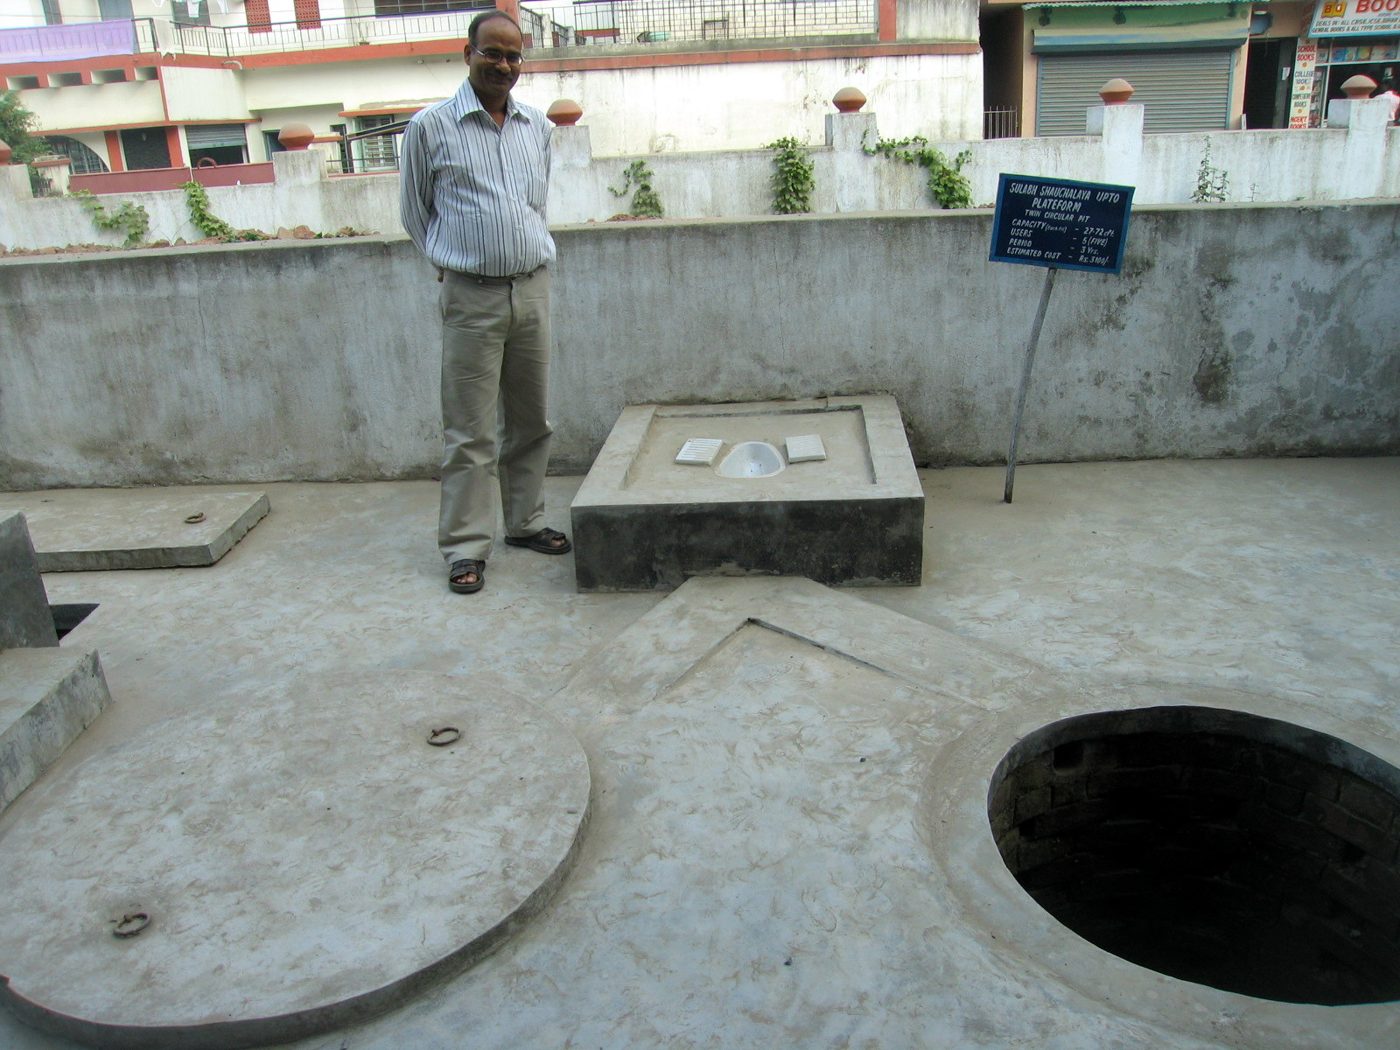
Pour-Flush Latrine Pan & Water Seal
A cast pan with a water-seal trap turns a smelly pit into a clean, fly-free, odour-free toilet — flushed with two or three litres poured by hand.
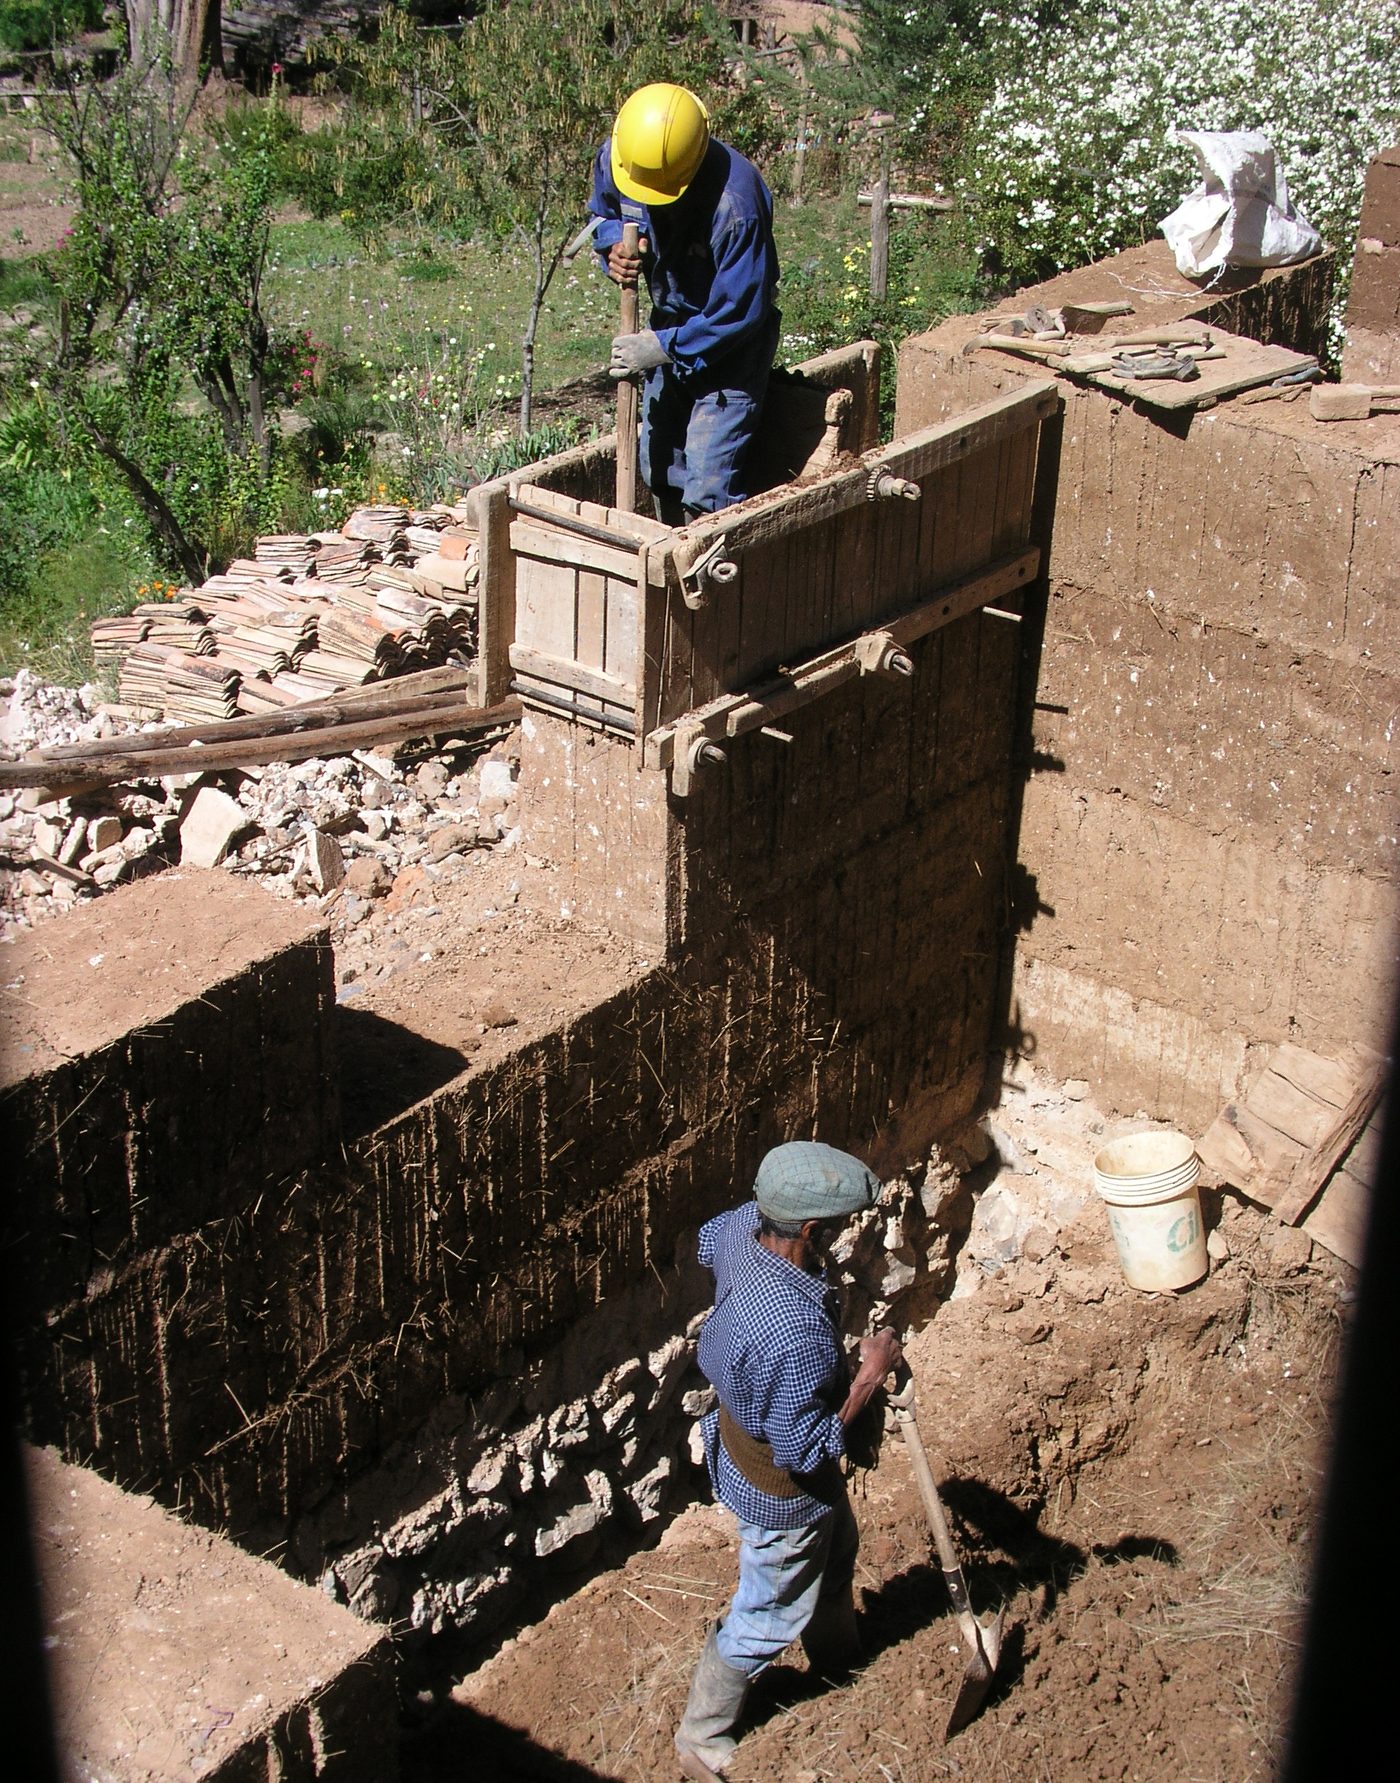
Rammed Earth Wall with Reusable Formwork
Tamp moist sub-soil in timber shuttering to raise thick, thermally massive walls that stay cool through the hottest afternoon.
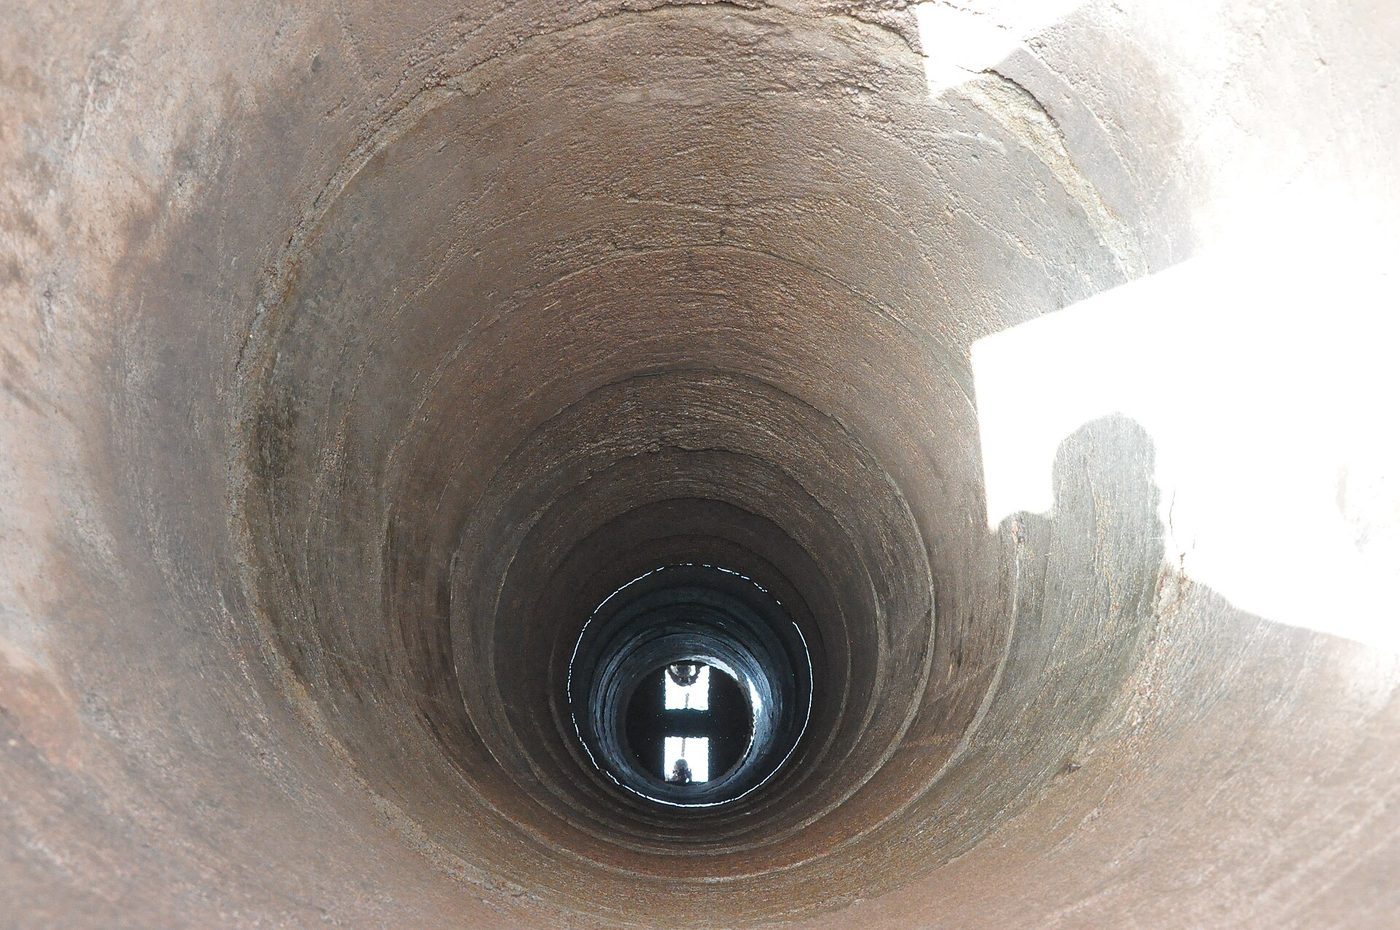
Hand-Dug Well with Concrete Ring Lining
Cast concrete rings on the surface, sink them as you dig, and finish with a sealed apron so the well does not contaminate itself.