
Pour-Flush Latrine Pan & Water Seal
A cast pan with a water-seal trap turns a smelly pit into a clean, fly-free, odour-free toilet — flushed with two or three litres poured by hand.
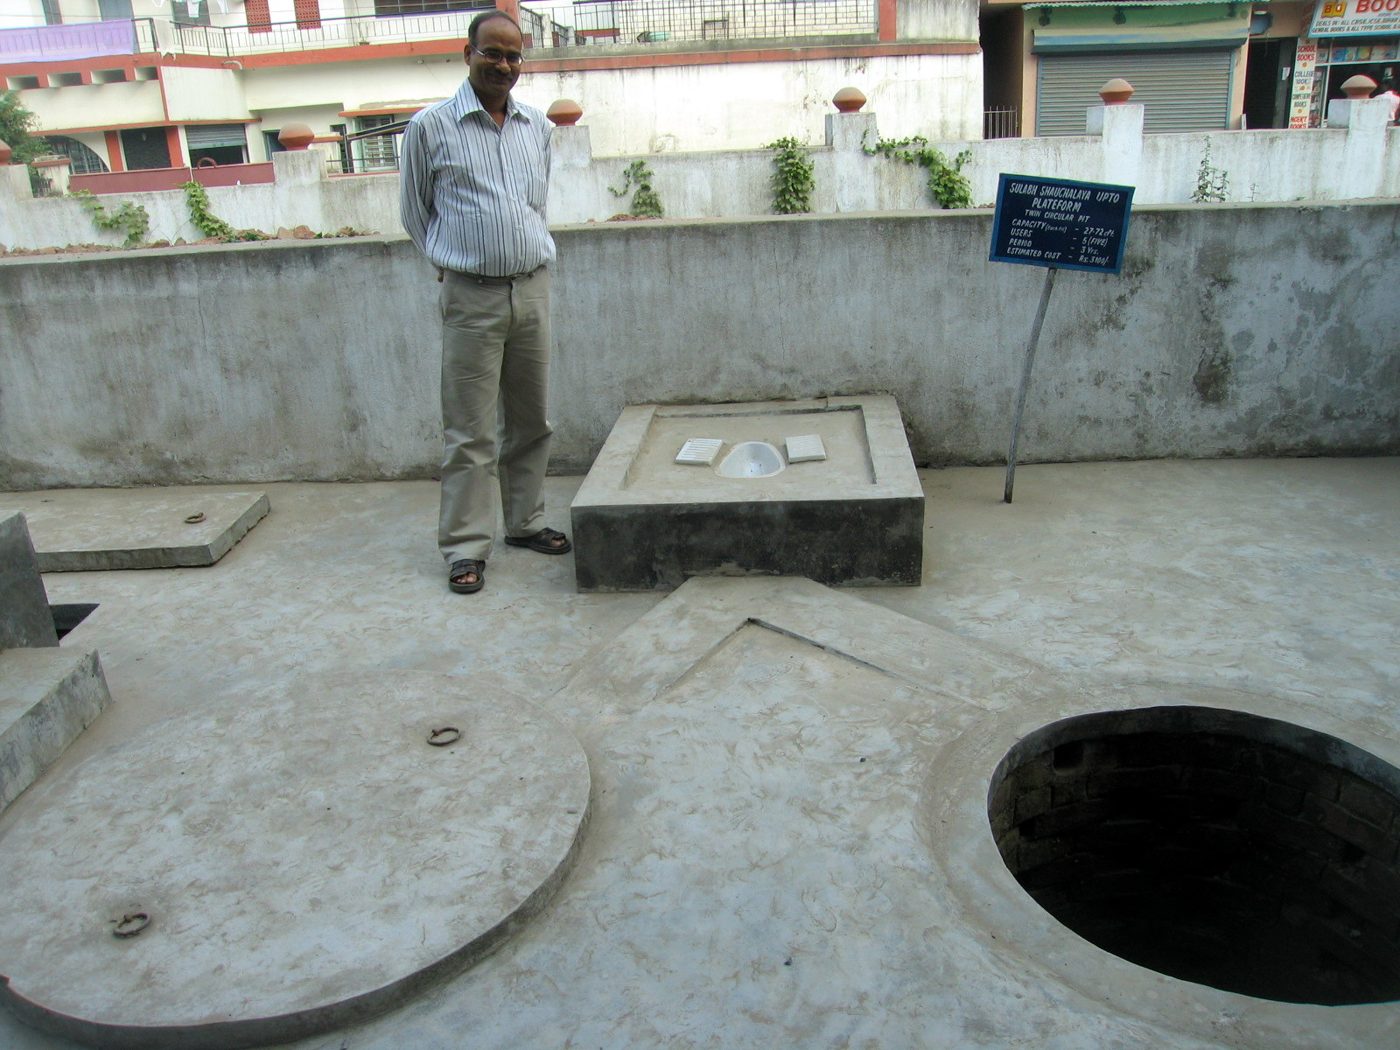
- Estimated cost
- $25 – $120 including pan, trap and pipe
- Skill level
- Intermediate
- Time
- 2 – 3 days plus pit digging
Not yet verified
No confirmed build with photo proof has been submitted for this plan yet. Built it? Send photos and it earns the badge.
Tools
- Trowel
- Bucket
- Pan mould or purchased pan
- Spade
- Hacksaw
- Level
Short a tool or material? Builders below have often swapped something local in — read Local adaptations before you buy anything.
Materials
Dimensions & cut list
A cast-concrete pour-flush pan with water seal, over a single offset pit. These are the reference sizes from SuSanA — scale them to what you have, but keep the ratios.
| Pan size | 430 × 350 mm at the rim |
|---|---|
| Pan slope | 25–30° to the trapFlatter than this and it will not clear with 1.5 litres |
| Water seal depth | 20 mmDeeper wastes water; shallower lets odour and flies through |
| Trap bore | 75 mm |
| Flush volume | 1.5–2 litres poured briskly |
| Pipe to pit | 100 mm at a fall of 1:20, straight run under 3 m |
| Pit | 1.2 m diameter × 3 m deep, lined in the top 1 m |
| Pit setback | 30 m from any well, and downhill of it |
Take this list to the yard
- 1 bag per pan and slabCement
- 0.1 m³ eachSharp sand and 10 mm stone
- 1Reusable pan mouldOne good mould pays for itself over 20 pans
- 3 m100 mm PVC pipe
- 1 m²3 mm wire mesh for the slab
- 1 setWater container and dipper at the pan
Step by step
Step 1 of 6
Dig and line the pit
Site the pit at least 30 m from any well and downhill of it. Line the upper courses so the pit cannot collapse under the slab.
Swipe or use arrow keys
1. Dig and line the pit
Site the pit at least 30 m from any well and downhill of it. Line the upper courses so the pit cannot collapse under the slab.
2. Cast a smooth pan
Cast in a mould and finish the pan surface glass-smooth with a rich cement slurry. Roughness is what makes a pan need scrubbing and lots of flush water.
3. Set the trap depth right
The water seal should be 20 – 30 mm deep. Deeper and it takes too much water to flush; shallower and it dries out and lets flies and smell through.
4. Cast the slab with the pan in place
Set the pan and trap into the reinforced slab formwork so the finished floor slopes towards the pan, and cure the slab wet for seven days.
5. Lay the pipe with fall
Run the outlet to the pit or tank with a steady fall and no dips. Any dip in the run collects solids and blocks.
6. Commission and teach the flush
Fill the trap and demonstrate a 2 – 3 litre pour delivered in one steady go. A trickle does not clear the trap; one confident pour does.
Why mine failed
The ways this build usually goes wrong, and what fixes it.
Pan does not clear with a normal flush
CausePan slope too flat or the surface too rough
FixCast at 25–30° with a well-polished mould surface. A rough pan needs twice the water and never stays clean.
Smell and flies come up through the pan
CauseWater seal dried out or too shallow
FixKeep the seal at 20 mm and pour a cup of water in whenever the latrine has been unused for days.
Pipe to the pit blocks repeatedly
CauseToo little fall, or a bend in the run
FixLay 100 mm pipe at 1:20 in a straight run under 3 m, and keep solid waste and cloth out of the pan.
Nearby well water tests contaminated
CausePit too close or upslope of the well
FixSite the pit at least 30 m from any water point and downhill of it, and line the top metre. If it is already built too close, decommission the pit rather than the well.
Safety notes
- Never enter an unsupported pit; shore it or dig in stages.
- Keep the pit 30 m and downgradient from wells and springs.
- Fresh pit contents give off dangerous gases — never light a flame over an open pit.
- Wash hands with soap at a station right by the door.
Source & attribution
This plan is our build-step write-up of work documented by SuSanA. The original design and documentation belong to them — go read the source before you build.
Pour-flush toilets and water sealsLocal adaptations
What builders changed to make this work where they live.
- No adaptations shared yet for this plan.
Build this alongside
Plans that use the same materials or serve the same need.
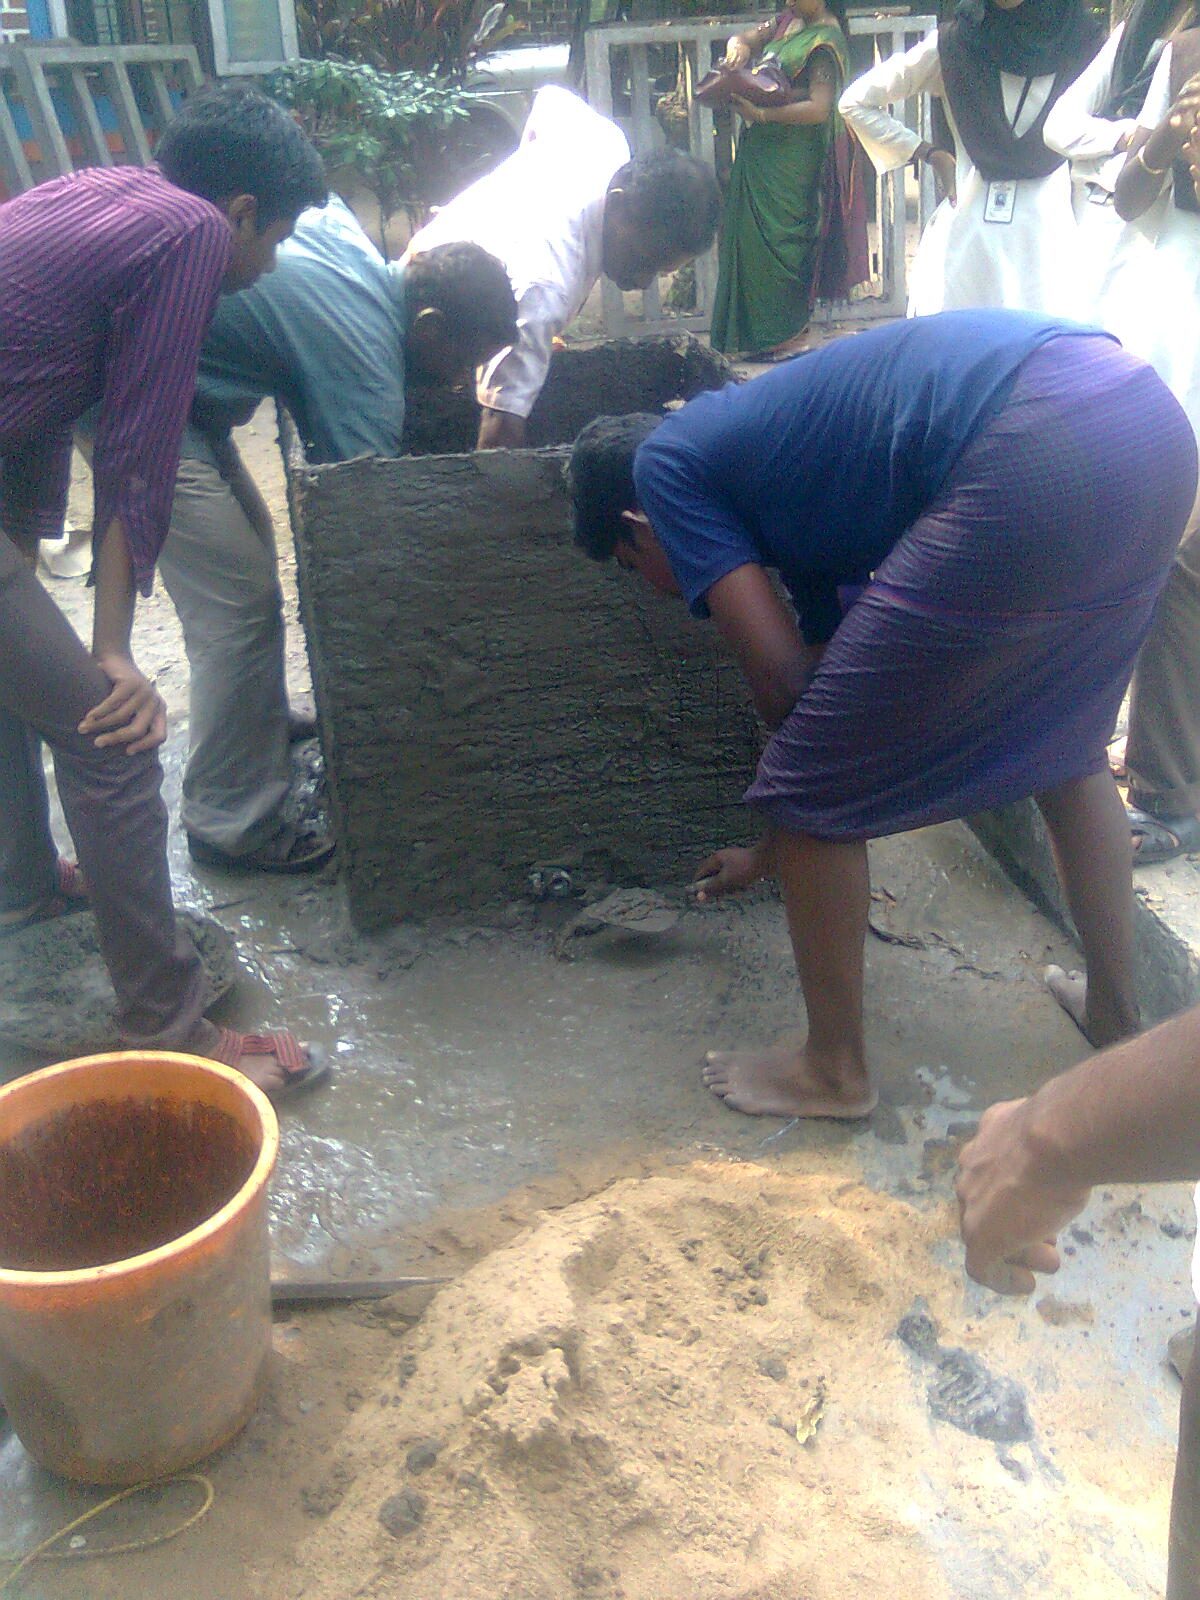
Ferrocement Water Storage Tank
A wire-mesh and mortar shell that stores 5,000 litres for a fraction of the price of an imported plastic tank, built entirely on site.
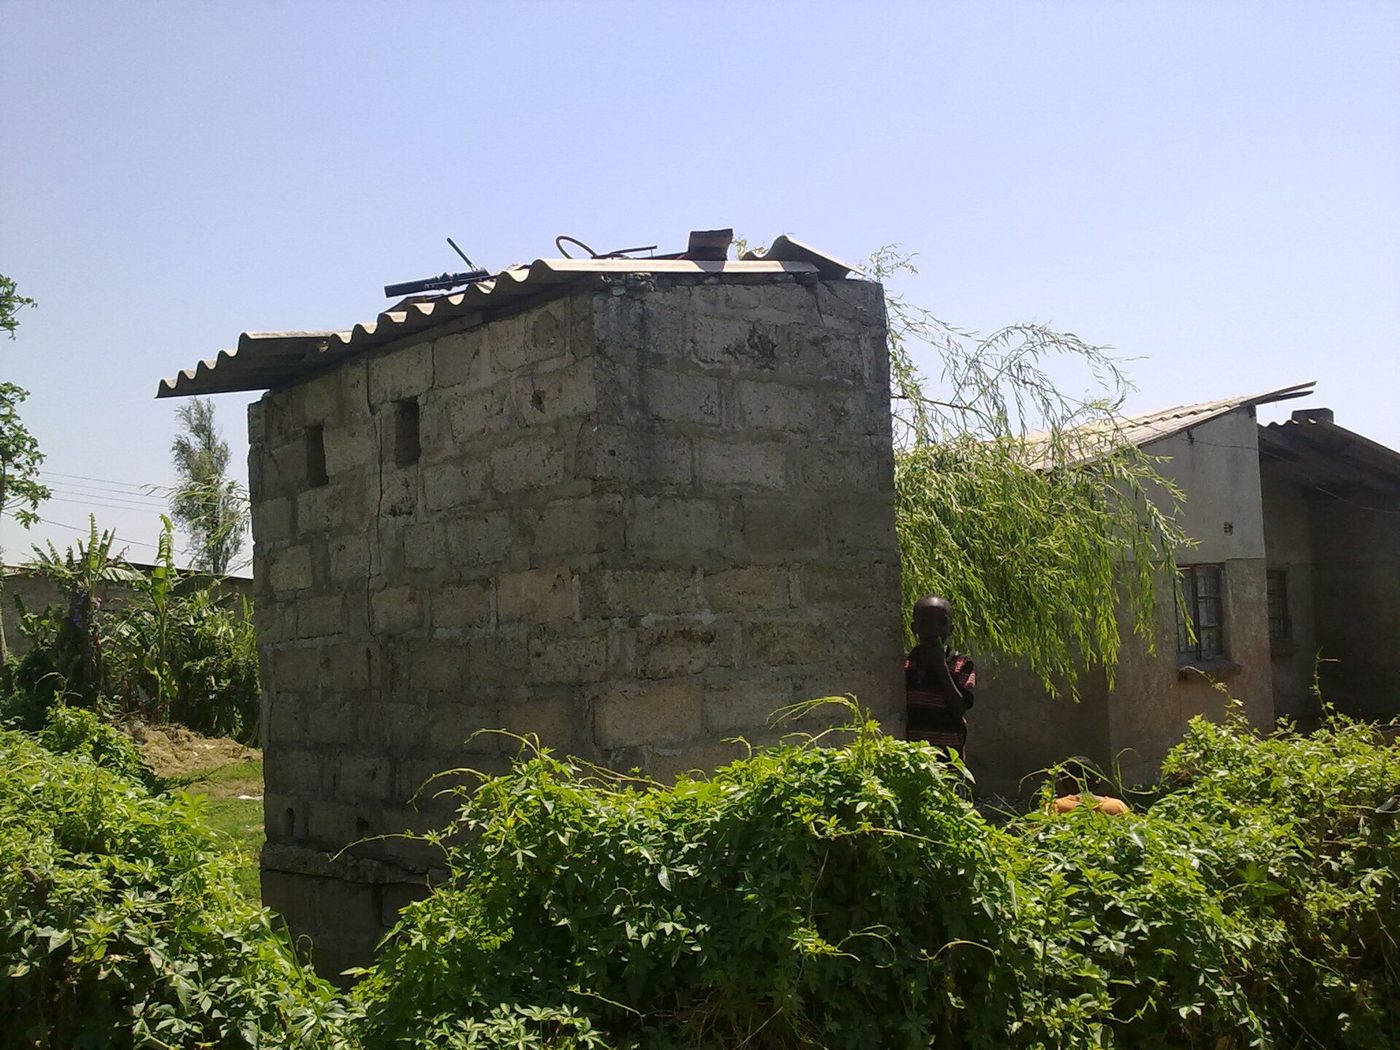
Ventilated Improved Pit Latrine
A lined pit latrine with a dark interior and a screened vent pipe that pulls odour out and traps flies — the standard upgrade from an open pit.
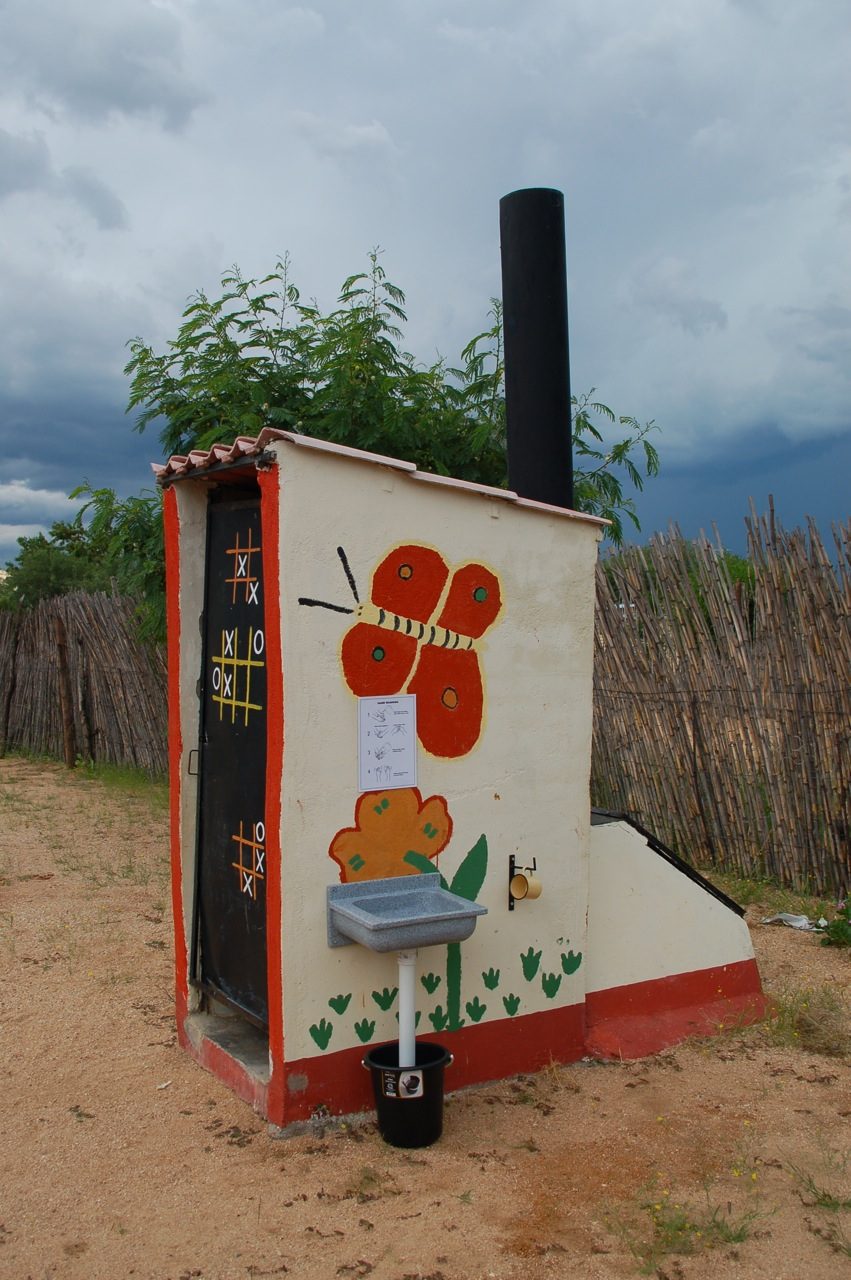
Urine-Diverting Dry Toilet
A twin-vault toilet with a diverting pedestal that keeps urine and faeces separate, so faeces dry out odour-free and both streams become usable fertiliser.