
TLUD Gasifier Stove
A top-lit updraft can stove that burns wood gas cleanly with a blue flame and leaves behind biochar instead of ash — cleaner cooking and a soil amendment from one burn.
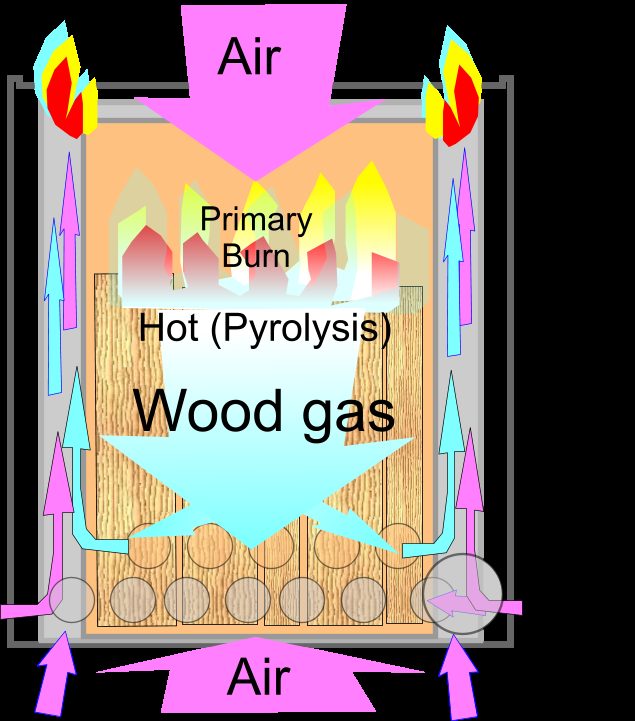
- Estimated cost
- $5 – $25 from scrap tins
- Skill level
- Beginner
- Time
- 3 – 4 hours
Not yet verified
No confirmed build with photo proof has been submitted for this plan yet. Built it? Send photos and it earns the badge.
Tools
- Tin snips
- Drill with 6 – 10 mm bits or a nail and hammer
- Pliers and file
- Marker and measuring tape
- Gloves
If you don't have it
- No two nesting steel tins? A 20 L paint tin inside a 20 kg oil drum works; the inner can needs a ring of 6 mm primary air holes at the base.
Materials
- Inner fuel can, roughly 10 litre, both ends workable
- Outer body can, 20 – 25 litre, larger diameter
- Sheet metal for the concentrator ring and pot stand
- Wire for spacers
- Dry fuel: wood chips, maize cobs, shells, pellets
Dimensions & cut list
A top-lit updraft can stove that cooks a pot and leaves usable biochar. These are the reference sizes from Appropedia / biochar and clean cookstove practitioners — scale them to what you have, but keep the ratios.
| Fuel canister | 150 mm diameter × 300 mm tallHeight to diameter about 2:1 |
|---|---|
| Primary air holes | Ring of 6 mm holes around the base, total area ≈ 3% of the canister cross-section |
| Secondary air holes | Ring of 6 mm holes at the top rim, total area ≈ 2× the primary |
| Concentrator/riser gap | 20 mm between canister and outer can |
| Pot gap above the flame | 25–30 mm |
| Fuel | Dry woodchip, maize cob pieces, nut shell — 10–25 mm, under 15% moisture |
| Burn time | 35–50 min per fill; yields ≈ 20% of fuel weight as char |
Take this list to the yard
- 1 (fuel canister)Paint tin / oil can, 4 litre
- 1 (outer body)20 litre tin
- 3 litresWood ash or vermiculite for the annulusInsulation, not filler — keeps the gas hot enough to burn
- 3 piecesPot support cut from strap steel
Step by step
Step 1 of 6
Drill the primary air holes
Ring the base of the inner can with 6 mm holes — about 20 of them. This limited primary air is what makes it gasify rather than simply burn.
Swipe or use arrow keys
1. Drill the primary air holes
Ring the base of the inner can with 6 mm holes — about 20 of them. This limited primary air is what makes it gasify rather than simply burn.
2. Drill the secondary air ring
Ring the top of the inner can with 8 – 10 mm holes just below the rim. The gas from below meets this preheated jet air and burns as a clean blue flame.
3. Build the outer body and air gap
Sit the inner can inside the outer can on wire spacers with a 15 – 20 mm annulus. Drill matching intake holes at the base of the outer can.
4. Add a concentrator and pot stand
A tapered ring at the top squeezes the flame under the pot; the stand must hold the pot 25 – 40 mm above the rim or the flame is quenched and smokes.
5. Load and top-light
Fill the inner can with dry fuel to just below the secondary holes, then light from the top with a little oil-soaked paper. The burn front travels downward.
6. Quench for biochar
When the blue flame dies, dump the glowing char into a metal bucket and cover, or quench with water. Crush and charge it with compost or urine before adding to soil.
Why mine failed
The ways this build usually goes wrong, and what fixes it.
Heavy smoke instead of a clean blue flame
CauseDamp fuel, or too little secondary air
FixFuel must be under 15% moisture — snap-dry, not just air-dry. Then open up the top ring of holes; the gas needs air above the fuel to burn.
Burns out in 15 minutes
CauseToo much primary air, or fuel pieces too small
FixReduce the base hole area and use 10–25 mm pieces. A TLUD is meant to burn slowly downwards, not roar.
Char burns to ash instead of staying as biochar
CauseLeft burning after the flame drops
FixAs soon as the flame collapses, tip the char into a lidded tin or quench it with a splash of water. Ash means you lost the char.
Safety notes
- Cook outdoors or under a well-ventilated shelter — the first minutes of any TLUD burn produce carbon monoxide.
- Never refuel mid-burn. Let it finish, quench, then reload.
- The whole body gets extremely hot; fit wire handles and keep small children away.
- Do not use painted, galvanised or coated tins — the coatings release toxic fumes at these temperatures.
Source & attribution
This plan is our build-step write-up of work documented by Appropedia / biochar and clean cookstove practitioners. The original design and documentation belong to them — go read the source before you build.
Top-lit updraft gasifierLocal adaptations
What builders changed to make this work where they live.
- No adaptations shared yet for this plan.
Build this alongside
Plans that use the same materials or serve the same need.
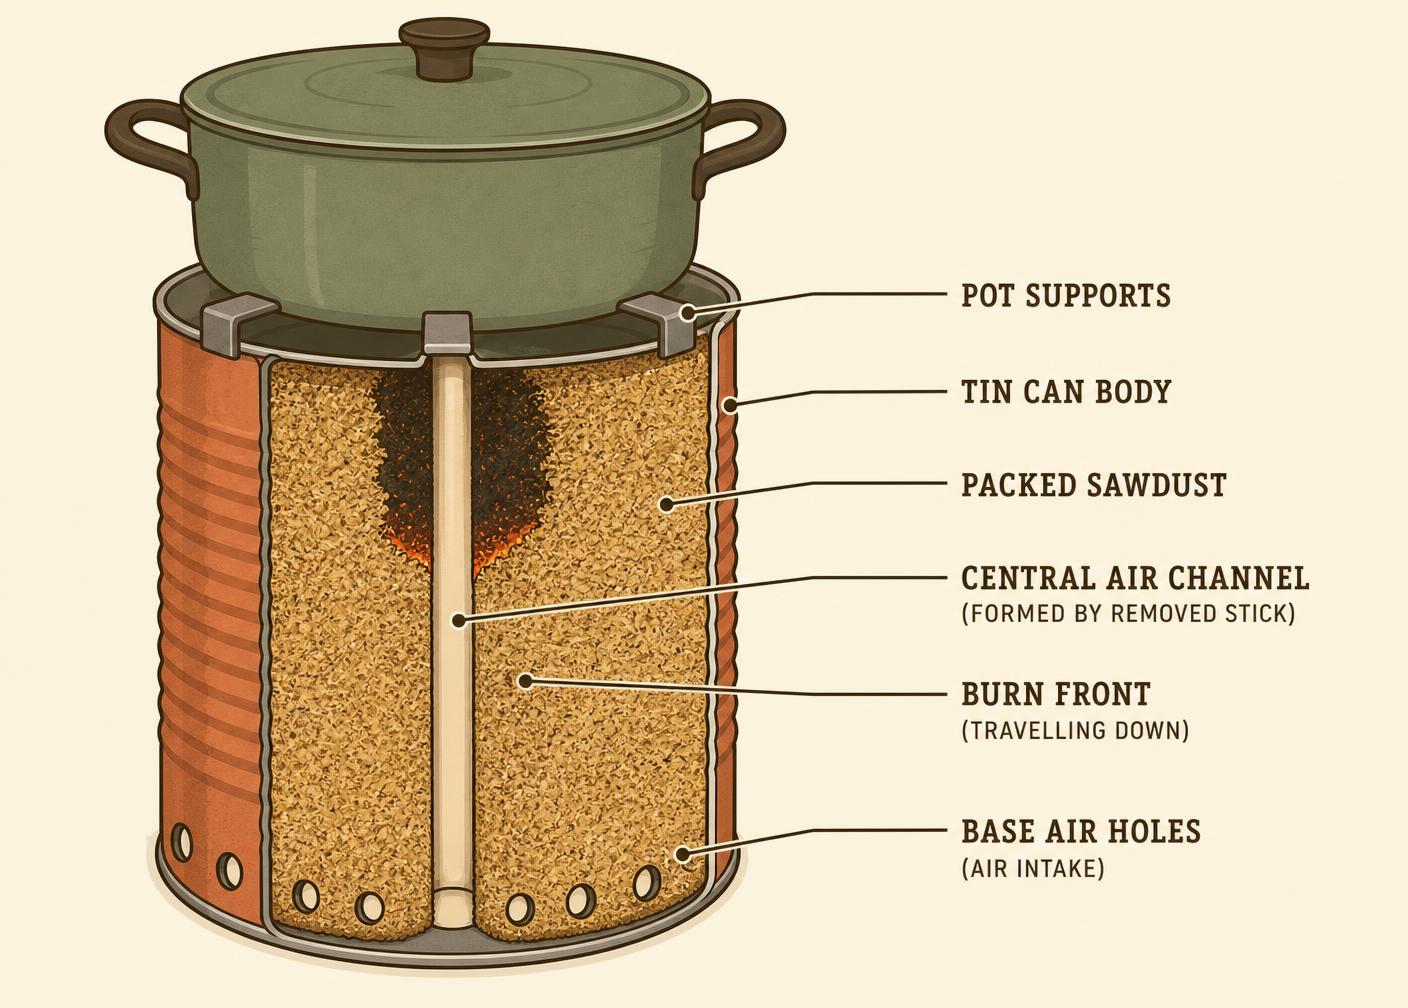 Diagram
Packed Sawdust Tin Stove
Pack damp sawdust hard around a stick in a tin, pull the stick out, and light a stove that burns for an hour on waste from the timber yard.
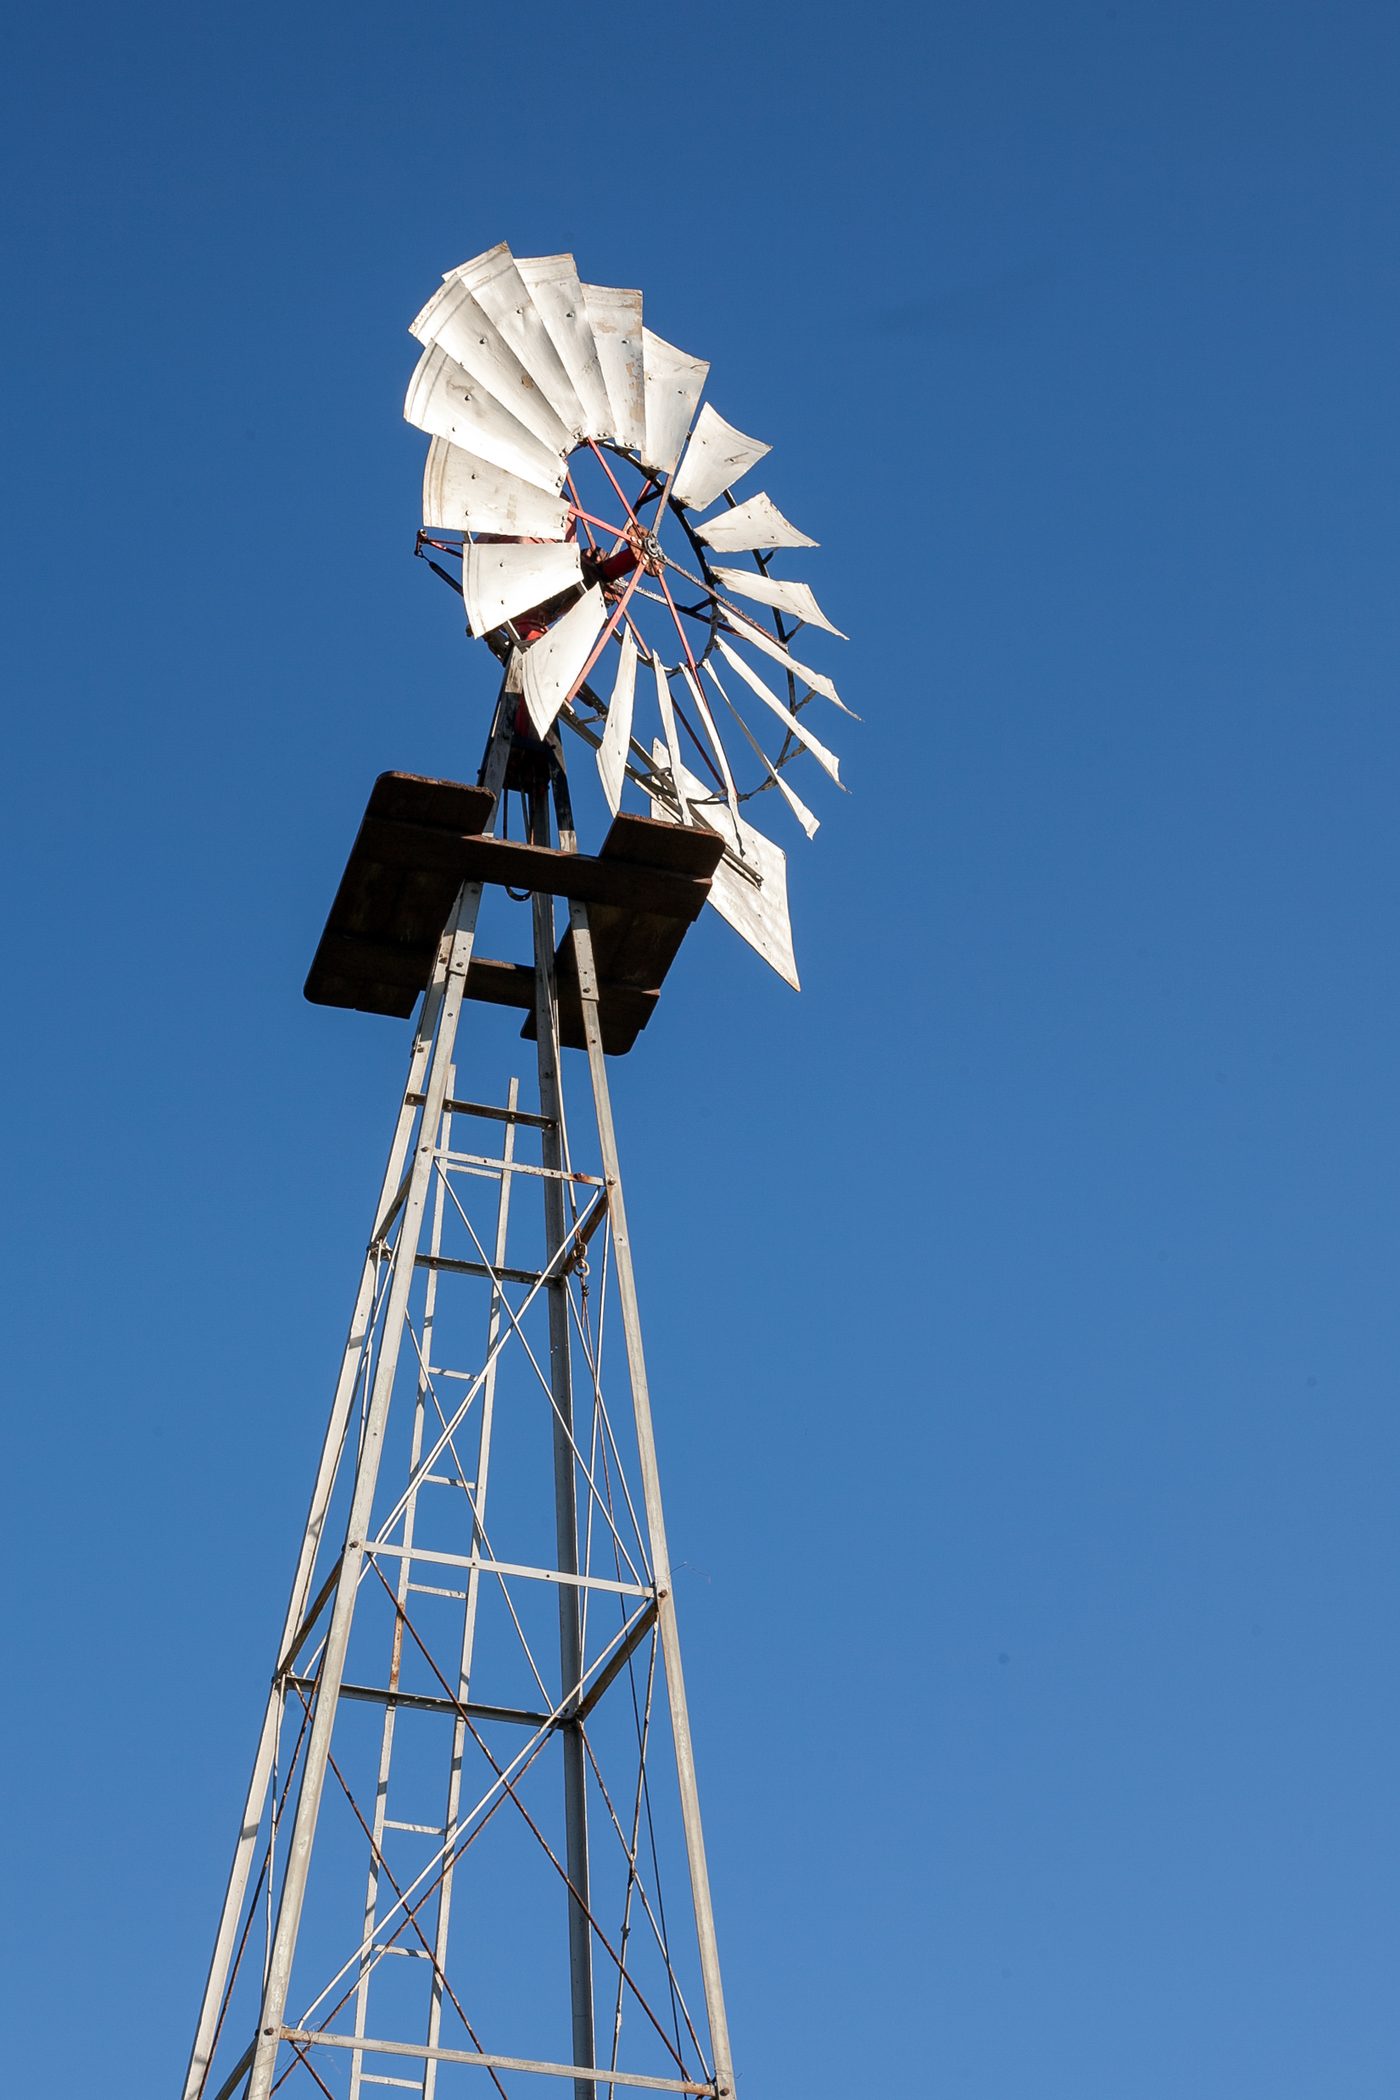
Windmill Water Pump
A multi-blade rotor on a guyed tower driving a piston pump down a shallow well — steady stock and irrigation water anywhere the wind blows most days.
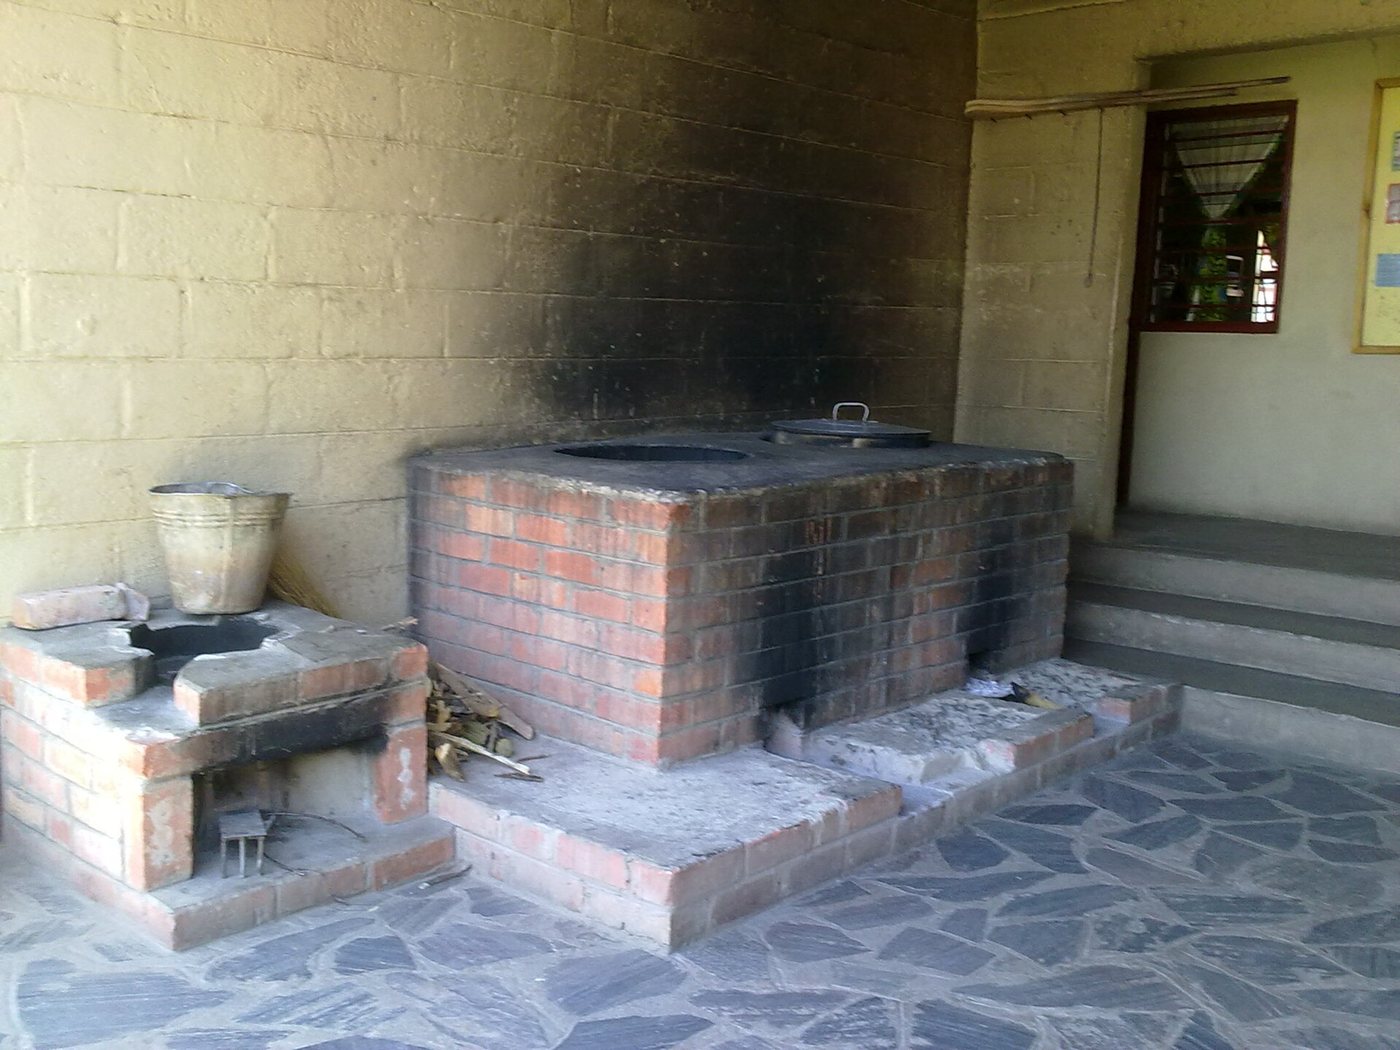
Insulated Brick Rocket Stove
A J-shaped combustion chamber that burns small sticks hot and nearly smoke-free, cutting cooking fuel by half or more.