
Packed Sawdust Tin Stove
Pack damp sawdust hard around a stick in a tin, pull the stick out, and light a stove that burns for an hour on waste from the timber yard.
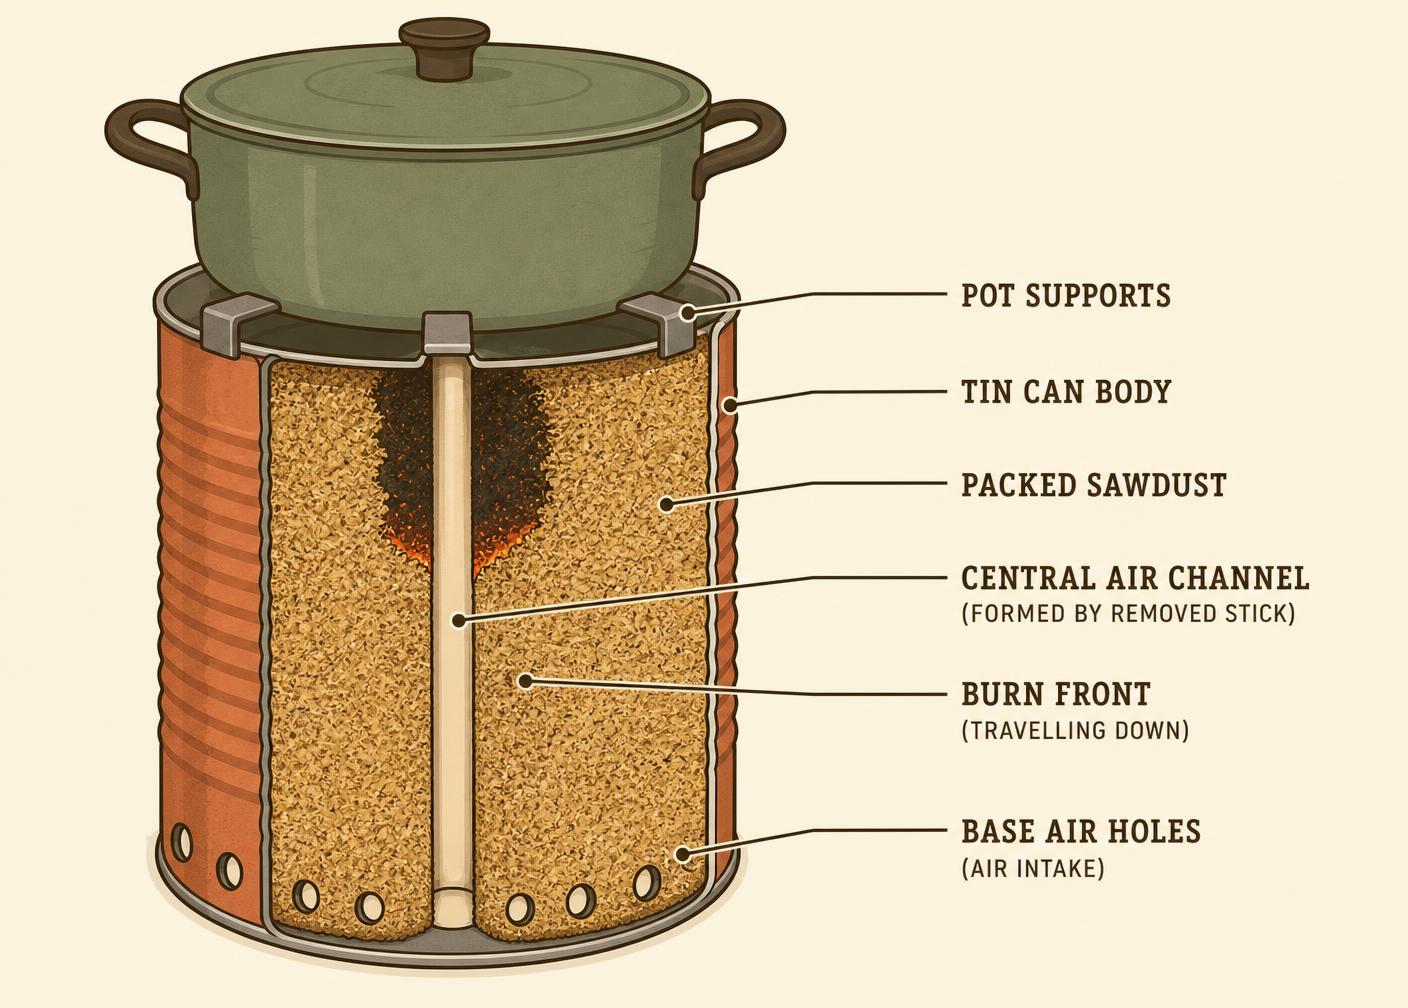
- Estimated cost
- Under $5 for a tin and a tamping stick
- Skill level
- Beginner
- Time
- 30 minutes
Not yet verified
No confirmed build with photo proof has been submitted for this plan yet. Built it? Send photos and it earns the badge.
Tools
- Tin snips or old chisel
- Hammer
- Nail
- Tamping stick
If you don't have it
- No sawdust? Dry crushed groundnut shell, coffee husk or fine crop residue packs and burns the same way.
Materials
Dimensions & cut list
One packed sawdust tin stove giving 1.5–2 hours of unattended cooking. These are the reference sizes from Appropedia — scale them to what you have, but keep the ratios.
| Body | 20 litre tin, roughly 300 mm diameter |
|---|---|
| Central air channel | 50 mm, formed with a removable pipe up the middle |
| Air inlet | 50 × 50 mm hole cut at the base, aligned with the channel |
| Packing | Sawdust rammed hard in 50 mm layers until the tin rings solid |
| Pot rest | Three tabs 25 mm above the rim, so smoke escapes |
Take this list to the yard
- 1Metal tin, 20 litre
- 1Pipe or straight stick for the former, 50 mm
- ≈ 15 litresDry sawdust
- 1 mWire for the pot rest
Step by step
Step 1 of 6
Prepare a clean tin
Burn out any paint or oil residue in an open fire outdoors before the first use, then punch a 50 mm air hole low in the side wall.
Swipe or use arrow keys
1. Prepare a clean tin
Burn out any paint or oil residue in an open fire outdoors before the first use, then punch a 50 mm air hole low in the side wall.
2. Set the centre stick
Stand the big stick upright in the middle of the tin, with the small stick lying from the side hole to the base of the centre stick.
3. Pack the sawdust hard
Add slightly damp sawdust in handfuls and tamp each layer really hard. Loose packing burns out in minutes; hard packing is what gives the long slow burn.
4. Withdraw the sticks
Twist and pull out the side stick, then the centre stick, leaving a clean vertical chimney meeting a side air channel.
5. Light from the top of the chimney
Drop a burning taper down the centre hole. The fire burns inward from the chimney wall, drawing air through the side hole.
6. Cook on wire supports
Set three wire loops or a metal ring on top so the pot sits above the flame with a gap for exhaust. Expect 45 – 90 minutes of steady heat from one packing.
Safety notes
- Use outdoors or in a well-ventilated space — this stove produces carbon monoxide.
- The tin gets red hot; set it on stones or bare earth, never on a table or a mud floor mat.
- Never use tins that held fuel, pesticide or paint without burning them out first.
- Do not douse a burning tin with water indoors — steam and ash blow back.
Source & attribution
This plan is our build-step write-up of work documented by Appropedia. The original design and documentation belong to them — go read the source before you build.
Sawdust stoveLocal adaptations
What builders changed to make this work where they live.
- No adaptations shared yet for this plan.
Build this alongside
Plans that use the same materials or serve the same need.
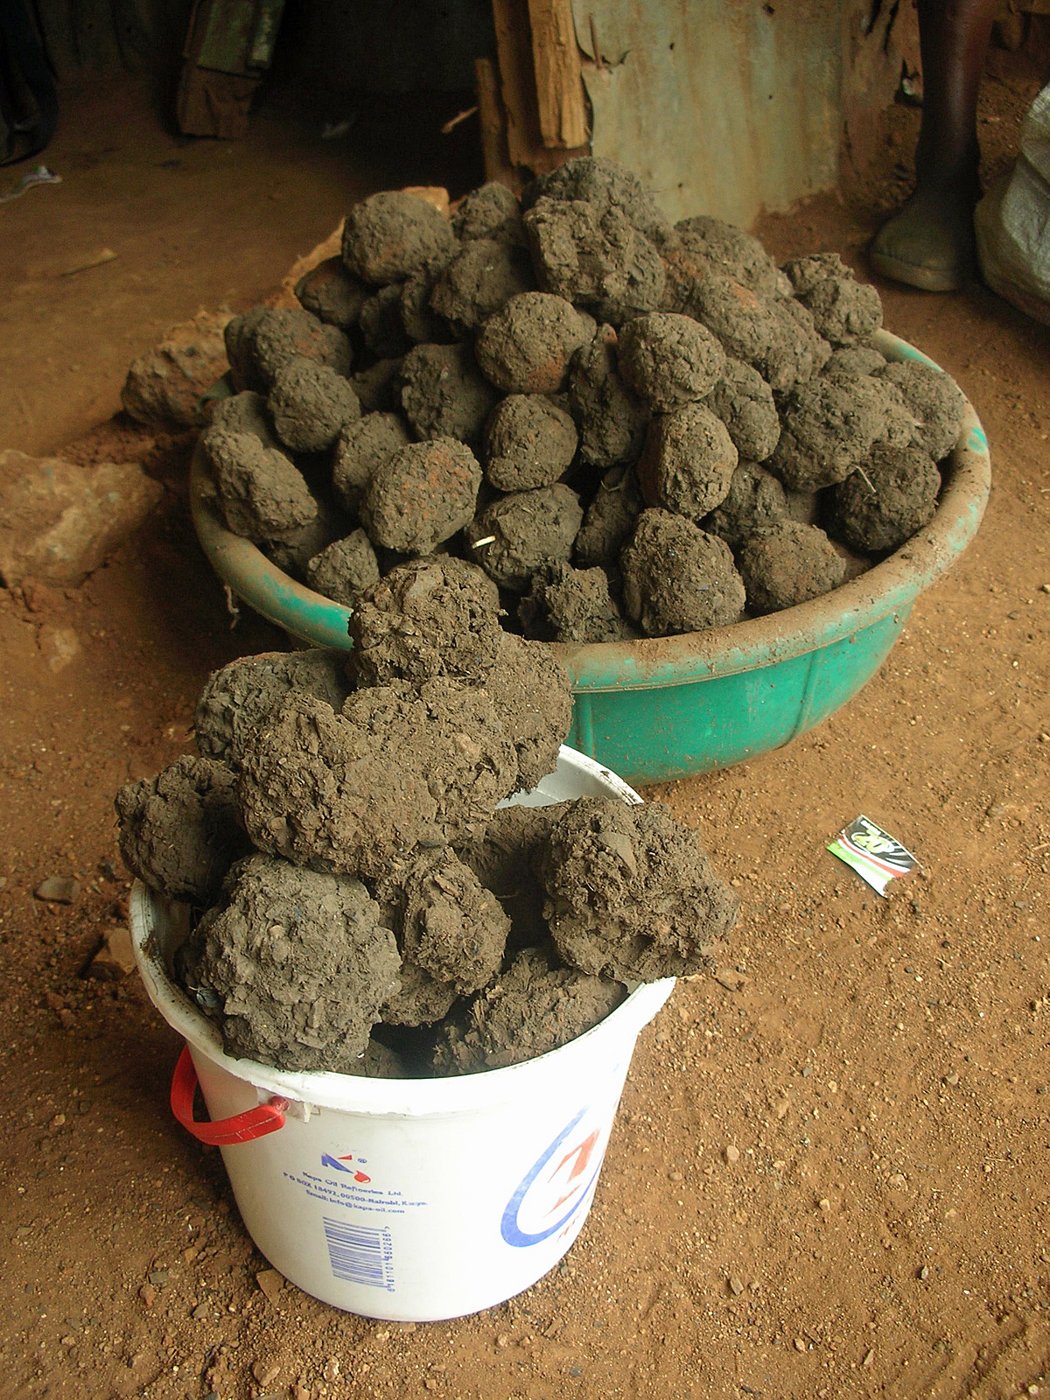
Waste Paper & Leaf Briquettes
The simplest fuel in the library: soak waste paper and dry leaves, press by hand in a perforated tin, dry hard, and burn what would have been rubbish.
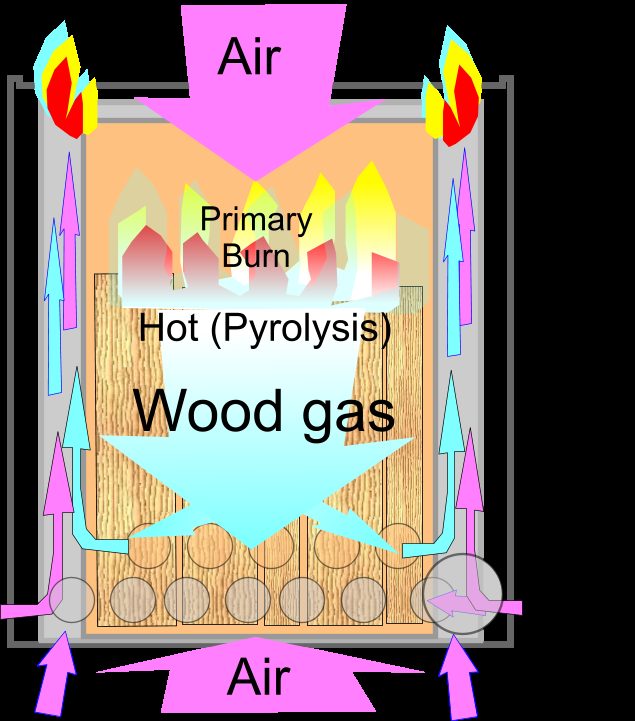
TLUD Gasifier Stove
A top-lit updraft can stove that burns wood gas cleanly with a blue flame and leaves behind biochar instead of ash — cleaner cooking and a soil amendment from one burn.
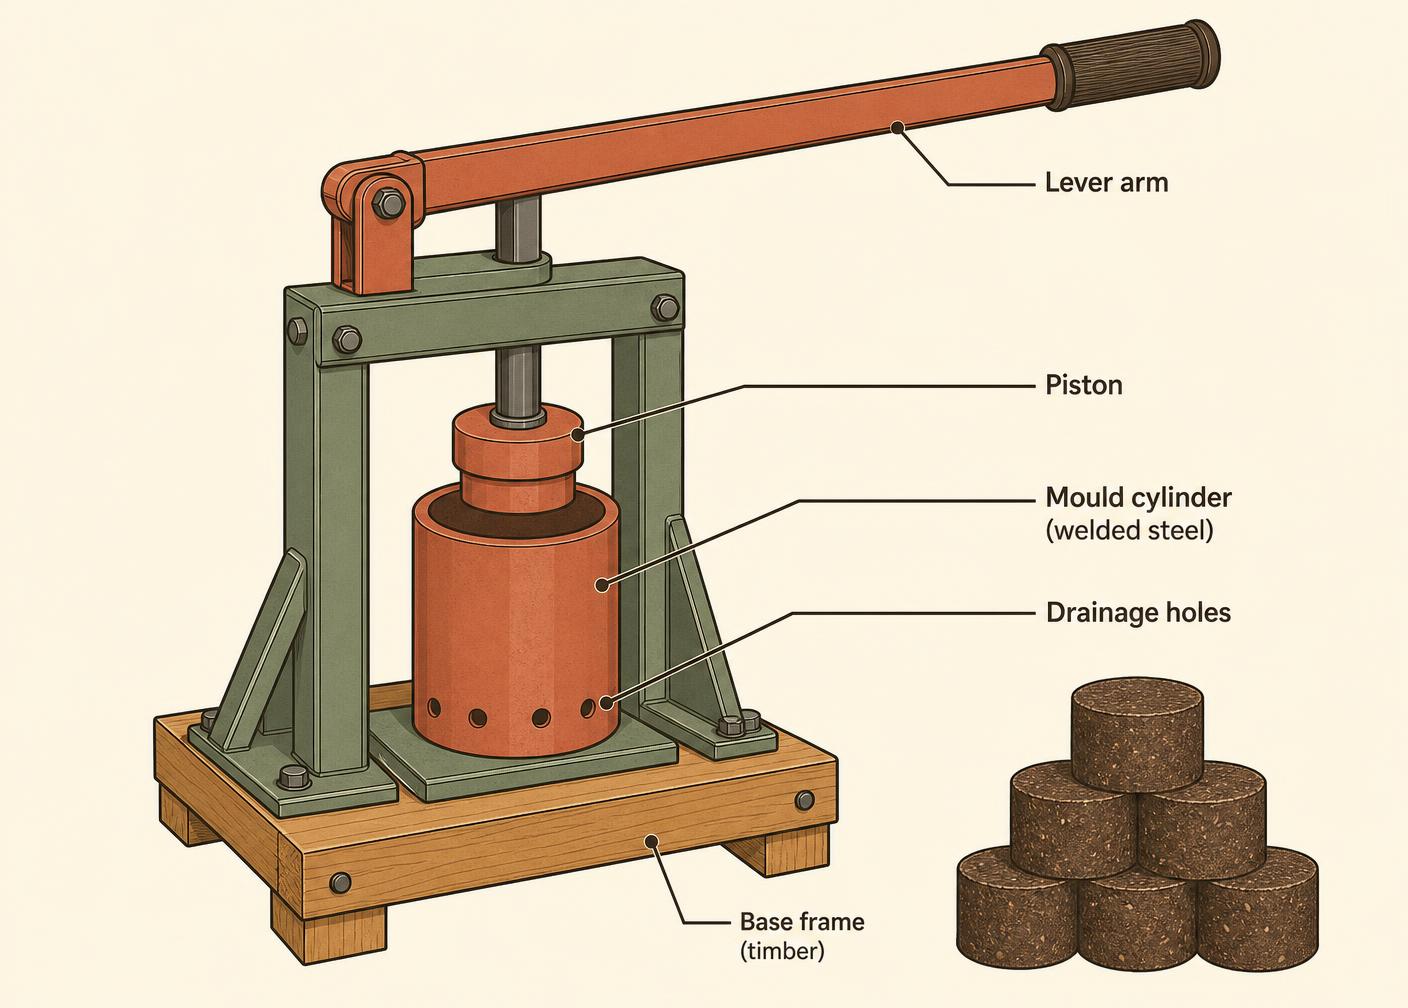 Diagram
Lee Hite Eco-Briquette Lever Press
The EWB-documented lever press that squeezes soaked waste paper and biomass into dense fuel briquettes — the design with real numbers behind it.