
Beeswax Candle Making
Render comb wax from your top-bar hives and dip or mould clean-burning candles — a high-margin product from what most beekeepers throw away.
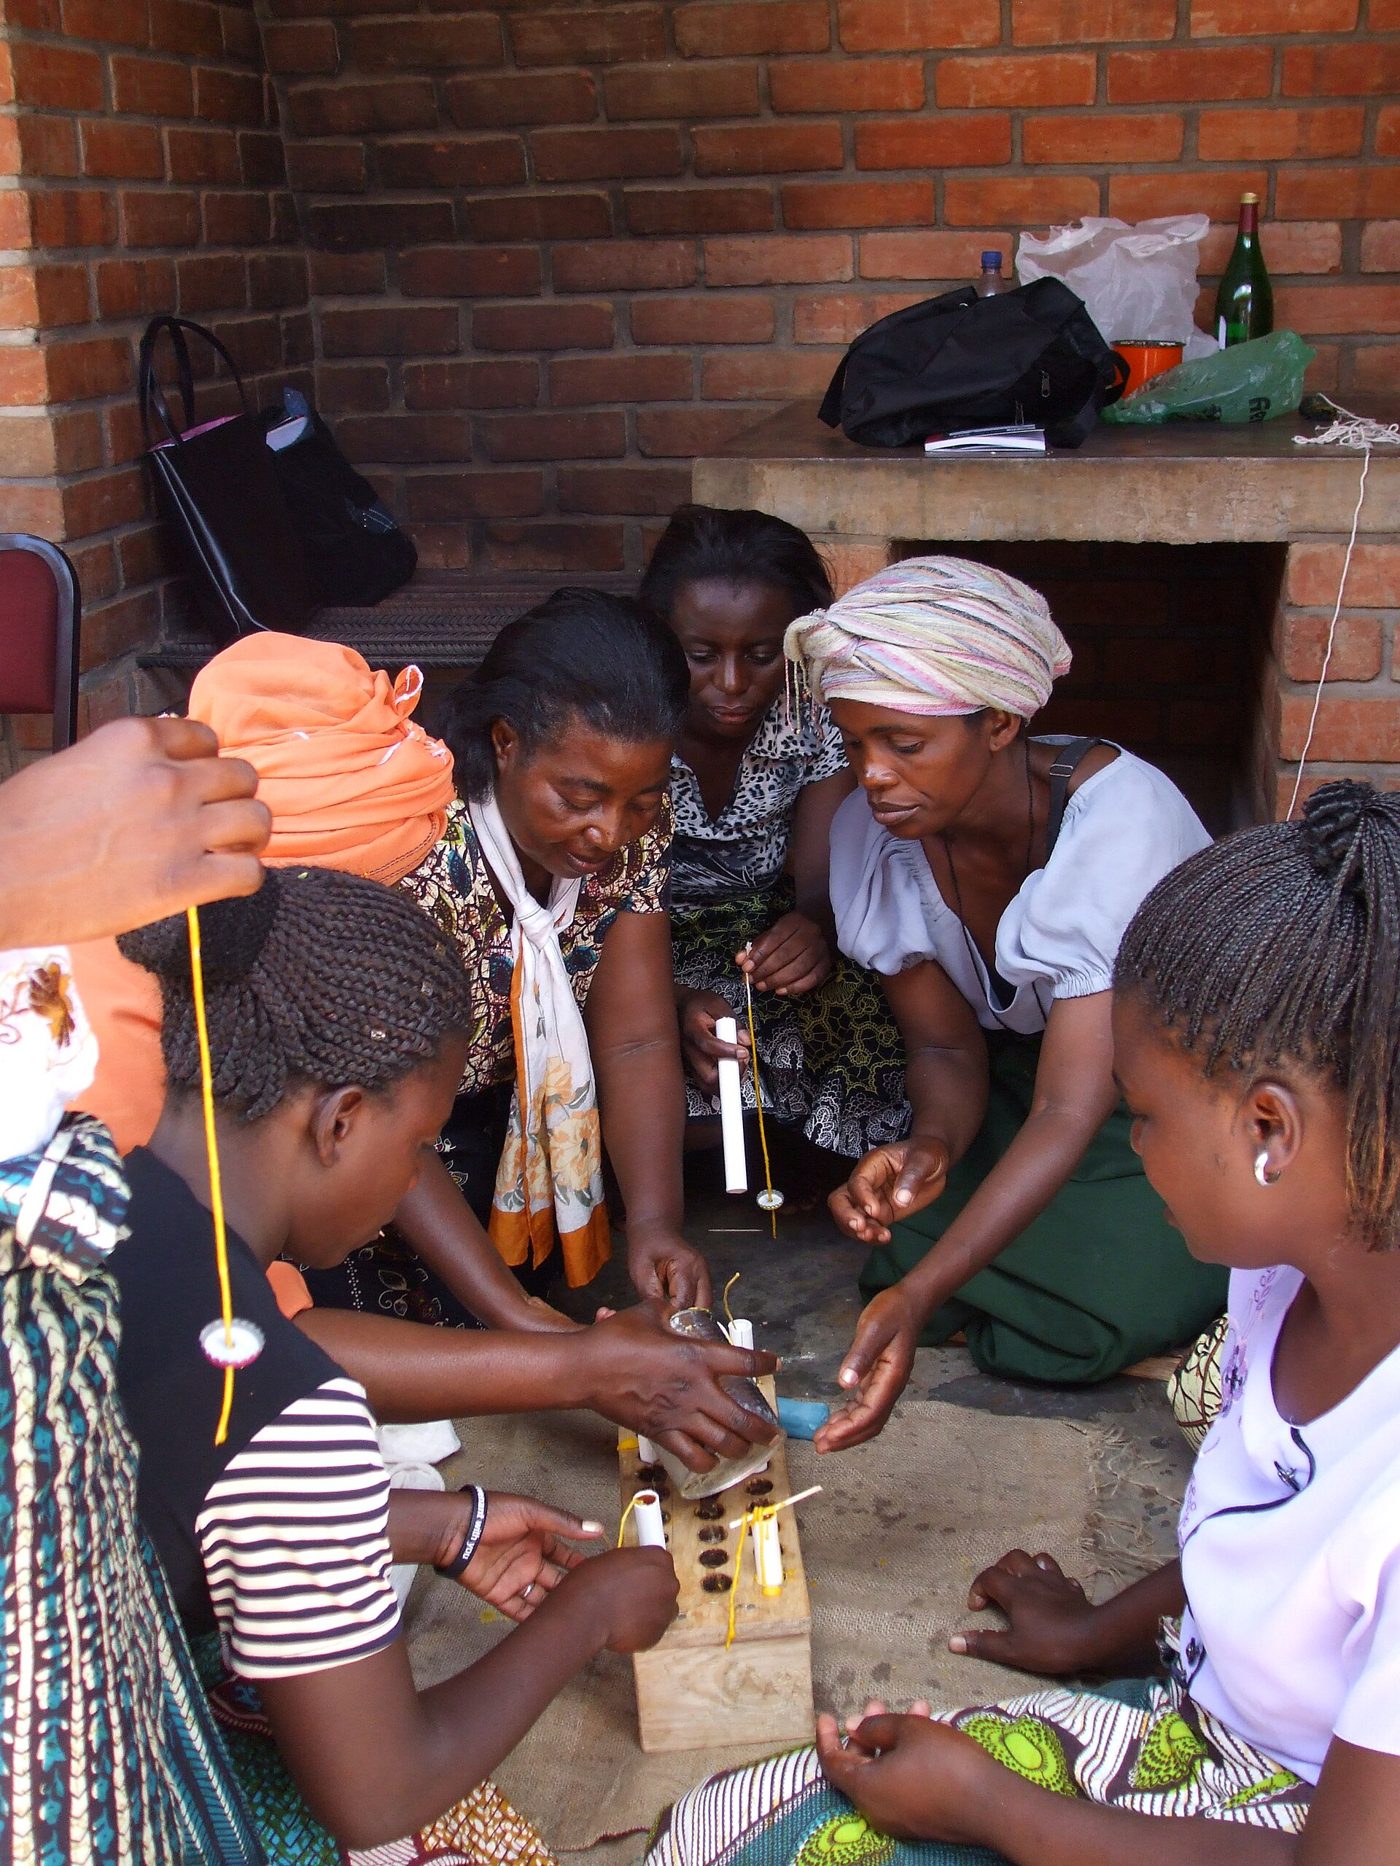
- Estimated cost
- $10 – $40 for pots, wick and moulds
- Skill level
- Beginner
- Time
- 1 day per batch
Not yet verified
No confirmed build with photo proof has been submitted for this plan yet. Built it? Send photos and it earns the badge.
Tools
- Double boiler or a pot within a pot
- Straining cloth
- Moulds or a dipping frame
- Thermometer
- Scissors
Short a tool or material? Builders below have often swapped something local in — read Local adaptations before you buy anything.
Materials
- Cappings and old comb from your hives
- Cotton wick, sized to the candle diameter
- Moulds — tins, bamboo sections or purpose-made metal moulds
- Water for the rendering bath
- Release agent such as a light soap wash for the moulds
Dimensions & cut list
A small enterprise batch: 40 dipped or moulded beeswax candles from 2 kg of rendered wax. These are the reference sizes from Appropedia — scale them to what you have, but keep the ratios.
| Rendering temperature | 65–70 °C in a water bathDirect heat above 85 °C darkens and scorches the wax |
|---|---|
| Pouring temperature | 70 °C |
| Candle diameter | 20 mm taper or 40 mm pillar |
| Wick size | Square braid #2 for 20 mm, #6 for 40 mmBeeswax needs a wick one size up from paraffin |
| Wax per 20 mm candle | ≈ 45 g |
| Cooling time in mould | 45–60 minutes |
| Cure before sale | 48 hours |
Take this list to the yard
- 2 kgRendered filtered beeswax
- 1Double-boiler pot set
- 20 mCotton square-braid wick
- 10Moulds (metal pipe or silicone)
- 1Cooking thermometerThe single most important tool for consistent candles
- 2 mFilter cloth for straining
Step by step
Step 1 of 6
Render the comb in water
Melt comb in water in a double boiler, never over direct flame. The wax floats and the debris sinks; let it cool and lift off the clean cake.
Swipe or use arrow keys
1. Render the comb in water
Melt comb in water in a double boiler, never over direct flame. The wax floats and the debris sinks; let it cool and lift off the clean cake.
2. Strain twice
Re-melt and strain through cloth at least twice. Grit in the wax makes a candle that spits and tunnels.
3. Match wick to diameter
Beeswax needs a thicker wick than paraffin. Too thin and it drowns; too thick and it smokes. Test one candle before pouring a full batch.
4. Pour or dip at the right temperature
Pour moulds at around 70 °C. For dipped candles, hold the wax near 65 °C and dip repeatedly with a cooling pause between each — thin coats build a straight candle.
5. Cool slowly and top up
Cool moulds out of draughts. A well forms around the wick as wax shrinks; top it up with a second pour once the surface has skinned.
6. Cure, trim and pack
Cure a few days before selling, trim the wick to 6 mm, and pack out of sunlight. Sell on the honey scent — that is the whole advantage over paraffin.
Why mine failed
The ways this build usually goes wrong, and what fixes it.
Candle drowns its own flame
CauseWick too small for beeswax
FixGo one or two wick sizes up from a paraffin recipe. Beeswax is dense and needs a bigger flame to keep its own pool of melt.
Candles crack or sink in the middle
CausePoured too hot, or cooled too fast
FixPour at about 70 °C, cool slowly at room temperature, and top up the sink hole with a second small pour once a skin has formed.
Wax is dark and smells scorched
CauseRendered over direct heat
FixAlways use a water bath and keep the wax below 70 °C. Strain through cloth to lift out the propolis and slumgum.
Candles stick in the moulds
CauseNo release and cold moulds
FixWarm the mould before pouring and wipe with a trace of soapy water or oil. Chilling the mould briefly after setting also helps release.
Safety notes
- Wax is flammable: never melt over direct flame and never leave it unattended.
- A wax fire is an oil fire — smother it, never throw water on it.
- Keep a lid nearby to smother the pot, and work well away from children.
- Molten wax causes serious burns; wear covered shoes and long sleeves.
Source & attribution
This plan is our build-step write-up of work documented by Appropedia. The original design and documentation belong to them — go read the source before you build.
Beeswax processing and candlesLocal adaptations
What builders changed to make this work where they live.
- No adaptations shared yet for this plan.
Build this alongside
Plans that use the same materials or serve the same need.
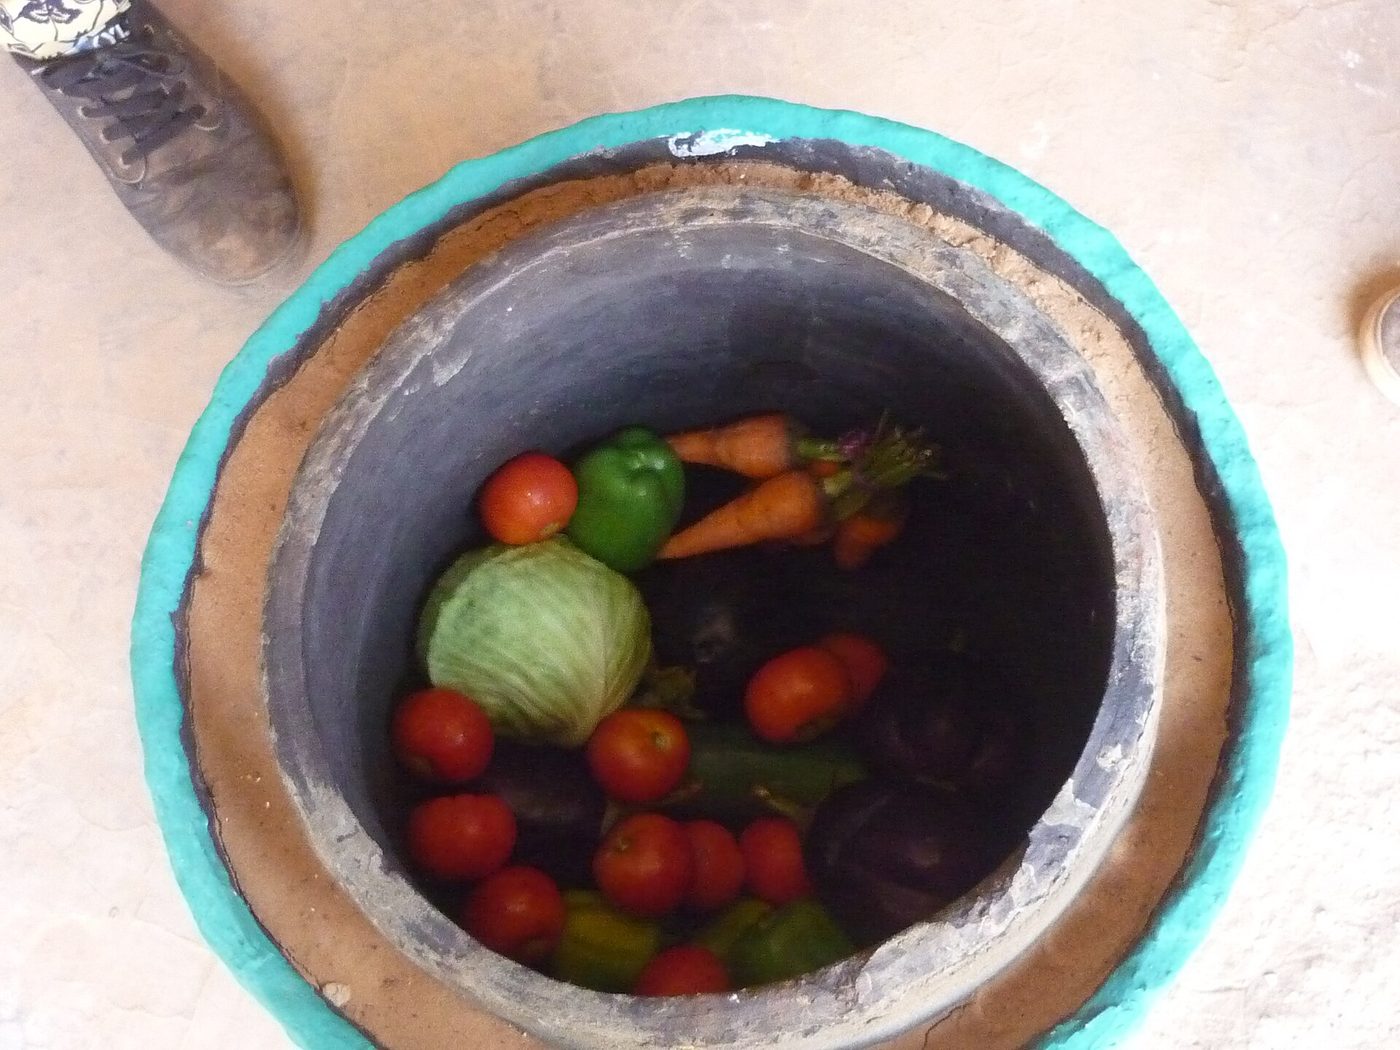
Zeer Pot-in-Pot Evaporative Cooler
Two clay pots with wet sand between them, dropping the inner temperature by 10 – 15 °C and keeping vegetables saleable for days instead of hours.
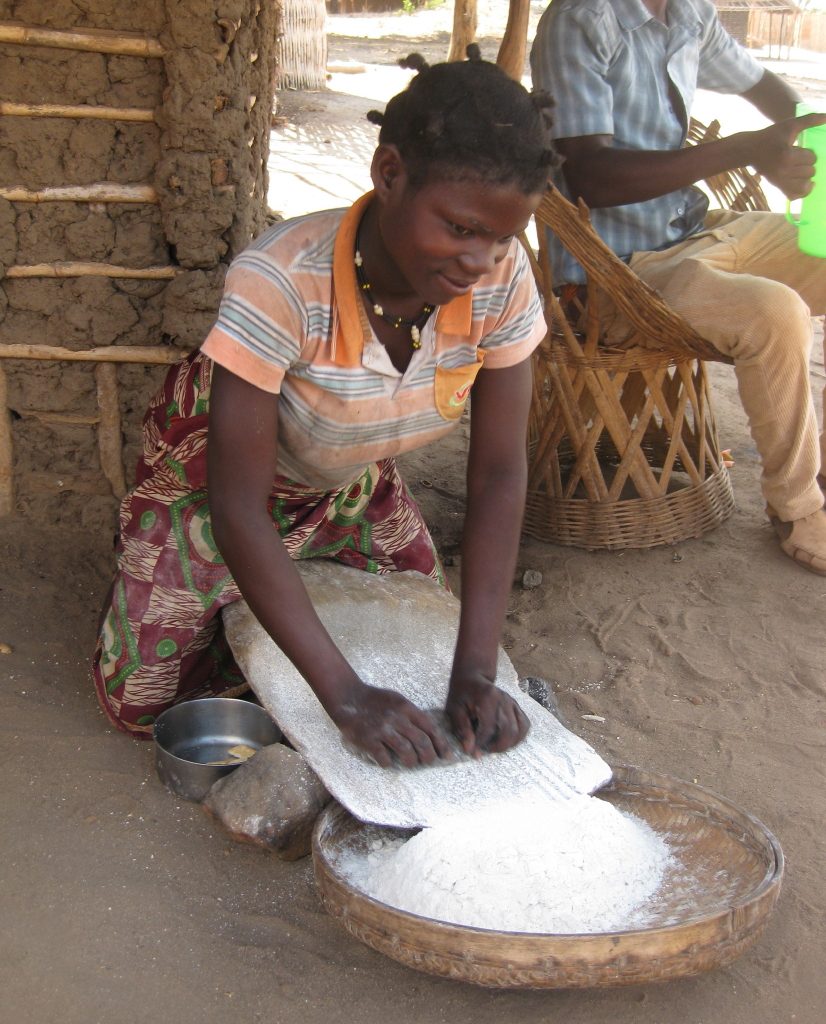
Hand Grain Mill Station
Set a plate or stone mill on a solid waist-high bench with a good hopper and catch tray, and turn grinding from a back-breaking chore into a steady twenty-minute job.
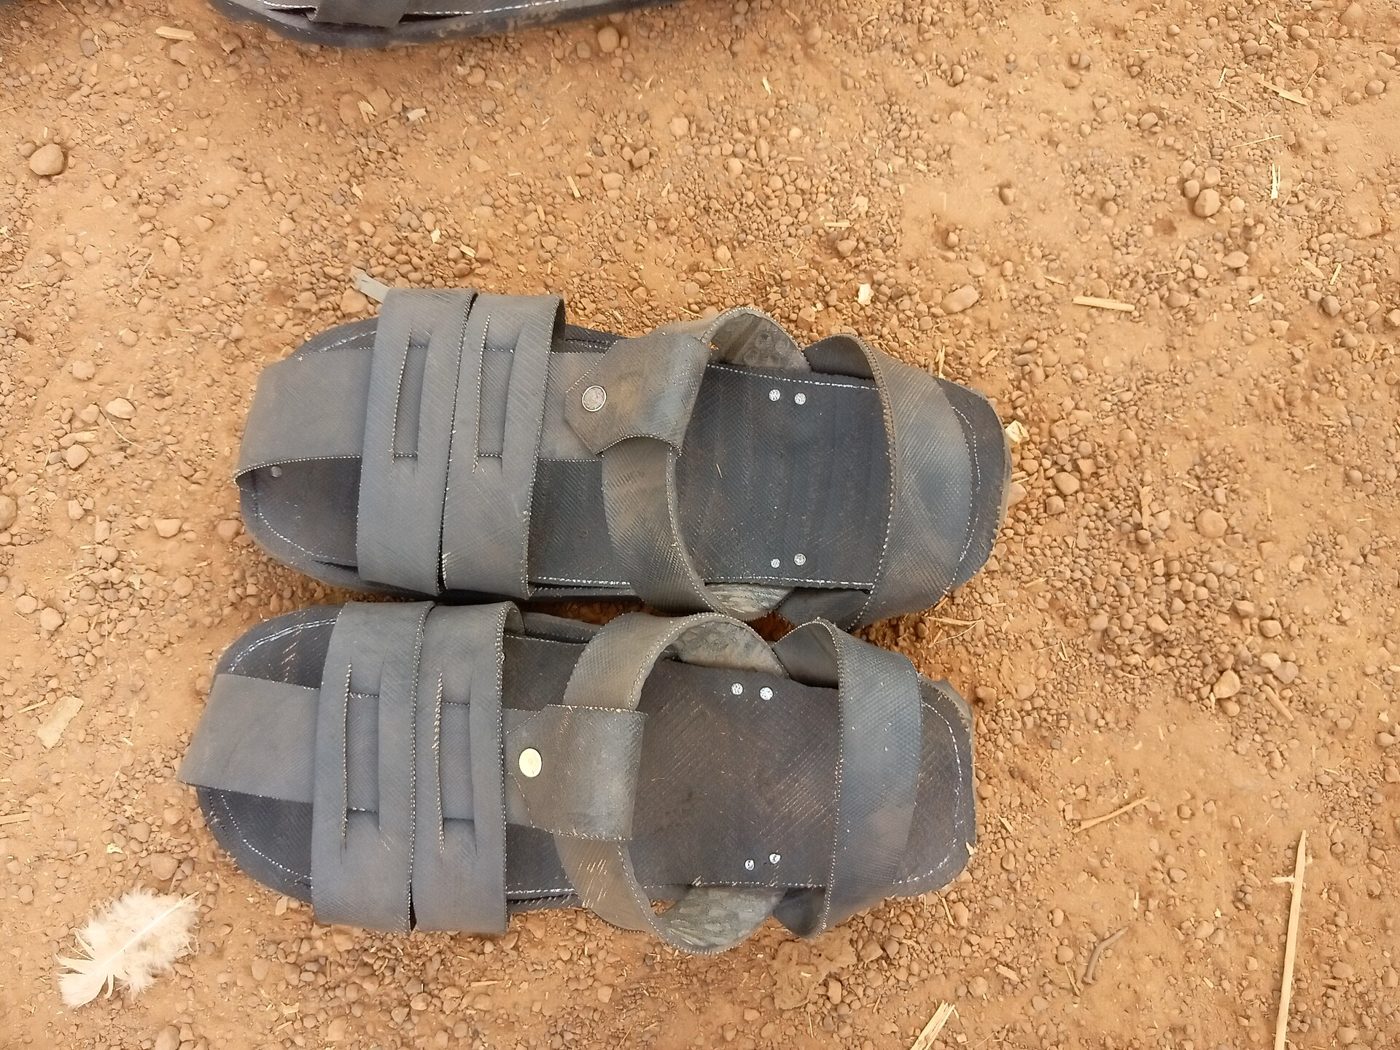
Recycled Tyre Sandal Workshop
Cut soles from worn car tyres and strap them with inner tube or leather — a sandal that outlasts anything in the market, made from waste.