
Hand Grain Mill Station
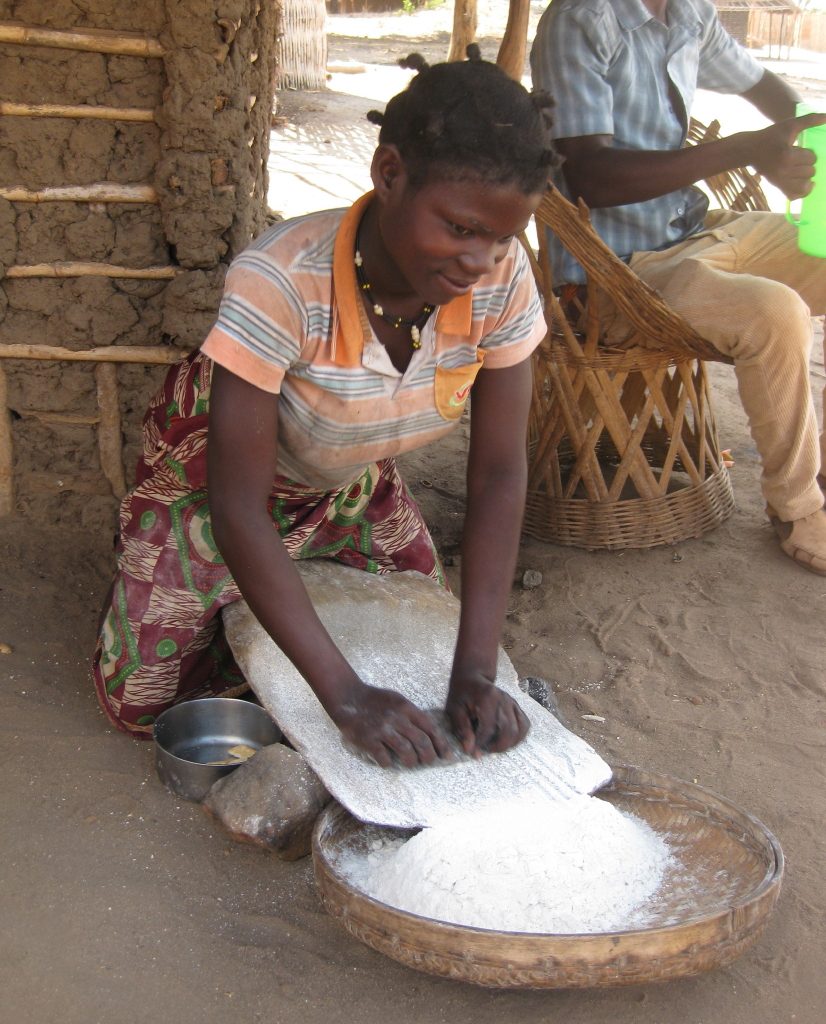
Set a plate or stone mill on a solid waist-high bench with a good hopper and catch tray, and turn grinding from a back-breaking chore into a steady twenty-minute job.
- Estimated cost
- $40 – $150 including a plate mill
- Skill level
- Beginner
- Time
- 1 day to build the station
Not yet verified
No confirmed build with photo proof has been submitted for this plan yet. Built it? Send photos and it earns the badge.
Tools
- Saw
- Drill
- Spanners
- Chisel
- Level
If you don't have it
- No cast burr plates? Dressed granite or basalt discs, re-grooved with a chisel as they wear, are the traditional and repairable option.
Materials
- Cast-iron plate mill or a dressed stone quern
- Hardwood or steel bench, braced and anchored
- Sheet-metal hopper and chute
- Food-grade catch bin and flour sieves
- Long crank handle or a heavy flywheel
Dimensions & cut list
A burr-plate hand mill clamped to a bench, grinding 3–5 kg of dry grain an hour. These are the reference sizes from Appropedia / Practical Action food processing briefs — scale them to what you have, but keep the ratios.
| Burr plate diameter | 150 mm |
|---|---|
| Grinding gap adjustment | 0–2 mm via a threaded hand wheel |
| Hopper capacity | 3 litres |
| Crank radius | 200 mmLonger crank = less effort, but keep the flywheel to smooth the stroke |
| Flywheel | 250 mm diameter, 4–6 kg |
| Bench clamp opening | 50 mm |
Take this list to the yard
- 1 pairCast-iron or hardened steel burr setThe one part worth buying rather than fabricating
- 116 mm feed screw / auger shaft
- 1Housing casting or welded steel tube
- 1Flywheel (salvaged pulley or cast disc)
- 1Crank handle with wooden grip
Step by step
Step 1 of 6
Build a bench that does not move
Bolt or peg the frame and anchor it to the floor or wall. Every bit of bench flex is effort you waste instead of grinding.
Swipe or use arrow keys
1. Build a bench that does not move
Bolt or peg the frame and anchor it to the floor or wall. Every bit of bench flex is effort you waste instead of grinding.
2. Set the mill at working height
Put the crank at about hip height so the operator uses body weight, not shoulders. This one detail decides whether people use the mill.
3. Fit hopper, chute and tray
A deep hopper feeds evenly and keeps hands away from the plates. Run the chute into a covered food-grade bin.
4. Dress and set the plates
Clean the burrs and adjust the plate gap. Grind coarse first, then re-run finer — one pass at a tight setting stalls the mill and wears the plates.
5. Clean grain before milling
Winnow and remove stones. A single stone chips the plates and ruins the flour.
6. Sieve and store
Sieve the flour, return the bran for a second pass or animal feed, and store flour cool, dry and sealed.
Why mine failed
The ways this build usually goes wrong, and what fixes it.
Flour comes out coarse no matter how tight the gap
CauseWorn burrs, or grain too oily/damp for a single pass
FixMill in two passes — coarse then fine — and re-dress or replace the burrs. Dry the grain in the sun for a day first; damp grain smears rather than shatters.
Grinding takes brutal effort
CauseGap closed too far and no flywheel
FixOpen the gap and take two passes. Add a 4–6 kg flywheel and a longer crank handle: the same flour with half the felt effort.
Mill rocks off the bench under load
CauseClamp alone cannot take the torque
FixBolt the mill to a dedicated hardwood block and bolt or weight that block to the bench. Standing height at the crank should be about hip level.
Safety notes
- Never clear the hopper or plates with fingers while the crank turns; stop and use a stick.
- Grind only dry grain — damp grain packs the plates and can force the mill off the bench.
- Wear a dust mask on long milling sessions; flour dust irritates lungs.
- Remove mouldy grain before milling; aflatoxin passes straight through into the flour.
Source & attribution
This plan is our build-step write-up of work documented by Appropedia / Practical Action food processing briefs. The original design and documentation belong to them — go read the source before you build.
Grain millingLocal adaptations
What builders changed to make this work where they live.
Field note · Northern Mozambique
Households add a heavy flywheel from a scrap vehicle brake disc, which carries the mill through hard grains with far less effort.
Build this alongside
Plans that use the same materials or serve the same need.
Bicycle Cargo Trailer
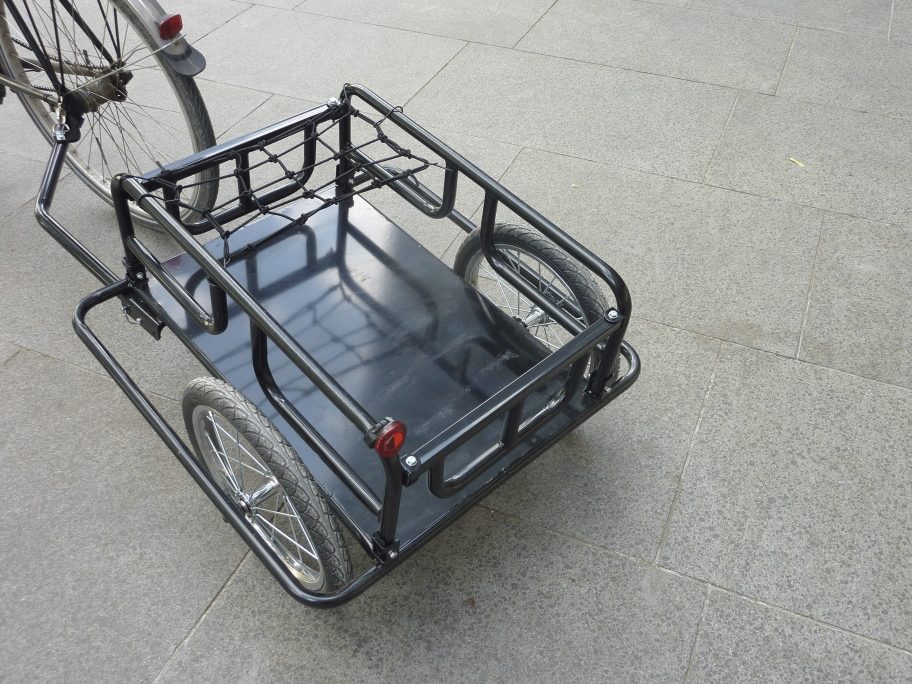
A welded or bolted single-axle trailer with a flexible hitch that lets one bicycle move 80 – 100 kg of water, produce or tools over rough village roads.
Zeer Pot-in-Pot Evaporative Cooler
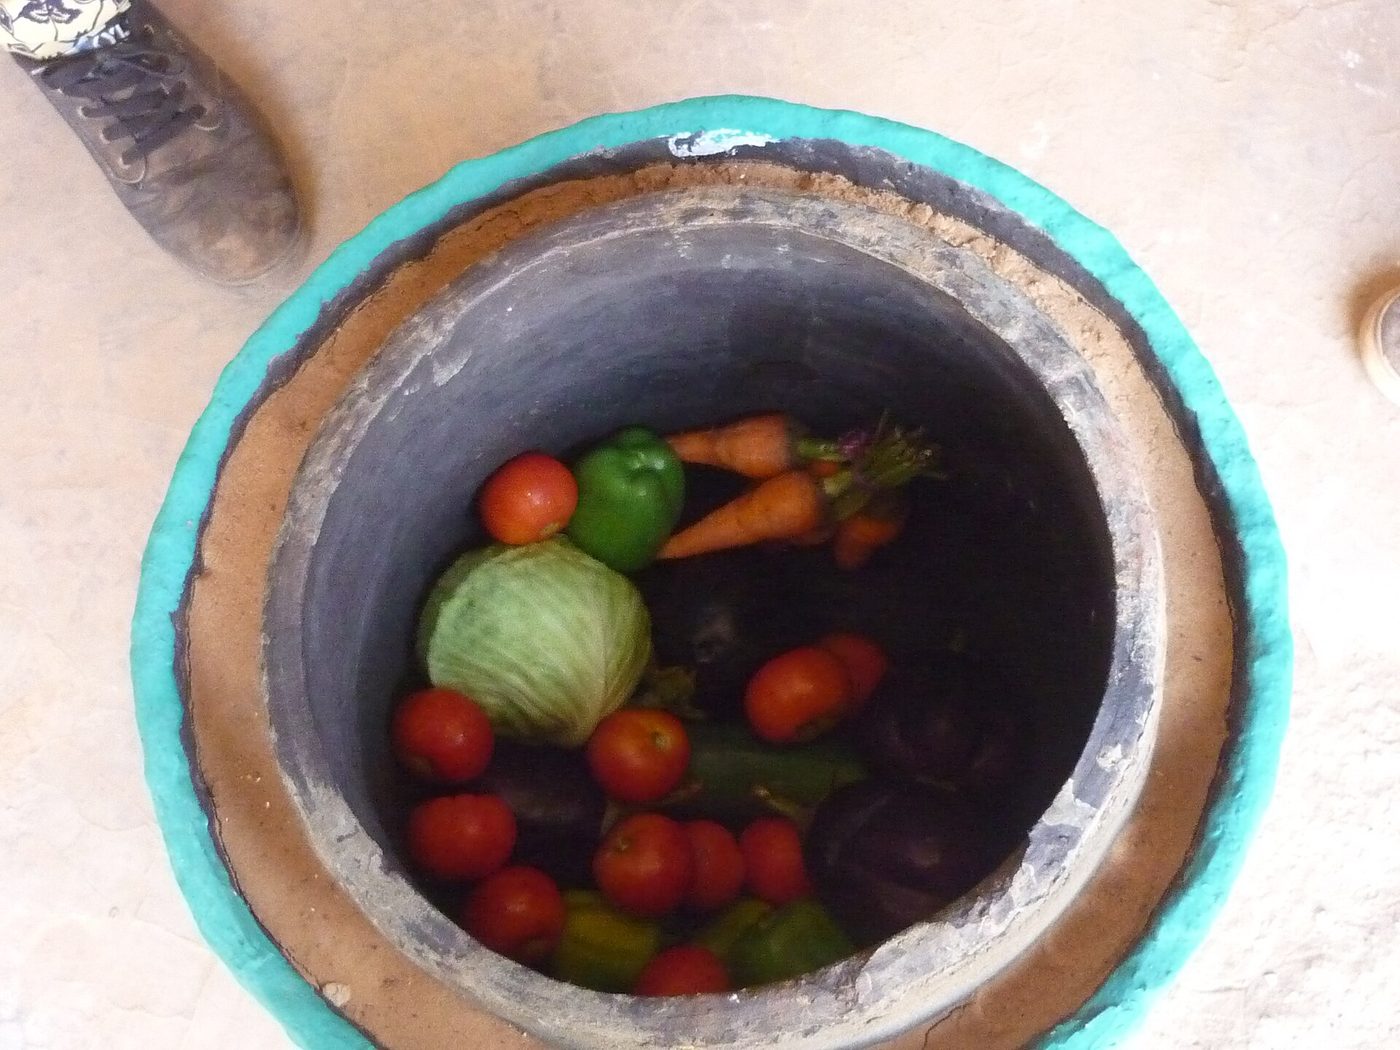
Two clay pots with wet sand between them, dropping the inner temperature by 10 – 15 °C and keeping vegetables saleable for days instead of hours.
Beeswax Candle Making
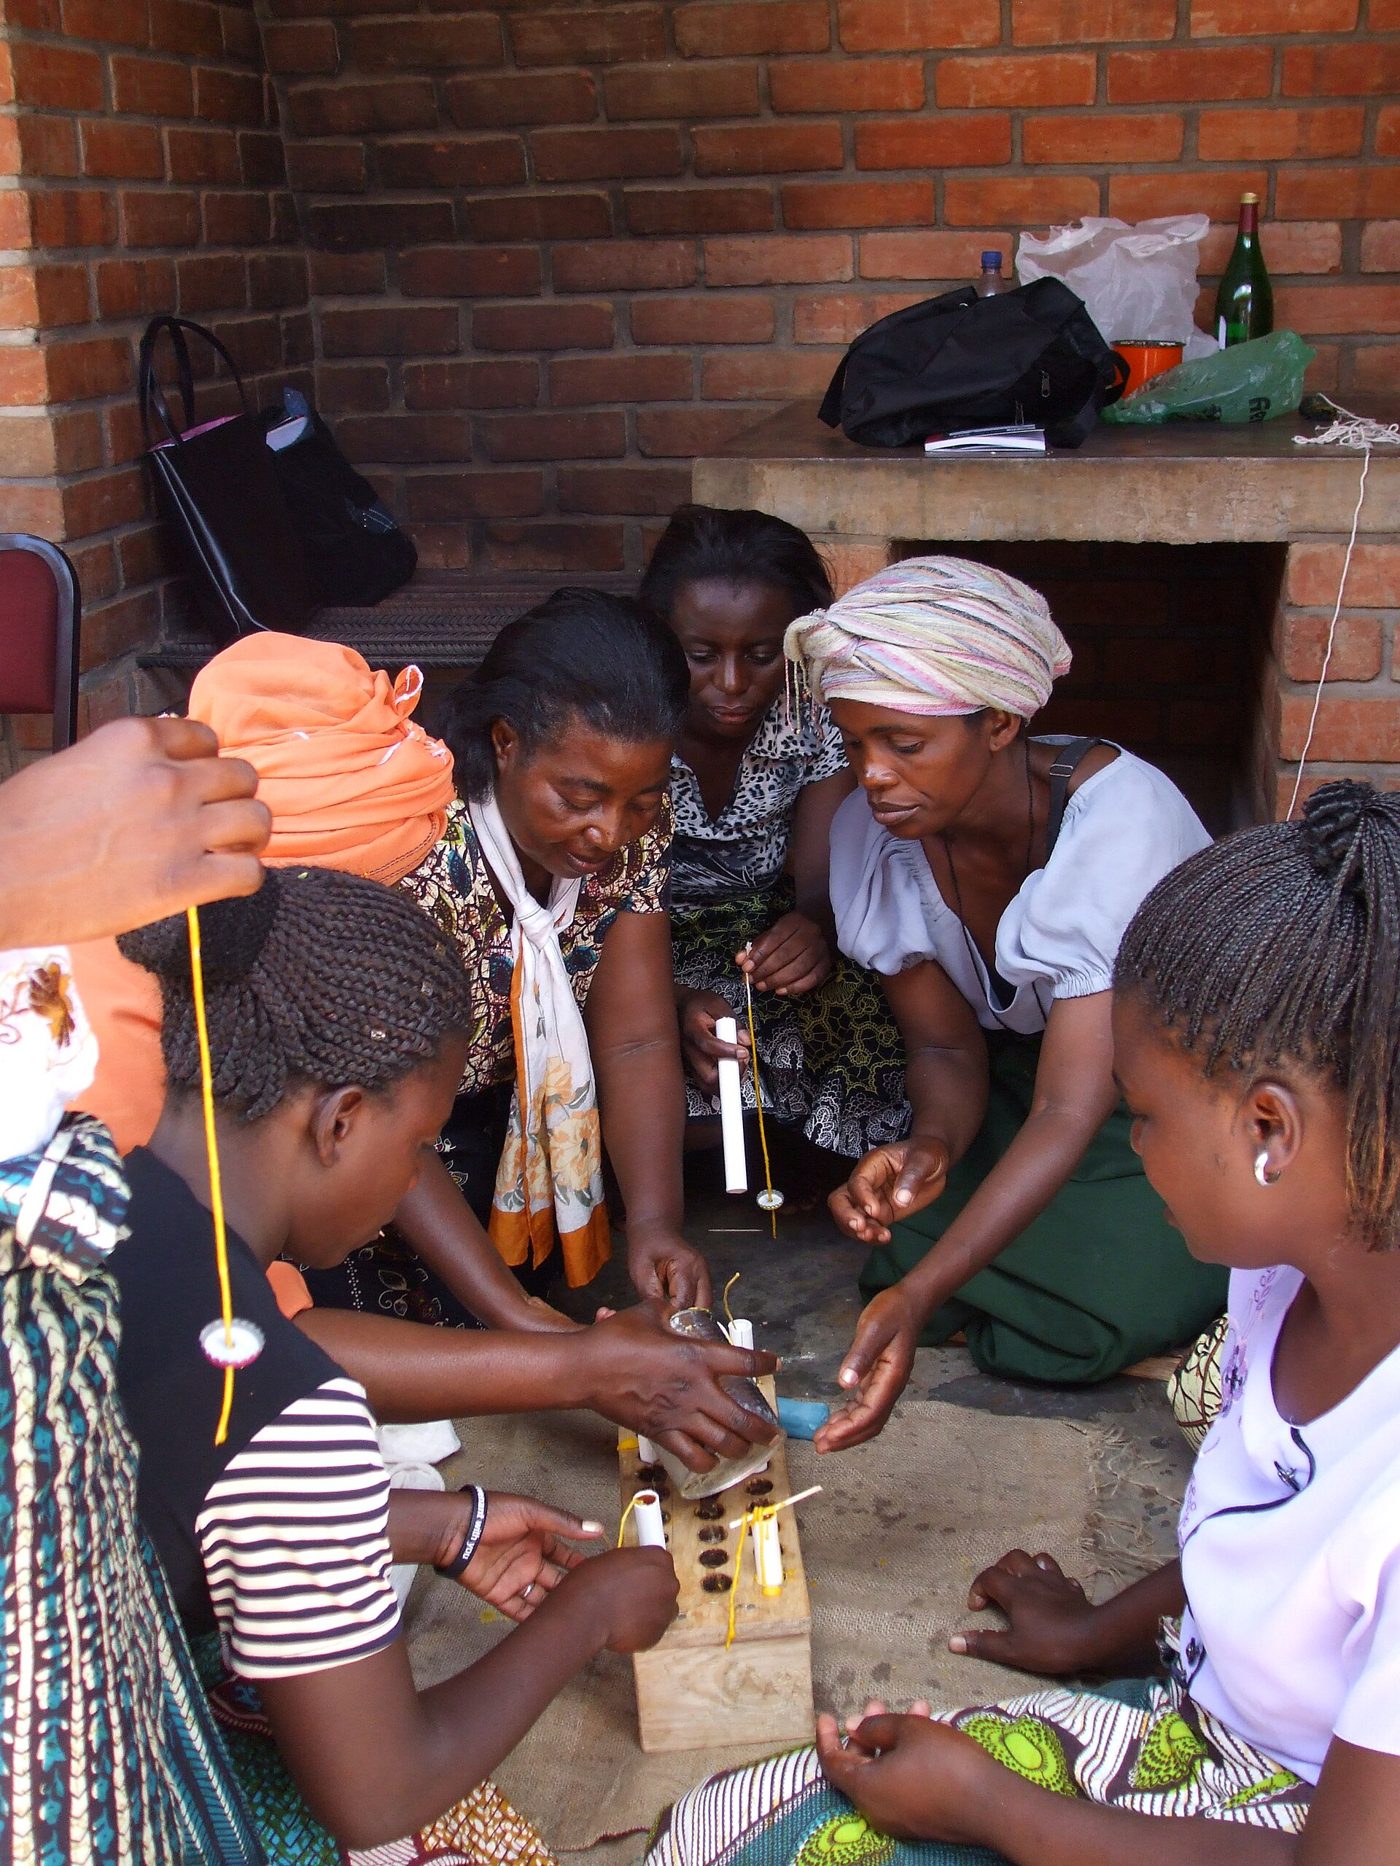
Render comb wax from your top-bar hives and dip or mould clean-burning candles — a high-margin product from what most beekeepers throw away.