
Clay Brick Clamp Kiln
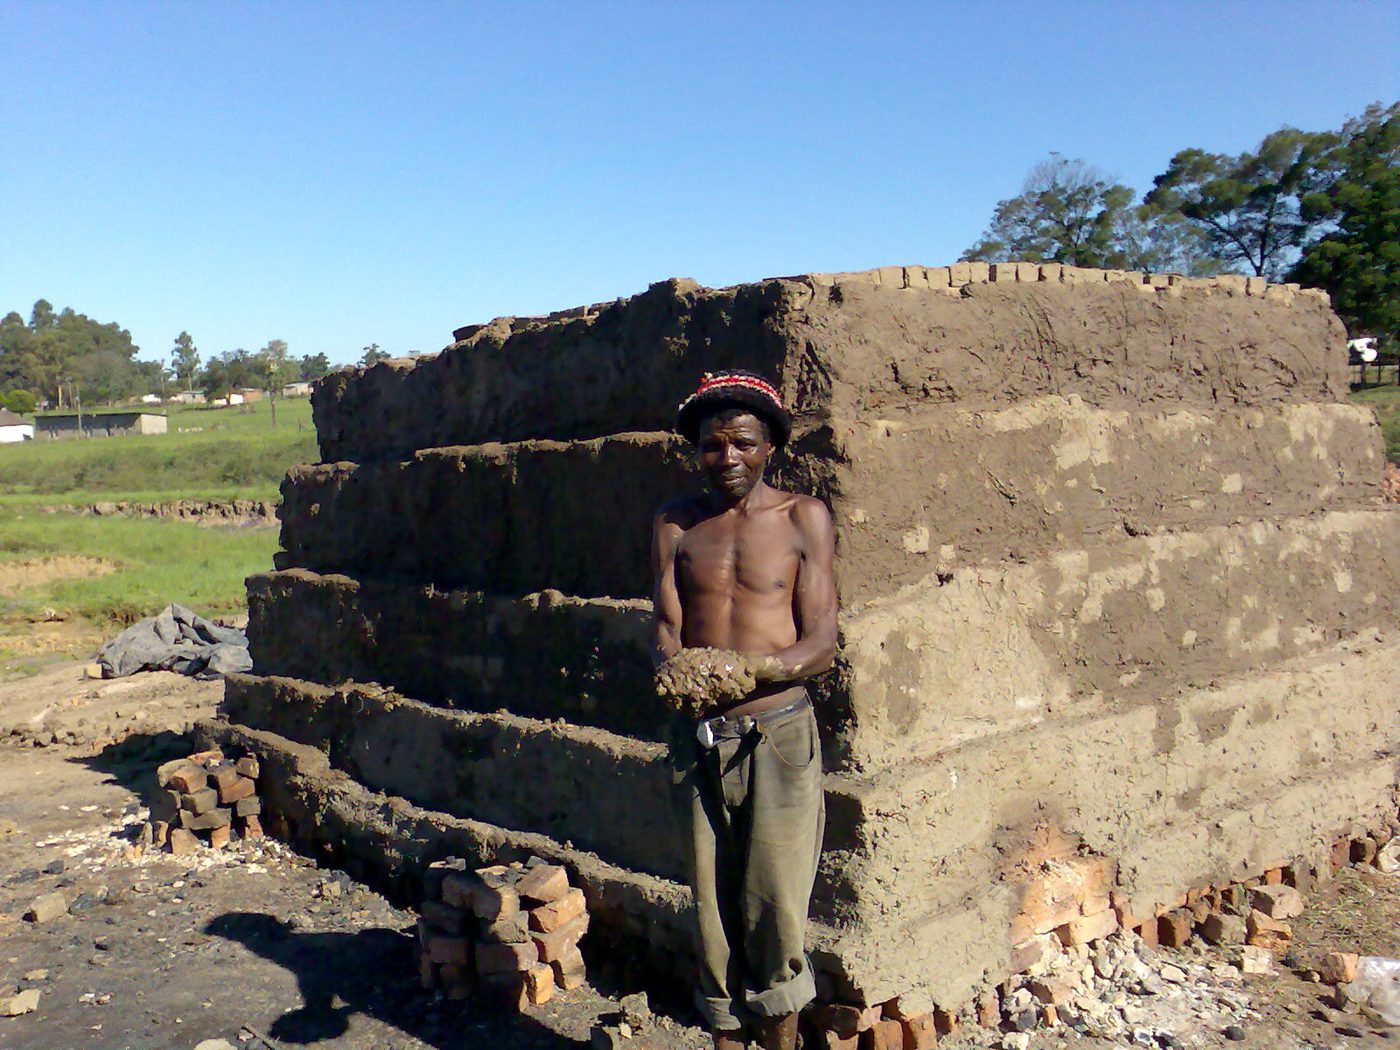
Stack green bricks into a self-firing clamp with fuel channels, seal it with mud, and fire your own burnt bricks without buying a permanent kiln.
- Estimated cost
- $100 – $350 in fuel for a 5,000-brick clamp
- Skill level
- Advanced
- Time
- 2 weeks moulding and drying, 3 – 6 days firing and cooling
Not yet verified
No confirmed build with photo proof has been submitted for this plan yet. Built it? Send photos and it earns the badge.
Tools
- Brick moulds
- Wheelbarrow
- Shovels and hoes
- Long fire rake
- Ladder or scaffold plank
Short a tool or material? Builders below have often swapped something local in — read Local adaptations before you buy anything.
Materials
Dimensions & cut list
A traditional clamp (scove) kiln firing 10,000 green bricks in one burn. These are the reference sizes from Practical Action / small-scale brick producers — scale them to what you have, but keep the ratios.
| Clamp size | ≈ 5 × 4 m base, 2.5 m high |
|---|---|
| Fire tunnels | 5 tunnels, 250 × 250 mm, at 900 mm spacing |
| Brick stacking | Herringbone with 10–15 mm gaps for flame paths |
| Outer skin | Two courses of bricks plastered with mud 25 mm thick |
| Green brick moisture | Air-dried 2–3 weeks, under 5%Wet bricks explode in the kiln |
| Firing schedule | Water-smoking 24 h low fire, then 36–48 h full fire |
| Peak temperature | 900–1000 °C |
| Cooling | 4–5 days sealed before drawing |
Take this list to the yard
- 10,000Green bricks
- ≈ 8–12 tonnes of woodFirewood or coalSawdust and rice husk can top up the upper courses
- ≈ 2 m³Mud plaster for the skin
- 1Level fired base pad
Step by step
Step 1 of 7
Weather and temper the clay
Dig clay ahead of the season and let it weather. Break it down, remove stones, and temper with sand until a moulded brick holds a crisp edge without slumping.
Swipe or use arrow keys
1. Weather and temper the clay
Dig clay ahead of the season and let it weather. Break it down, remove stones, and temper with sand until a moulded brick holds a crisp edge without slumping.
2. Mould and dry the greens
Mould onto a sanded level yard, turn the bricks on edge after two days, and dry under grass or a tarp for 10 – 14 days. A damp brick will explode in the fire.
3. Set the fire channels
Lay parallel firing tunnels at the base, one every 800 mm – 1 m, and pack them with wood. These are the only heat paths; get their spacing even or half the clamp under-fires.
4. Stack the clamp
Build up with finger gaps between bricks so hot gas can move, tightening the gaps and battering the sides inward towards the top.
5. Skin and seal
Cover the outside with waste bricks and a thick mud plaster, leaving only the fire mouths and small top vents to control draught.
6. Fire slowly then hard
Start with a small smoky fire for 12 – 24 hours to drive out water, then build up hard until the top vents show clear heat. Close the mouths and let it cool three days before opening.
7. Sort the bricks
Well-burnt bricks ring when struck and go into walls; under-burnt ones go to internal or protected work; over-burnt ones become hardcore or the next clamp's skin.
Why mine failed
The ways this build usually goes wrong, and what fixes it.
Bricks shatter early in the burn
CauseGreen bricks still damp
FixAir-dry 2–3 weeks under cover and hold a low water-smoking fire for the first 24 hours before raising the heat.
Outer bricks are soft and underfired
CauseHeat escaping through the skin
FixPlaster the outer skin with 25 mm of mud and use the outer courses as a sacrificial layer, re-firing them in the next clamp.
Bricks in the centre are warped and glassy
CauseOverfired near the fire tunnels
FixSpace tunnels at 900 mm and spread the fuel across all tunnels evenly rather than driving two hard. Sort output into grades after drawing.
Fuel use is far higher than expected
CauseLoose stacking and gaps letting flame short-circuit out
FixStack herringbone with even 10–15 mm flame paths, seal the top with brick and mud, and cool sealed for 4–5 days rather than opening early.
Safety notes
- Never open or unstack a clamp while it is hot — sudden air causes flare-ups and collapse. Wait for full cooling.
- Firing produces heavy smoke. Site clamps well downwind of houses and never sleep beside a burning clamp.
- Keep children away from the fire mouths and the hot skin for the whole cycle.
- Fuel harvesting can strip local woodland fast; plan husk or waste fuel and replanting before you fire.
Source & attribution
This plan is our build-step write-up of work documented by Practical Action / small-scale brick producers. The original design and documentation belong to them — go read the source before you build.
Small-scale brickmakingLocal adaptations
What builders changed to make this work where they live.
Field note · Eastern Cape, South Africa
Producers mix coal fines or sawdust into the clay body so each brick carries part of its own fuel and the clamp burns more evenly.
Build this alongside
Plans that use the same materials or serve the same need.
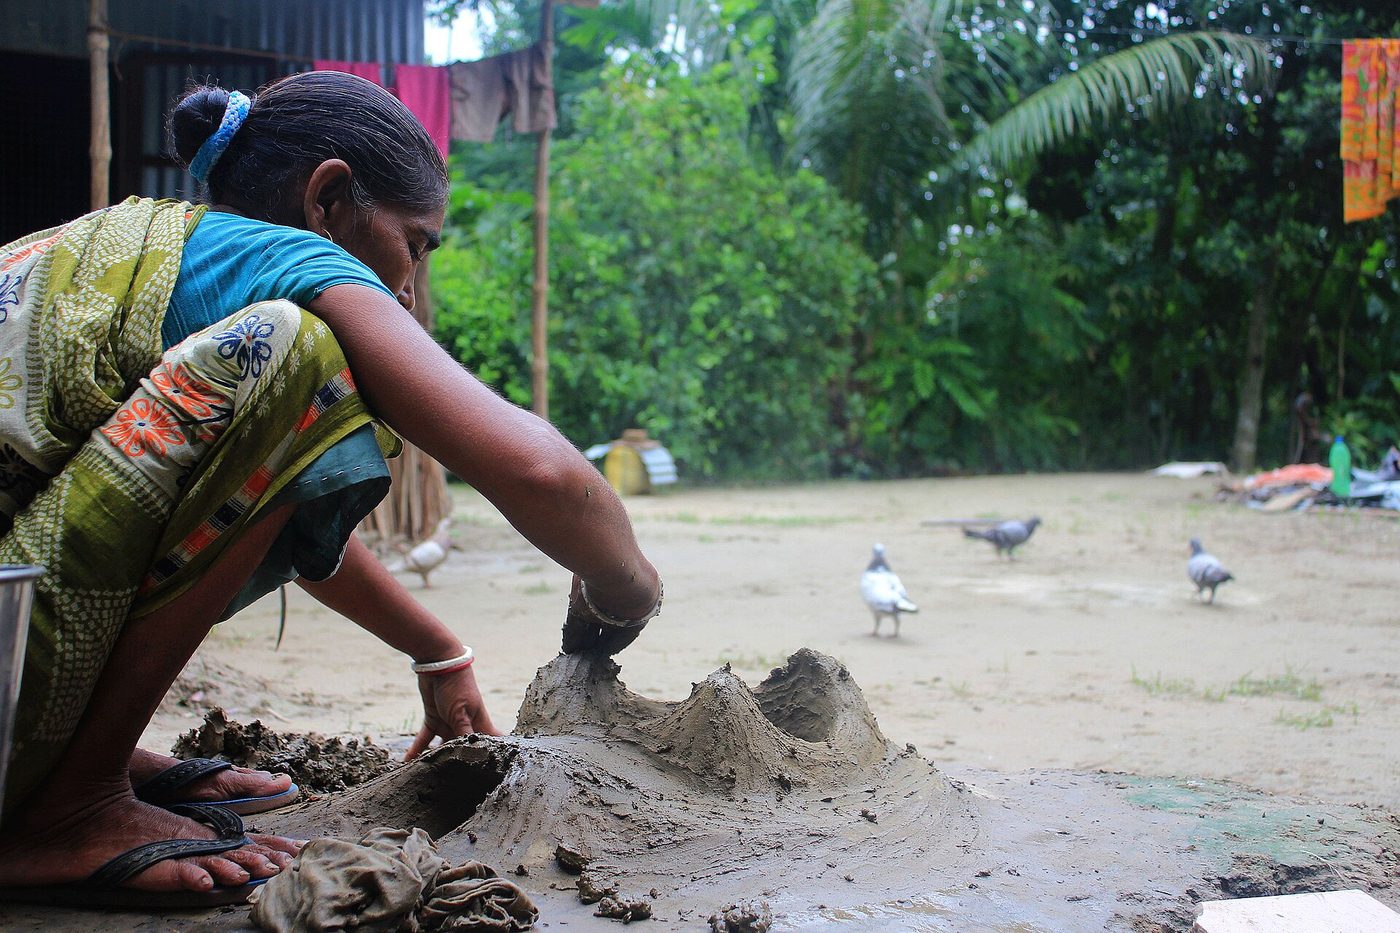
Cob Bread and Pizza Oven
A domed earth oven on a raised base that holds baking heat for hours from one small fire of scrap wood.
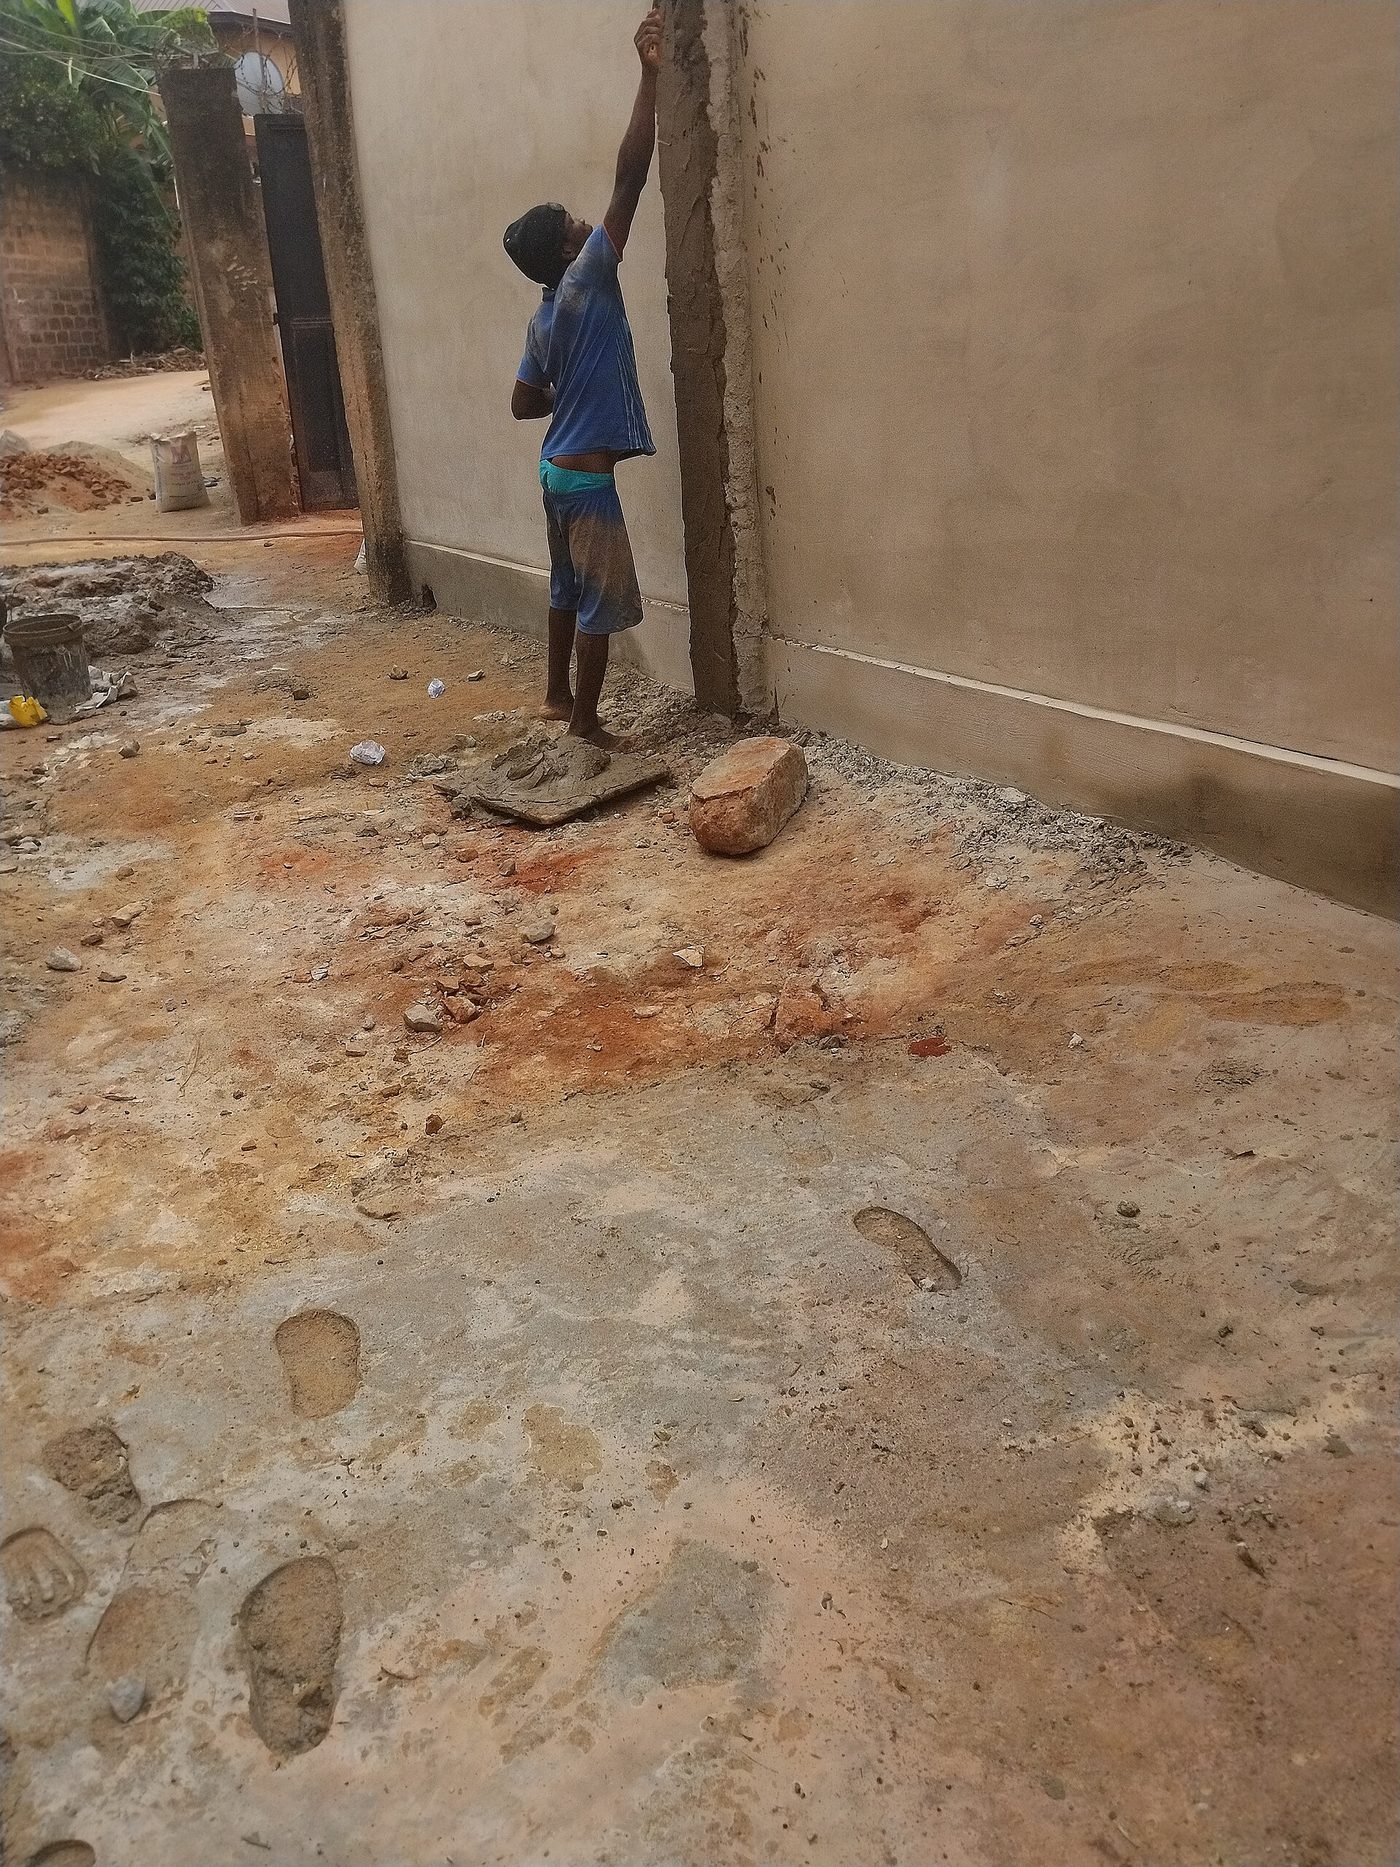
Lime and Earth Plaster for Earthen Walls
A breathable three-coat render that protects mud, adobe and earth-block walls from rain without trapping moisture the way cement does.
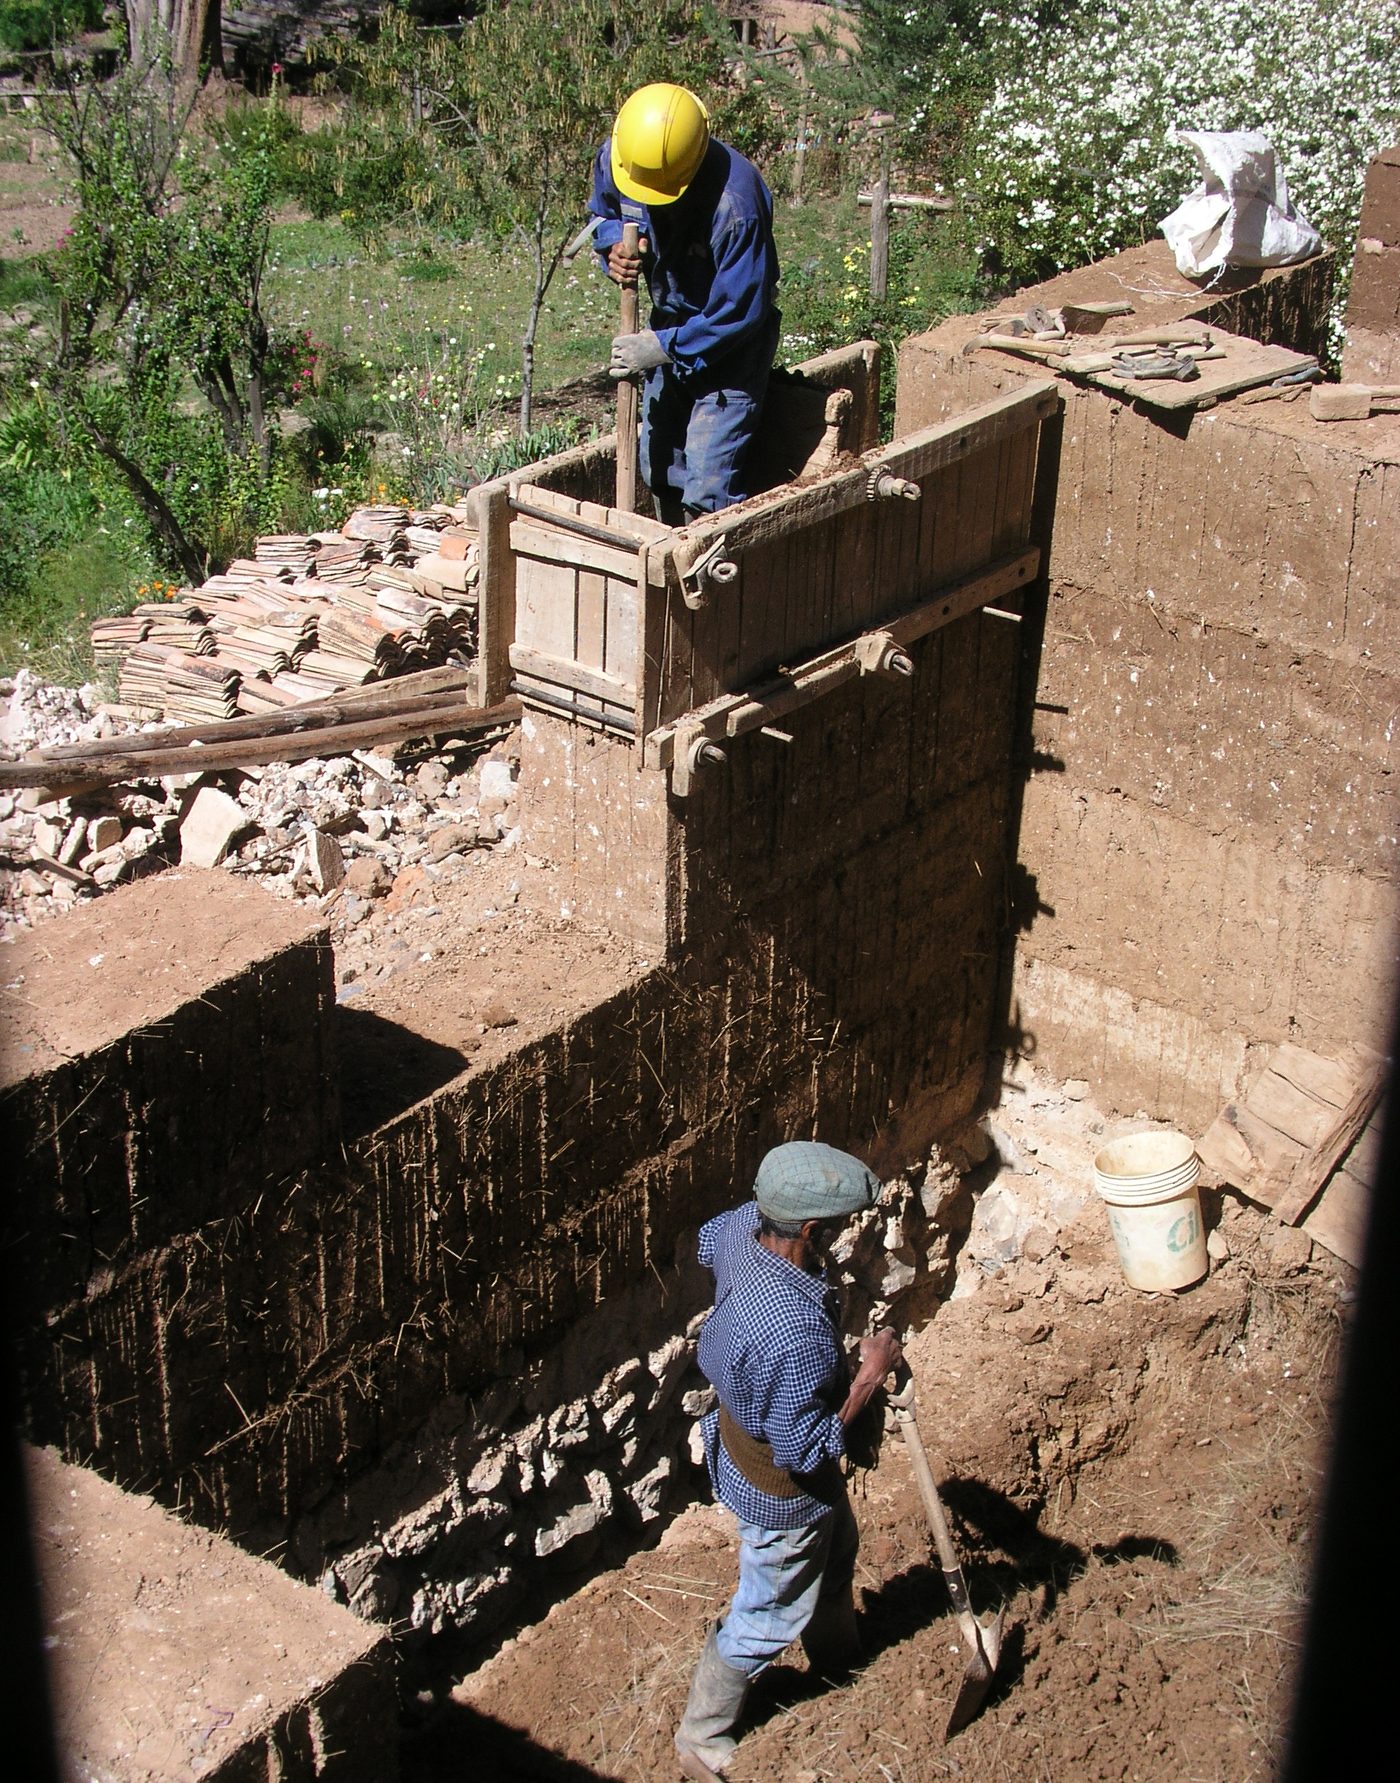
Rammed Earth Wall with Reusable Formwork
Tamp moist sub-soil in timber shuttering to raise thick, thermally massive walls that stay cool through the hottest afternoon.