
Community Seed Bank Store
A cool, dark, dry store with sealed jars, labelling and a lending register so a village keeps its own varieties instead of buying seed every season.
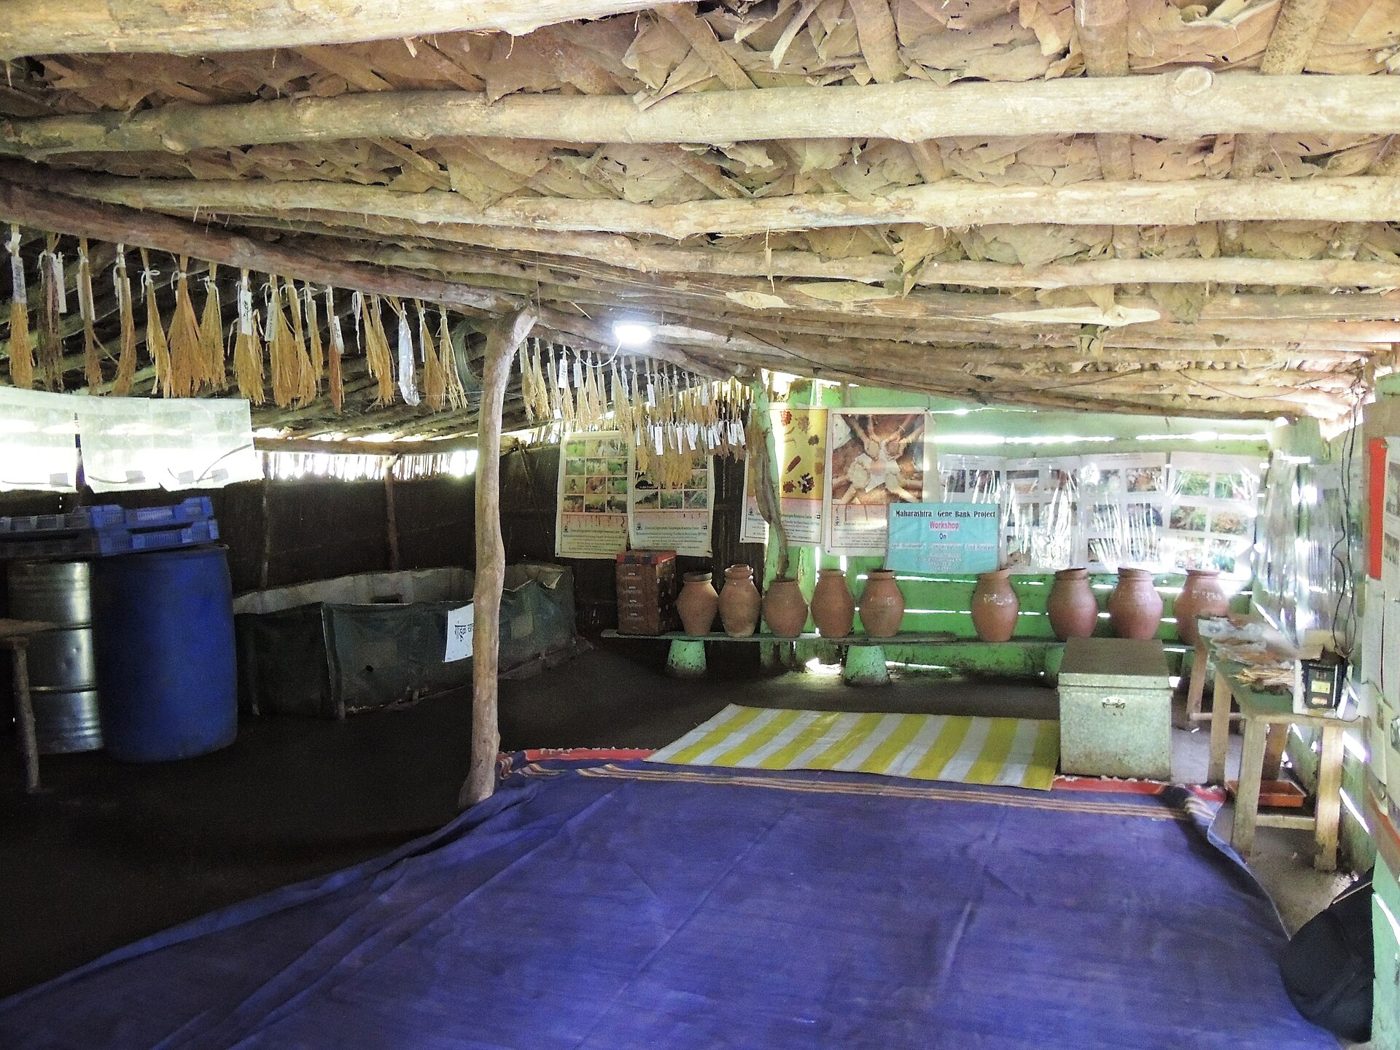
- Estimated cost
- $40 – $200 for shelving, jars, desiccant and a register
- Skill level
- Beginner
- Time
- 3 – 5 days including the store fit-out
Not yet verified
No confirmed build with photo proof has been submitted for this plan yet. Built it? Send photos and it earns the badge.
Tools
- Saw
- Hammer
- Scales
- Labels and marker
- Sieve
Short a tool or material? Builders below have often swapped something local in — read Local adaptations before you buy anything.
Materials
- Airtight glass or plastic jars with intact lids
- Wood ash, dry charcoal or silica gel as desiccant
- Shelving in a thick-walled, shaded, well-ventilated room
- A written register book and labels
- A moisture-testing method — the salt-jar test or a simple bite test
Dimensions & cut list
A small community seed store holding 500 kg of seed in sealed containers. These are the reference sizes from Appropedia — scale them to what you have, but keep the ratios.
| Room size | 3 × 3 m, north-facing, insulated roof |
|---|---|
| Target storage conditions | Under 20 °C and under 40% relative humidity |
| Seed moisture at storage | 8% or lower for cereals, 6% for oilseedsEvery 1% drop in moisture roughly doubles storage life |
| Container | Airtight glass jars or sealed metal tins, 5–20 kg |
| Desiccant | 100 g of dried ash or silica per 10 kg of seed |
| Shelf spacing | 400 mm, lowest shelf 300 mm off the floor |
| Germination re-test | Every 12 months on a 100-seed sample |
Take this list to the yard
- 40Airtight containers
- 20 mShelving timber
- 1 eachHygrometer and thermometer
- 1 setSeed register book and labelsVariety, source, date and germination rate on every container
- 1Rodent-proof door seal and floor screed
Step by step
Step 1 of 6
Harvest and select for seed, not for eating
Take seed from the healthiest, most typical plants of the variety, harvested at full maturity — never the leftovers after selling the good grain.
Swipe or use arrow keys
1. Harvest and select for seed, not for eating
Take seed from the healthiest, most typical plants of the variety, harvested at full maturity — never the leftovers after selling the good grain.
2. Dry to storage moisture
Sun-dry on mats, then finish in shade. Seed is dry enough when a grain shatters rather than dents under a bite. Damp seed dies in storage.
3. Clean and treat
Winnow and hand-sort out broken, discoloured and insect-damaged seed. Traditional ash or dry botanicals such as neem leaf reduce weevil damage.
4. Jar with desiccant and seal
Add a sachet of dry ash, charcoal or silica gel, fill the jar full, and seal it tight. Half-empty jars hold humid air.
5. Label everything, twice
Variety, source, harvest date, quantity — on the jar and in the register. Unlabelled seed is lost seed.
6. Run it as a lending bank
Members borrow seed and return a slightly larger quantity after harvest. Grow out each accession every two to three seasons or viability falls away quietly.
Why mine failed
The ways this build usually goes wrong, and what fixes it.
Germination rates collapse after one season
CauseSeed stored too moist or too warm
FixDry to 8% or lower, add ash or silica desiccant, seal airtight, and keep the store below 20 °C. Warm damp seed loses viability in months.
Weevils in the stored seed
CauseInfested seed sealed in, or containers not airtight
FixSun-dry and sort before storing, seal completely so any insects suffocate, and check a sample jar monthly.
Nobody knows what is in which jar
CauseNo register discipline
FixLabel every container with variety, source, date and last germination test, and keep a single written register with a named custodian.
Farmers stop returning seed to the bank
CauseNo clear lending rules
FixAgree a simple rule up front — usually two units returned for one borrowed — and hold a public accounting each season.
Safety notes
- Never store chemically dressed seed alongside food grain — label the store clearly.
- Keep the store rodent-proof; droppings contaminate seed and spread disease.
- Silica gel and treated seed must stay out of reach of children.
Source & attribution
This plan is our build-step write-up of work documented by Appropedia. The original design and documentation belong to them — go read the source before you build.
Community seed banks and seed savingLocal adaptations
What builders changed to make this work where they live.
- No adaptations shared yet for this plan.
Build this alongside
Plans that use the same materials or serve the same need.
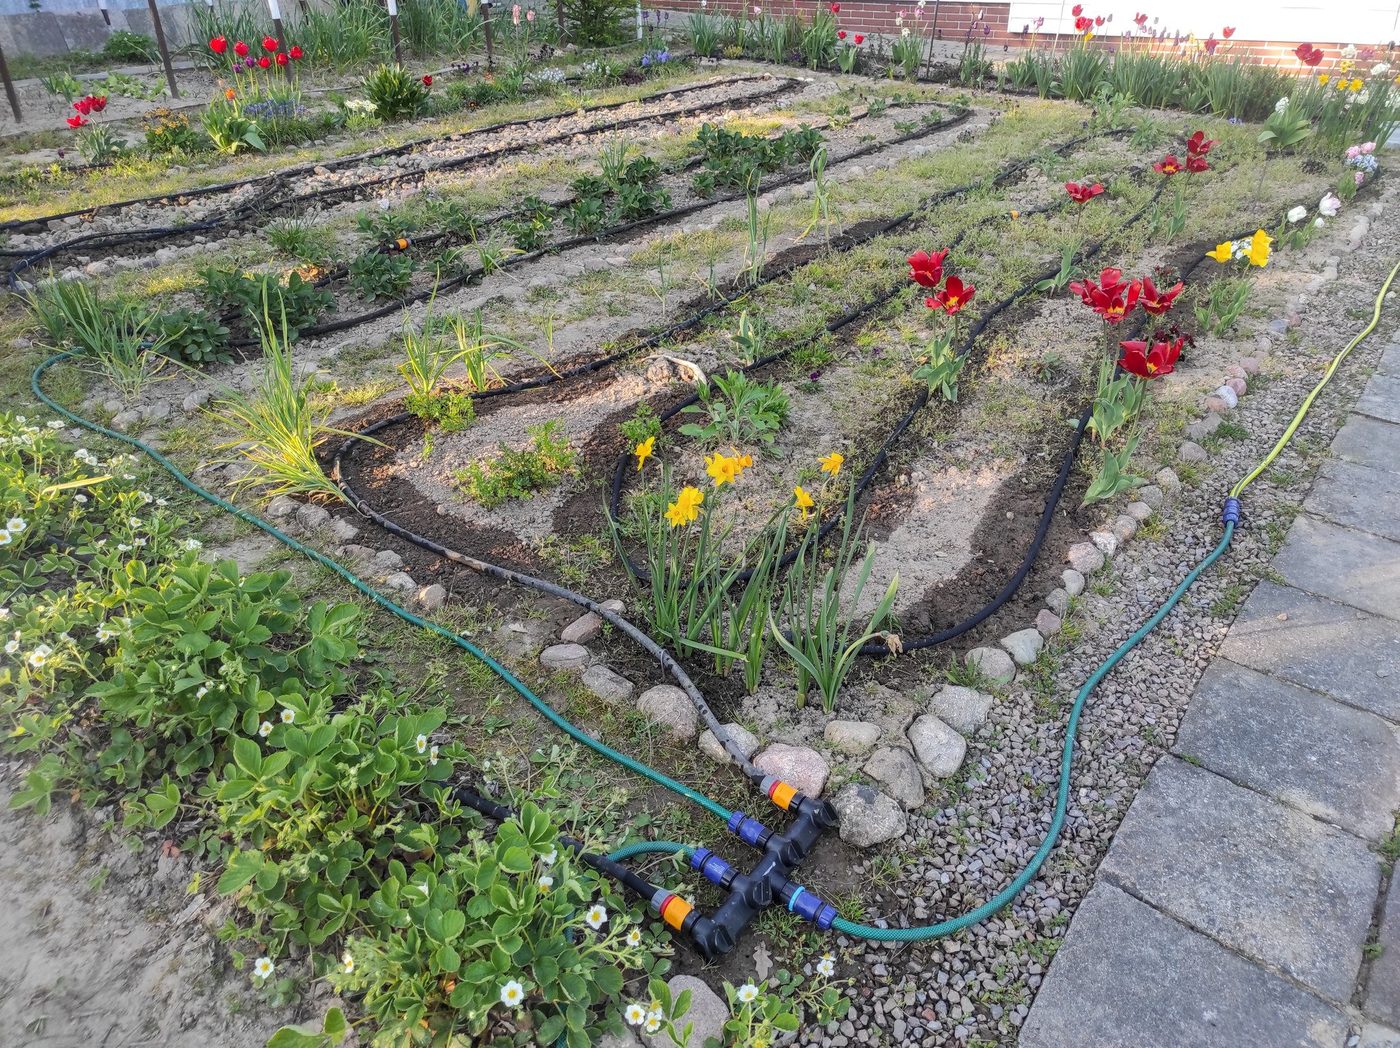
Gravity Drip Irrigation from a Raised Barrel
A 200 L drum on a stand feeds drip lines by gravity alone, cutting garden water use by around 60% with no pump.
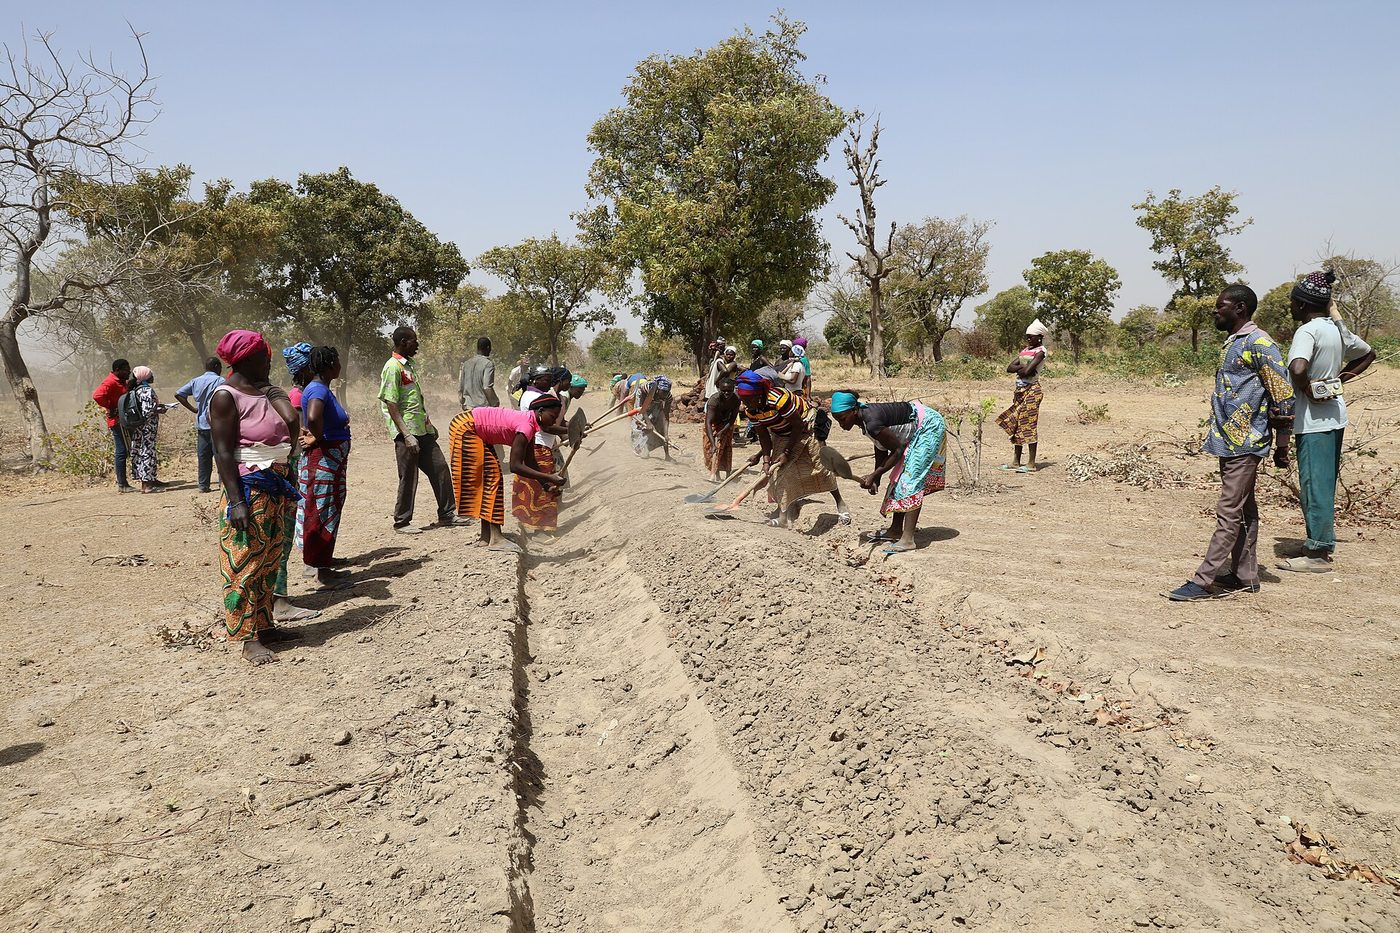
Zai Pits and Stone Contour Bunds
Hand-dug planting pits and stone lines along the contour that catch runoff and rebuild crusted, degraded soil into cropland.
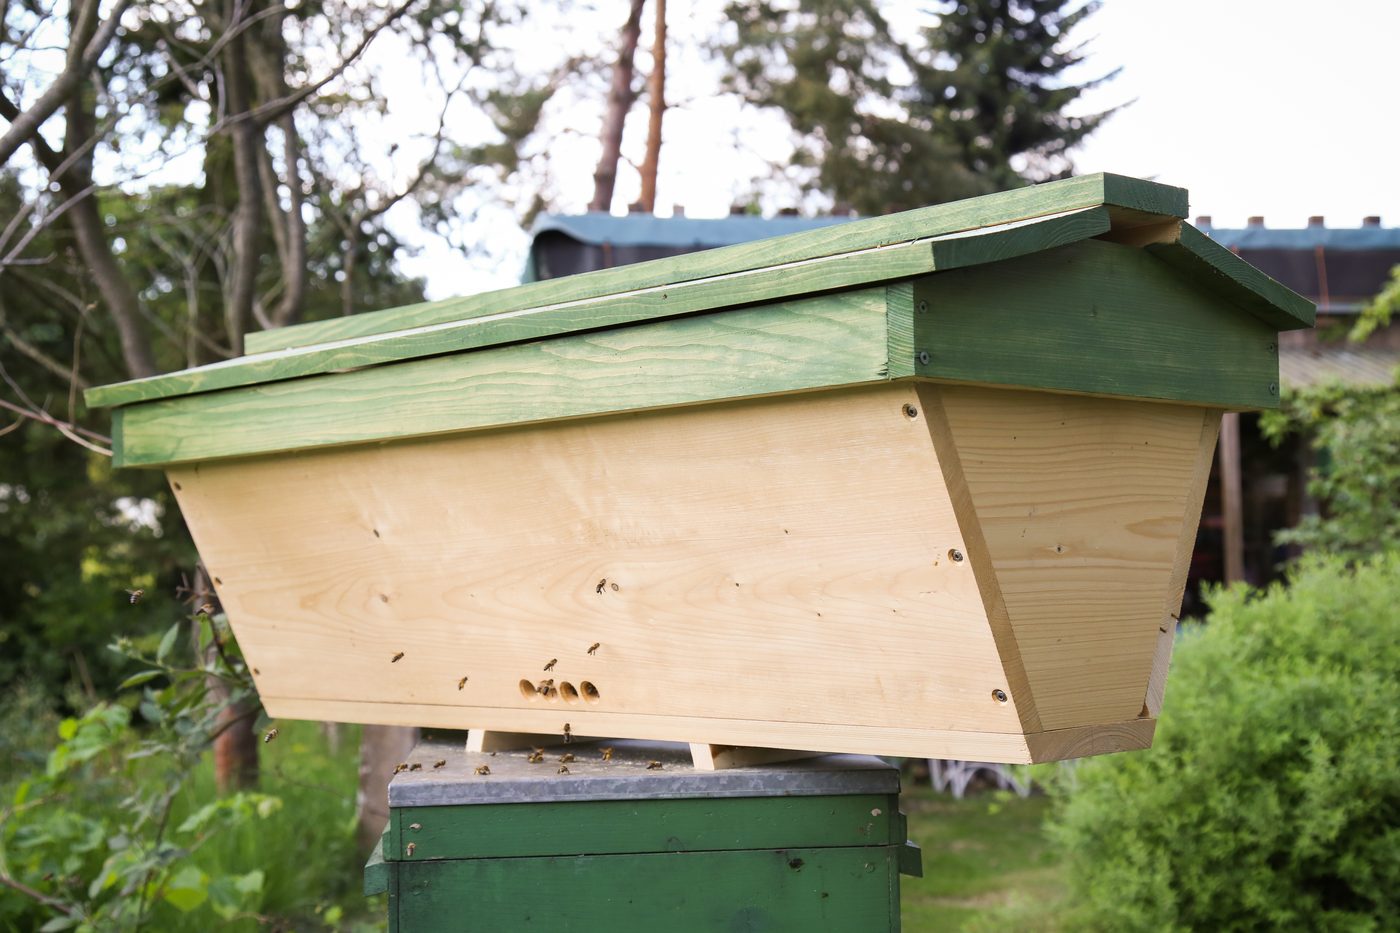
Kenyan Top-Bar Beehive
A sloped-sided hive with removable top bars that lets you inspect and harvest comb without frames, foundation or imported equipment.