
Earthbag Wall & Dome
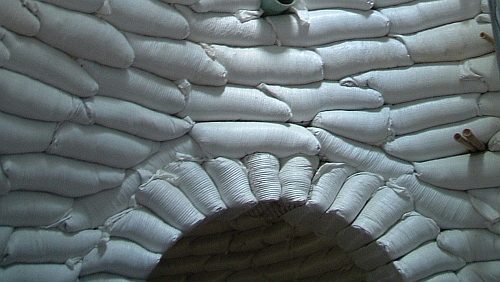
Fill polypropylene bags with damp sub-soil, tamp them course by course with barbed wire between, and raise a wall strong enough to carry a roof — or corbel it into a dome.
- Estimated cost
- $120 – $350 for bags, wire and render on a small room
- Skill level
- Intermediate
- Time
- 2 – 3 weeks for a single room with four people
Not yet verified
No confirmed build with photo proof has been submitted for this plan yet. Built it? Send photos and it earns the badge.
Tools
- Hand tamper (steel plate on a pipe handle)
- Bucket chute or coffee tin for filling
- Shovels and hoe
- Spirit level and string line
- Fencing pliers for the barbed wire
If you don't have it
- No polypropylene bags? Use continuous tube sacking or old feed bags doubled; whatever you use, plaster within weeks — UV destroys the bags.
- No barbed wire between courses? Drive 200 mm hardwood pegs through each course as shear keys instead.
Materials
- Woven polypropylene grain bags or continuous tube, roughly 45 cm wide
- Sub-soil with 10 – 30% clay, slightly damp
- Two-strand barbed wire, one run between every course
- Gravel for the first two moisture-barrier courses
- Cement or lime render and chicken mesh for the finished faces
Dimensions & cut list
A load-bearing earthbag wall for a single-storey round room up to 4 m internal diameter. These are the reference sizes from Appropedia / earthbag building community — scale them to what you have, but keep the ratios.
| Bag size filled | 45 cm wide × 12 cm high course |
|---|---|
| Fill | Moist sandy subsoil, 15–25% clayDamp enough to hold a squeezed shape, no more |
| Barbed wire between courses | Two strands, 4-pointThis is the wall's tension steel — never skip it |
| Tamping | Two passes with a flat tamper until the bag rings solid |
| Foundation | 40 cm deep rubble trench with gravel-filled bags for the first two courses |
| Wall height limit | 3 m for a straight wall with buttresses; domes taper from 2.5 m |
| Plaster | Lime or soil-cement, three coats, 25 mm total over chicken mesh |
Take this list to the yard
- ≈ 45 per linear metre of 2.5 m wallPolypropylene bags (grain sacks)
- 2 × wall length per course4-point barbed wire
- Wall area + 10%Chicken mesh for plaster key
- 1 setTamper, sheet-metal slider, buckets
Step by step
Step 1 of 7
Dig a rubble trench and set the first courses
Trench 300 mm below grade, fill with compacted stone. Fill the first two bag courses with gravel, not soil — they stop rising damp reaching the earth above.
Swipe or use arrow keys
1. Dig a rubble trench and set the first courses
Trench 300 mm below grade, fill with compacted stone. Fill the first two bag courses with gravel, not soil — they stop rising damp reaching the earth above.
2. Mix soil to the right damp
Aim for soil that holds a firm ball when squeezed and breaks cleanly in half when dropped. Too wet and the wall settles for weeks; too dry and the bags never lock together.
3. Fill and place bags in place
Half-fill each bag with a chute so it can be carried, place it on the wall, top it up, fold the end under and butt it hard against the last bag. Never fill bags full on the ground.
4. Tamp each course flat
Walk the course, then tamp until the bag rings solid and stops moving. A properly tamped course is roughly 100 – 130 mm high and dead level — check with the line every course.
5. Lay two strands of barbed wire between courses
The barbs bite both bags and stop courses sliding. Weight the wire with a brick at each end while you place the next course, and stagger the bag joints like brickwork.
6. Form openings and the bond beam
Build around timber box bucks for doors and windows, arching or lintelling over the top. Finish with a reinforced concrete or timber ring beam so roof loads spread around the whole wall.
7. Render both faces within weeks
Polypropylene degrades fast in UV. Staple chicken mesh over the bags and apply a scratch, brown and finish coat of lime or cement render inside and out as soon as the wall is up.
Why mine failed
The ways this build usually goes wrong, and what fixes it.
Courses slump or slide as the wall goes up
CauseFill too wet, or the barbed wire was left out
FixFill damp, not muddy. Two strands of barbed wire between every course is what stops the bags sliding — a wall built without it will move.
Plaster cracks and falls off in sheets
CauseNo mesh key, or cement plaster on a flexible wall
FixWrap the whole wall in chicken mesh stitched through the bags, and use lime or soil-cement in three thin coats. Rigid cement plaster shears off an earthbag wall.
Damp rising into the lowest courses
CauseWall starting at ground level
FixRebuild the base as gravel-filled bags on a rubble trench so the earth-filled courses start at least 30 cm above ground, and extend the roof overhang.
Safety notes
- Cover exposed bags with tarps or render immediately — sunlight makes the weave brittle within a couple of months.
- Domes and corbelled roofs are structural work. Get an engineer or an experienced earthbag builder to check spans before you sleep under one.
- Tamping and lifting filled bags is heavy repetitive work; rotate roles and lift with legs, not backs.
- Never build earthbag on ground that floods — the wall's strength depends on the fill staying dry.
Source & attribution
This plan is our build-step write-up of work documented by Appropedia / earthbag building community. The original design and documentation belong to them — go read the source before you build.
Earthbag constructionLocal adaptations
What builders changed to make this work where they live.
- No adaptations shared yet for this plan.
Build this alongside
Plans that use the same materials or serve the same need.
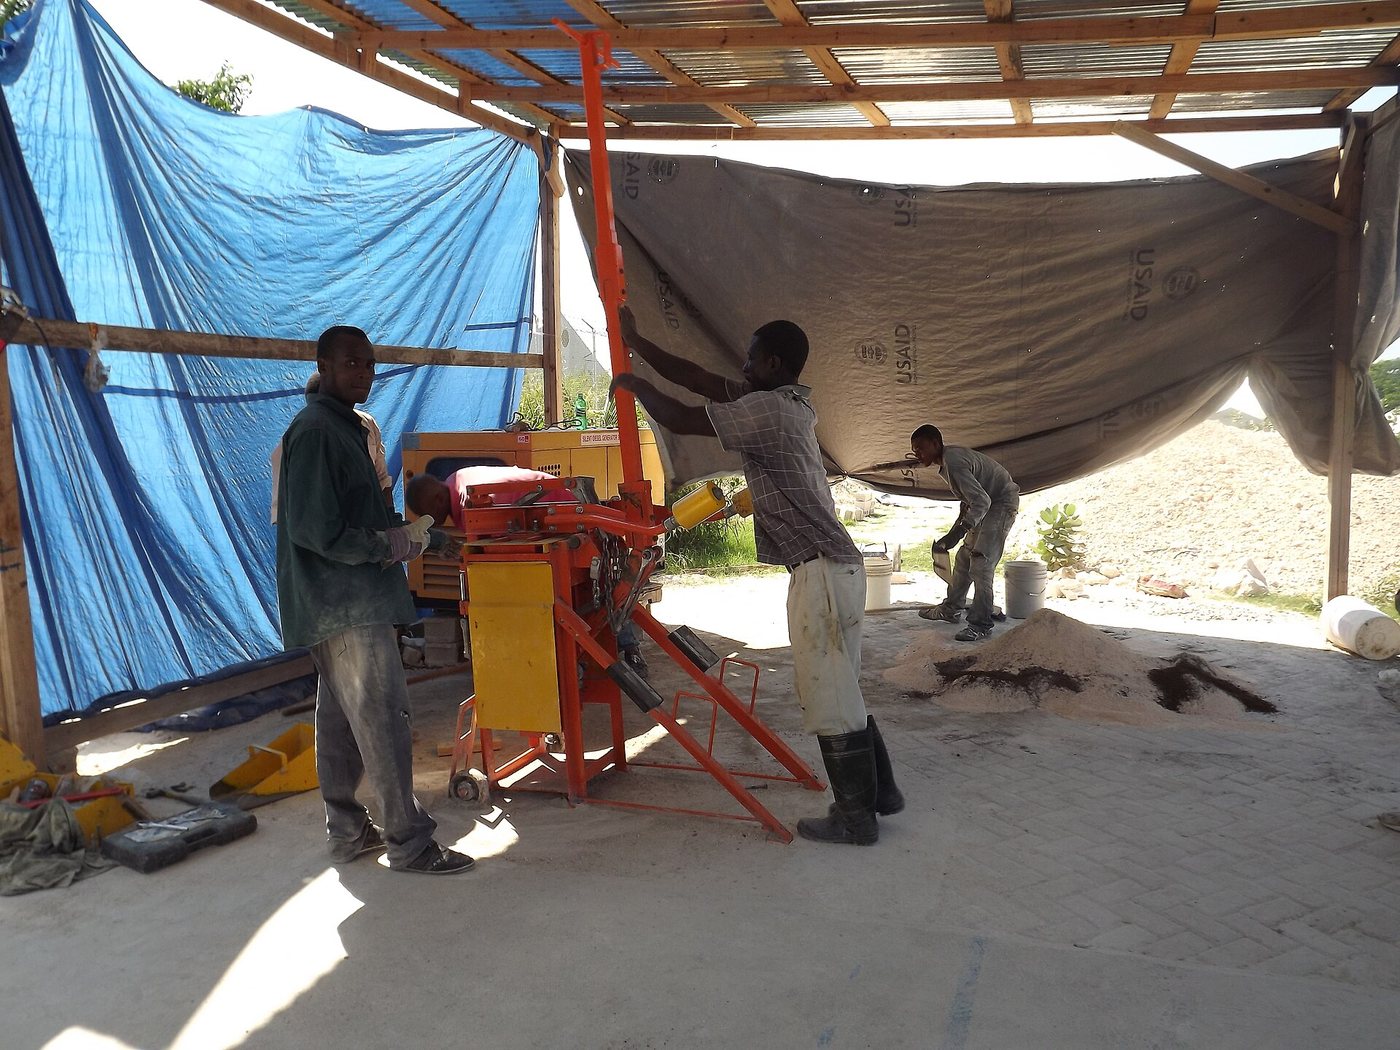
Manual Compressed Earth Block Press
A hand-built compound-lever press that turns local soil into load-bearing building blocks for about the price of a bag of cement.
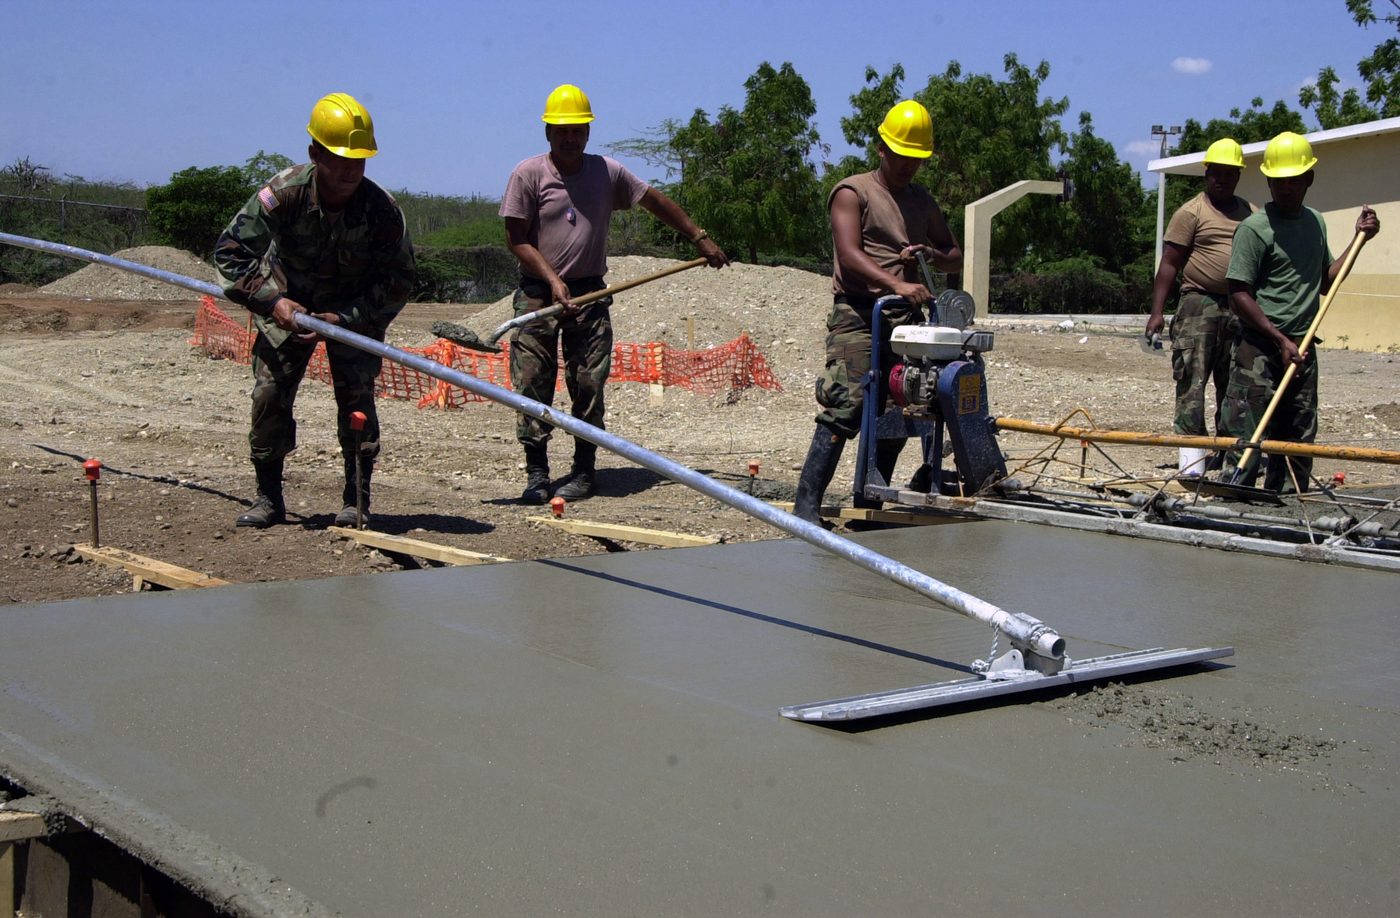
Soil-Cement Floor Slab
Replace a dust floor with a compacted, cement-stabilised earth slab that sweeps clean, resists damp and costs a fraction of a full concrete pour.
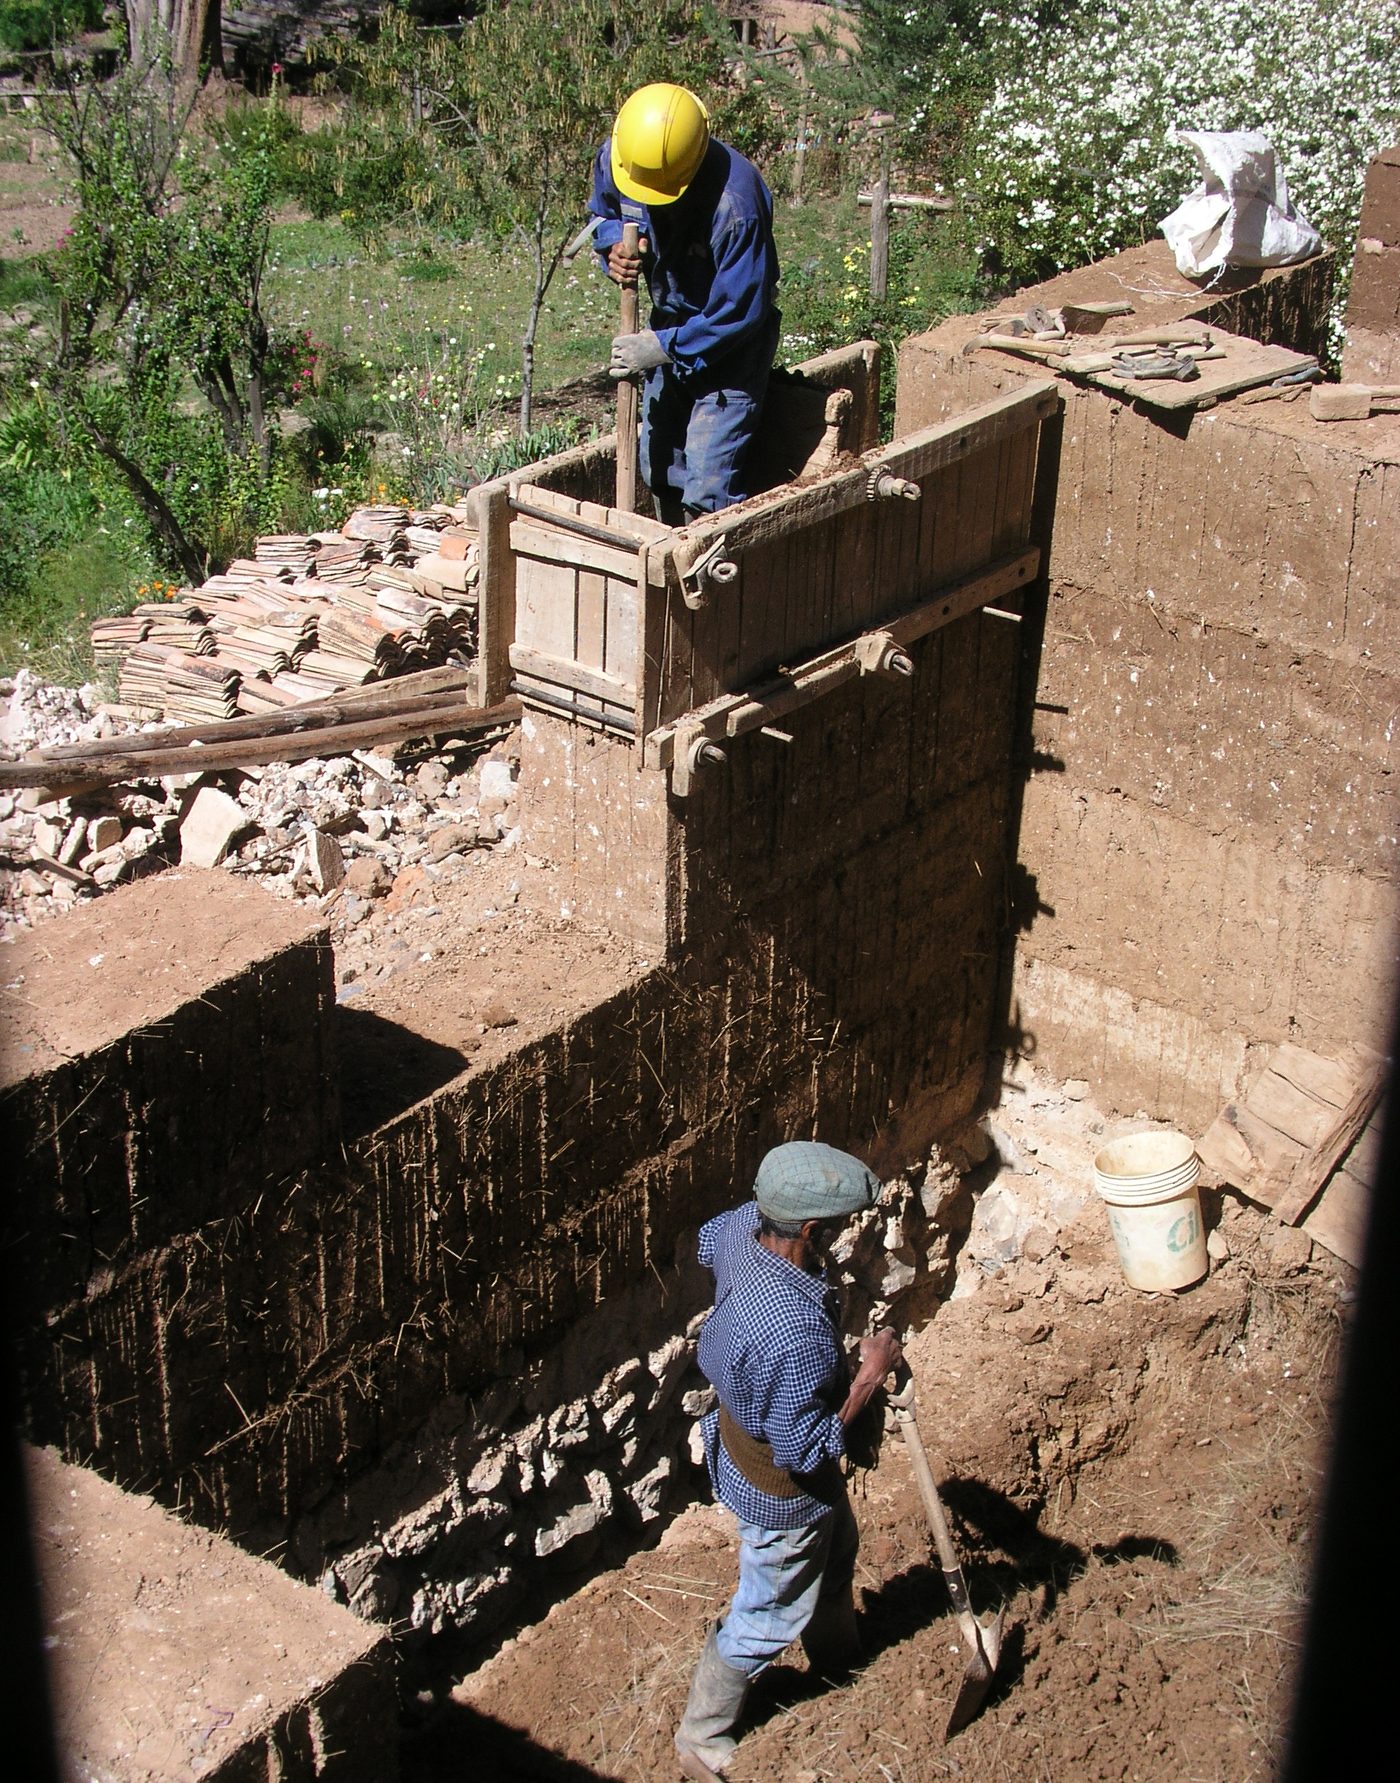
Rammed Earth Wall with Reusable Formwork
Tamp moist sub-soil in timber shuttering to raise thick, thermally massive walls that stay cool through the hottest afternoon.