
Sprouted Fodder Trays
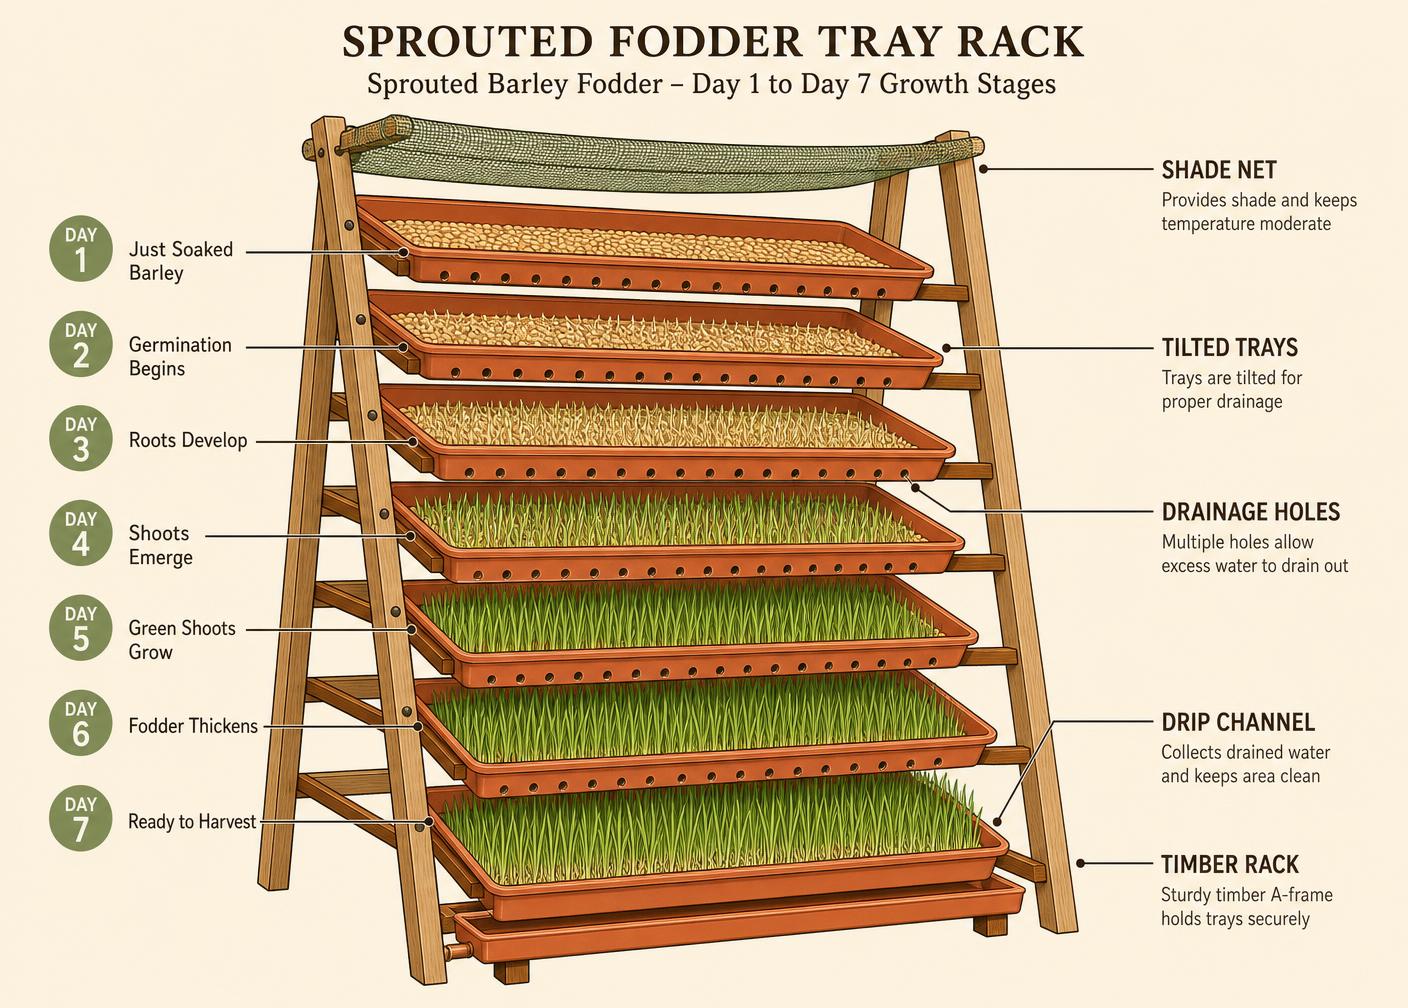
Sprout barley or maize on stacked trays and turn one kilo of grain into six to eight kilos of green fodder in a week — dry-season feed without a pasture.
- Estimated cost
- $40 – $150 for a rack, trays and the first grain
- Skill level
- Beginner
- Time
- 2 days to build; 7-day growing cycle
Not yet verified
No confirmed build with photo proof has been submitted for this plan yet. Built it? Send photos and it earns the badge.
Tools
- Drill
- Saw
- Buckets
- Watering can or hose
- Sieve
Short a tool or material? Builders below have often swapped something local in — read Local adaptations before you buy anything.
Materials
Dimensions & cut list
A sprouted-barley/maize fodder rack producing 40 kg of green fodder a day for livestock. These are the reference sizes from Appropedia — scale them to what you have, but keep the ratios.
| Tray size | 600 × 400 × 60 mm, drainage holes 3 mm |
|---|---|
| Seed per tray | 1.5 kg dryYields 8–10 kg of fodder mat in 7 days |
| Trays per day | 5, on a rolling 7-day cycle (35 trays in the rack) |
| Rack shelf spacing | 300 mm |
| Soak then sprout | Soak 12 h, drain and bag 24 h until chitted |
| Watering | Light misting 4–6 times a day, no standing water |
| Temperature | 20–28 °C, in shade with good airflow |
| Harvest | Day 7, mat 150–200 mm tall |
Take this list to the yard
- 40Plastic trays
- 1Timber or steel rack
- 1Shade net enclosure
- 1Watering can or misting line
- 1.5 kg per tray per dayClean seed, untreatedNever use chemically treated seed — it is going into an animal
Step by step
Step 1 of 6
Use untreated seed only
Seed dressed with fungicide for planting is toxic to livestock. Buy clean food-grade grain and reject any mouldy sacks.
Swipe or use arrow keys
1. Use untreated seed only
Seed dressed with fungicide for planting is toxic to livestock. Buy clean food-grade grain and reject any mouldy sacks.
2. Rinse, disinfect and soak
Wash the grain, dip briefly in a weak bleach or lime solution, rinse again, then soak 8 – 12 hours. This step is what keeps the mould out.
3. Spread thin and drain
Spread soaked grain 10 – 20 mm deep in the trays. Thicker beds go anaerobic in the middle and rot.
4. Water little and often
Sprinkle three to five times daily in warm weather, letting every tray drain fully each time. Standing water in the tray is the usual failure.
5. Keep it shaded and airy
Grow under shade net with free air movement at 18 – 28 °C. Full sun cooks the mat; still humid air breeds fungus.
6. Feed the whole mat at day 7 – 8
Lift the mat of roots and green shoots and feed it whole. Introduce it gradually — no more than a third of the ration at first while rumen microbes adjust.
Why mine failed
The ways this build usually goes wrong, and what fixes it.
Trays go mouldy by day 4
CauseStanding water and no airflow
FixDrill 3 mm drainage in every tray, mist lightly several times a day instead of soaking, and keep the rack in shade with air moving through.
Poor germination
CauseOld or chemically treated seed
FixUse fresh untreated seed, soak 12 hours and pre-sprout in a bag for a day before spreading. Never use seed dressed for planting.
Mats are thin and yellow
CauseSeeded too thinly or too little light
FixUse 1.5 kg per 600 × 400 tray and give bright shade — deep shade gives pale weak growth.
Animals refuse it
CauseIntroduced too suddenly or fed sour mats
FixIntroduce gradually alongside normal fodder and never feed a mat that smells sour. Harvest on day 7 and feed the same day.
Safety notes
- Never feed a mat with visible mould, sour smell or slime — mycotoxins kill livestock.
- Disinfect trays between cycles; contamination compounds fast.
- Keep the growing area drained; standing water breeds mosquitoes.
Source & attribution
This plan is our build-step write-up of work documented by Appropedia. The original design and documentation belong to them — go read the source before you build.
Hydroponic fodder productionLocal adaptations
What builders changed to make this work where they live.
- No adaptations shared yet for this plan.
Build this alongside
Plans that use the same materials or serve the same need.
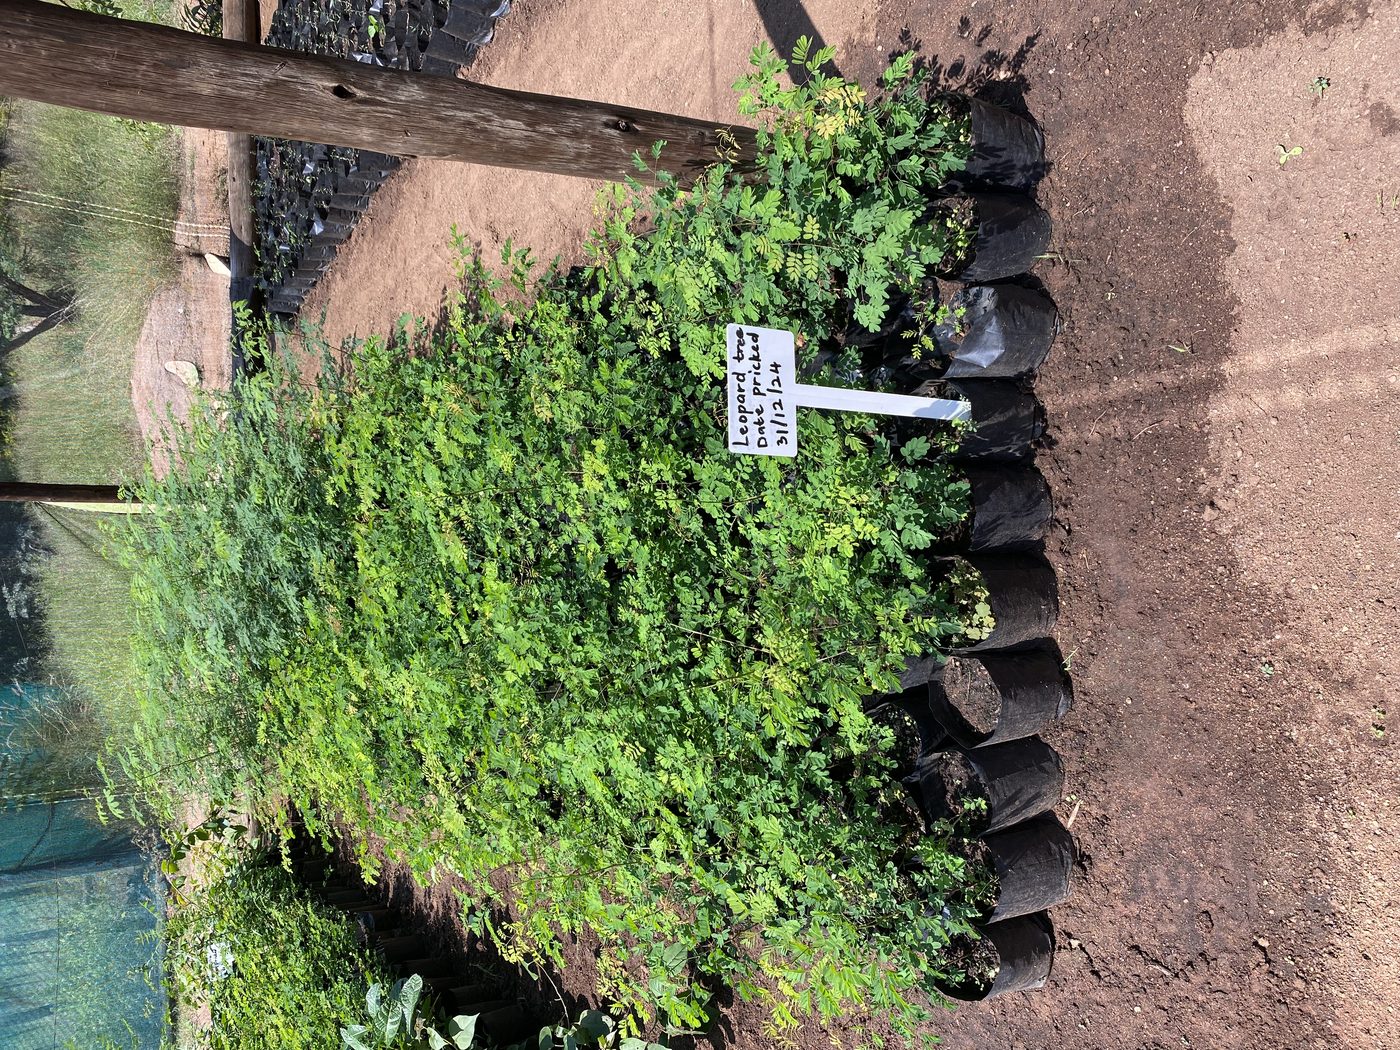
Village Tree Nursery
Raise fruit, fodder and timber seedlings in polythene tubes under a shade frame — thousands of trees a year from a plot the size of a room.
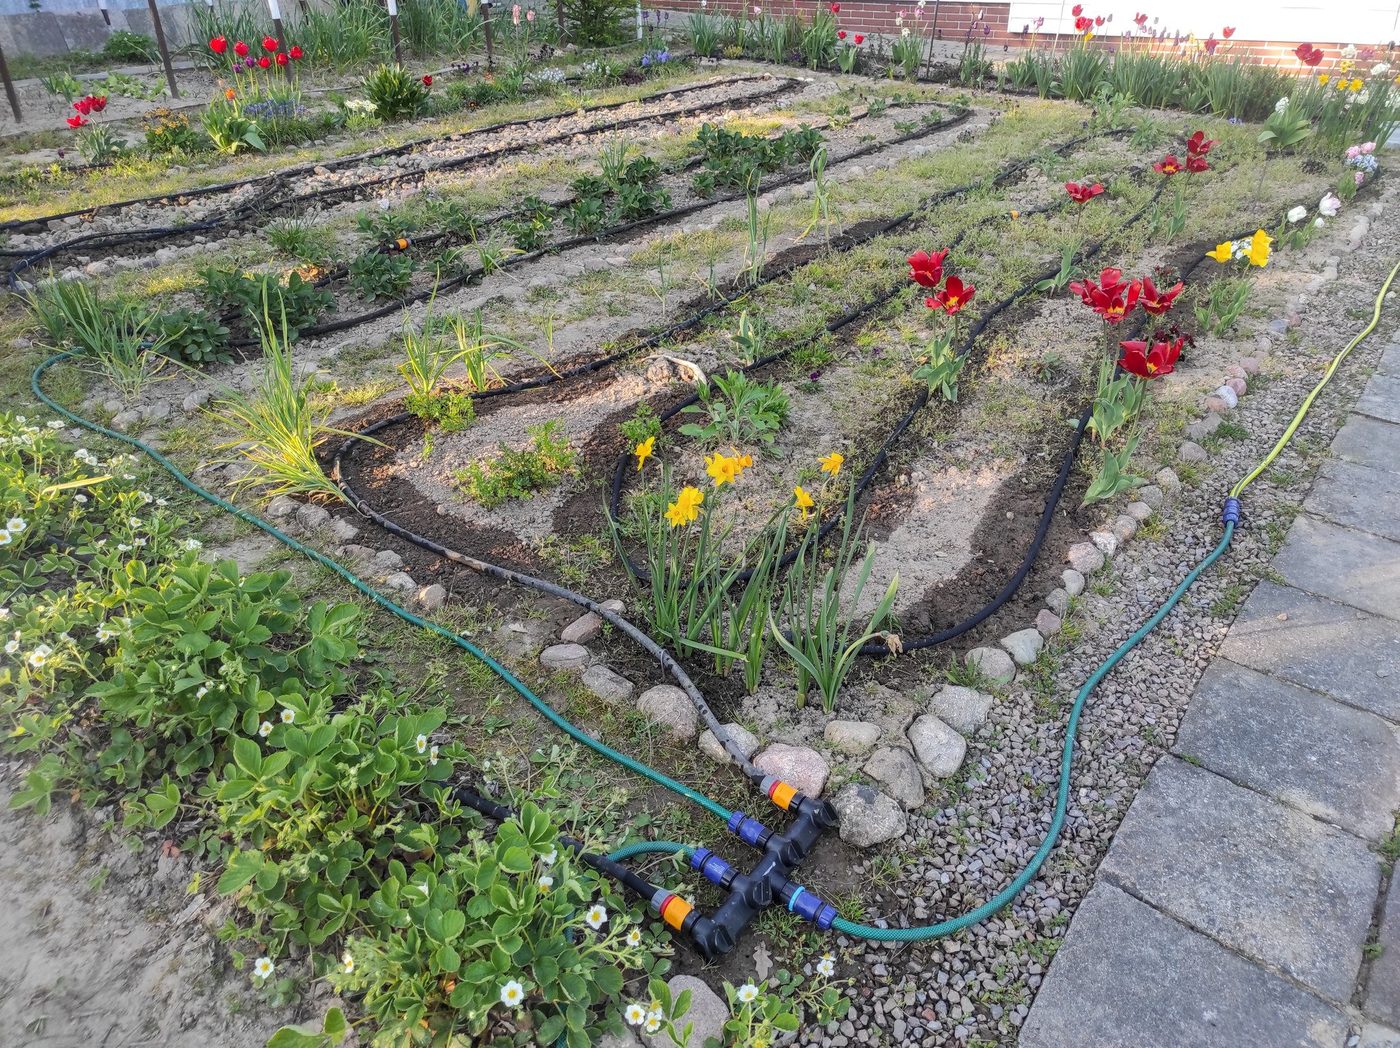
Gravity Drip Irrigation from a Raised Barrel
A 200 L drum on a stand feeds drip lines by gravity alone, cutting garden water use by around 60% with no pump.
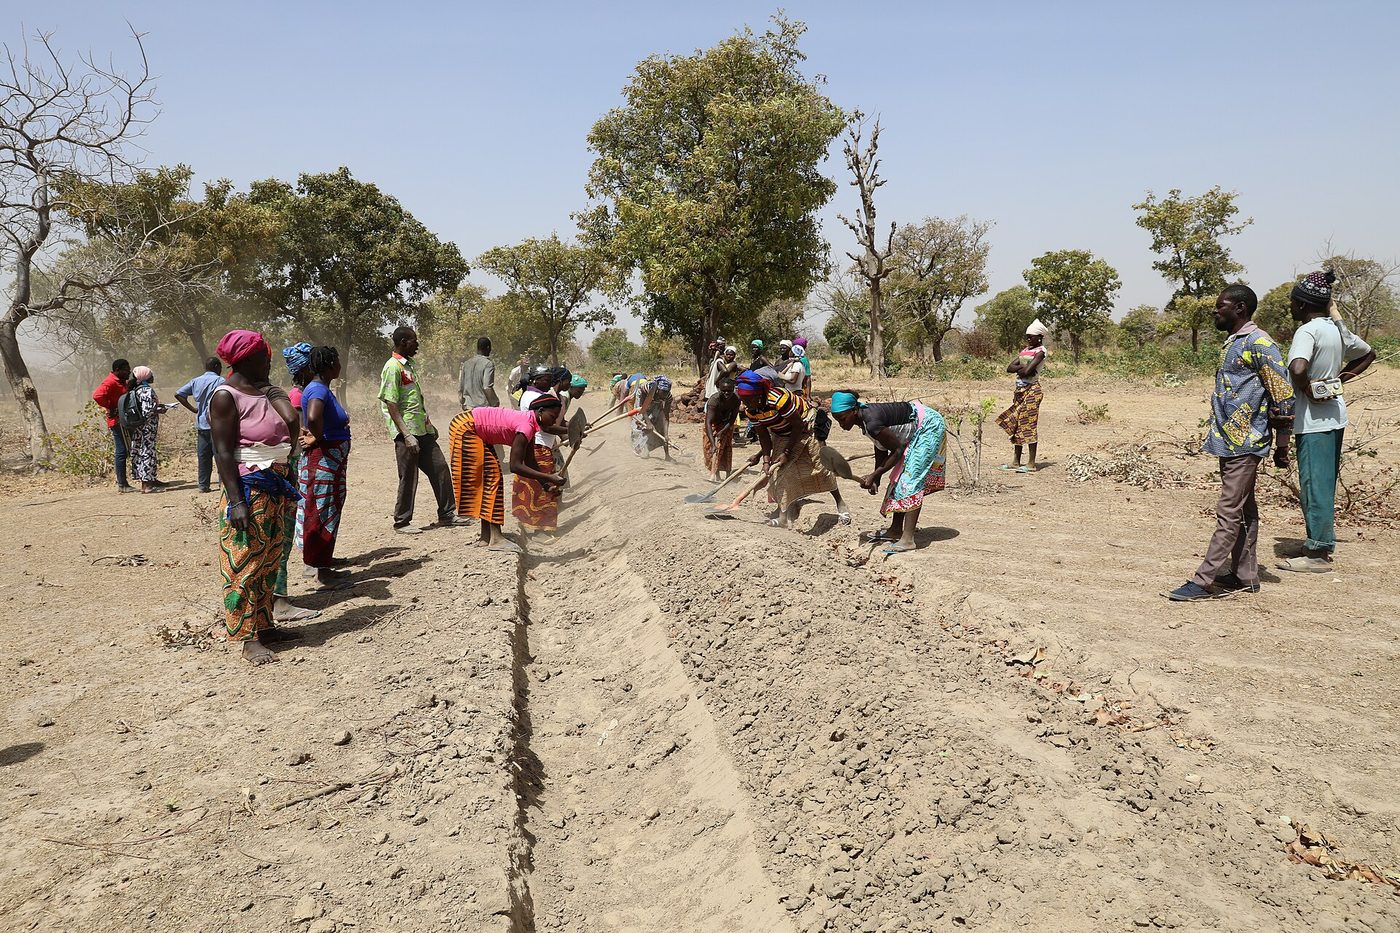
Zai Pits and Stone Contour Bunds
Hand-dug planting pits and stone lines along the contour that catch runoff and rebuild crusted, degraded soil into cropland.