
Interlocking Stabilised Soil Block Wall
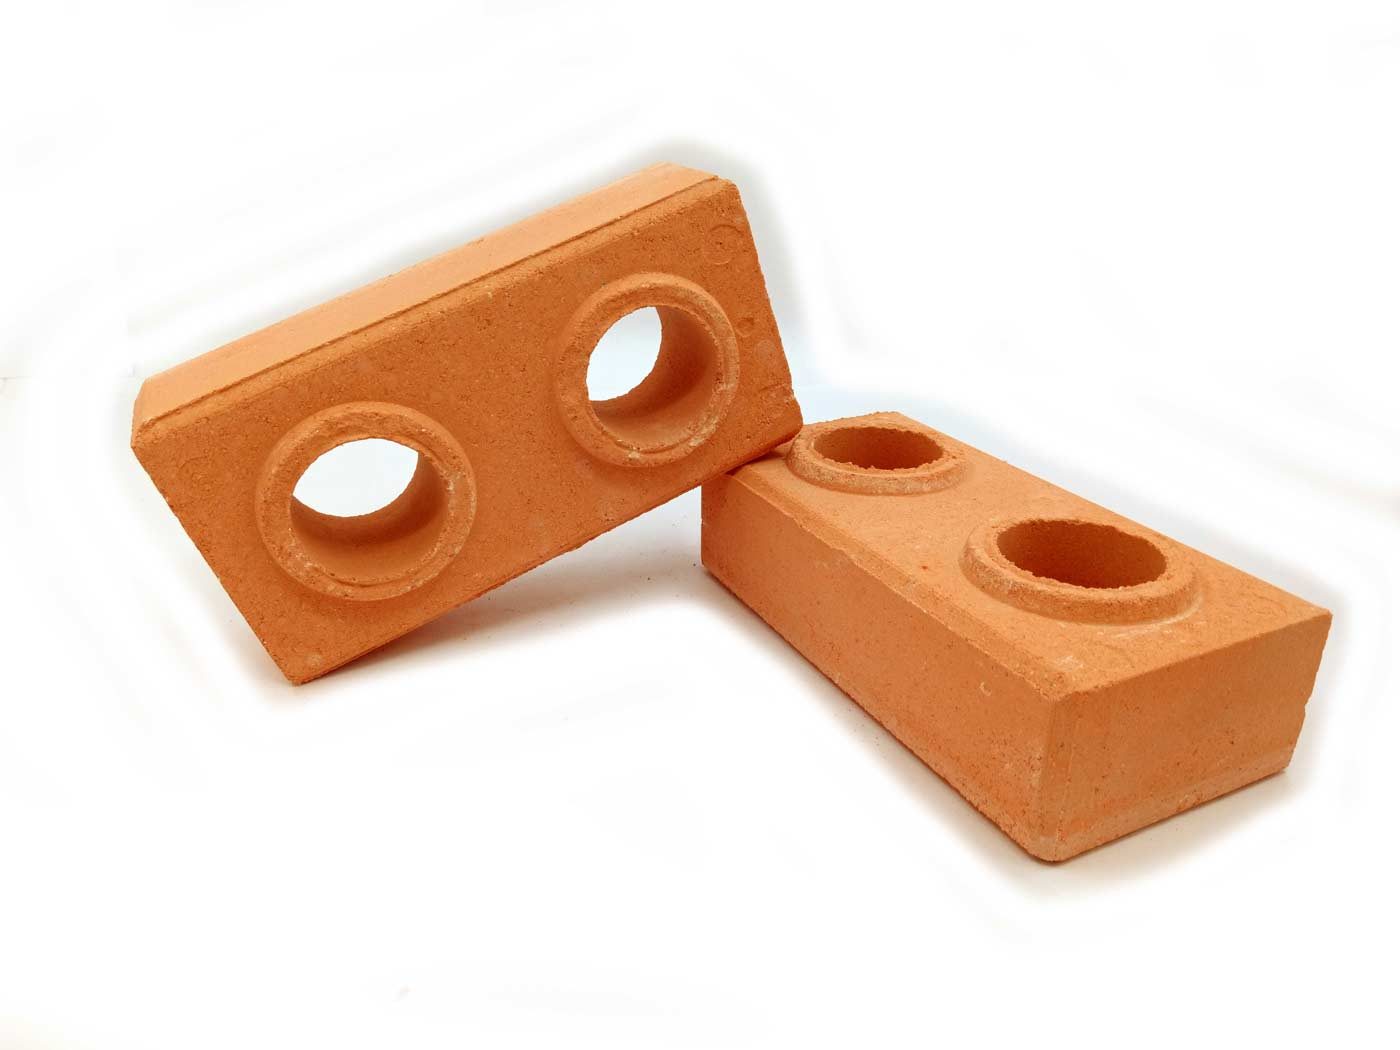
Lay pressed blocks that key into each other so the wall goes up dry — far less mortar, far less cement, and a straight wall even with a small crew.
- Estimated cost
- $120 – $350 for a small room's walls if soil is on site
- Skill level
- Intermediate
- Time
- 2 – 3 weeks including block curing
Not yet verified
No confirmed build with photo proof has been submitted for this plan yet. Built it? Send photos and it earns the badge.
Tools
- Block press
- Sieve (6 mm)
- Wheelbarrow
- Shovels
- Spirit level
- String line
Short a tool or material? Builders below have often swapped something local in — read Local adaptations before you buy anything.
Materials
Dimensions & cut list
A loadbearing wall of interlocking stabilised soil blocks (ISSB) for a single-storey room. These are the reference sizes from Appropedia — scale them to what you have, but keep the ratios.
| Block size | 220 × 140 × 115 mm with interlock keys |
|---|---|
| Cement stabilisation | 6–10% by weightDo a trial: dry blocks must survive 24 hours submerged |
| Soil grading | 60–75% sand, 10–20% silt, 10–20% clay |
| Compaction moisture | Optimum by drop test — a squeezed ball breaks cleanly when dropped from waist height |
| Curing | 7 days damp under plastic, 21 days air-dry before laying |
| Mortar | Dry-stacked, thin slurry only at the corners and openings |
| Wall height | 2.7 m max with a ring beam at the top |
| Blocks per m² of wall | ≈ 32 |
Take this list to the yard
- 1ISSB press (manual)
- ≈ 1 bag per 100 blocks at 8%Cement
- ≈ 1 m³ per 300 blocksScreened subsoil
- As per perimeterReinforced ring beam steelThe ring beam ties the dry-stacked wall together — never omit it
- As per perimeterDamp-proof course at plinth level
Step by step
Step 1 of 6
Test the soil before you press a single block
Do a jar sedimentation test: you want roughly 60 – 75% sand and 15 – 30% clay. Too much clay and blocks crack as they dry; too much sand and they crumble. Adjust by blending soils, not by adding more cement.
Swipe or use arrow keys
1. Test the soil before you press a single block
Do a jar sedimentation test: you want roughly 60 – 75% sand and 15 – 30% clay. Too much clay and blocks crack as they dry; too much sand and they crumble. Adjust by blending soils, not by adding more cement.
2. Mix dry, then bring to hand-ball moisture
Turn soil and cement dry three times until the colour is uniform, then sprinkle water and turn again. Squeeze a handful: it should hold its shape and break cleanly in two when dropped from waist height.
3. Press and stack
Fill the mould level, press with a steady full stroke, and eject. Carry blocks flat on both hands to the curing stack. Use a mix within 45 minutes of adding water — after that the cement has started to set and the block loses strength.
4. Cure for seven days minimum
Stack blocks with air gaps, cover with plastic, and wet them twice a day for seven days, then air-dry for two more weeks. Curing — not pressing — is where most block projects lose their strength.
5. Build off a proper plinth
Lay the first course in mortar on a stone or concrete plinth at least 300 mm above ground so splash-back never reaches the blocks. Check level obsessively: every later course inherits this one's errors.
6. Dry-stack, then tie the top
Stack the interlocking courses dry, keeping vertical joints staggered. Fill the aligned cavities with mortar and a reinforcing bar at corners and openings, then cast a continuous ring beam before the roof goes on.
Why mine failed
The ways this build usually goes wrong, and what fixes it.
Blocks crumble at the edges after curing
CauseToo little cement, or wrong soil
FixTest your soil grading and lift stabilisation to 8–10%. Very clayey soil will never make a good block no matter how much cement you add.
Blocks soften in the rains
CauseUnder-stabilised, or laid without a damp-proof course
FixSubmerge a test block for 24 hours before committing to a mix, lay a DPC at plinth level, and give the wall a good roof overhang.
Wall bows as courses rise
CauseBlocks of inconsistent height
FixKeep the press feed volume identical every time and grade blocks, using the best for the visible courses. Interlock magnifies any height variation.
Cracks at the door and window corners
CauseNo lintels or ring beam
FixCast reinforced lintels over openings and a continuous ring beam at wall top before the roof goes on.
Safety notes
- Cement burns skin and eyes — wear gloves and rinse splashes immediately.
- Blocks are heavy; lift with two hands and keep stacks below shoulder height.
- Never skip the ring beam in seismic or high-wind areas — dry-stacked walls rely on it.
Source & attribution
This plan is our build-step write-up of work documented by Appropedia. The original design and documentation belong to them — go read the source before you build.
Interlocking stabilised soil blocksLocal adaptations
What builders changed to make this work where they live.
- No adaptations shared yet for this plan.
Build this alongside
Plans that use the same materials or serve the same need.
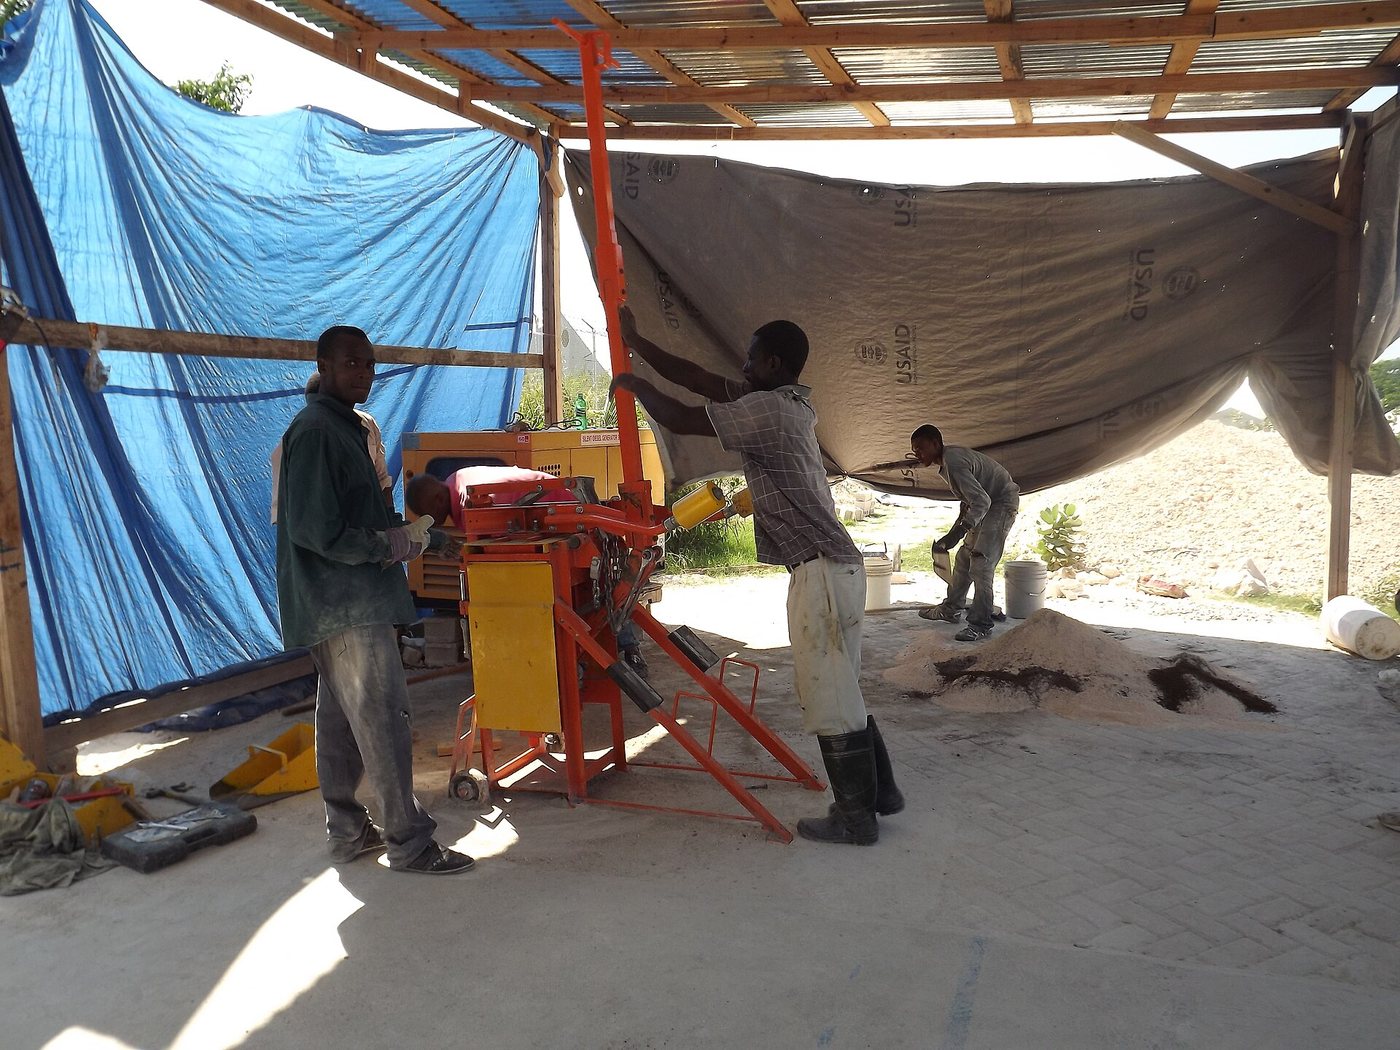
Manual Compressed Earth Block Press
A hand-built compound-lever press that turns local soil into load-bearing building blocks for about the price of a bag of cement.
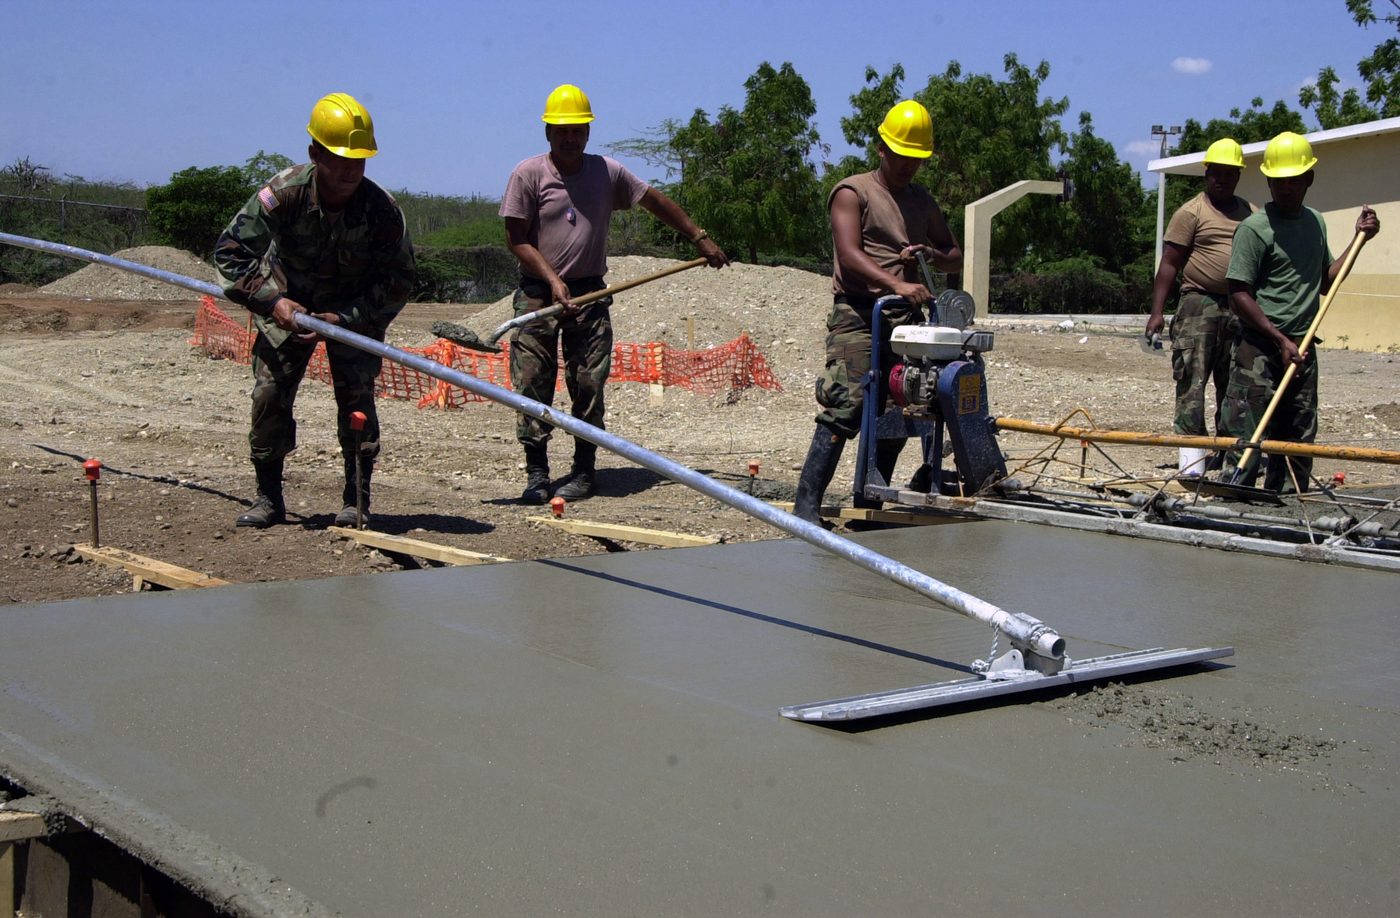
Soil-Cement Floor Slab
Replace a dust floor with a compacted, cement-stabilised earth slab that sweeps clean, resists damp and costs a fraction of a full concrete pour.
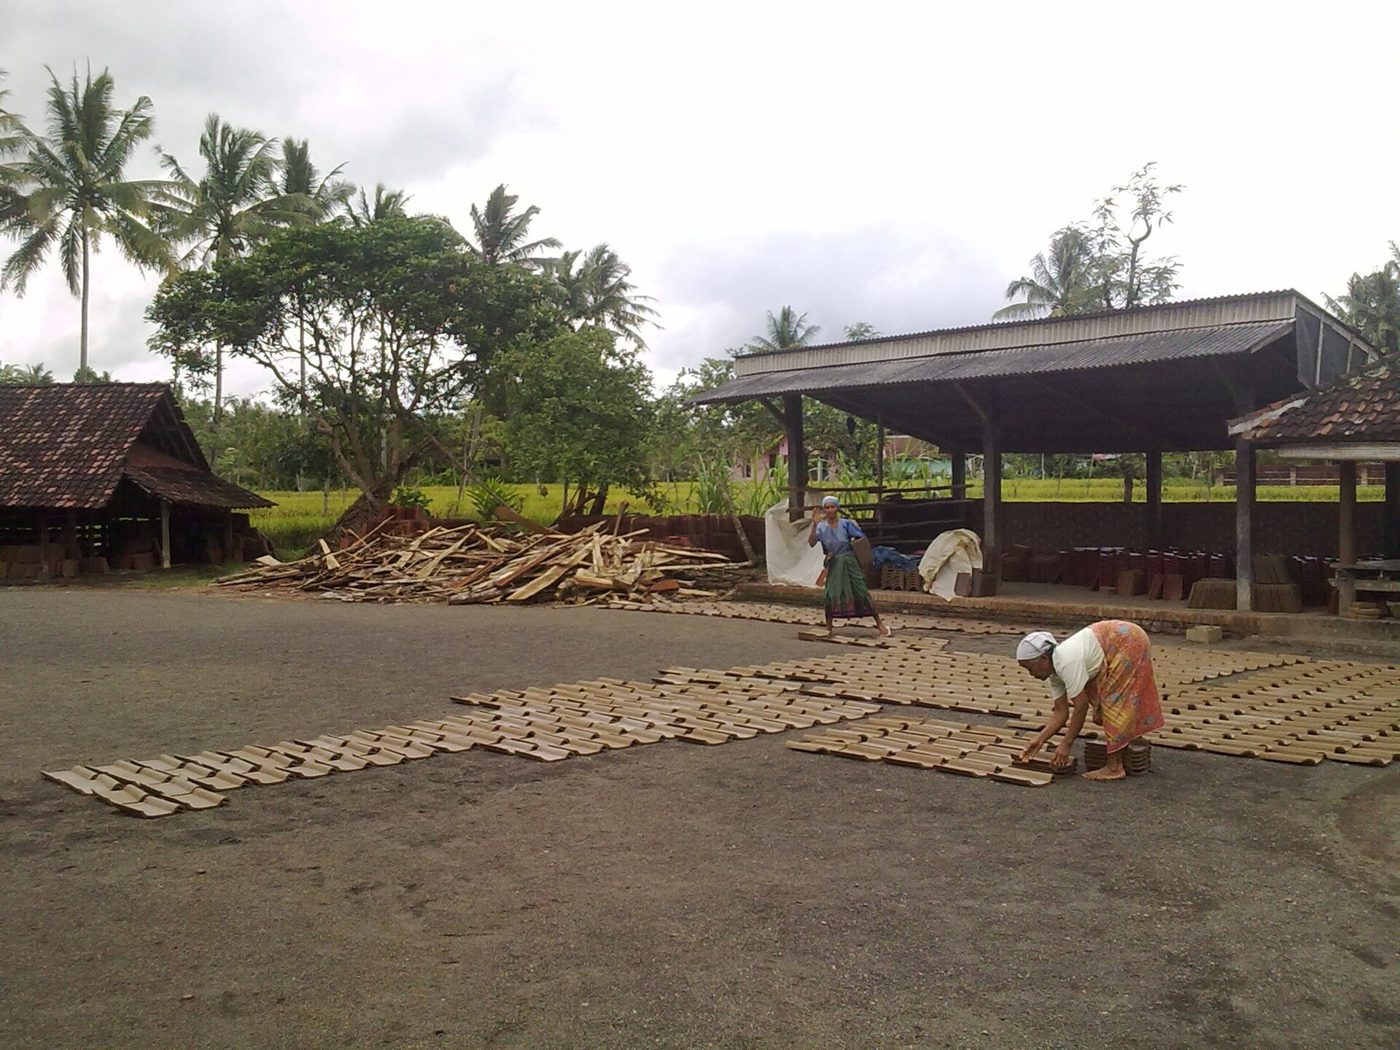
Micro-Concrete Roof Tiles
Vibrate thin sand-cement tiles on a simple screeding table and roof a house for a fraction of imported sheet cost — quieter in rain and far cooler inside.