
Micro-Concrete Roof Tiles
Vibrate thin sand-cement tiles on a simple screeding table and roof a house for a fraction of imported sheet cost — quieter in rain and far cooler inside.
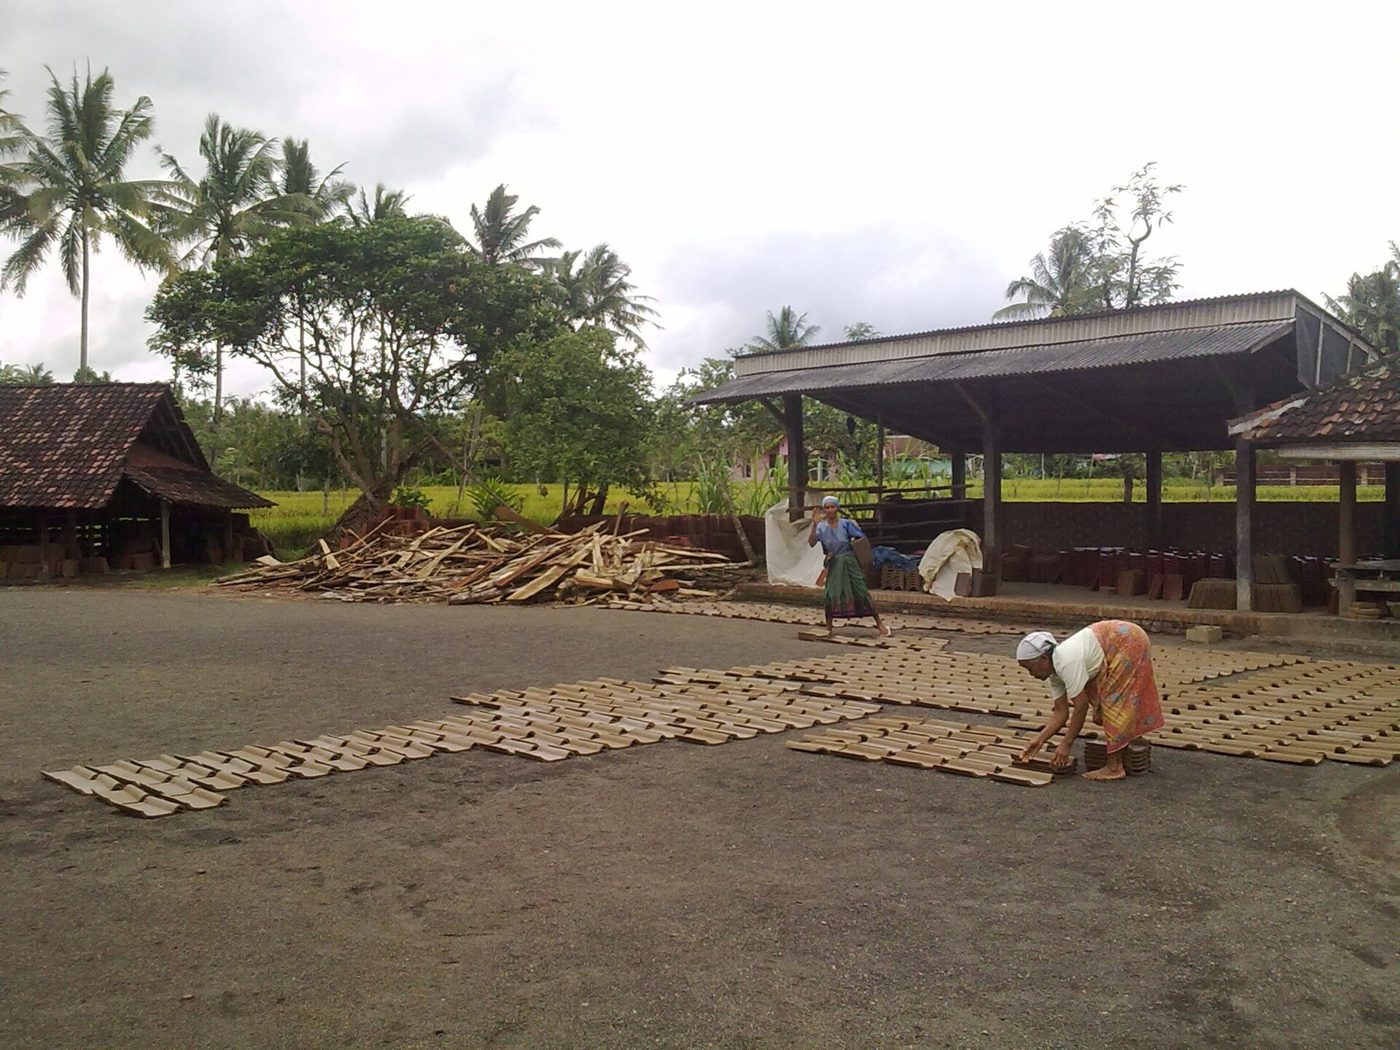
- Estimated cost
- $0.30 – $0.60 per tile in materials; roughly 14 tiles per m²
- Skill level
- Intermediate
- Time
- Ongoing production; 3 weeks from first tile to a roofable batch
Not yet verified
No confirmed build with photo proof has been submitted for this plan yet. Built it? Send photos and it earns the badge.
Tools
- Vibrating screeding table or hand tamper
- Mould pallets and curved setting frames
- Buckets and measuring tin
- Trowel and straight edge
- Curing tank or lined pit
If you don't have it
- No vibrating table? A hand-cranked eccentric on a hinged plywood table, or tamping the mortar 40 times per tile with a wooden float, reaches usable density.
Materials
- Clean sharp river sand, washed and sieved to 2 mm
- Ordinary Portland cement, 1 part to 3 parts sand
- Water — clean enough to drink
- Thin plastic sheets for the tile pallets
- Timber battens for the roof framing
Dimensions & cut list
Vibrated micro-concrete roof tiles made on a hand-powered screeding table. These are the reference sizes from Practical Action — scale them to what you have, but keep the ratios.
| Tile size | 25 × 50 cm, 8–10 mm thick |
|---|---|
| Mix | 1 cement : 3 sharp sand by volumeSand sieved at 2 mm, washed free of silt |
| Water/cement ratio | 0.4 — a stiff, barely damp mix |
| Vibration | 45–60 seconds on the table |
| Roof pitch | 22–30°Below 22° wind-driven rain drives back up the lap |
| Overlap | 7.5 cm head lap |
| Curing | 24 h in the mould, 7 days under water, 21 days in shade before it goes on a roof |
Take this list to the yard
- ≈ 12Tiles per m² of roof
- ≈ 50 kgCement per 100 tiles
- ≈ 0.15 m³Sieved sand per 100 tiles
- 40+Fibre-cement or plastic pallets (moulds)The number of moulds sets your daily output
- 1 m³Curing tank
Step by step
Step 1 of 6
Wash and grade the sand
Silty sand is the single biggest cause of weak tiles. Wash until the rinse water runs clear and sieve out anything above 2 mm.
Swipe or use arrow keys
1. Wash and grade the sand
Silty sand is the single biggest cause of weak tiles. Wash until the rinse water runs clear and sieve out anything above 2 mm.
2. Mix a stiff 1:3 mortar
Measure by the tin, not by eye. The mix should be plastic but not runny — a wet mix vibrates flat and dries porous.
3. Screed and vibrate
Spread mortar on the plastic sheet on the vibrating table, screed to 8 – 10 mm, and vibrate for 8 – 12 seconds until the surface glistens. Longer than that and the sand settles out.
4. Set the curve
Lift the sheet with the fresh tile onto a curved setting frame and leave it undisturbed overnight. Handle only the sheet, never the tile.
5. Cure underwater for a week
Demould after 24 hours and submerge tiles in a water tank for seven days, then air-cure in the shade for two more weeks before they go on a roof.
6. Fix on battens with overlap
Batten spacing follows the tile length minus the overlap — typically 320 mm. Hook each tile over the batten and tie every tile in the edge and ridge courses against wind lift.
Why mine failed
The ways this build usually goes wrong, and what fixes it.
Tiles break when handled
CauseCured dry, or the mix was too wet
FixKeep tiles under water for a full 7 days and out of the sun for 21 before they go up. Use a stiff 0.4 water/cement mix — a wet mix looks easier and gives weak tiles.
Roof leaks along the laps in wind-driven rain
CausePitch too shallow or head lap too short
FixKeep the pitch at 22° or steeper and the head lap at 7.5 cm. On exposed sites, increase the lap rather than reduce the pitch.
Tiles vary in thickness and will not sit flat
CauseScreeding by eye and inconsistent vibration
FixUse a fixed screed bar over the pallet and time the vibration — 45 to 60 seconds every tile, counted, not judged.
Safety notes
- Wet cement burns; wash it off skin promptly and wear eye protection when mixing.
- Green tiles snap easily — never walk on a roof until the tiles have fully cured.
- Test a sample batch by dropping and load testing before roofing a house with them.
Source & attribution
This plan is our build-step write-up of work documented by Practical Action. The original design and documentation belong to them — go read the source before you build.
Fibre and micro-concrete roofing tilesLocal adaptations
What builders changed to make this work where they live.
- No adaptations shared yet for this plan.
Build this alongside
Plans that use the same materials or serve the same need.
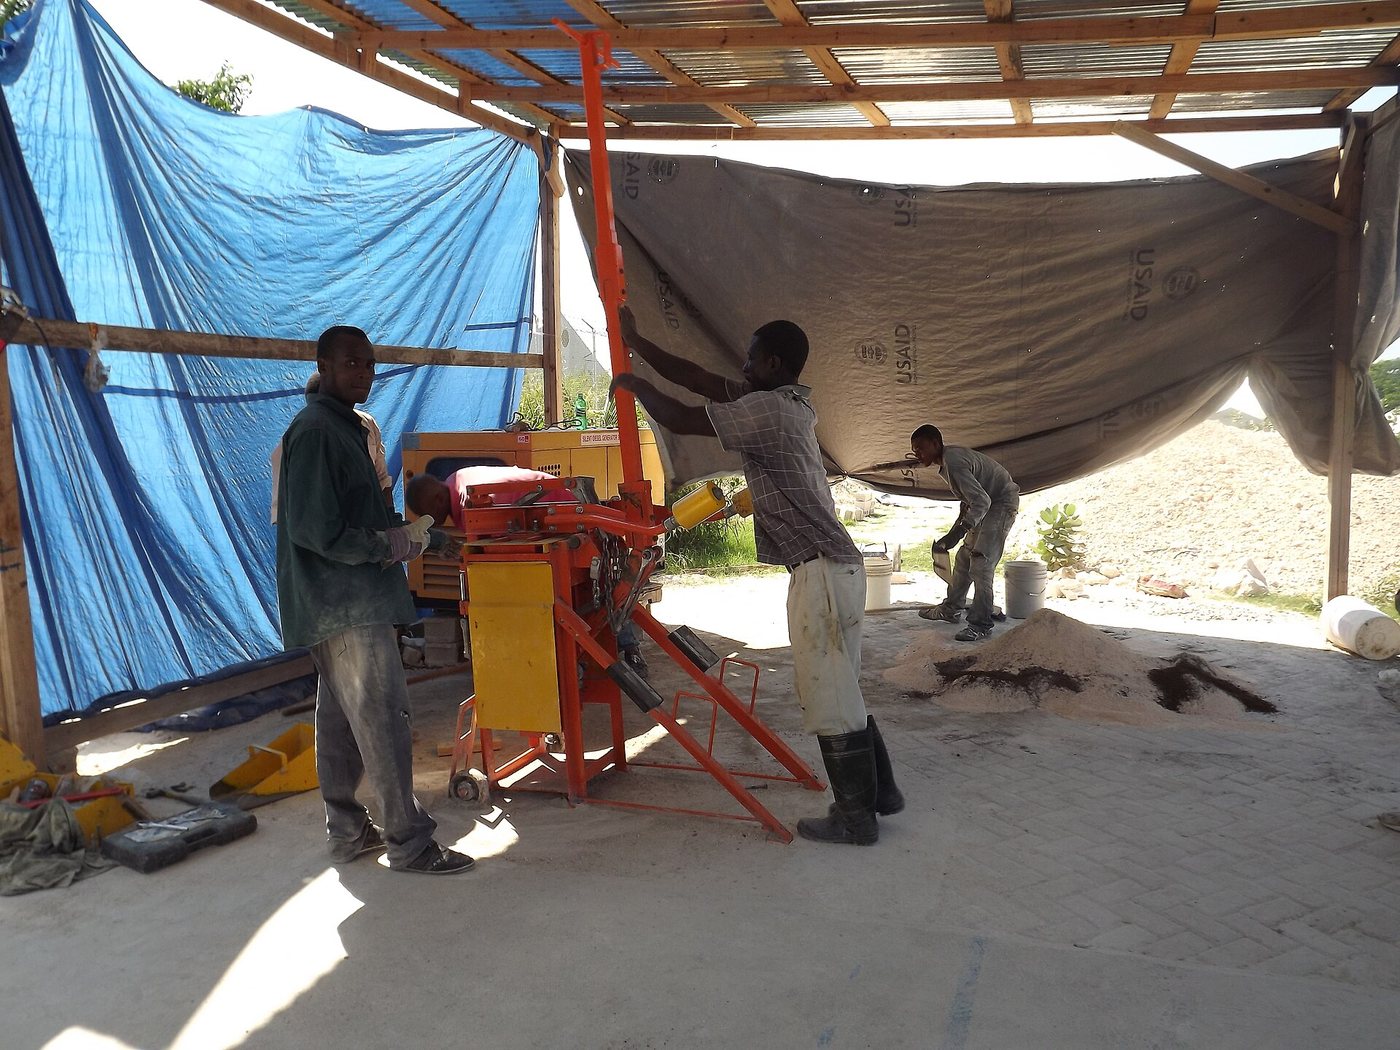
Manual Compressed Earth Block Press
A hand-built compound-lever press that turns local soil into load-bearing building blocks for about the price of a bag of cement.
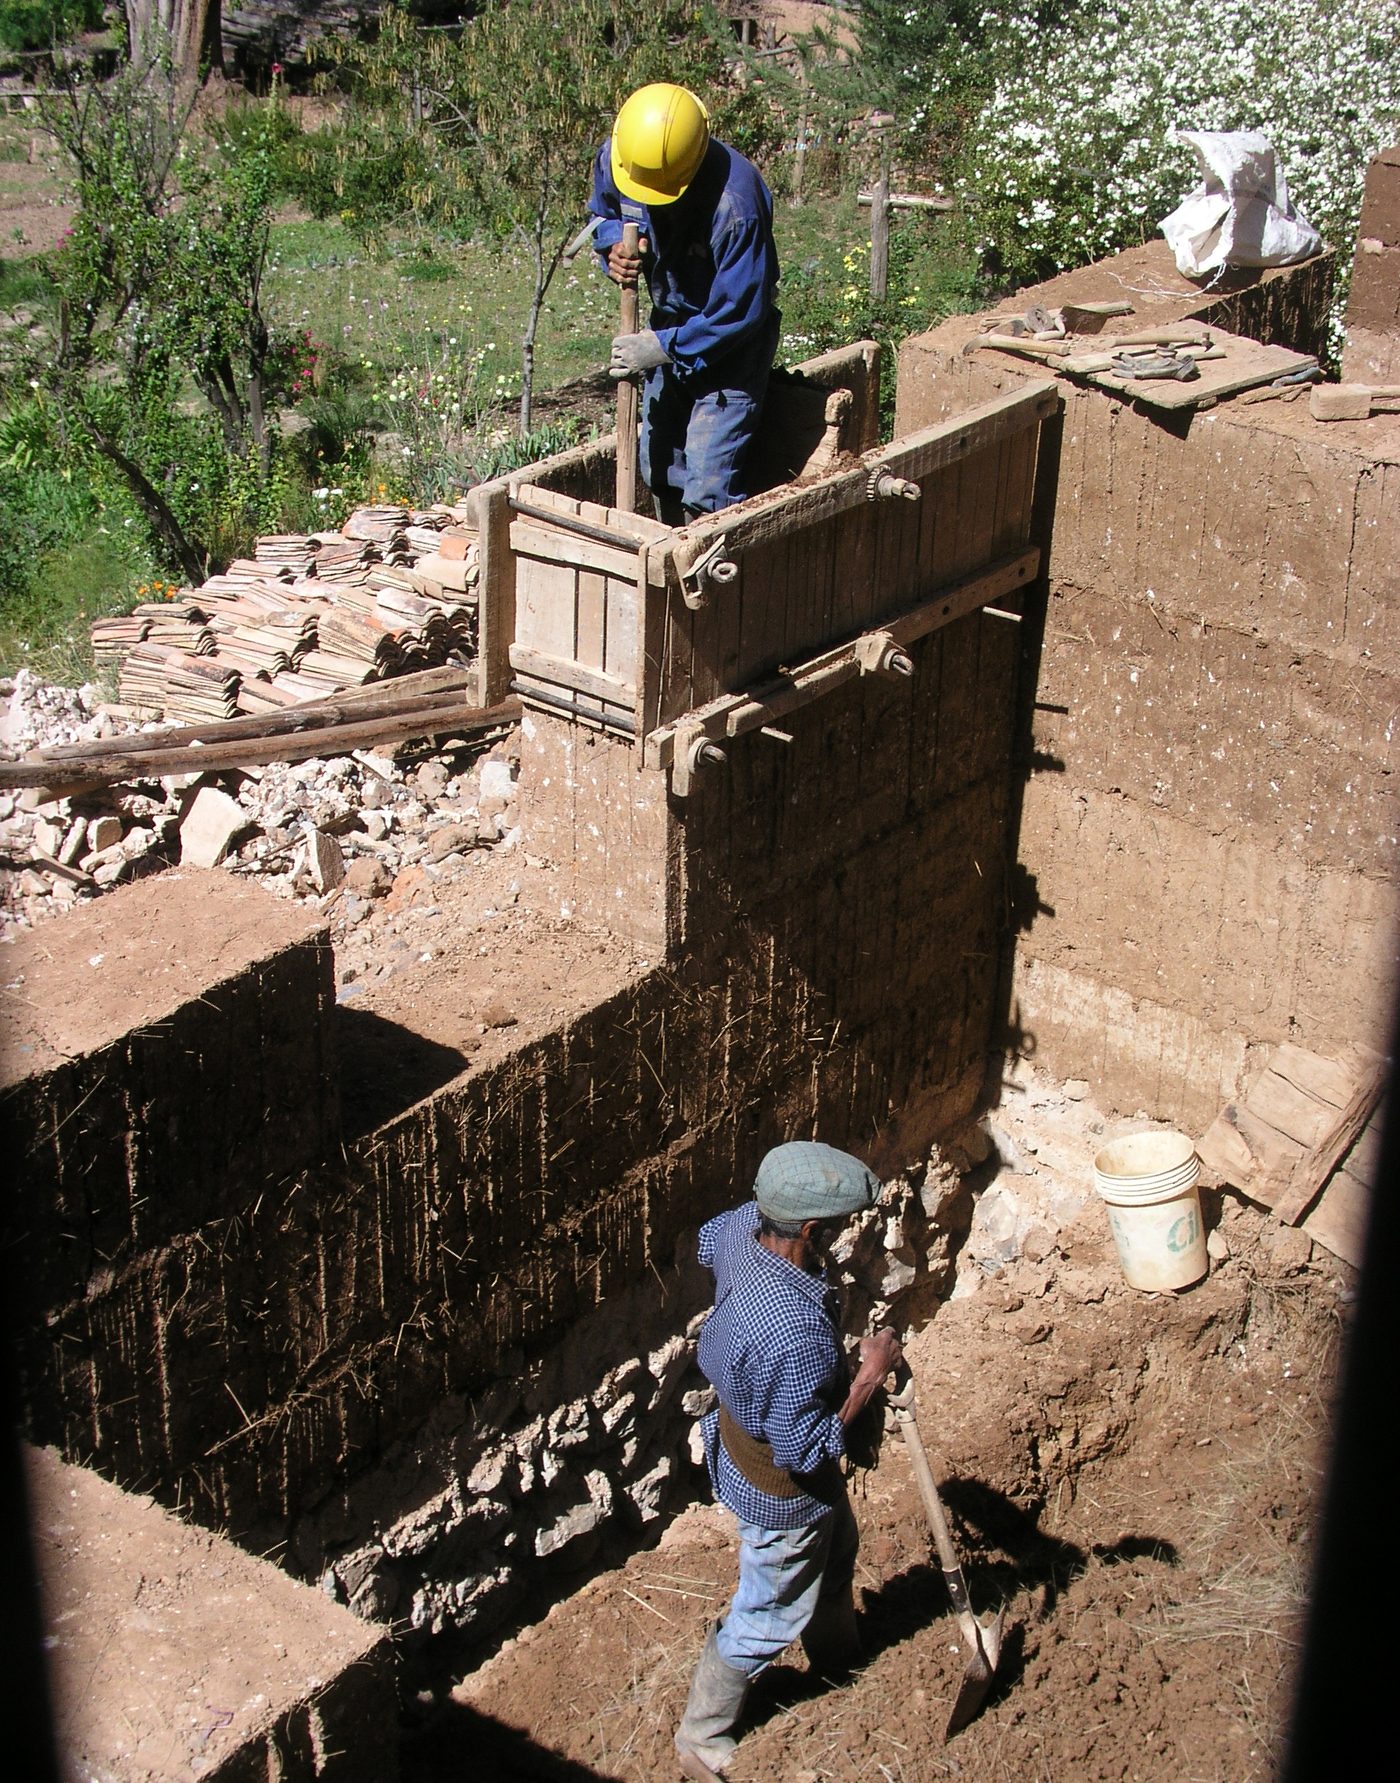
Rammed Earth Wall with Reusable Formwork
Tamp moist sub-soil in timber shuttering to raise thick, thermally massive walls that stay cool through the hottest afternoon.

Bottle Wall Infill & Light Panel
Lay glass bottles in mortar between structural posts to fill non-load-bearing panels and bring daylight deep into a room without buying glazing.