
Airtight Metal Grain Silo
A sealed sheet-metal silo that suffocates weevils and larger grain borer without chemicals — the single best defence against post-harvest loss.
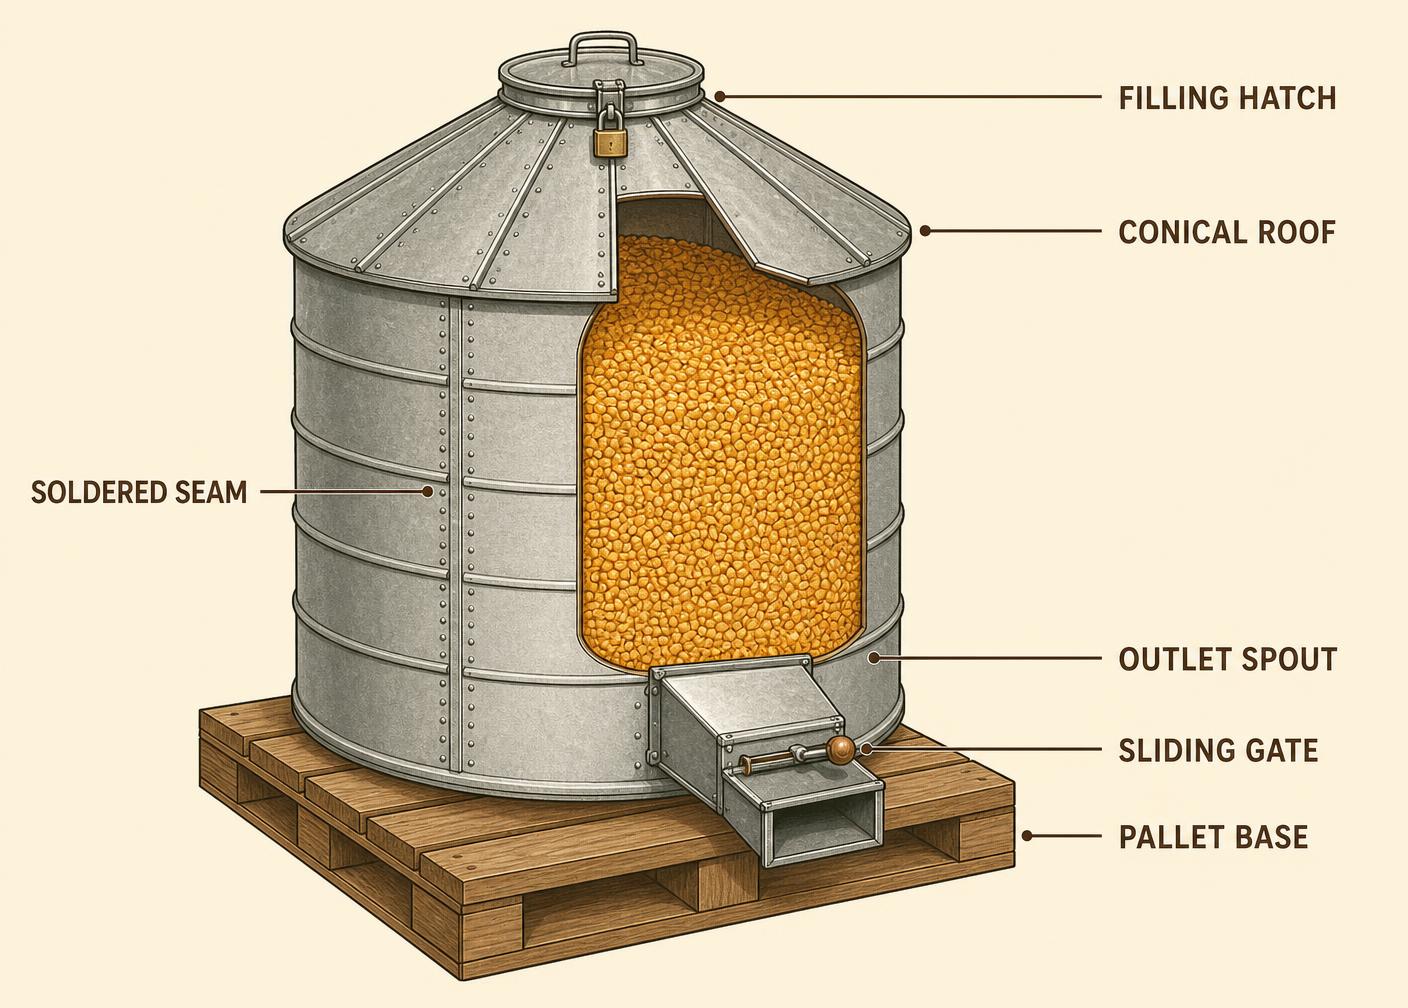
- Estimated cost
- $60 – $300 depending on capacity
- Skill level
- Advanced
- Time
- 2 – 4 days for a skilled tinsmith
Not yet verified
No confirmed build with photo proof has been submitted for this plan yet. Built it? Send photos and it earns the badge.
Tools
- Tin snips
- Soldering iron and flux
- Hammer and stakes
- Folding bar
- Rivets
Short a tool or material? Builders below have often swapped something local in — read Local adaptations before you buy anything.
Materials
- Galvanised steel sheet, 0.5 mm or thicker
- Lead-free solder and flux
- Two sealable openings — a filling hatch on top and an outlet near the base
- Rubber or inner-tube gasket material
- A timber pallet or stone plinth to stand it on
Dimensions & cut list
A hermetic galvanised sheet silo that kills weevils by sealing them out of the air. These are the reference sizes from Practical Action — scale them to what you have, but keep the ratios.
| Sheet gauge | 0.4–0.5 mm galvanised plain sheet |
|---|---|
| Common capacities | 100 kg (0.5 m dia × 0.8 m), 500 kg (0.9 × 1.2 m), 1000 kg (1.1 × 1.5 m) |
| Grain moisture at loading | 13% maximumThe single most common cause of failure — wet grain moulds in a sealed silo |
| Loading hatch | 200 mm diameter with a gasketed lid |
| Discharge outlet | 75 mm, sealed with a screw cap |
| Seams | Folded and soldered or riveted with sealant — airtight, no pinholes |
| Base | Timber pallet or plinth 150 mm clear of the floor |
| Storage life | 12+ months with no chemicals if truly sealed |
Take this list to the yard
- 4 sheets per 500 kg siloGalvanised sheet, 2 × 1 m
- 1 kg / 200 rivetsSolder and flux, or rivets plus sealant
- 2 mRubber gasket strip
- 1Candle for the burn testSealed silo: a candle inside must snuff out
- 1Timber plinth
Step by step
Step 1 of 6
Roll and seam the body
Form the sheet into a cylinder and seam it with a folded and soldered joint. Every seam must be continuous — a pinhole defeats the whole principle.
Swipe or use arrow keys
1. Roll and seam the body
Form the sheet into a cylinder and seam it with a folded and soldered joint. Every seam must be continuous — a pinhole defeats the whole principle.
2. Solder in the base and top
Fit a base disc and a coned or flat top with the filling hatch. Solder inside and out, then check by shining a light inside in a dark room.
3. Gasket the hatches
Line hatch rims with inner-tube rubber and fit clamps or wing nuts so the covers pull down airtight.
4. Dry the grain properly first
Grain must be at 13% moisture or below before it goes in. Wet grain in a sealed silo moulds and you lose the lot.
5. Fill full and seal
Fill to the top so there is minimal air space, seal both hatches, and leave it. Insects consume the remaining oxygen and die within days to weeks.
6. Stand it up, shaded and off the ground
Place the silo on a pallet or plinth under shade, away from the wall, and check the seals each season for rust and solder cracks.
Why mine failed
The ways this build usually goes wrong, and what fixes it.
Grain moulds and cakes inside the silo
CauseLoaded above 13% moisture
FixDry the grain properly first — bite test, or dry until it cracks rather than dents. A sealed silo cannot dry grain; it only preserves the condition you put in.
Weevils still alive after months
CauseThe silo is not actually airtight
FixDo the candle test: a lit candle inside a sealed silo must go out within a minute. If it burns on, find the pinholes at the seams and solder or seal them, and replace the lid gasket.
Silo rusts through at the base
CauseStanding on a damp floor
FixSet it on a timber pallet or plinth 150 mm clear of the ground, indoors and out of direct sun.
Safety notes
- Use lead-free solder — this vessel holds food.
- Sheet metal edges cut badly; wear gloves and dress every edge.
- A sealed full silo has low oxygen; never put your head inside one and ventilate before entry into large silos.
- Do not add pesticide inside a hermetic silo; the seal does the work.
Source & attribution
This plan is our build-step write-up of work documented by Practical Action. The original design and documentation belong to them — go read the source before you build.
Metal silos for grain storageLocal adaptations
What builders changed to make this work where they live.
- No adaptations shared yet for this plan.
Build this alongside
Plans that use the same materials or serve the same need.

Treadle Pump for Smallholder Irrigation
A foot-powered twin-cylinder pump that lifts shallow groundwater or river water for a quarter-hectare plot without any fuel.
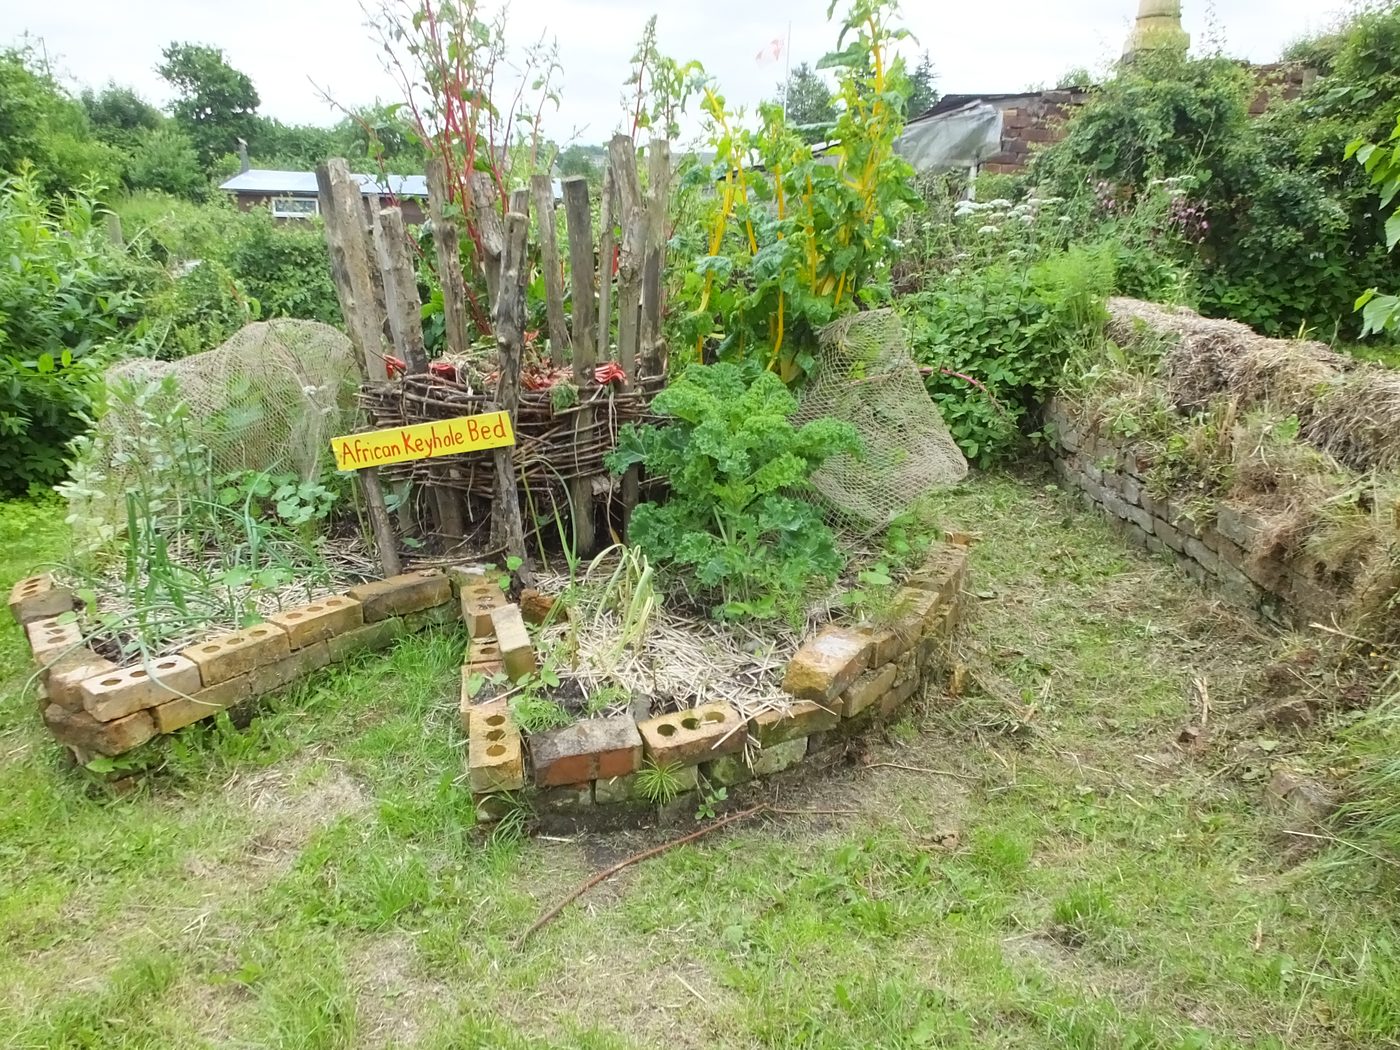
Keyhole Garden with Central Compost Basket
A raised circular bed fed and watered from a compost basket at its centre — high yield on poor soil with very little water.
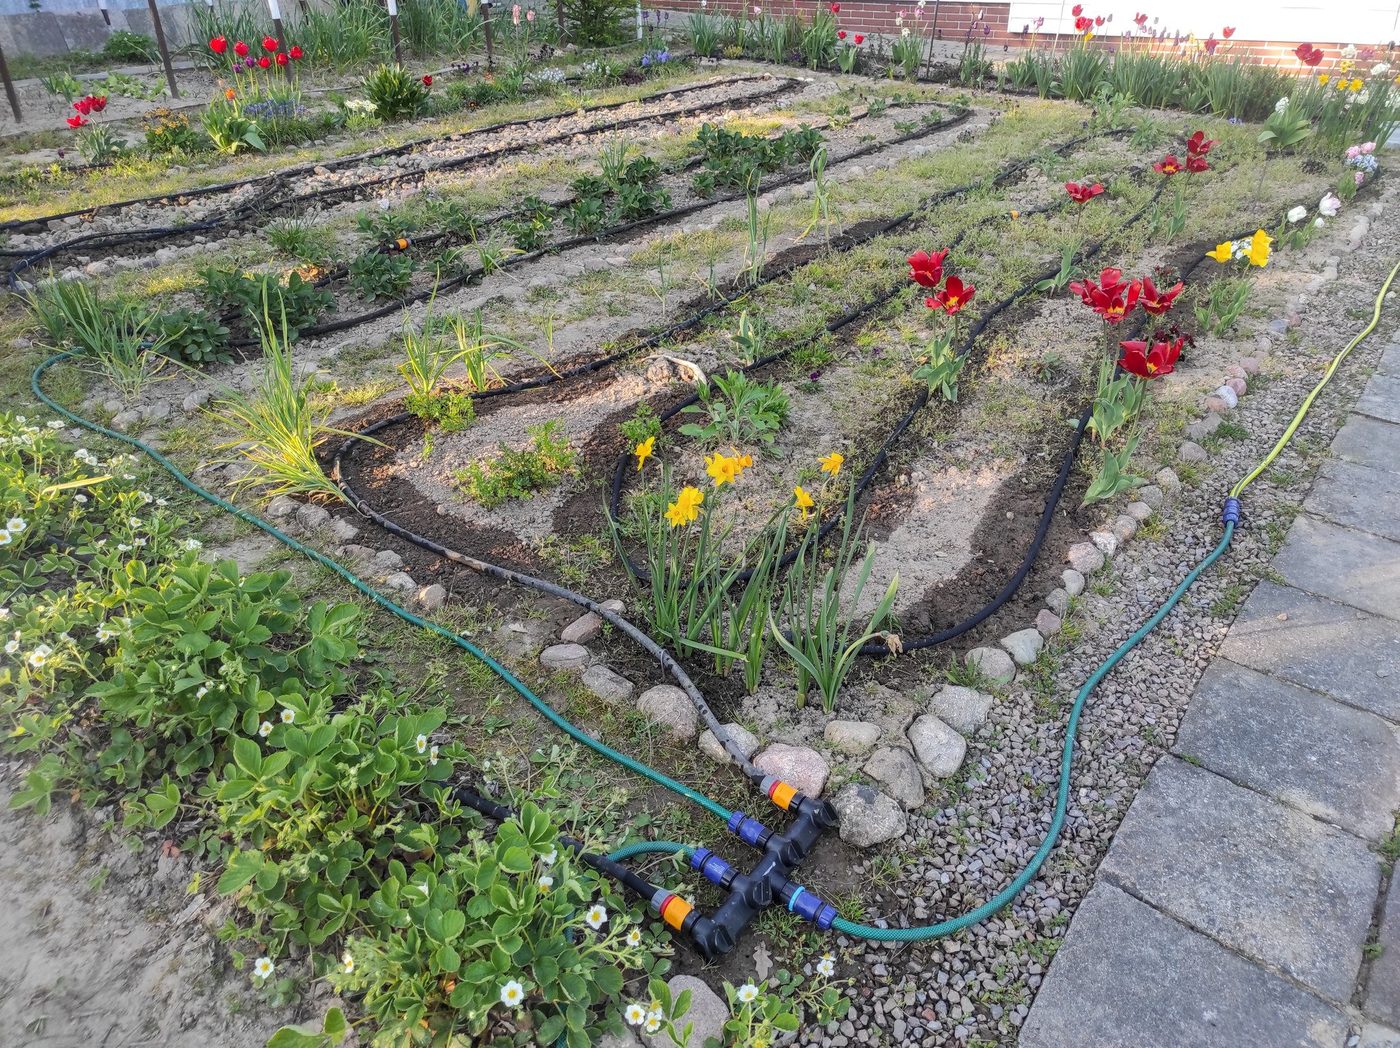
Gravity Drip Irrigation from a Raised Barrel
A 200 L drum on a stand feeds drip lines by gravity alone, cutting garden water use by around 60% with no pump.