
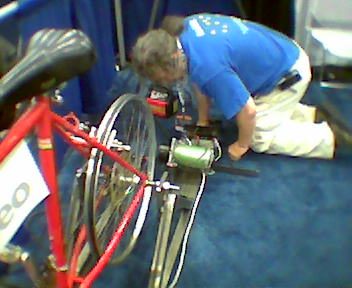
Pedal-Powered Generator
Mount a bicycle on a stand driving a permanent-magnet motor as a generator, and charge phones, lamps and radios with your legs when the grid and the sun are both out.
- Estimated cost
- $60 – $250 depending on the motor and battery
- Skill level
- Intermediate
- Time
- 1 – 2 days
Not yet verified
No confirmed build with photo proof has been submitted for this plan yet. Built it? Send photos and it earns the badge.
Tools
- Welder or heavy bolts and angle iron
- Spanners
- Multimeter
- Soldering iron
- Wire crimpers
Short a tool or material? Builders below have often swapped something local in — read Local adaptations before you buy anything.
Materials
- Bicycle with a rear wheel that can spin free on a stand
- Permanent-magnet DC motor or car alternator (a treadmill motor works well)
- Drive: friction roller on the tyre or a belt to a pulley
- Blocking diode, fuse, and a 12 V charge controller
- 12 V battery, DC sockets and USB converters
Dimensions & cut list
A bicycle-frame stand driving an alternator for phone and light charging: 60–100 W continuous from an average rider. These are the reference sizes from Appropedia / pedal power builders — scale them to what you have, but keep the ratios.
| Rear-wheel to alternator pulley ratio | 1:4 to 1:6 |
|---|---|
| Alternator speed target | 1500–2500 rpm at 60 rpm pedalling |
| Friction roller diameter | 50 mm on the tyreOr replace the wheel with a direct belt from the chainring — quieter and no tyre wear |
| Stand footprint | 900 × 500 mm |
| Saddle height | Rider leg almost straight at the pedal bottom |
| Flywheel | 8–12 kgSmooths the dead spots in the pedal stroke |
Take this list to the yard
- 1Bicycle (any working frame)
- 1Permanent-magnet motor used as generator, or car alternator
- 8 m40 × 40 mm angle-iron stand
- 1 setV-belt and two pulleys
- 1 eachBlocking diode, 12 V charge controller
- 112 V battery, 20–50 Ah
- 1Voltmeter / ammeterRiders pace themselves far better when they can see the output
Step by step
Step 1 of 6
Build a rigid stand
Weld or bolt a frame that holds the bike level and takes the rider's weight without rocking. Everything else depends on the drive staying in line.
Swipe or use arrow keys
1. Build a rigid stand
Weld or bolt a frame that holds the bike level and takes the rider's weight without rocking. Everything else depends on the drive staying in line.
2. Mount the generator
Position the motor so its roller presses firmly on the tyre or its pulley aligns with a belt. Use a tensioner so you can adjust the grip without slipping.
3. Gear it right
You want a comfortable cadence to spin the motor at its rated speed. Too low and you make no voltage; too high and pedalling becomes impossible.
4. Wire the electrics safely
Motor to blocking diode, then fuse, then charge controller, then battery. The diode stops the battery driving the motor backwards when you stop.
5. Measure before you connect loads
With a multimeter, check the output at a steady pedal. A fit rider makes 50 – 150 W continuously — enough for phones and LED lamps, never for a kettle.
6. Finish and label
Box all connections, fit a switch and a voltmeter, and label the sockets with what they can drive.
Why mine failed
The ways this build usually goes wrong, and what fixes it.
Riding is exhausting for very little charge
CauseCar alternator with a hungry field coil
FixUse a permanent-magnet motor as the generator instead. Car alternators need high rpm and steal power just to energise the field.
Belt or roller slips under load
CauseFriction drive on a smooth tyre
FixTension the belt properly, or better, drive straight off the chainring with a proper pulley. Friction rollers shred tyres and lose a third of the power.
Battery drains back through the generator when nobody is pedalling
CauseNo blocking diode
FixFit a blocking diode or the controller's reverse-current protection between the generator and the battery.
Riders quit after two minutes
CauseNo feedback and no flywheel
FixAdd a visible voltmeter/ammeter and a 8–12 kg flywheel. Smooth pedalling with a visible score keeps people going far longer.
Safety notes
- Guard the roller, belt and any exposed pulley. Fingers, hair and loose clothing get caught fast.
- Always fuse the battery lead — a shorted lead-acid battery melts wire and starts fires.
- Charge lead-acid batteries in a ventilated place; they vent hydrogen.
- Never wire a pedal generator to mains circuits or household wiring.
Source & attribution
This plan is our build-step write-up of work documented by Appropedia / pedal power builders. The original design and documentation belong to them — go read the source before you build.
Pedal powered generatorLocal adaptations
What builders changed to make this work where they live.
Field note · Kenya
Phone-charging kiosks pair a pedal rig with a small solar panel on the same controller, so income keeps flowing through cloudy weeks.
Build this alongside
Plans that use the same materials or serve the same need.
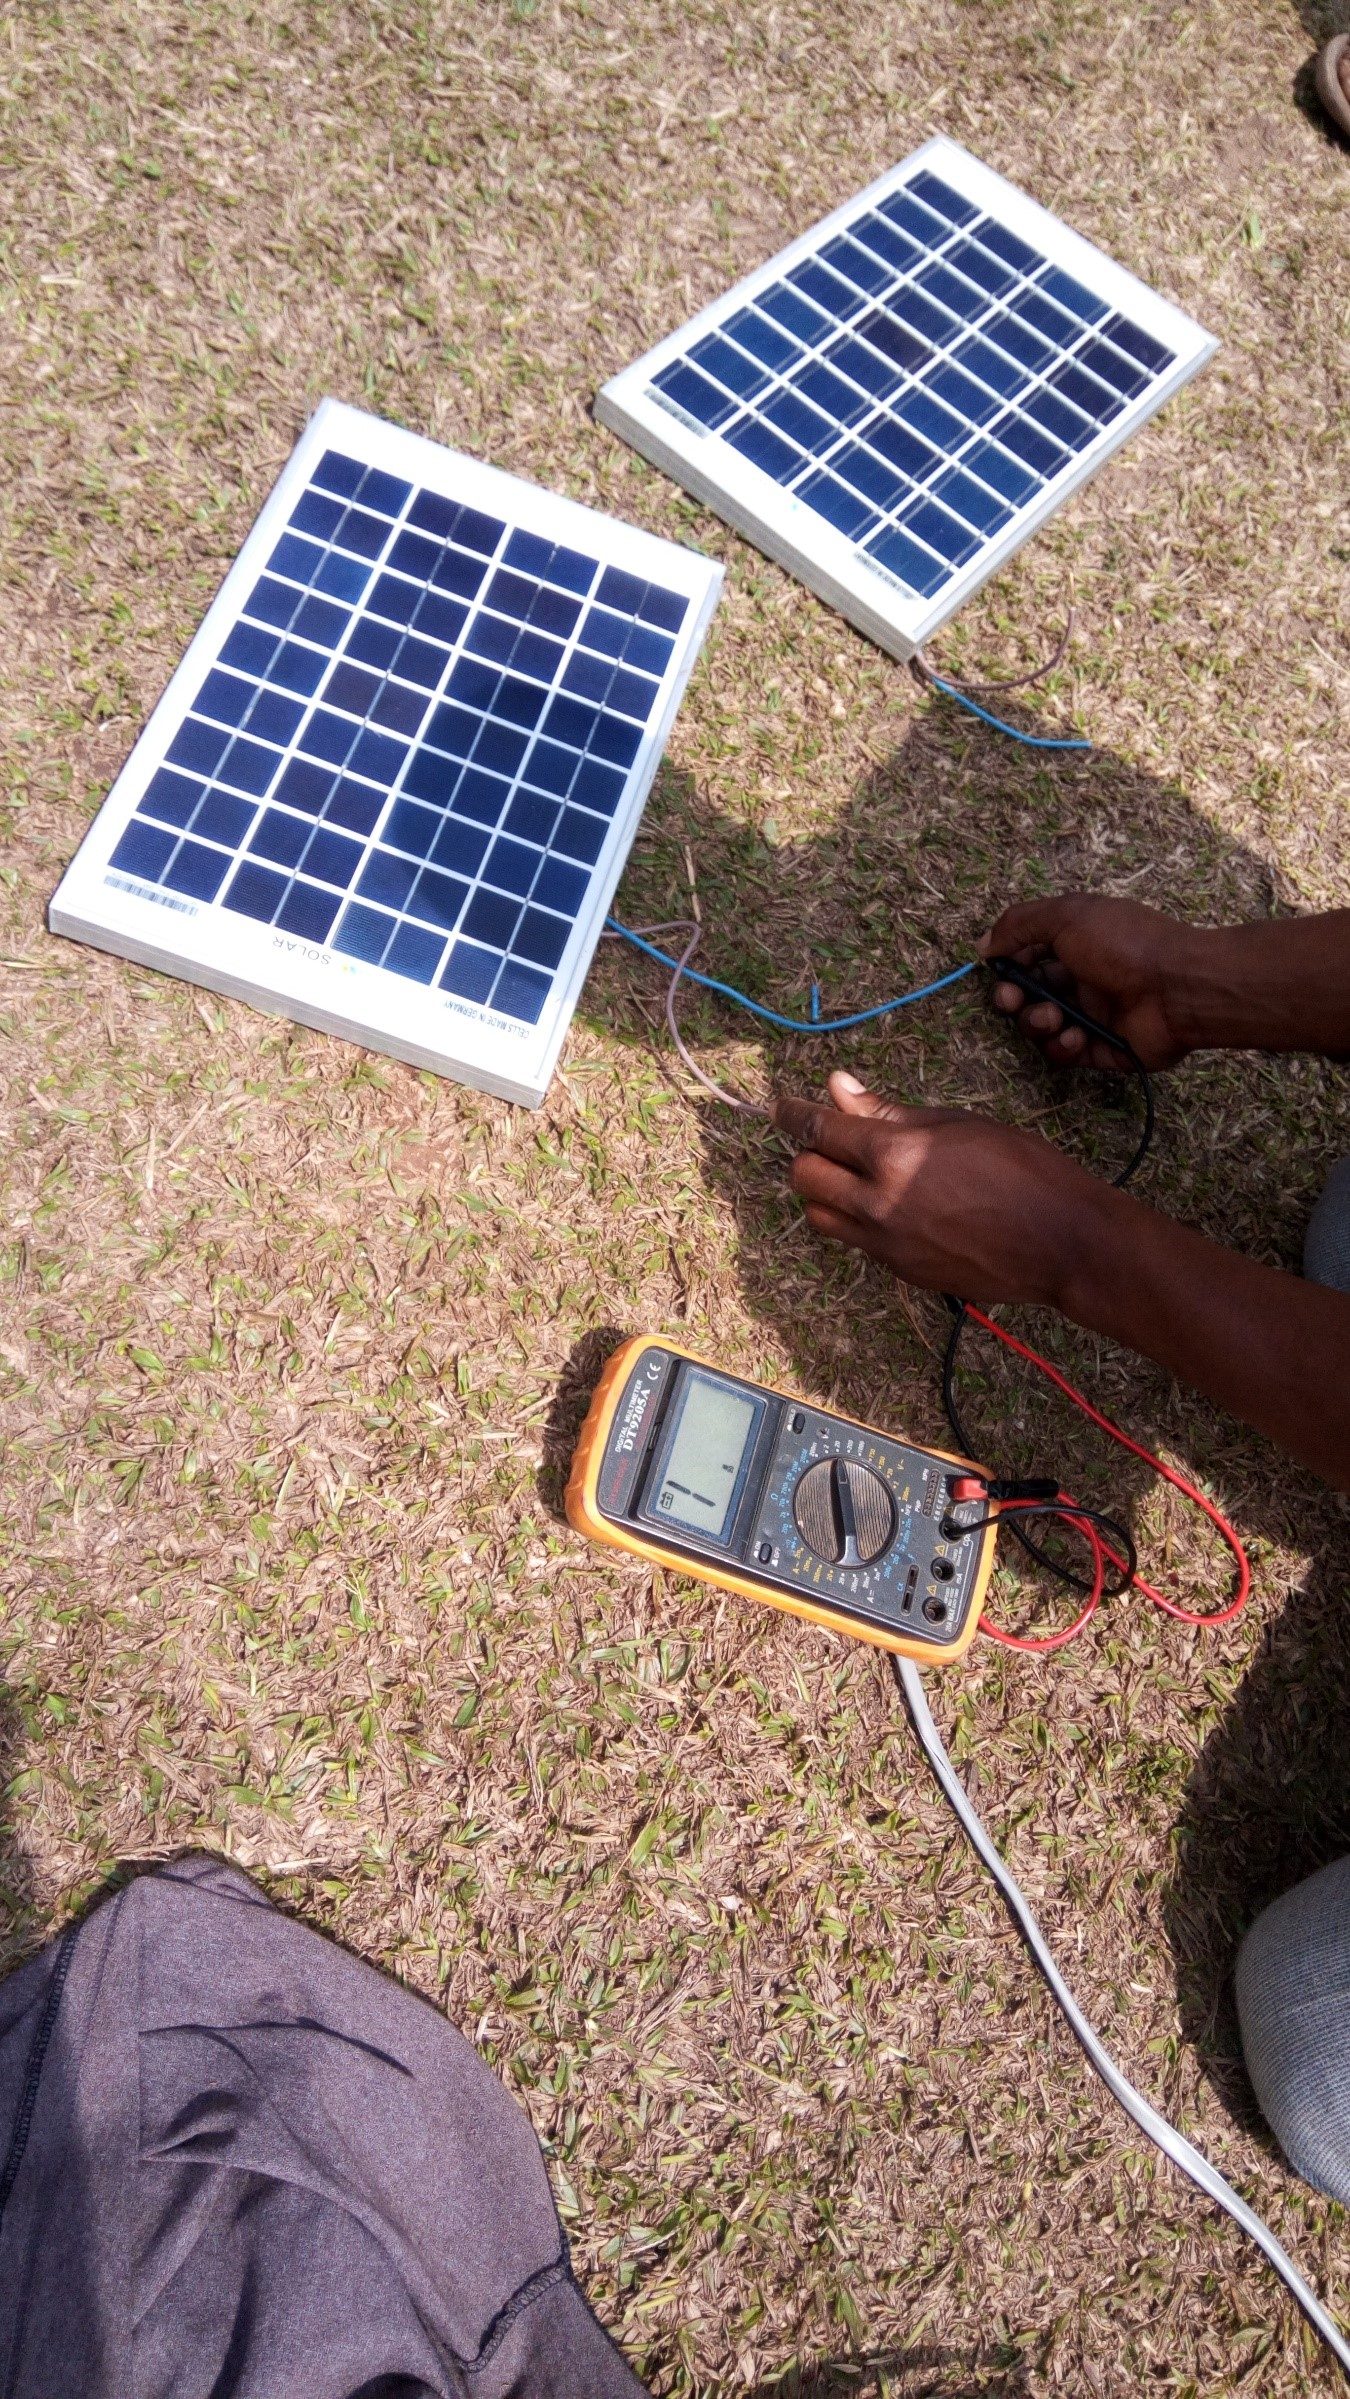
Solar Phone Charging Bench
A small panel, charge controller and battery wired into a multi-port charging bench — reliable phone charging at home, or a shop that pays for itself in a season.

Lever-Arm Charcoal Briquette Press
Press agricultural waste and charcoal dust into burnable briquettes, turning a disposal problem into cooking fuel or a product to sell.
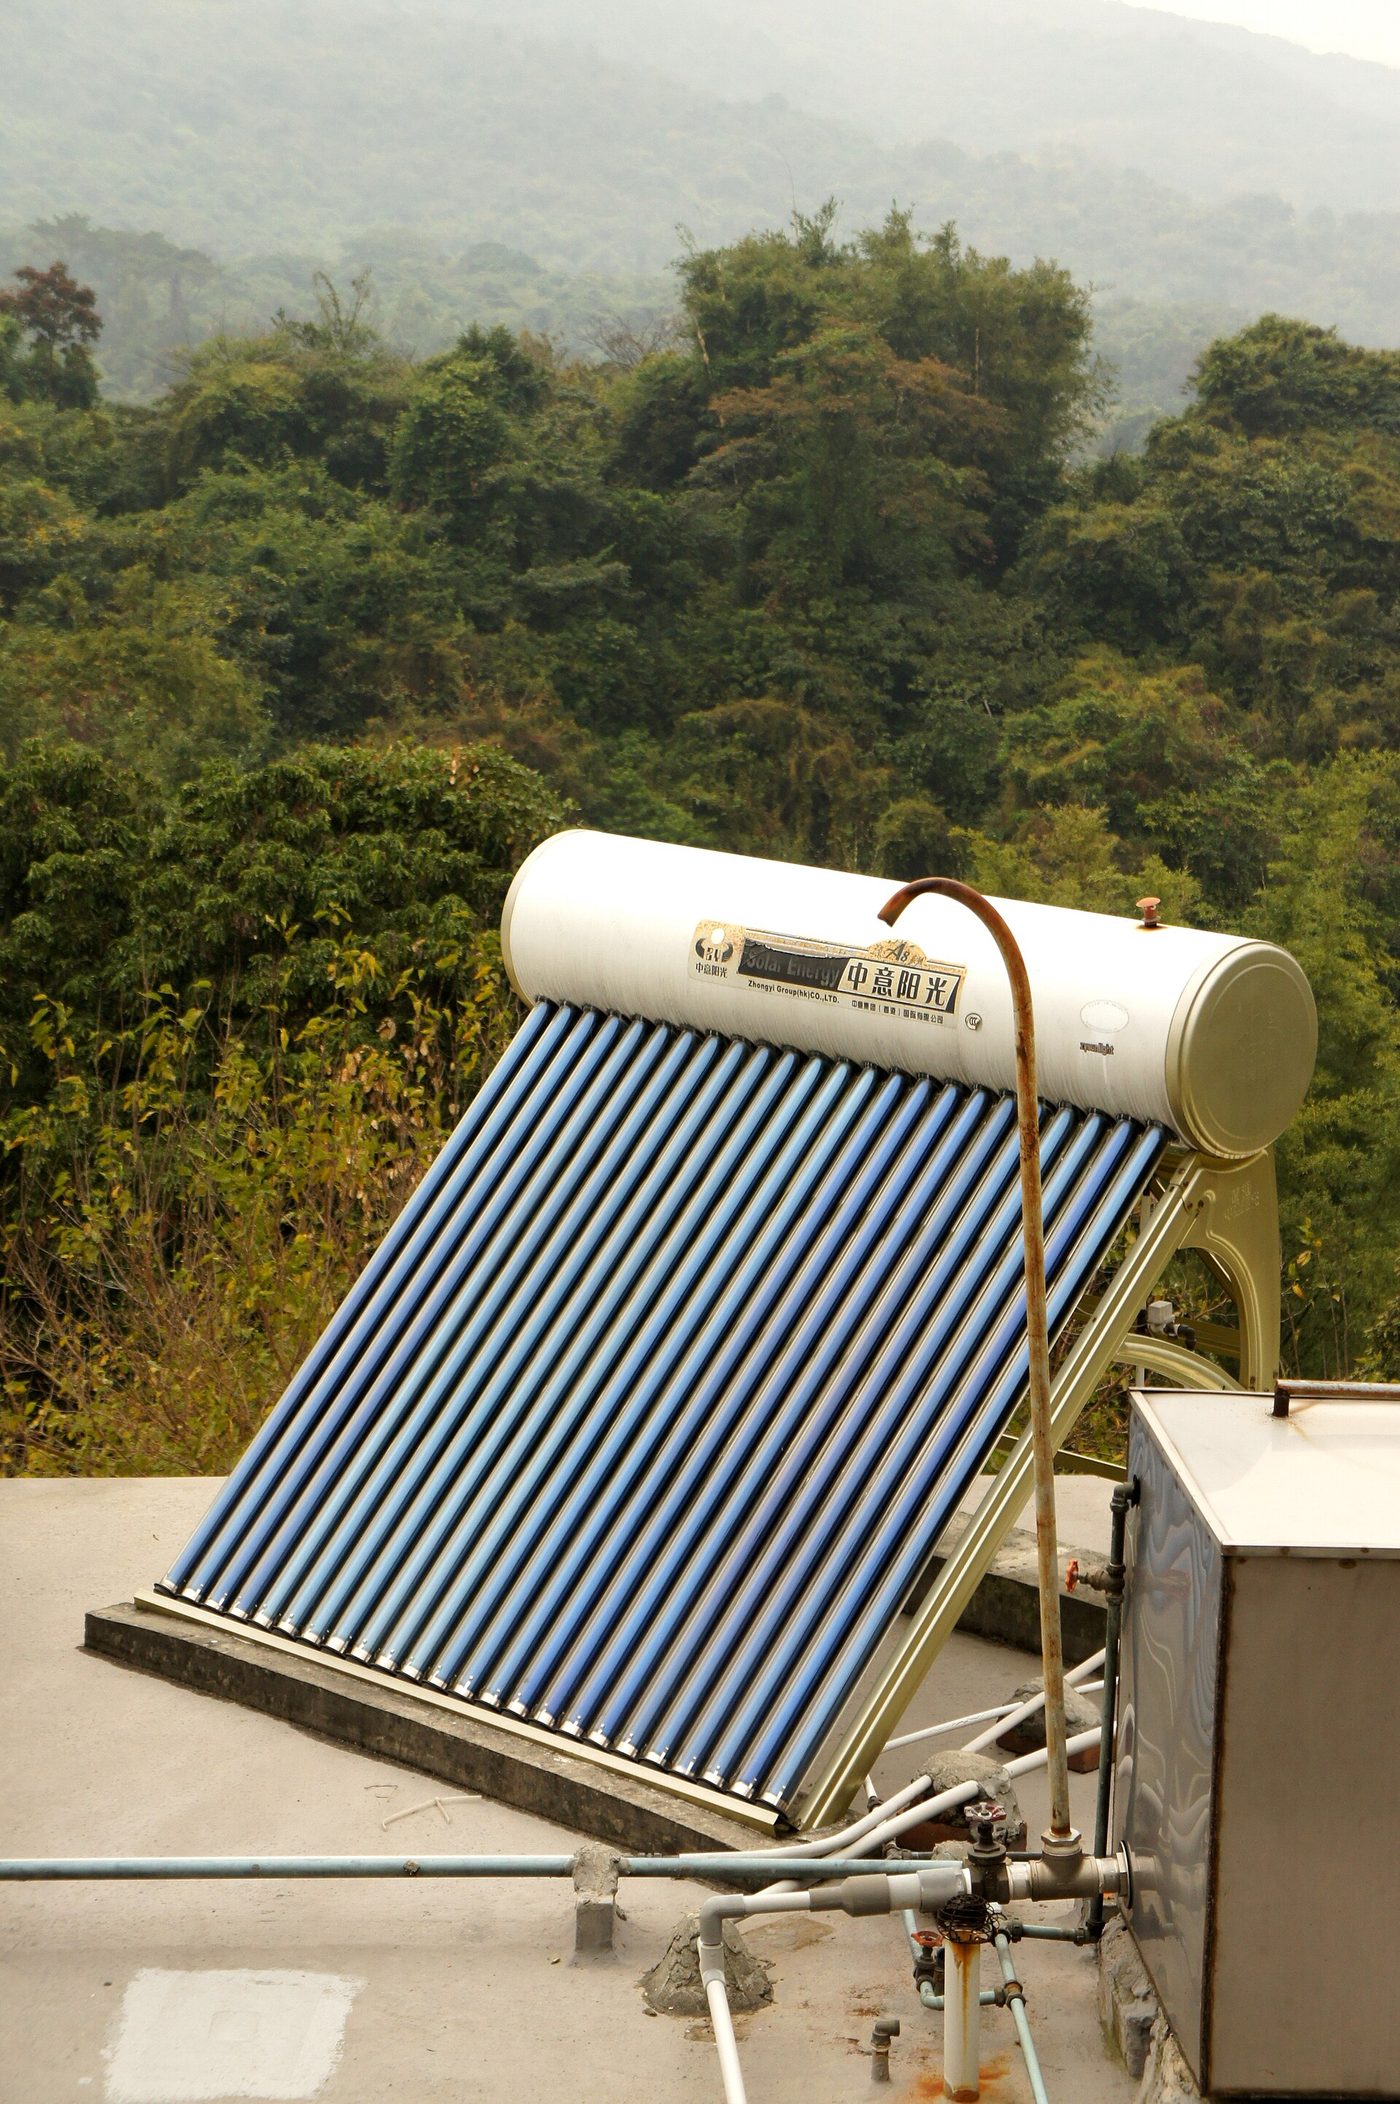
Batch Solar Water Heater from a Salvaged Tank
A black-painted tank in a glazed, insulated box that gives hot washing water by mid-afternoon with no pump, controller or electricity.