
Tiger Worm Toilet
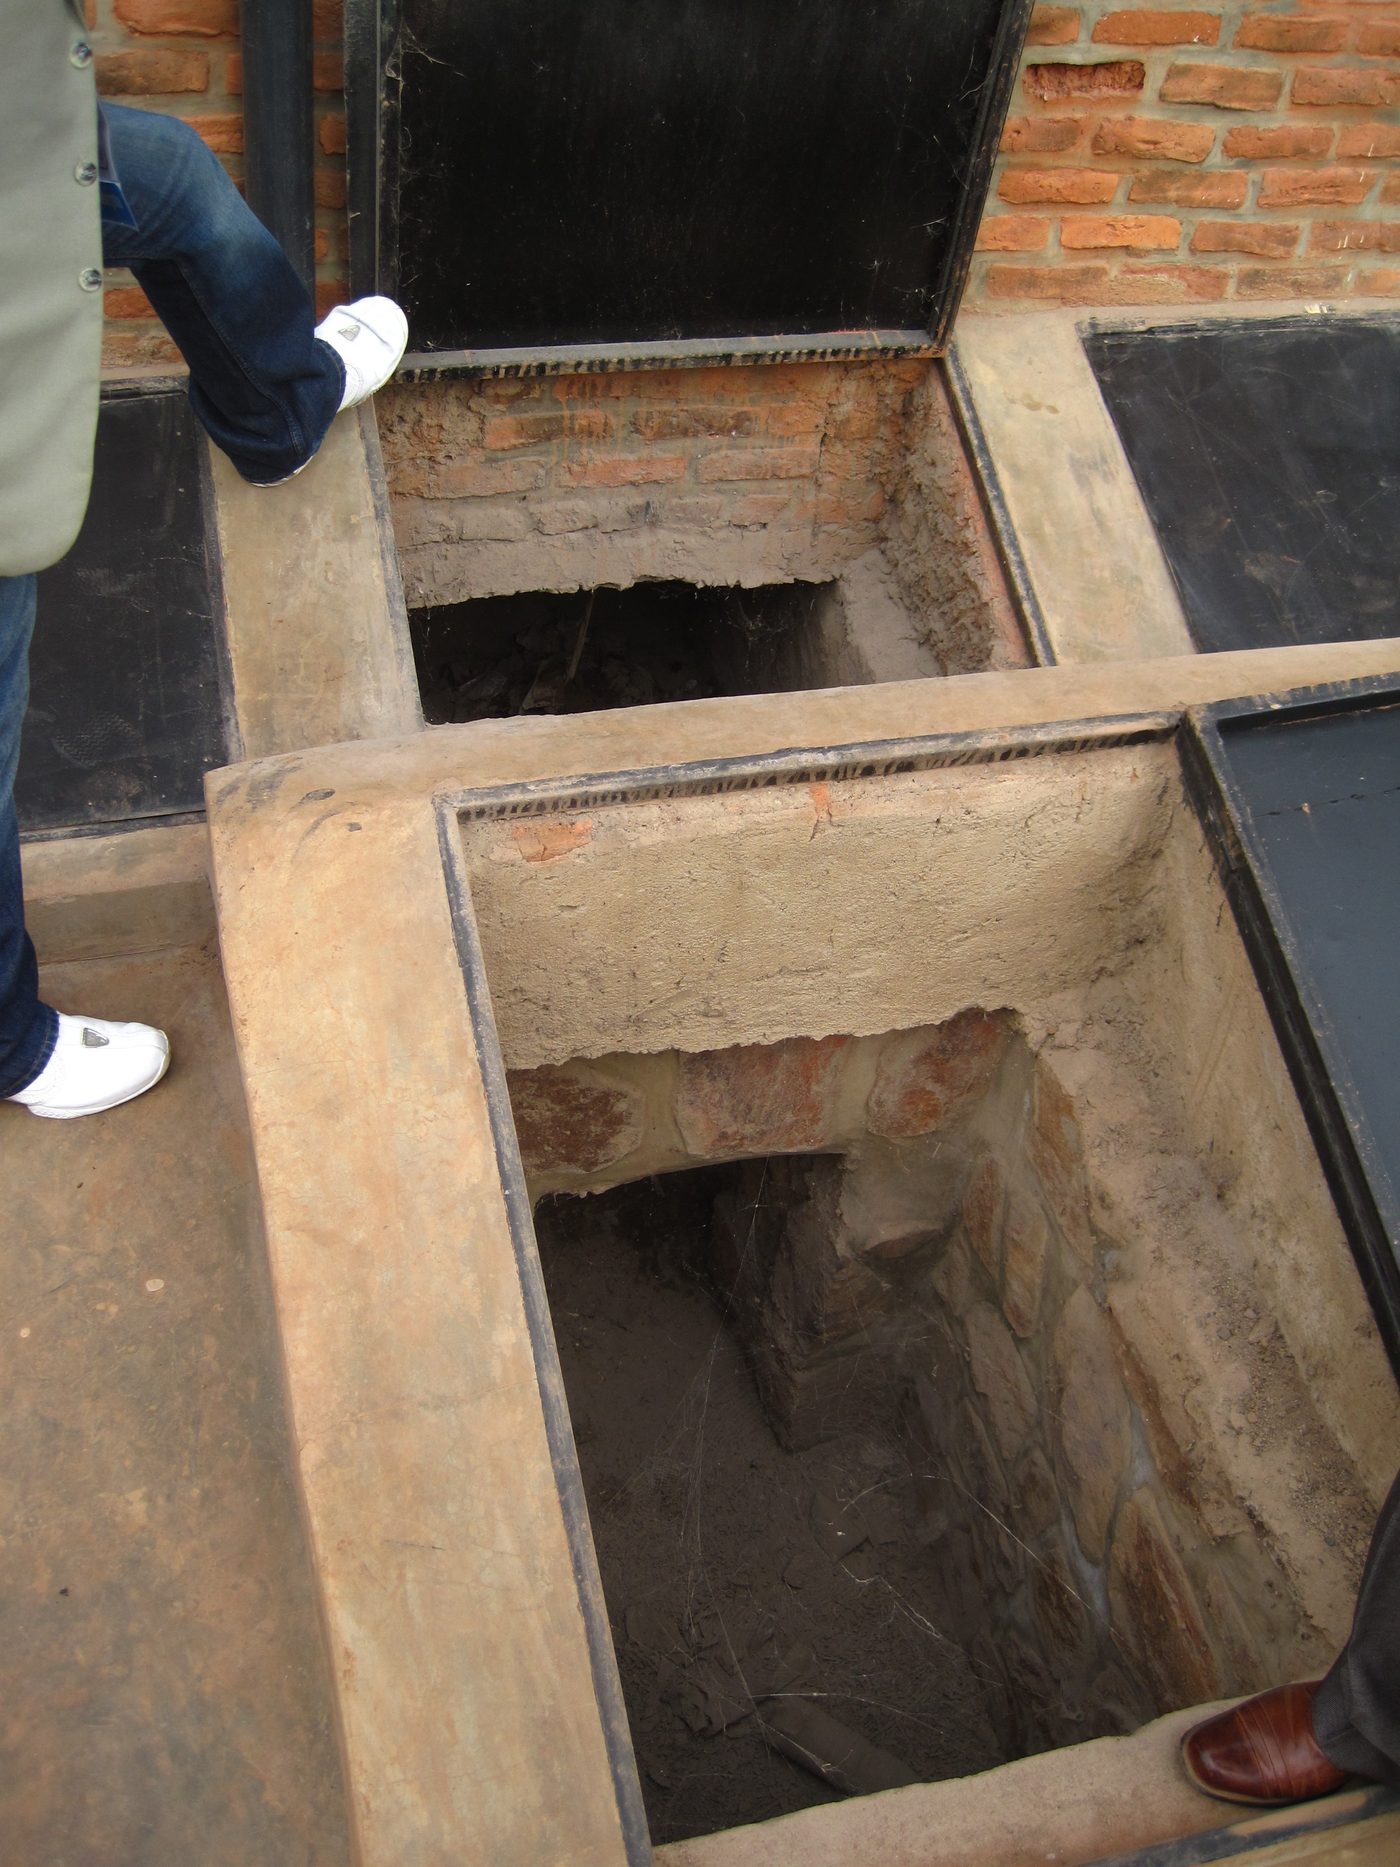
Run a pour-flush or drop toilet onto a bed of composting worms in a drained vault, so faeces are digested in place and the pit fills at a fraction of the usual rate.
- Estimated cost
- $150 – $450 for a household unit
- Skill level
- Intermediate
- Time
- 1 week
Not yet verified
No confirmed build with photo proof has been submitted for this plan yet. Built it? Send photos and it earns the badge.
Tools
- Masonry tools
- Shovels and picks
- Hacksaw
- Level
- Wheelbarrow
Short a tool or material? Builders below have often swapped something local in — read Local adaptations before you buy anything.
Materials
- Lined vault or tank of block, ferrocement or plastic, with drainage
- Gravel drainage layer and a soakaway or reed bed for the liquid
- Bedding: wood chip, coco coir, coarse compost 200 – 300 mm deep
- Composting worms (Eisenia fetida) — around 1 kg to start
- Squat pan or pedestal, vent pipe with fly screen, and a roofed superstructure
Dimensions & cut list
A pour-flush or drop toilet over a vermifilter bed for a household of six. These are the reference sizes from Appropedia / SuSanA and Oxfam field trials — scale them to what you have, but keep the ratios.
| Vermifilter chamber | 1.2 × 1.2 m × 0.9 m deep |
|---|---|
| Worm bedding layer | 300 mm of coarse compost and wood chip |
| Drainage layer below | 150 mm gravel over a perforated collection pipe |
| Worm stock at start | ≈ 2 kg of tiger worms (Eisenia fetida) |
| Loading rate | Up to 6 users; keep the bed moist, never flooded |
| Flush water | 1–1.5 litres, or a dry drop with no water at all |
| Effluent handling | To a soak pit or reed bedThe effluent is reduced but not safe — never discharge to open ground |
| Emptying interval | Vermicompost drawn off every 2–3 years |
Take this list to the yard
- 1Blockwork or lined chamber
- 2 kgTiger worms
- 0.5 m³Coarse compost and wood chip bedding
- 0.25 m³Gravel
- 1 set100 mm perforated drain pipe and vent stackWorms need air — a sealed chamber kills the bed
- 1 setPan, slab and superstructure
Step by step
Step 1 of 6
Build a drained vault
The worm bed must never flood. Build a lined chamber with a gravel base draining to a soakaway or small reed bed, sited well away from wells.
Swipe or use arrow keys
1. Build a drained vault
The worm bed must never flood. Build a lined chamber with a gravel base draining to a soakaway or small reed bed, sited well away from wells.
2. Lay bedding and settle the worms
Fill with moist bedding, add the worms, and let them settle for a week with a little kitchen waste before any use.
3. Fit the pan, vent and roof
Set the pan so waste lands centrally on the bed, fit a screened vent pipe, and roof the superstructure so rain never enters the vault.
4. Use it gently at first
Start with a small household load and build up over a month while the worm population grows to match.
5. Keep the bed right
Aim for damp-sponge moisture. Add a handful of wood chip weekly, and keep bleach, disinfectant and ash out of the toilet entirely.
6. Harvest years later
The bed grows slowly. After two to three years, remove the vermicompost, let it mature at least a further year, and use it on trees, never on salad crops.
Why mine failed
The ways this build usually goes wrong, and what fixes it.
All the worms die off
CauseBed flooded, dried out, or dosed with cleaning chemicals
FixKeep the bedding moist like a wrung cloth, never standing in water, and keep bleach, disinfectant and salty water out of the toilet entirely.
Bad smell and flies
CauseBed overloaded or unvented
FixFit a vent stack, keep users within the design number, and add fresh wood chip on top. A working vermifilter should smell earthy, not foul.
Filter bed blocks and water ponds on top
CauseBedding gone to fine sludge
FixRake in a fresh 100 mm of coarse wood chip and reduce flush water. Coarse bulking material is what keeps the bed open and aerobic.
Effluent is polluting the surroundings
CauseTreating the outflow as clean
FixPipe the effluent into a soak pit or reed bed, at least 30 m from any water source. The reduction is big but the outflow is not safe water.
Safety notes
- The bed contains human waste. Wear gloves for any handling, and wash thoroughly afterwards.
- Vermicompost from a toilet is not garden-ready: mature it long-term and apply only to trees or non-food crops unless a health authority advises otherwise.
- Site at least 30 m from and downhill of any well or spring, above the water table.
- Bleach and strong disinfectants kill the worms and end the process — clean the pan with water and mild soap only.
Source & attribution
This plan is our build-step write-up of work documented by Appropedia / SuSanA and Oxfam field trials. The original design and documentation belong to them — go read the source before you build.
Tiger worm toiletLocal adaptations
What builders changed to make this work where they live.
Field note · Liberia and Ethiopia
Programmes fit a plastic tank instead of blockwork so the whole unit can be prefabricated and installed in a day in dense settlements.
Build this alongside
Plans that use the same materials or serve the same need.
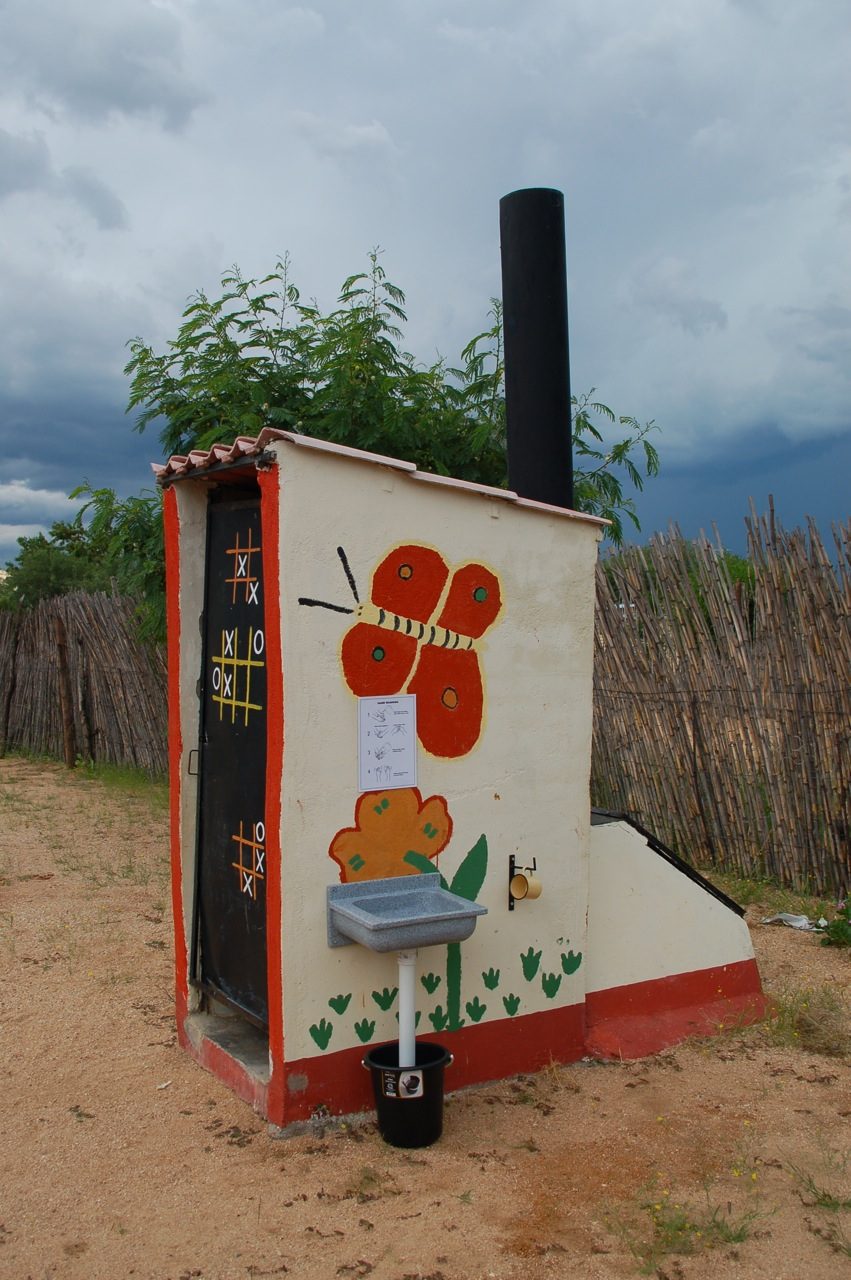
Urine-Diverting Dry Toilet
A twin-vault toilet with a diverting pedestal that keeps urine and faeces separate, so faeces dry out odour-free and both streams become usable fertiliser.
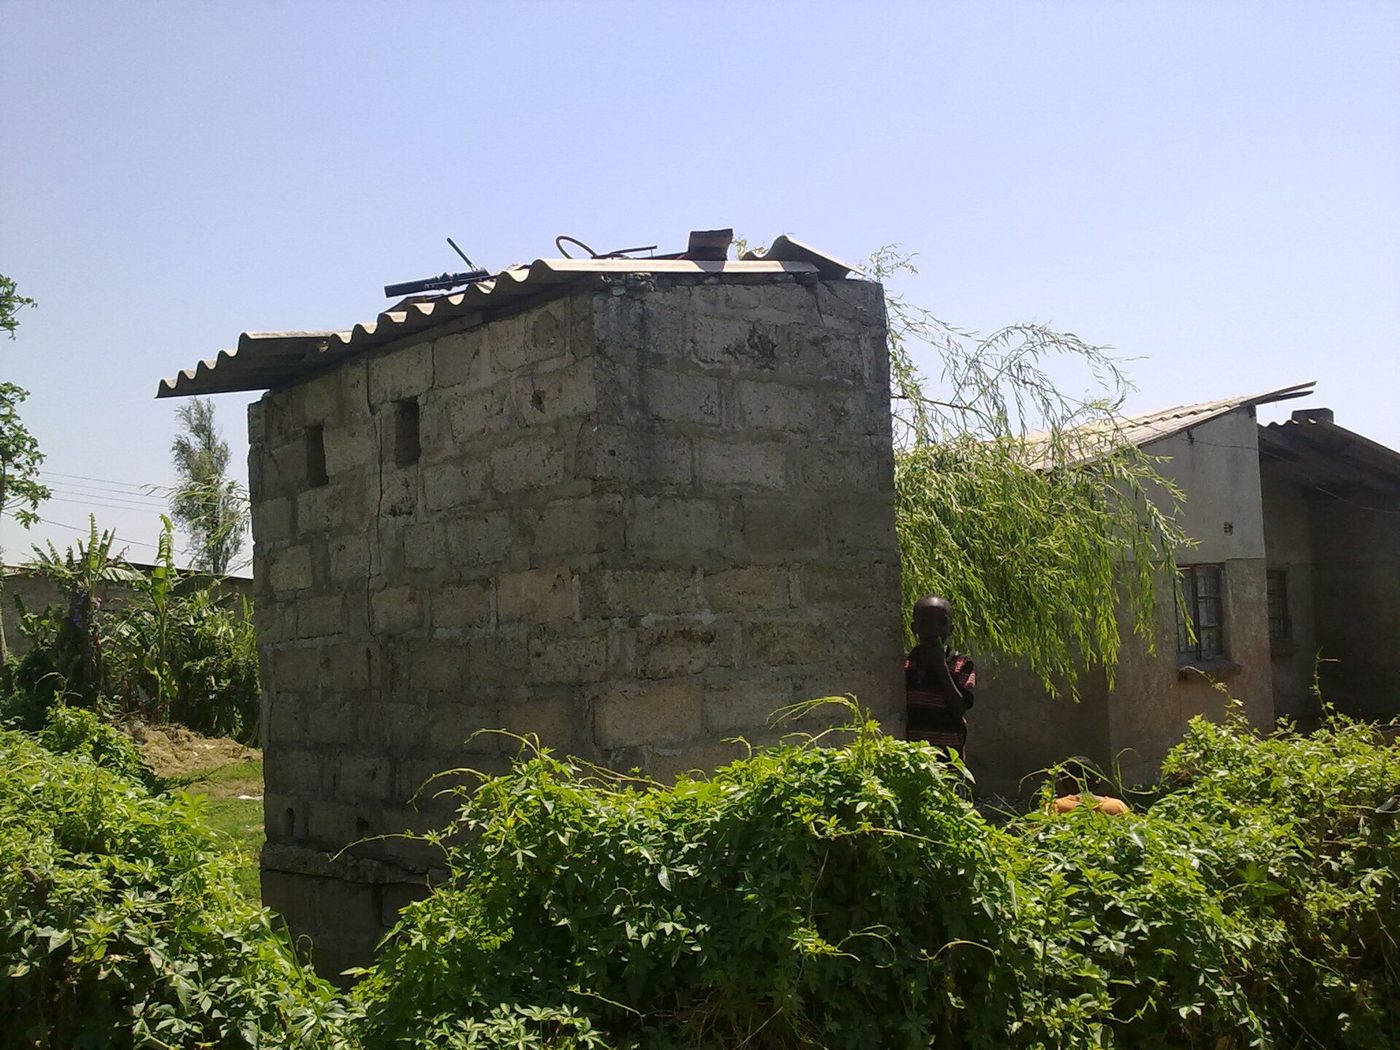
Ventilated Improved Pit Latrine
A lined pit latrine with a dark interior and a screened vent pipe that pulls odour out and traps flies — the standard upgrade from an open pit.
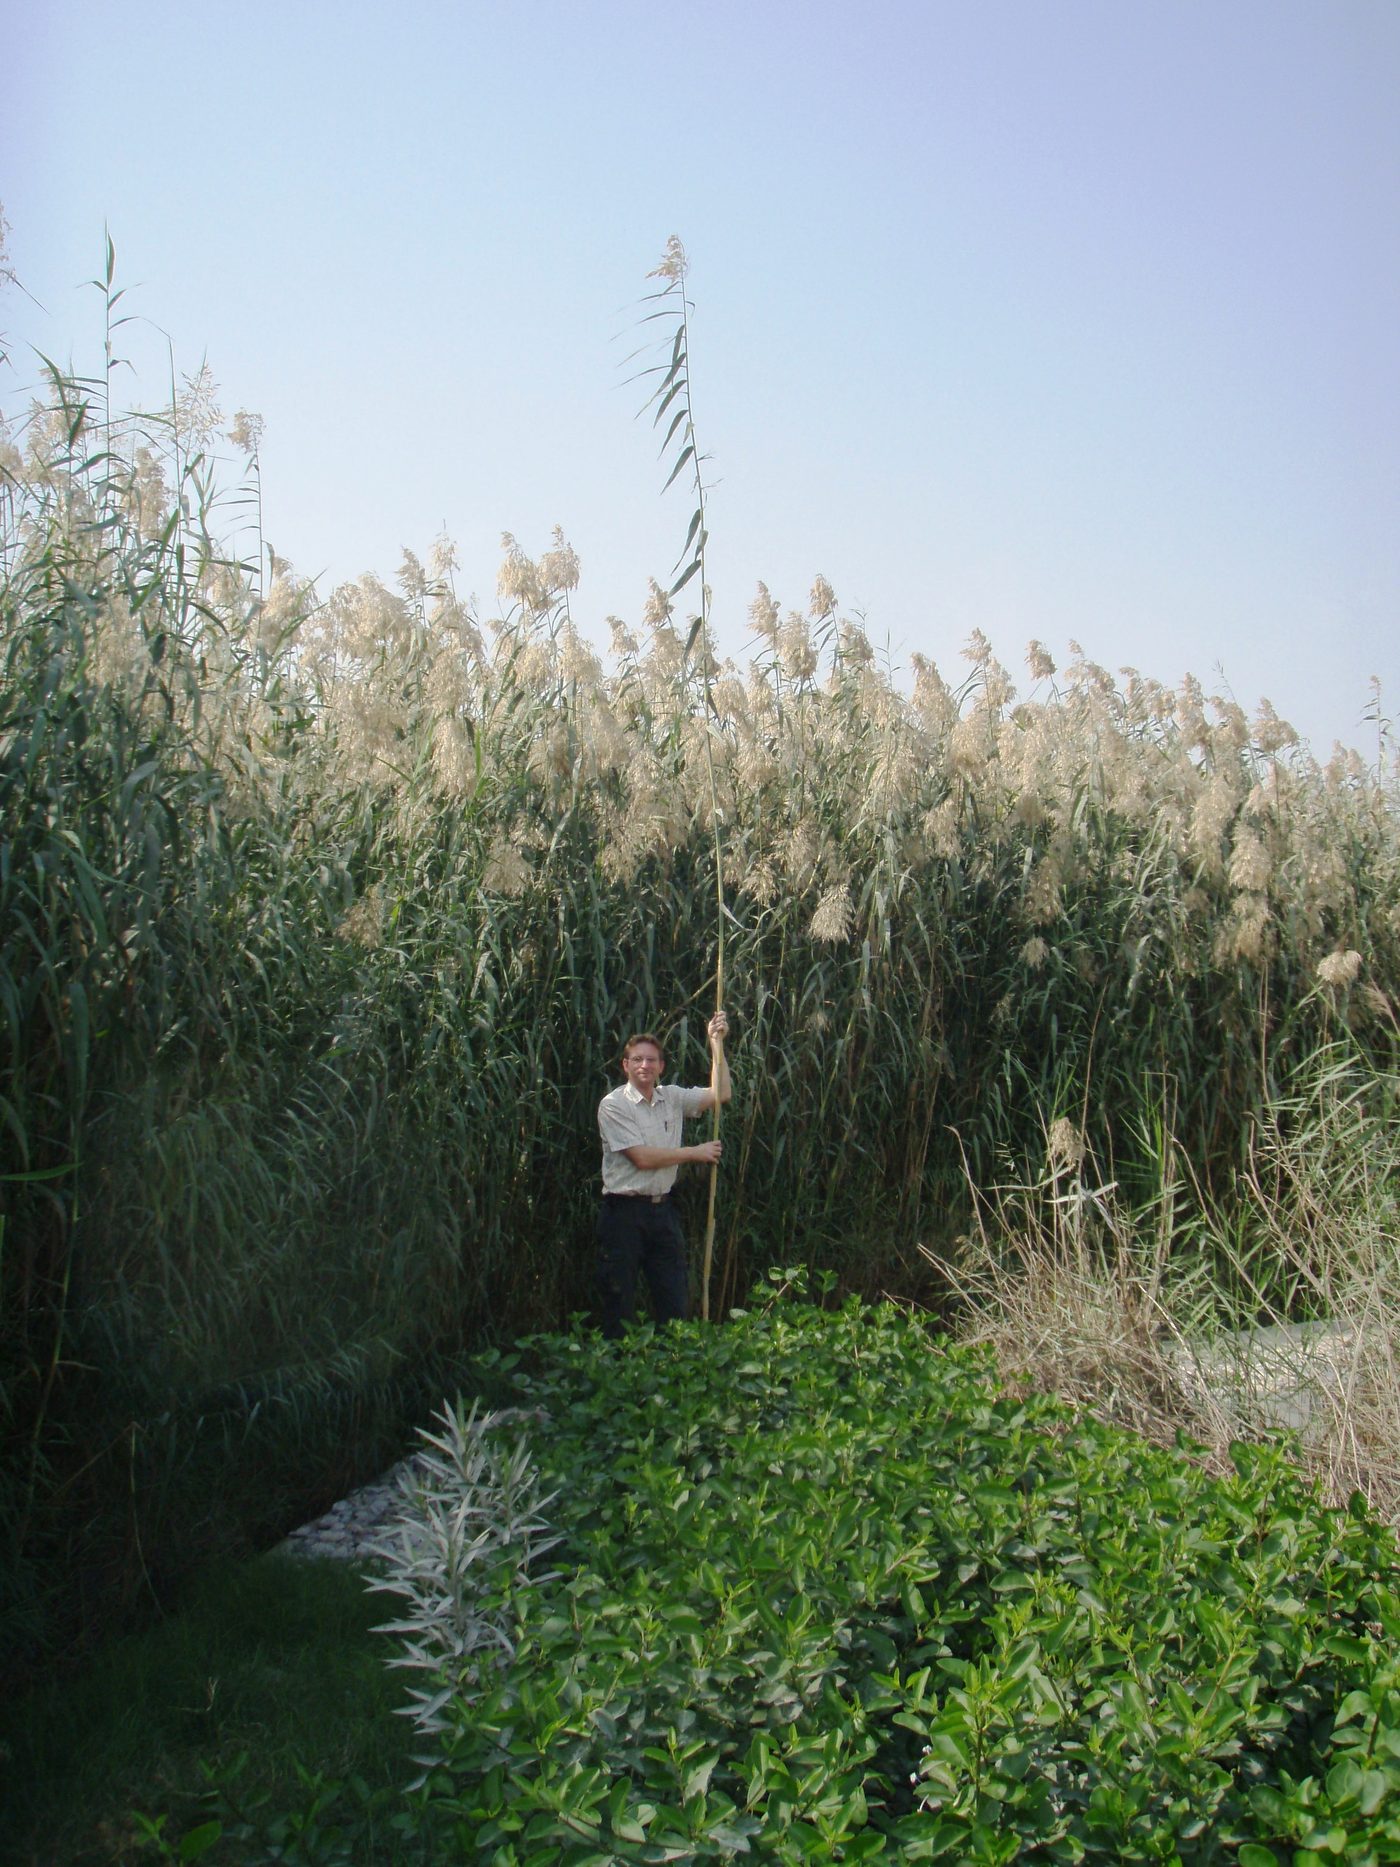
Greywater Reed Bed
Route kitchen and washing water through a gravel-filled planted bed instead of a stinking pit, and irrigate fruit trees with the outflow.