
Universal Nut Sheller
Cast a concrete rotor and stator with a tapered gap, crank it, and shell groundnuts fifty times faster than by hand without crushing the kernels.
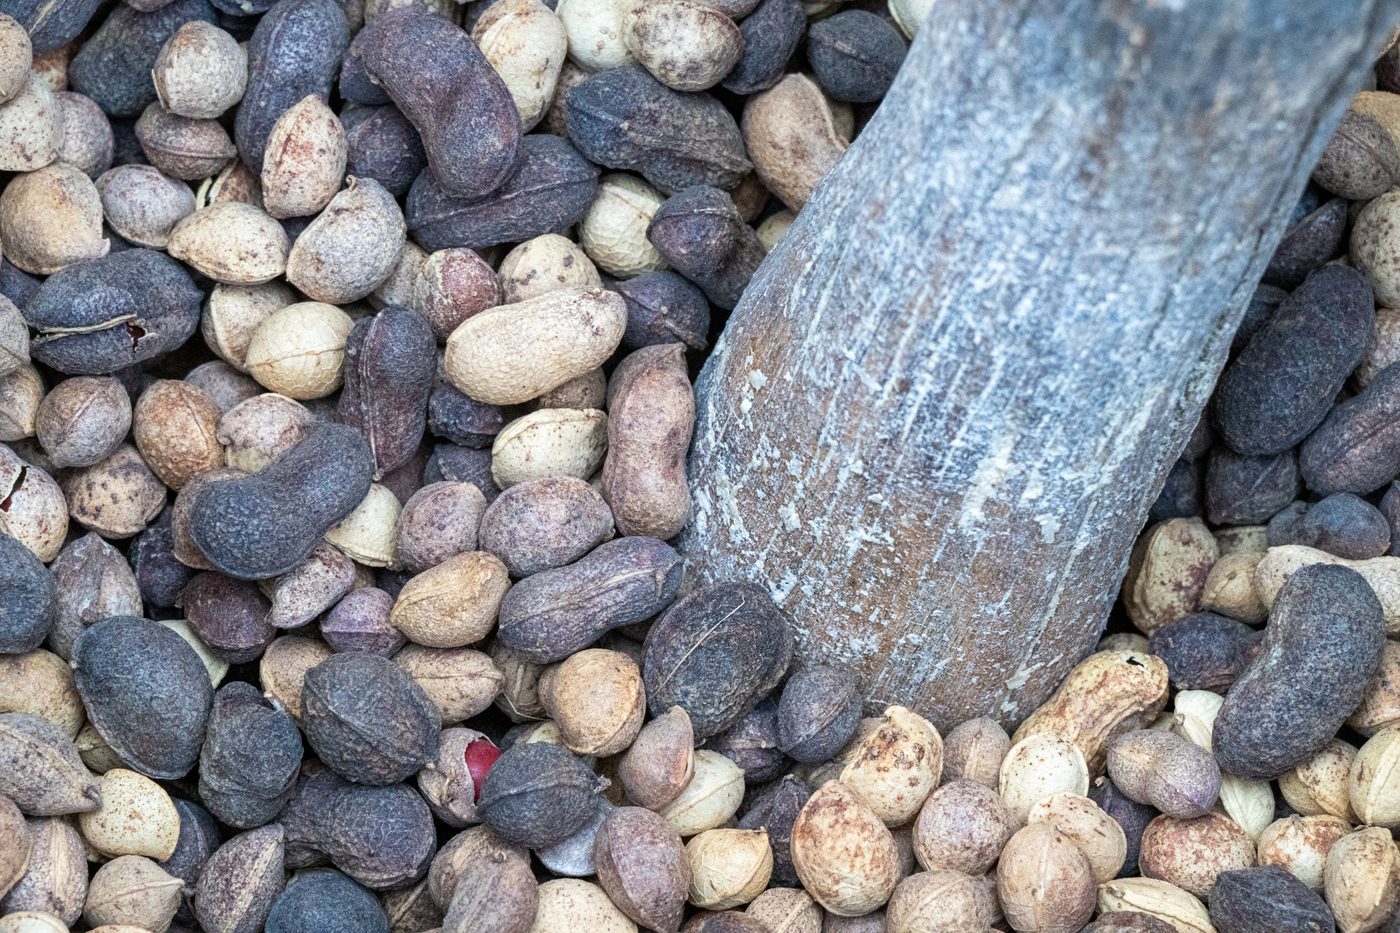
- Estimated cost
- $25 – $90 in cement, steel and a bearing
- Skill level
- Intermediate
- Time
- 2 days plus a week of curing
Not yet verified
No confirmed build with photo proof has been submitted for this plan yet. Built it? Send photos and it earns the badge.
Tools
- Mould set (fibreglass or timber)
- Welder or heavy bolts for the frame
- Spanners
- Trowel
- Drill
Short a tool or material? Builders below have often swapped something local in — read Local adaptations before you buy anything.
Materials
- Cement and clean sharp sand, roughly 1:2 for a strong mortar
- Steel shaft, two bearings and a crank handle
- Angle iron or hardwood for the frame and hopper
- Adjustment bolts to set the rotor-stator gap
- Sieve or winnowing basket for separating shell from kernel
Dimensions & cut list
The concrete Full Belly / UNS sheller: two cast cones, shelling about 50 kg of groundnuts an hour. These are the reference sizes from Appropedia / Full Belly Project — scale them to what you have, but keep the ratios.
| Outer cone (stator) top ID | 170 mm, tapering to 140 mm at the base |
|---|---|
| Inner cone (rotor) top OD | 150 mm, tapering to 128 mm |
| Shelling gap | Adjustable 8–14 mmSet to just under the smallest nut you are shelling |
| Cone height | 180 mm |
| Rotor speed | 60–100 rpm by hand crank |
| Concrete mix | 1 cement : 2 sharp sand, no gravel |
| Hopper capacity | 5 litres |
Take this list to the yard
- ½ bagCement
- 25 litresSharp sand, sieved
- 600 mm16 mm threaded rod for the shaft and gap adjuster
- 1 setSheet-metal cone moulds (reusable)
- 6 mTimber or angle-iron stand
- 1 setCrank handle and two bearings
Step by step
Step 1 of 6
Build accurate moulds
The whole machine is the gap between a tapered rotor and a tapered stator. Copy the published mould dimensions exactly; guesswork here crushes the crop.
Swipe or use arrow keys
1. Build accurate moulds
The whole machine is the gap between a tapered rotor and a tapered stator. Copy the published mould dimensions exactly; guesswork here crushes the crop.
2. Cast the rotor and stator
Cast a stiff 1:2 mortar, rod out air pockets, set the shaft dead central in the rotor, and cure both under damp sacking for seven days.
3. Build the frame
Mount the bearings so the rotor hangs concentric in the stator, with a hopper above and a chute below.
4. Set the gap
Adjust the stator height until the gap is a little smaller than the nut and a little larger than the kernel. This is the single adjustment that matters.
5. Dry the crop first
Shell only well-dried nuts. Damp shells tear rather than crack and gum up the gap.
6. Run and winnow
Feed steadily and crank evenly. Winnow the output in the wind or with a fan to separate shell from kernel, and re-run any whole nuts.
Why mine failed
The ways this build usually goes wrong, and what fixes it.
Most kernels come out split
CauseGap set too tight for the nut size
FixRaise the rotor with the adjuster a turn at a time, testing a handful each time. Grade nuts by size first — one gap cannot suit big and small together.
Many nuts come out unshelled
CauseGap too wide, or nuts not dry
FixLower the rotor slightly and dry the nuts to snapping-dry. Re-run the unshelled fraction rather than closing the gap too far and crushing the good kernels.
Concrete cones crumble at the edges
CauseMix too wet or too sandy, or cured in the sun
FixUse 1 cement : 2 sharp sand, just damp enough to hold a ball, and cure damp under sacking for seven days before use.
Safety notes
- Never put a hand into the hopper while the crank is turning — use a stick to clear a jam after stopping.
- Guard the crank and shaft, and keep children clear of the machine when in use.
- Wear a dust mask when winnowing; groundnut dust irritates lungs and can carry mould.
- Discard shrivelled or mouldy nuts — aflatoxin risk is real and cannot be shelled out.
Source & attribution
This plan is our build-step write-up of work documented by Appropedia / Full Belly Project. The original design and documentation belong to them — go read the source before you build.
Universal nut shellerLocal adaptations
What builders changed to make this work where they live.
Field note · Tanzania
Groups cast two stators with different gaps from one rotor so the same machine handles both groundnut and Bambara nut.
Build this alongside
Plans that use the same materials or serve the same need.

Concrete Biosand Water Filter
A household slow-sand filter in a concrete body that removes most pathogens and turbidity with no power, no cartridges and no ongoing cost.
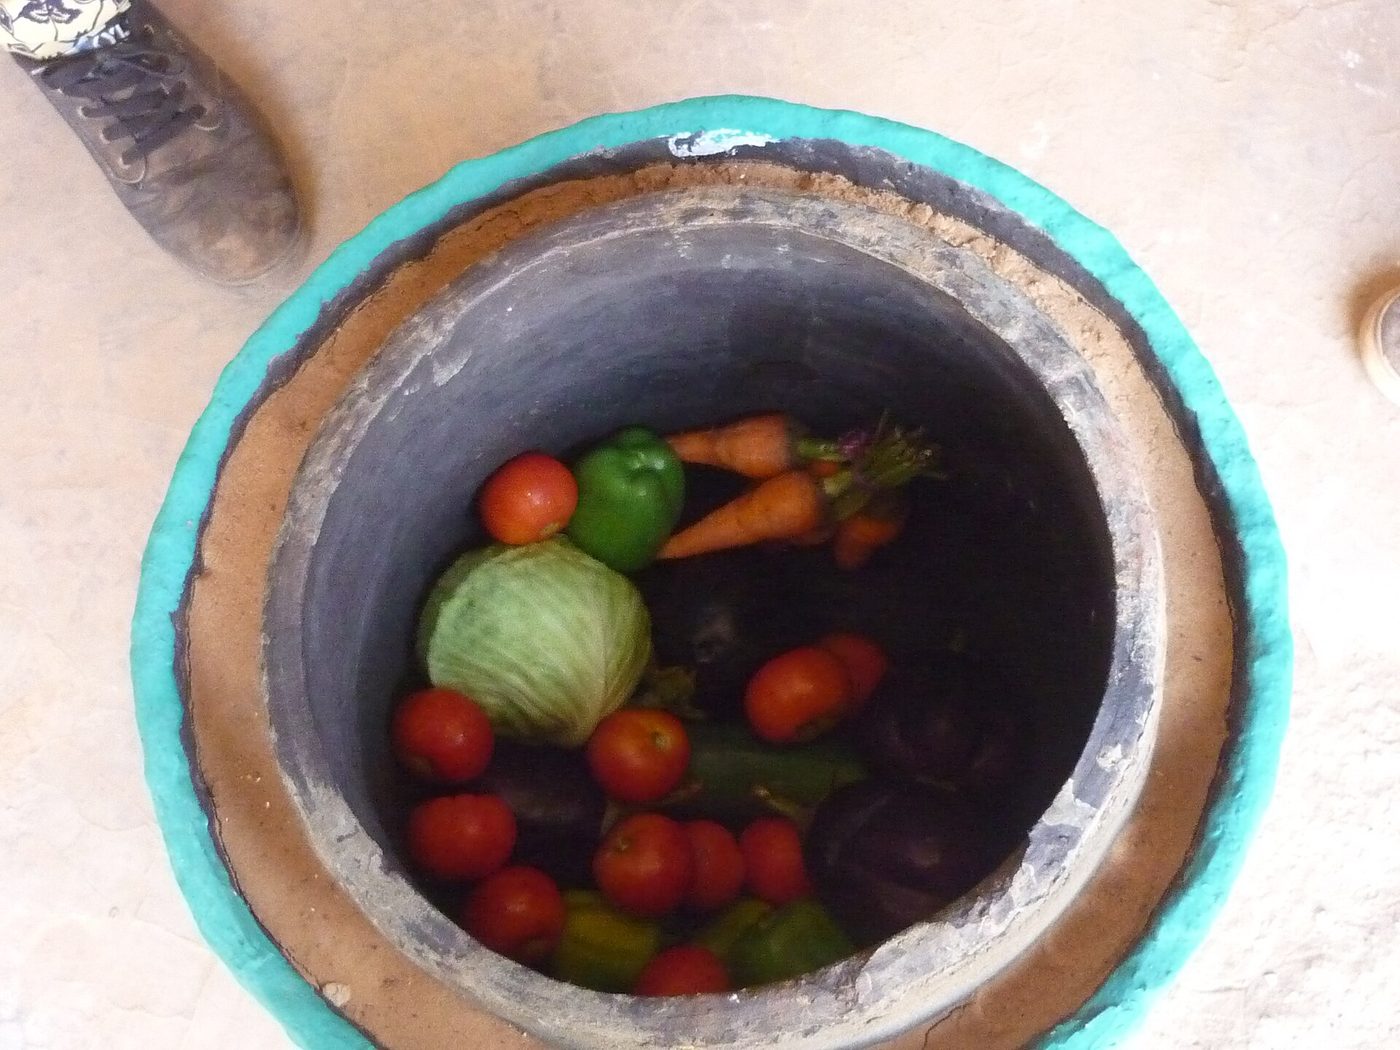
Zeer Pot-in-Pot Evaporative Cooler
Two clay pots with wet sand between them, dropping the inner temperature by 10 – 15 °C and keeping vegetables saleable for days instead of hours.

Soil-Cement Floor Slab
Replace a dust floor with a compacted, cement-stabilised earth slab that sweeps clean, resists damp and costs a fraction of a full concrete pour.