
Wattle & Daub Infill Wall
Weave a lattice of split poles between timber posts and pack it with clay-straw daub — the fastest low-cost wall there is when you have wood, soil and hands.
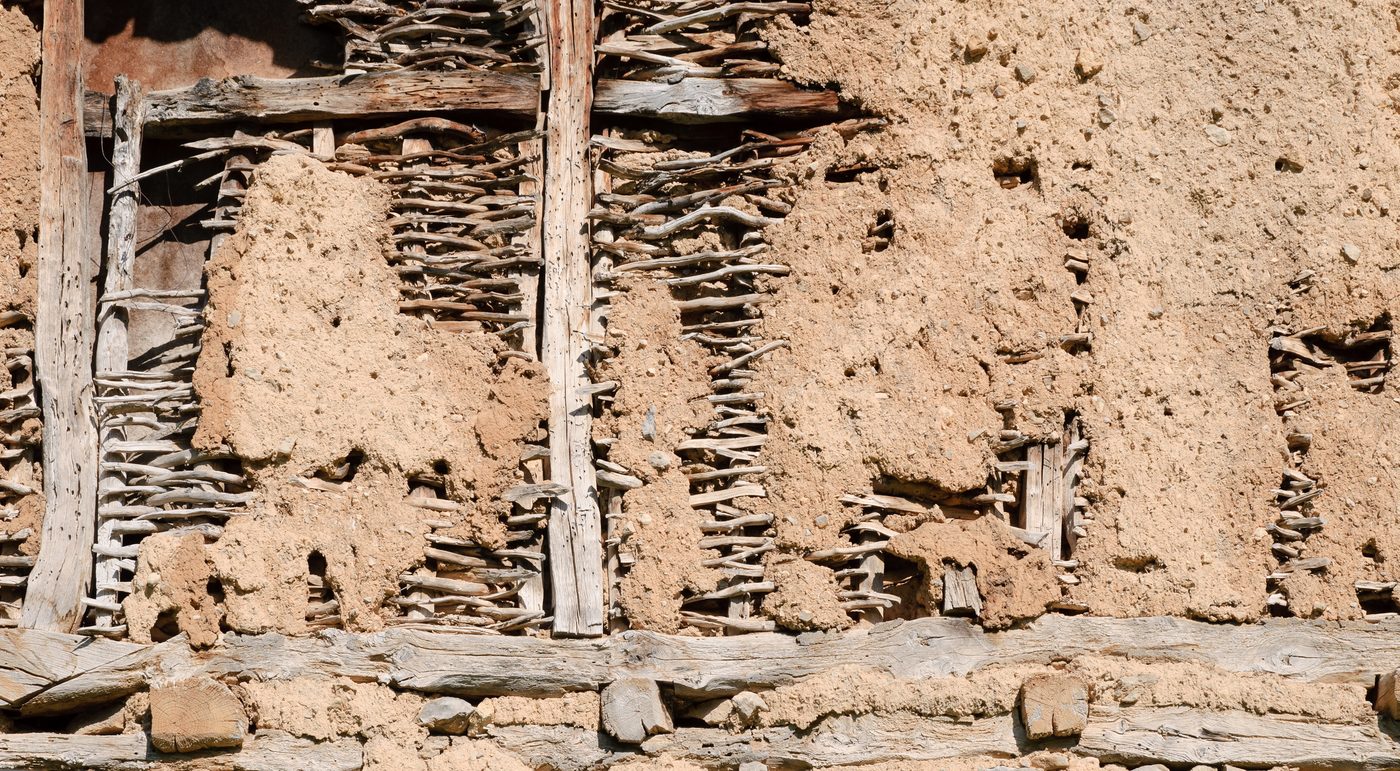
- Estimated cost
- $10 – $60 per room if poles and soil are cut on site
- Skill level
- Beginner
- Time
- 3 – 5 days for a small room with three people
Not yet verified
No confirmed build with photo proof has been submitted for this plan yet. Built it? Send photos and it earns the badge.
Tools
- Panga or machete
- Bow saw
- Mattock and hoe
- Buckets
- Mixing pit or tarp
Short a tool or material? Builders below have often swapped something local in — read Local adaptations before you buy anything.
Materials
- Straight posts 75 – 100 mm diameter for the frame, treated or charred at the base
- Flexible withies or split bamboo for the weave, 15 – 25 mm thick
- Clay-rich subsoil (no topsoil, no organic matter)
- Chopped straw, grass or dry dung as fibre
- Sand to cut over-fat clay, and lime or dung wash for the finish coat
Dimensions & cut list
A woven stick frame plastered both sides with earth, built on a raised plinth. These are the reference sizes from Appropedia / traditional building practice — scale them to what you have, but keep the ratios.
| Post spacing | 600–800 mm centres, 600 mm into the ground |
|---|---|
| Post diameter | 75–100 mm, termite-resistant species or charred bases |
| Wattle weave | Horizontal withies 25–40 mm, spaced 100–150 mm |
| Finished wall thickness | 120–180 mm including daub both faces |
| Daub mix | 1 part clay soil : 2 parts sand : chopped straw to refusal |
| Daub in layers | 2 coats of 40 mm, second only after the first is leather-hard |
| Plinth | 300 mm stone or block above ground before any timber |
| Roof overhang | 600 mm minimum — the wall lives or dies by the eave |
Take this list to the yard
- 1 per 700 mm of wallMain posts
- ≈ 8 per m² of wallWithies / split bamboo
- 50 m per 10 m²Tying material (sisal, bark rope)
- ≈ 0.15 m³ per m² of wallClay soil and sand
- 2 bundles per m³ of daubChopped straw
- as neededLime or dung slurry for the final skin
Step by step
Step 1 of 6
Set the frame and the plate
Sink posts 600 mm into the ground at 800 mm – 1 m centres on a stone footing course. Cap them with a top plate so the roof loads travel through the posts, not the daub.
Swipe or use arrow keys
1. Set the frame and the plate
Sink posts 600 mm into the ground at 800 mm – 1 m centres on a stone footing course. Cap them with a top plate so the roof loads travel through the posts, not the daub.
2. Weave the wattle
Fix vertical staves between the posts every 150 mm, then weave horizontal withies in and out. Push each course down tight; the lattice must be stiff enough to lean on before you daub it.
3. Mix and ripen the daub
Tread clay, sand and chopped fibre with just enough water to make a sticky mass that holds a thrown handful. Let it sit overnight — ripened daub cracks far less.
4. Throw the first coat from both sides
Work daub into the weave from one face until it squeezes through, then repeat from the other. Squeeze, don't smear — voids behind the lattice are where rot and insects start.
5. Let it dry slowly, then fill the cracks
Shade the wall from direct sun and wind for the first days. Shrinkage cracks are normal; fill them with a leaner mix before the finish coat.
6. Finish and protect
Apply a thin clay-dung or lime finish plaster. Keep a wide roof overhang and a raised plinth — 'a good hat and good boots' is what makes these walls last decades.
Why mine failed
The ways this build usually goes wrong, and what fixes it.
Daub falls off the weave in sheets
CauseMix too clay-rich, no straw, or applied too thick in one go
FixCut the clay back with sand, add chopped straw until the mix holds together on the trowel, and build in two 40 mm coats with the first left leather-hard before the second.
Base of the wall dissolves in the rains
CauseEarth wall meeting the ground, or a short eave
FixGood hat, good boots: 300 mm stone plinth below and 600 mm eave overhang above. Repair the base with a lime or stabilised render, not with more mud.
Posts fail within a couple of seasons
CauseTermites and ground moisture
FixUse termite-resistant species, char the buried section, and set posts in a stone collar rather than straight into soil.
Safety notes
- Char or treat post bases and keep them clear of standing water — post rot, not the daub, is what fails these walls.
- Wattle and daub is not load-bearing. The frame carries the roof; never remove posts to widen an opening.
- Lime for the finish coat is caustic — wear goggles and gloves when slaking or mixing.
- In termite country, use resistant species or treated poles, and inspect the base of every post yearly.
Source & attribution
This plan is our build-step write-up of work documented by Appropedia / traditional building practice. The original design and documentation belong to them — go read the source before you build.
Wattle and daubLocal adaptations
What builders changed to make this work where they live.
Field note · Malawi
Builders add sieved anthill soil to the daub for extra binding when the local clay is too silty to hold a thrown handful.
Build this alongside
Plans that use the same materials or serve the same need.

Sun-Dried Adobe Brick Yard
Mould and sun-cure mud bricks in the open with nothing but soil, straw, water and a timber mould — the cheapest wall material there is.
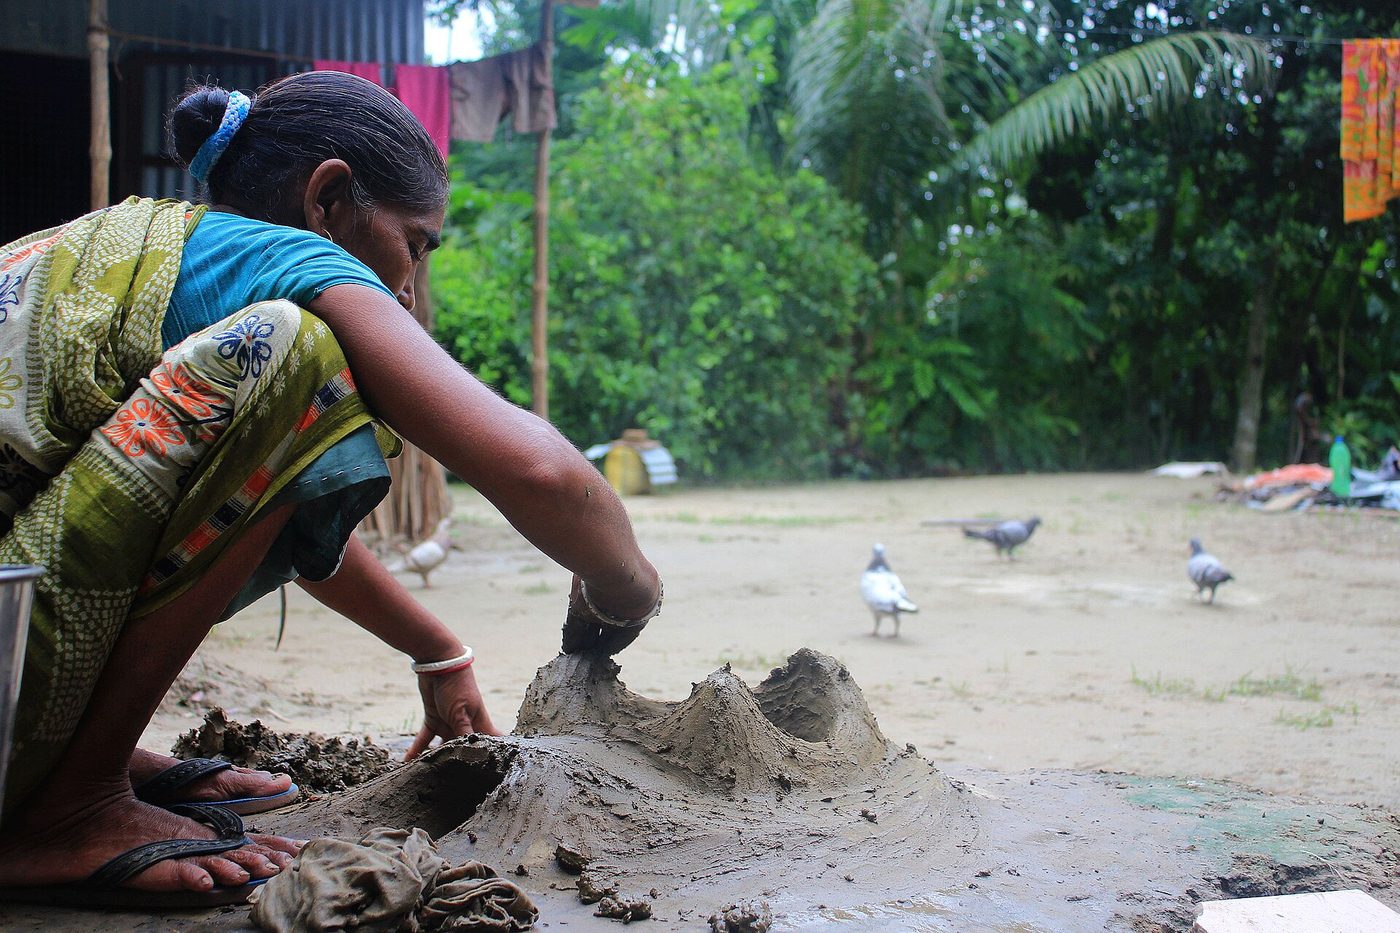
Cob Bread and Pizza Oven
A domed earth oven on a raised base that holds baking heat for hours from one small fire of scrap wood.
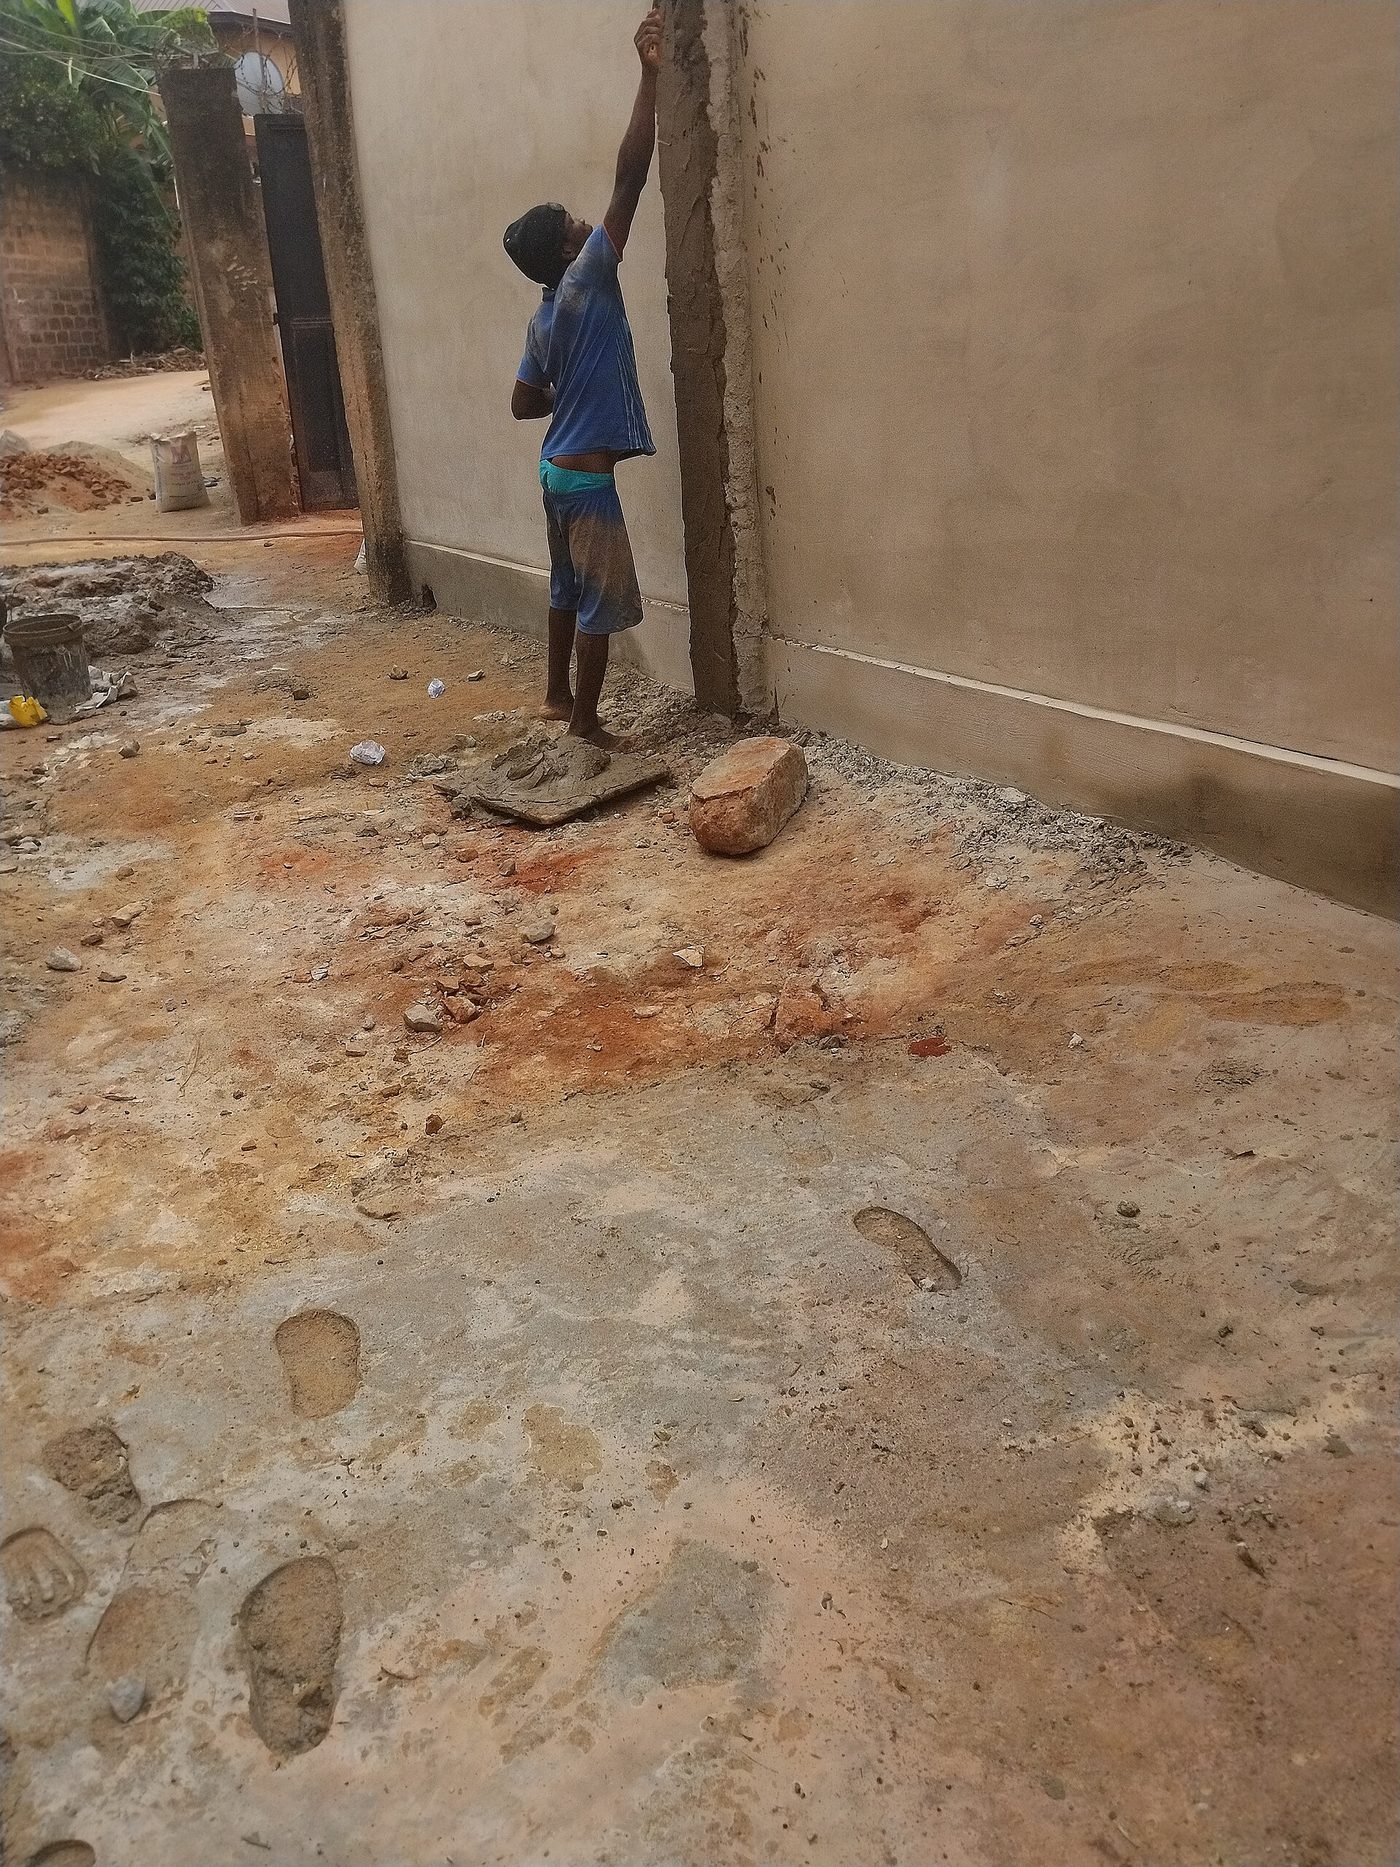
Lime and Earth Plaster for Earthen Walls
A breathable three-coat render that protects mud, adobe and earth-block walls from rain without trapping moisture the way cement does.